Please refer to the Kokomi Quick Guide for now!
The current Extended Guide is out of date, but we’re working on an update. Join our Discord to take part in the theorycrafting process!
A Kokomi Guide Written by xf3#3123
Updated for v2.5
Table of Contents
Preface
This guide is dedicated to the Pearl of Wisdom: Sangonomiya Kokomi. Her kit is not only unique but also fairly versatile. On top of this, she is also the first character to have a unique passive tied around her not using critical strikes, breaking her from the traditional ATK/DMG/Crit mold most characters use. This guide will explain not only how to gear and play her, but also explain her role in her teams.
Here is a TLDR from KQM at discord.gg/keqing:
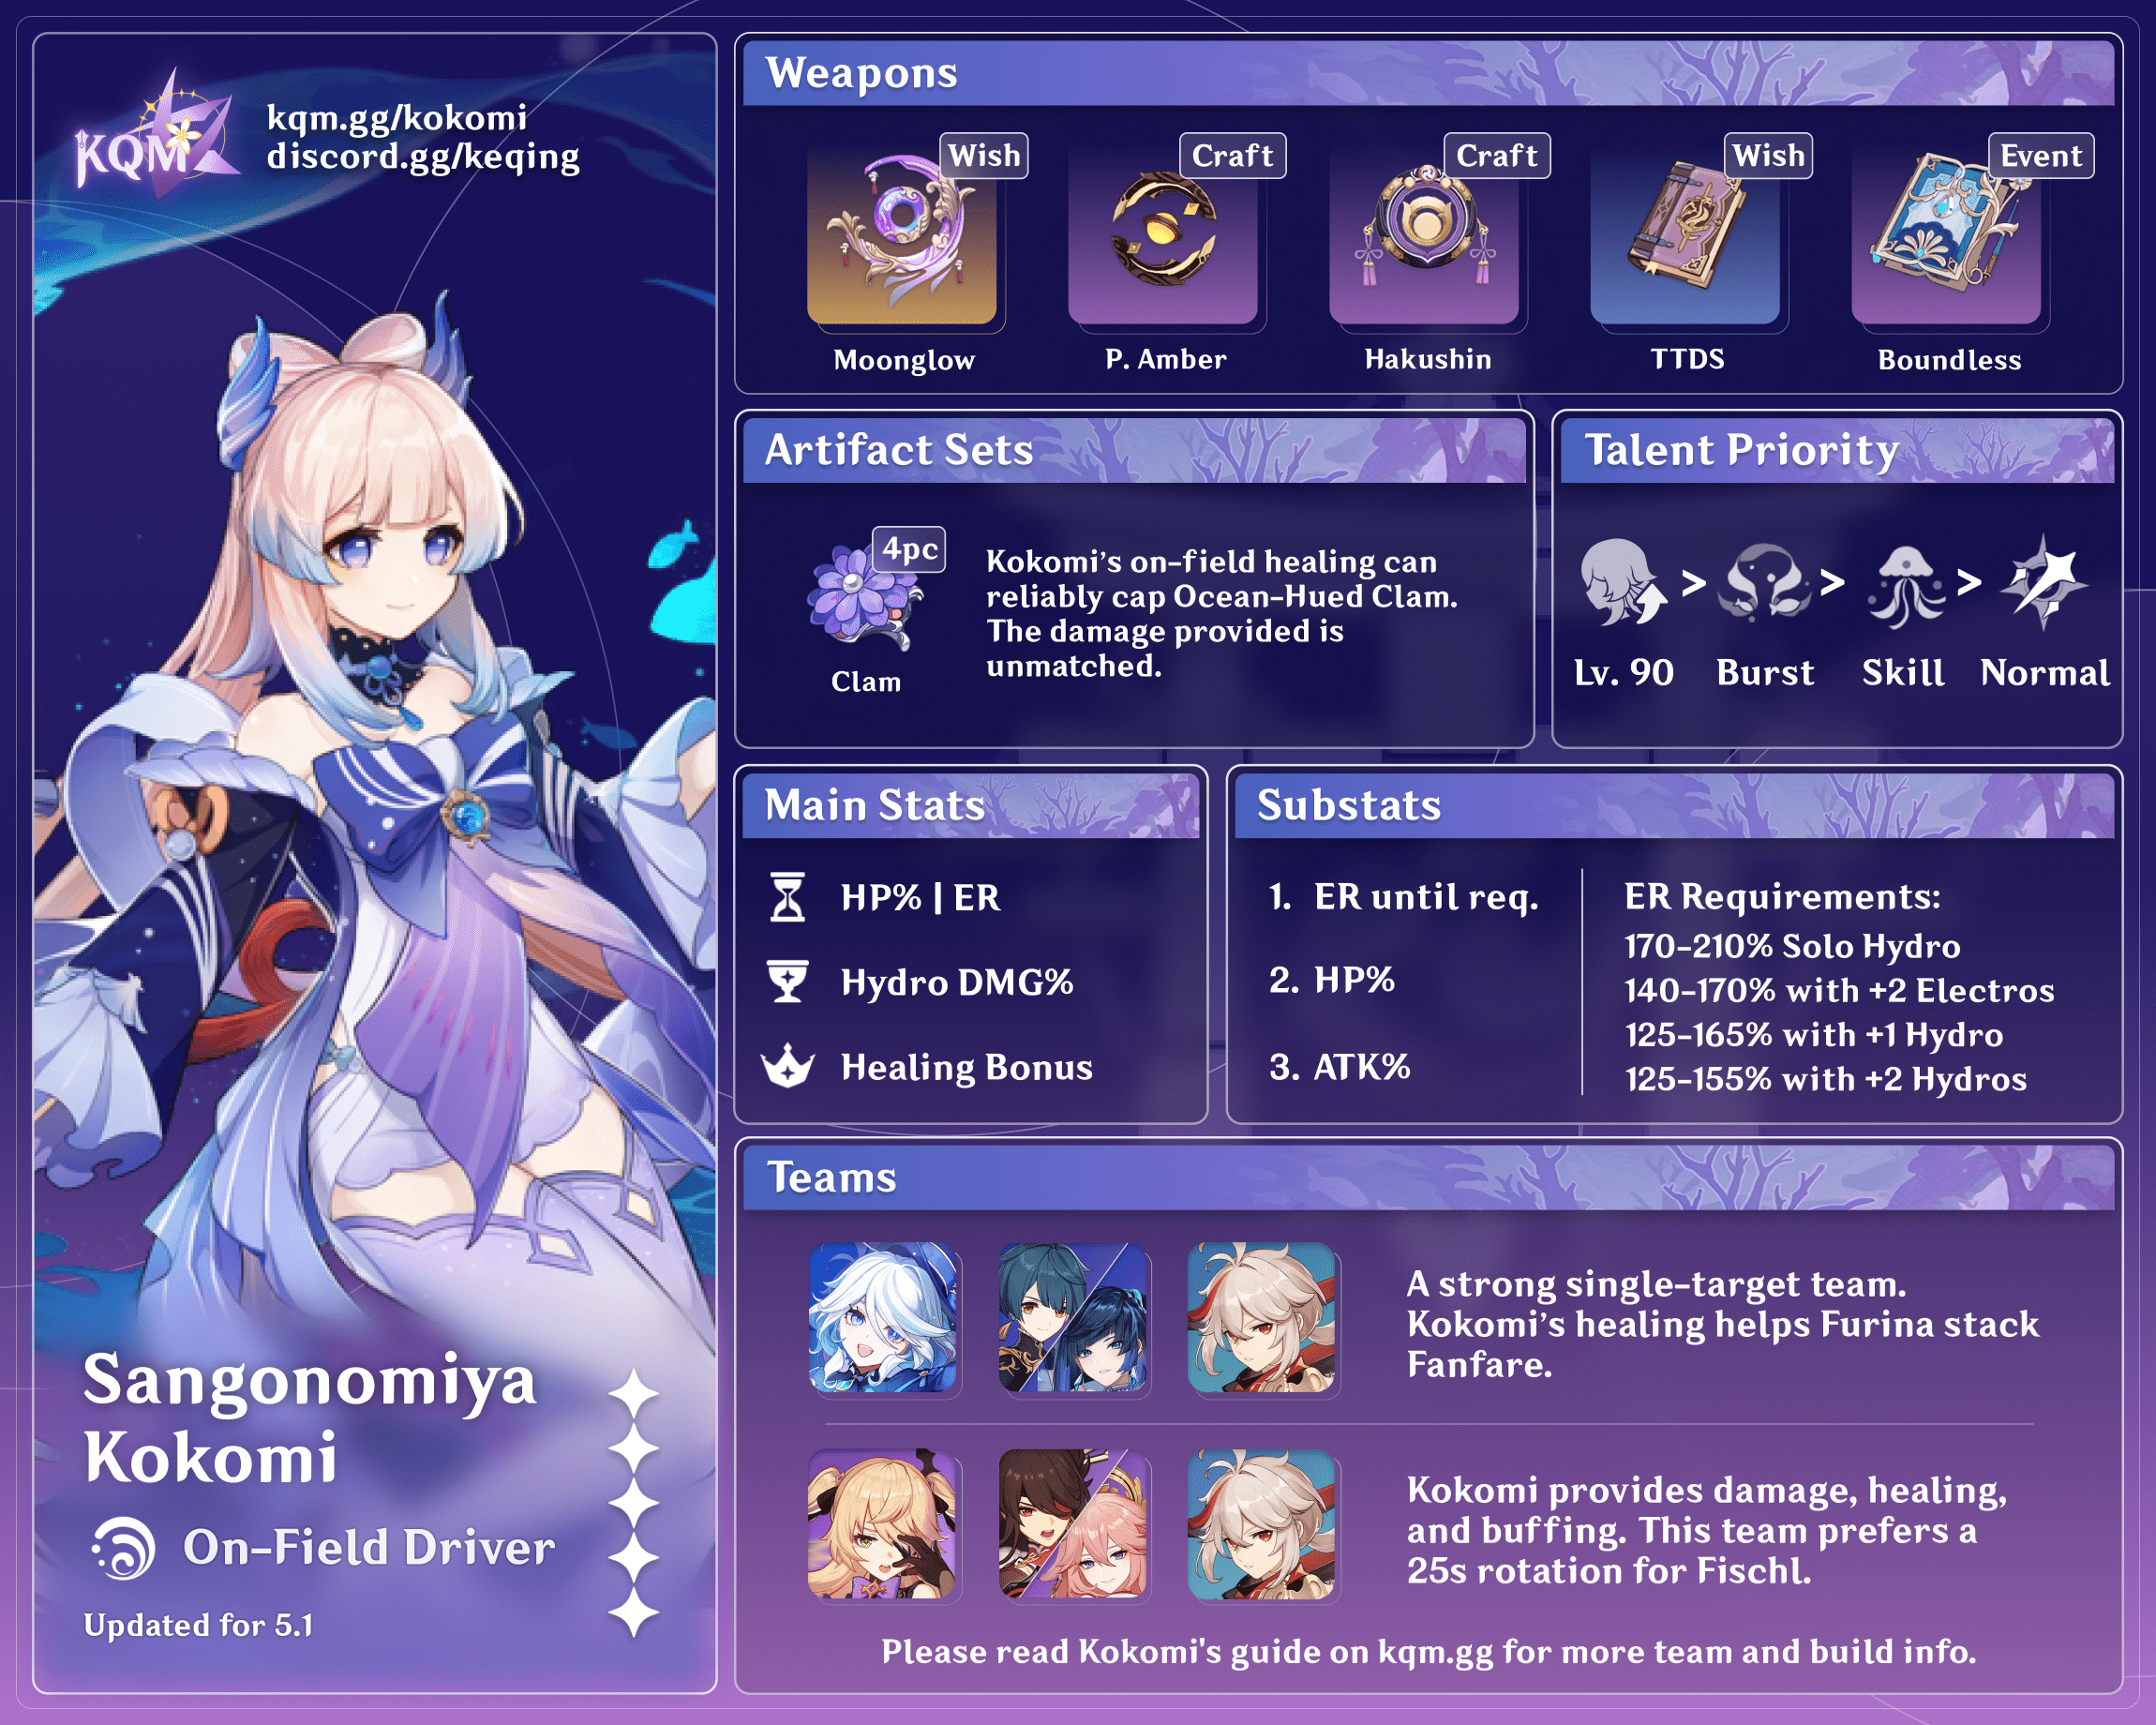
On-Field Driver
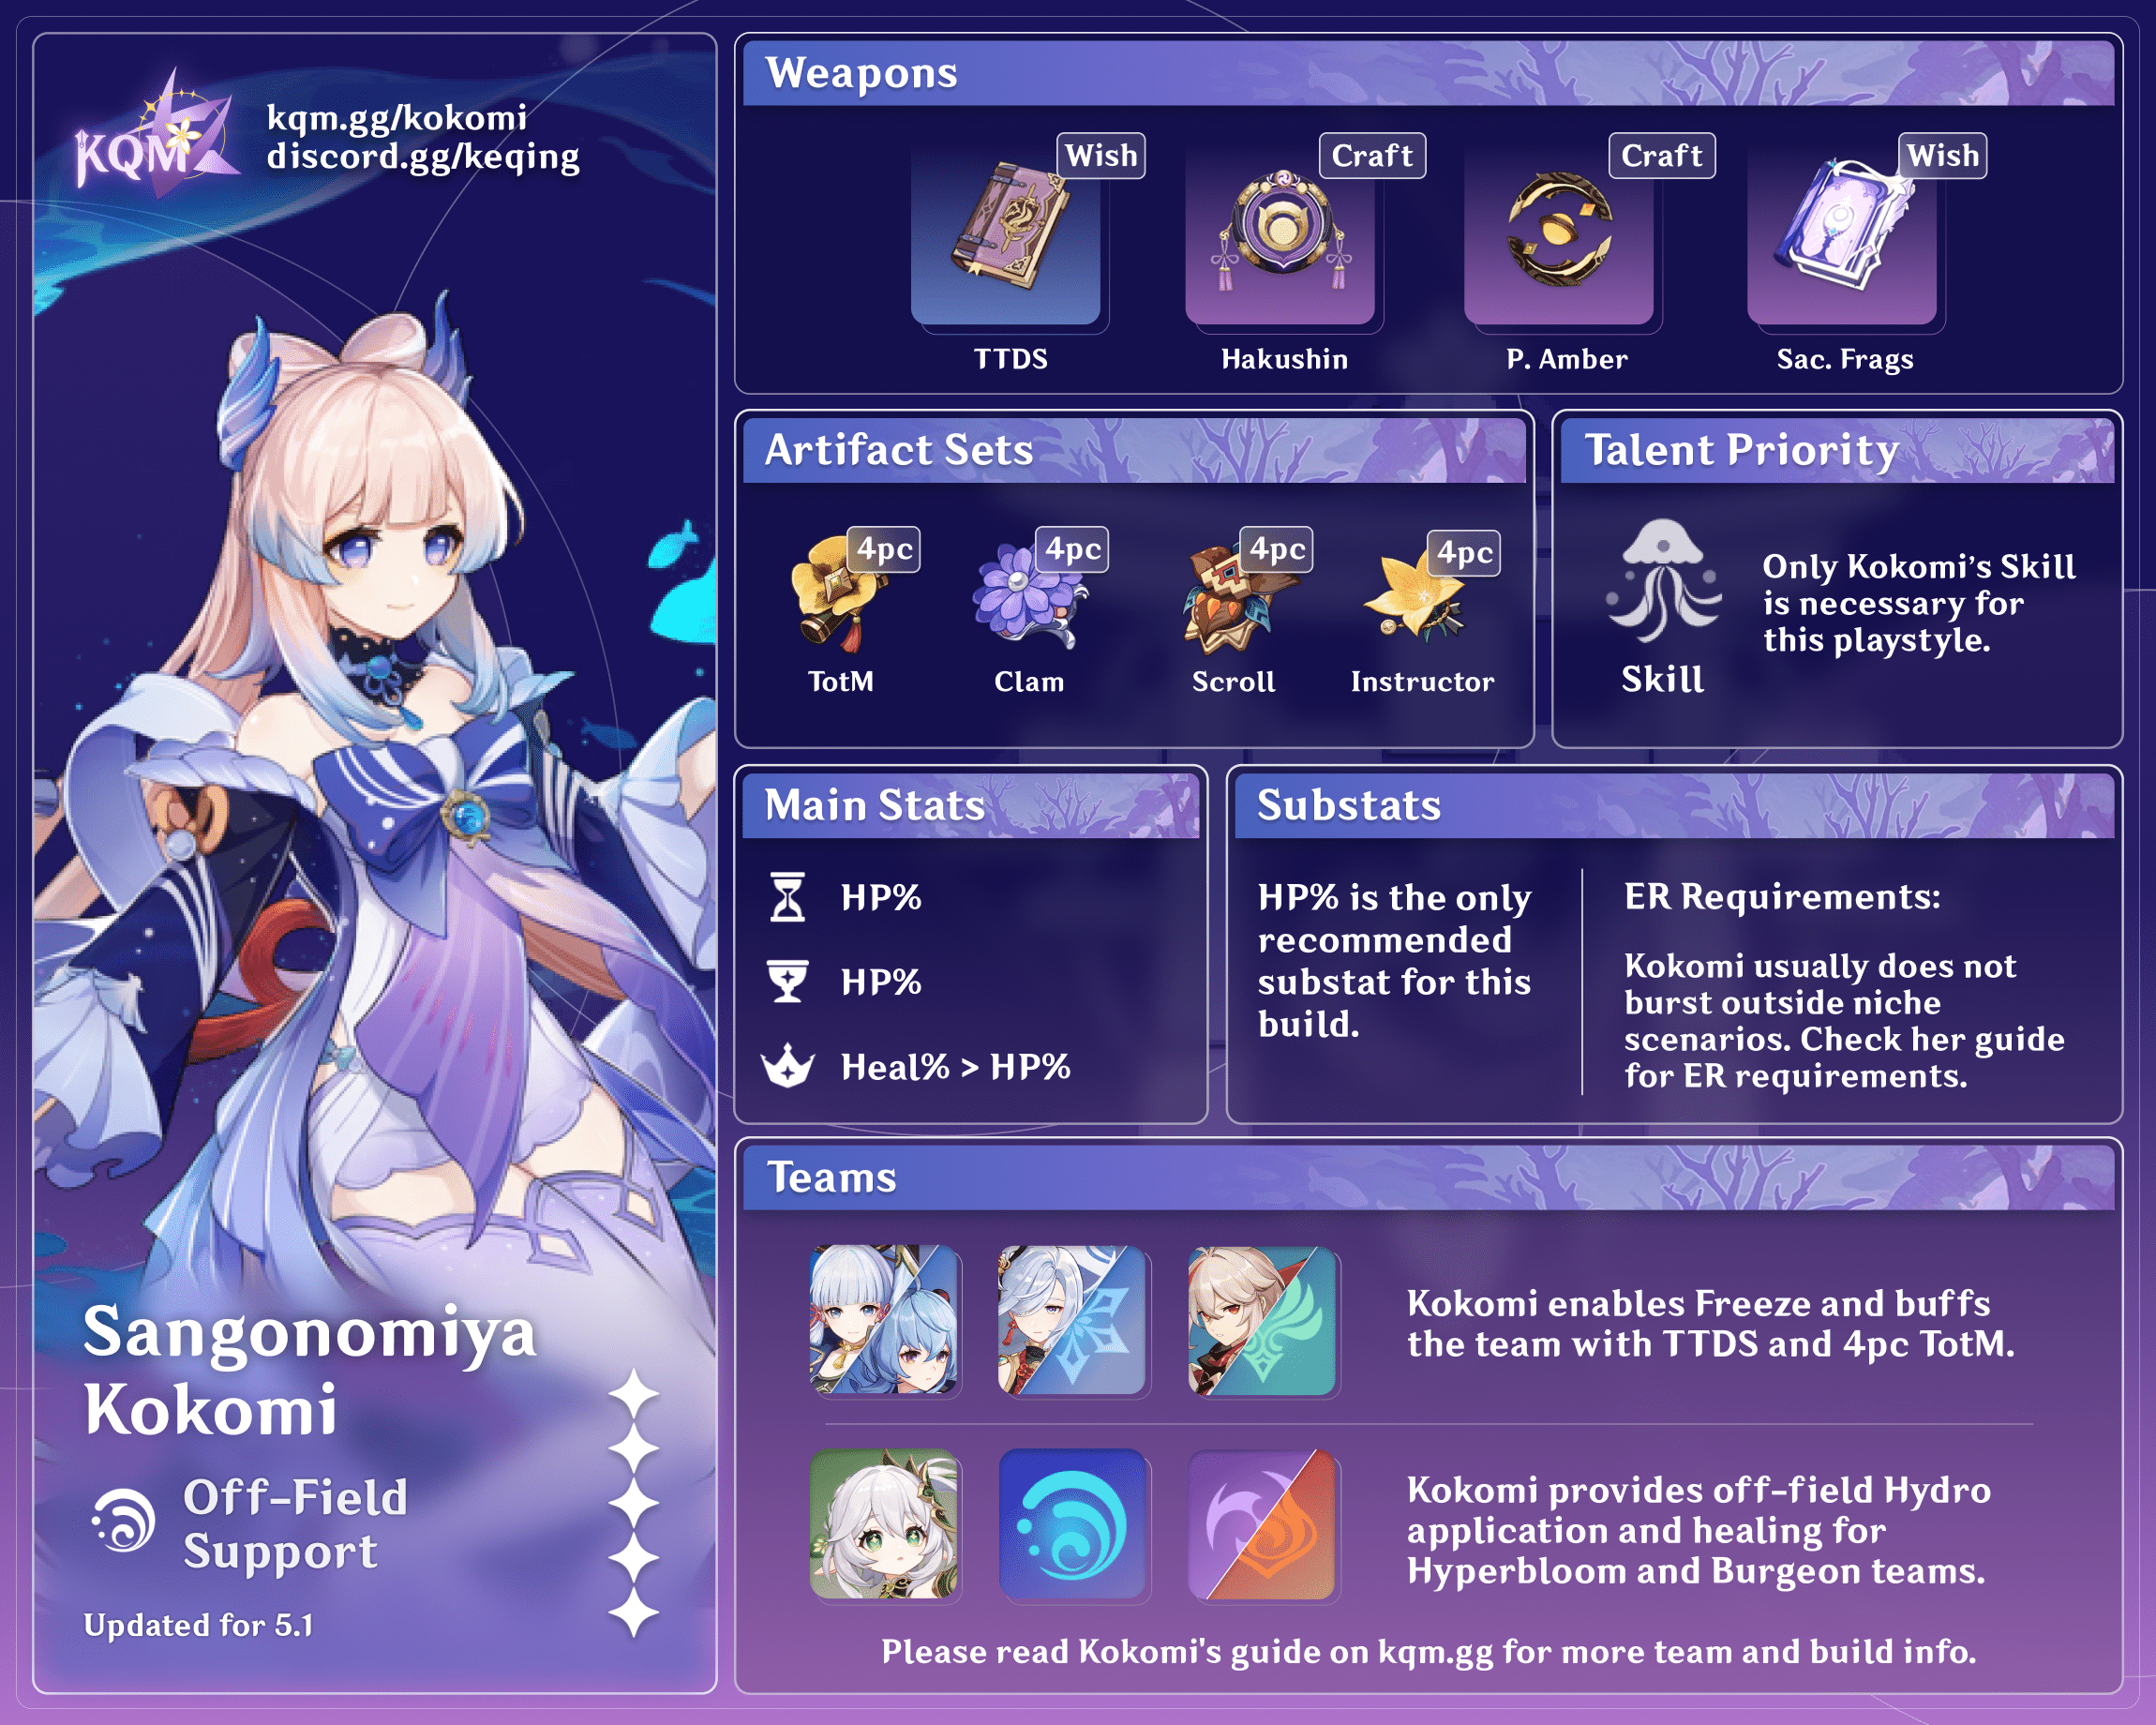
Off-Field Support
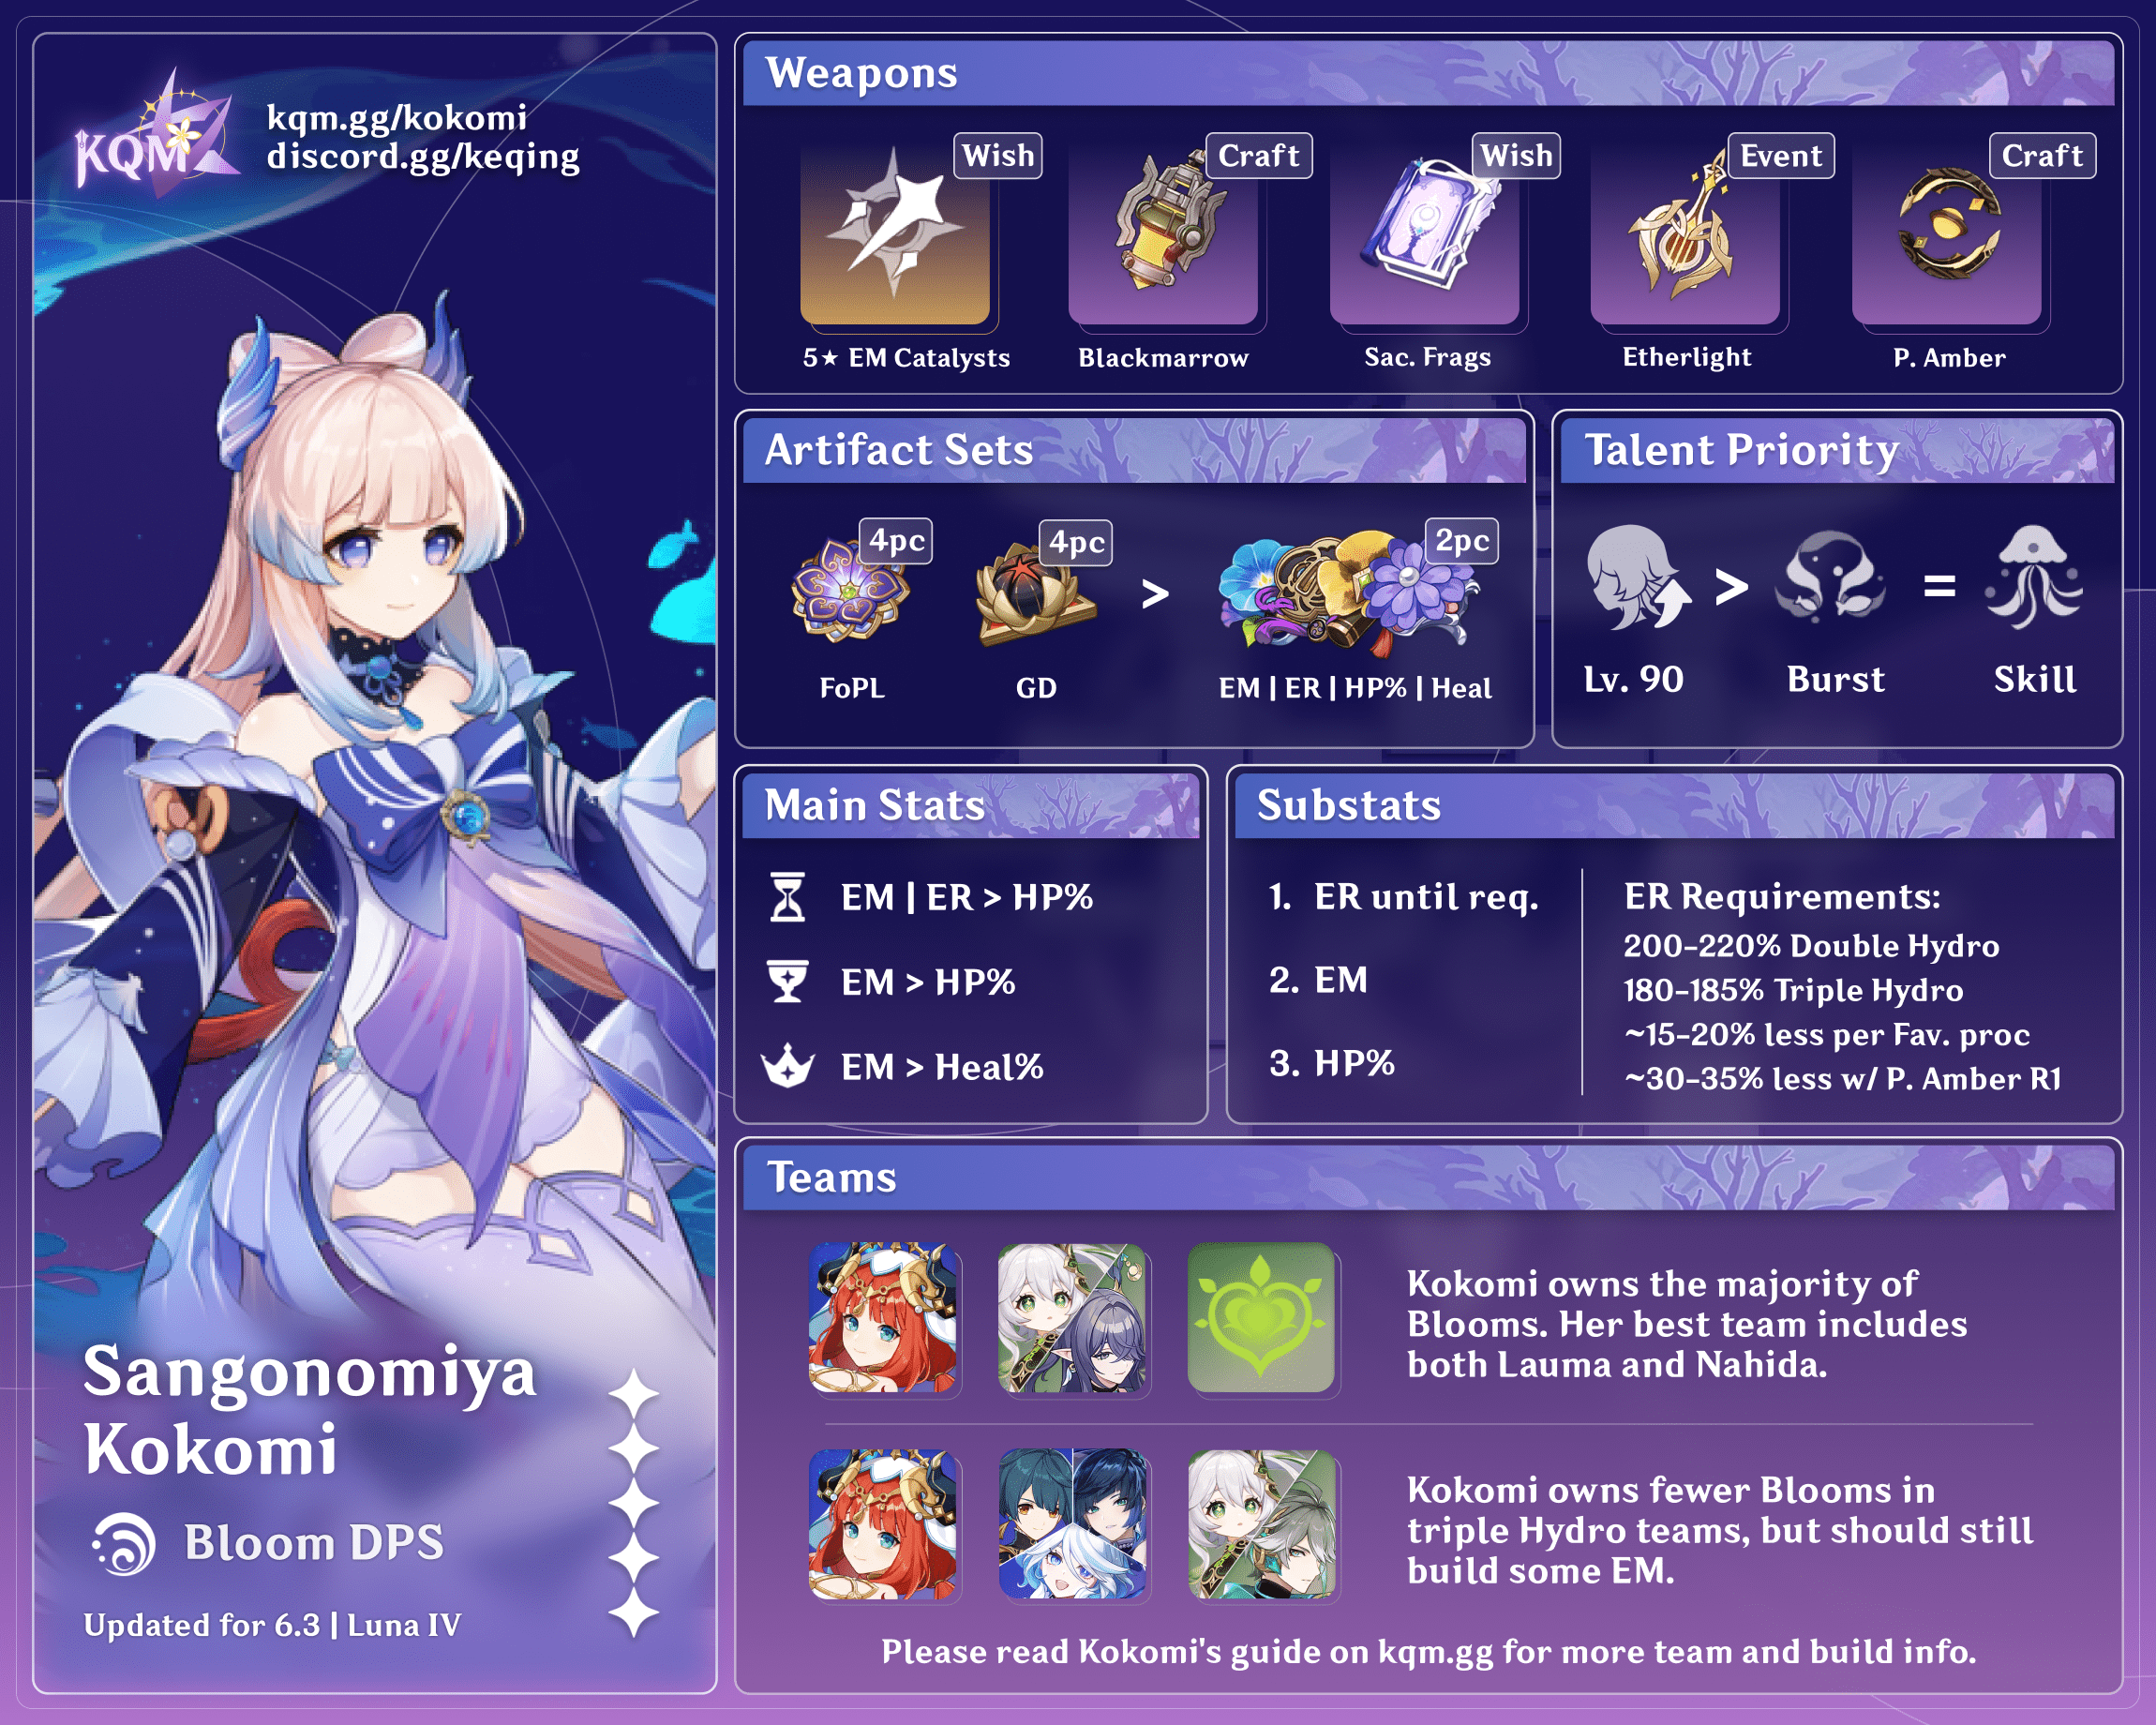
Nilou Bloom
Credits to: kolvii, cegewinne, baloopy and KQM Staff
Playstyles and Pros & Cons
Currently, Kokomi can be played both as an on field enabler or an off field hydro unit. Both have their strengths and weaknesses but they are largely team dependent, so they will be somewhat combined in this guide.
Pros:
- One of the few characters cable of offering anything similar to Xingqiu’s Hydro Application Off Field at low constellations.
- Comfortable gameplay, ranged on top of providing healing when attacking. Can also have a “set and forget” mentality when using her for her elemental skill only.
- High floor, cheap to build, main stats and a few subs are enough to put her online.
- Jack of all trades Hydro unit, can be slotted into many compositions due to the nature of her kit.
Cons:
- Rather underwhelming damage outside of burst compared to meta units due to her lack of crit and reliance on her burst.
- Low energy generation in comparison to her elemental burst cost and how reliant she is on it.
- Master of none, can be outclassed in her roles if damage is preferred over healing and comfort.
- Low ceiling, investment levels and character growth is not as high compared to other units.
Talents & Constellations
Talents
For more specifics on each talent, check out the KQM Theorycrafting Library
 The Shape of Water
Description
Normal Attack
Performs up to 3 consecutive attacks that take the form of swimming fish, dealing Hydro DMG.
Charged Attack
Consumes a certain amount of Stamina to deal AoE Hydro DMG after a short casting time.
Plunging Attack
Gathering the might of Hydro, Kokomi plunges
Basic Normal Attack string and AoE Charged Attack. Her Charged Attack does not share ICD with her normals, so spamming it can be viable if needed to burst down things like a Pyro shield. However, note that Kokomi has no ways of reducing stamina cost so be wary.
For her Normal Attack combos, she has a few options, each of them having their own upsides and downsides. Combos are notated using N for normal, C for Charged Attack, W for walk cancel, D for dash cancel.
N2D/W and N3/D are your standard combos. Although her Charged Attacks can hit hard, the lack of stamina reduction hurts greatly. As to which combos to use in between the four, it depends. N2D and N2W are your best bets at C0 and for general play. Due to its short frame time, it can enable units such as Beidou and Xingqiu effectively as well. N3 and N3D are close and become competitive, if not better at C1, however, you can lose Beidou’s Stormbreaker procs, which can be an overall net DPS loss. For Vaporize teams, N2D/W are stronger due to the faster frames, as what matters is her hydro application. However at C1, you should always N3/D as the extra projectile does not share ICD with her Normal Attacks, allowing you to output more Hydro.
Do note that N2W can be difficult to perform correctly. It has the potential to enable the most amount of Stormbreaker procs, but requires the right timing to perform, almost unachievable without a macro.
 Kurage’s Oath
Description
Summons a “bake-kurage” created from water that can heal her allies.
Using this skill will apply the Wet status to Sangonomiya Kokomi.
Bake-Kurage
Deals Hydro DMG to surrounding opponents and heal nearby active allies at fixed intervals. This healing is based on Kokomi’s Max HP.
Similar to Oz and Zhongli’s Stele. It pulses every two seconds (total of 6 times), applying Hydro to enemies and healing the on field character. Note that the Wet status that gets applied to her will cleanse some things, but can also freeze herself. You cannot reposition it like Oz however, unless you get a complete cooldown reset. In addition, only one Bake-Kurage can be on field at a time.
 Nereid’s Ascension
Description
The might of Watatsumi descends, dealing Hydro DMG to surrounding opponents, before robing Kokomi in a Ceremonial Garment made from the flowing waters of Sangonomiya.
Ceremonial Garment
- Sangonomiya Kokomi’s Normal Attack, Charged Attack and Bake-Kurage DMG are increased based on her Max HP.
- When her Normal and Charged Attacks hit opponents, Kokomi will restore HP for all nearby party members, and the amount restored is based on her Max HP.
- Increases Sangonomiya Kokomi’s resistance to interruption and allows her to move on the water’s surface.
These effects will be cleared once Sangonomiya Kokomi leaves the field.
Her defining talent. For on field, her entire identity is focused on this ability. However, due to its high cost (70 energy), it means Kokomi must invest into ER% or use refund mechanics (Proto Amber, Everlasting Moonglow) in order to cast this as often as possible.
 Tamakushi Casket
Description
If Sangonomiya Kokomi’s own Bake-Kurage are on the field when she uses Nereid’s Ascension, the Bake-Kurage’s duration will be refreshed.
This refresh is a REFRESH, not a cooldown reset. Meaning you cannot recast her elemental skill to reposition it. It will simply reset the timer for her bake-kurage. Due to the elemental skill not having a clear indicator for when it will disappear, you must keep an internal clock of around 10-11 seconds before you must cast your elemental burst, otherwise you lose the reset.
 Song of Pearls
Description
While donning the Ceremonial Garment created by Nereid’s Ascension, the Normal and Charged Attack DMG Bonus Sangonomiya Kokomi gains based on her Max HP will receive a further increase based on 15% of her Healing Bonus.
This along with her second passive is what defines her stat options. Do note, Hydro resonance does not count towards Healing Bonus as it is considered as “incoming healing bonus.” However the 2pc set bonus for Maiden’s Beloved does count towards healing bonus.
This talent along with her Elemental Burst HP% bonuses allow her to deal quite a bit of damage, making up for her CRIT Rate reduction passive. Note that even though she cannot crit, it does not mean that she does zero damage.
 Princess of Watatsumi
Description
Decreases swimming Stamina consumption for your own party members by 20%. Not stackable with Passive talents that provide the exact same effects.
Cool for overworld, can also walk on water during her burst. Very cool thank you Mihoyo.
 Flawless Strategy
Description
Sangonomiya Kokomi has a 25% Healing Bonus, but a 100% decrease in CRIT Rate.
The infamous passive. Note that it is 100% crit rate subtracted from her current crit rate, it is not multiplied by 0. You can build crit Kokomi but please don’t, more on this in the gear section.
Constellations
 At Water’s Edge
Description
While donning the Ceremonial Garment created by Nereid’s Ascension, the final Normal Attack in Sangonomiya Kokomi’s combo will unleash a swimming fish to deal 30% of her Max HP as Hydro DMG. This DMG is not considered Normal Attack DMG.
The extra projectile does not share ICD with her Normal Attack string, meaning it can apply Hydro, making her as a vape enabler more consistent/easier. It also grants her a sizable damage increase during her burst. Stop here if you want to go for low constellations.
There is an issue where if you don’t N3 at all, this constellation is useless. Hard to measure the “value” of this constellation as it depends on team comp/goals.
 The Clouds Like Waves Rippling
Description
Sangonomiya Kokomi gains the following Healing Bonuses with regard to characters with 50% or less HP via the following methods:
- Kurage’s Oath Bake-Kurage: 4.5% of Kokomi’s Max HP.
- Nereid’s Ascension Normal and Charged Attacks: 0.6% of Kokomi’s Max HP.
More healing, not really worth going for, in addition, it only provides value when characters are UNDER 50%, which could possibly never happen because you are playing Kokomi.
 The Moon, A Ship O’er the Seas
Description
Increases the Level of Nereid’s Ascension by 3. Maximum upgrade level is 15.
Talent increase, nothing much to say. However, the jump from talents in comparison to other unit’s talent constellations is pretty low.
 The Moon Overlooks the Waters
Description
While donning the Ceremonial Garment created by Nereid’s Ascension, Sangonomiya Kokomi’s Normal Attack SPD is increased by 10%, and Normal Attacks that hit opponents will restore 0.8 Energy for her. This effect can occur once every 0.2s.
This constellation not only gives her energy back, which lowers her ER% requirements, but also ATK Speed, which is beneficial for ranged units due to them having no hitlag on their attacks. Good quality of life constellation.
 All Streams Flow to the Sea
Description
Increases the Level of Kurage’s Oath by 3.Maximum upgrade level is 15.
Talent increase for her skill which doesn’t make up a large portion of her damage anyway. Low value.
 Sango Isshin
Description
While donning the Ceremonial Garment created by Nereid’s Ascension, Sangonomiya Kokomi gains a 40% Hydro DMG Bonus for 4s after her Normal and Charged Attacks heal a character with 80% or more HP.
40% Hydro DMG bonus is nothing to ignore and due to her practically always healing, you should have a lot of uptime on this constellation.
Overall, none of her constellations past C1 offer much to the table aside from more damage and quality of life. C1 can even be argued to be overkill if you don’t use her full normal string or if you have enough Hydro application through other units alongside Kokomi in her teams. Simply though, if you don’t care about her personal damage, stop at C0.
Talent Priority
Burst = Skill >= Normal Attack
Majority of her damage comes from her Elemental Burst form Normal attacks but her Elemental Skill contributes a lot of damage and healing as well. She generally wants to have everything leveled evenly when playing as an On-Field Enabler.
Gear
Before we get started to talk about her gear there is something that must be mentioned. In a majority of her team compositions, Kokomi’s personal damage does not contribute heavily to the overall team’s damage. The lack of crit does hurt and her elemental skill’s damage is negligible at times. In addition, farming for perfect substats to squeeze out as much damage as possible for her is simply not resin efficient for most players. Although there will be weapon rankings for her, do note that while options such as the Thrilling Tales of Dragonslayers and Hakushin Ring are technically lower in damage for her, they give enough of a damage increase to the team that it makes up for the loss in her personal damage, or even increases the team’s overall damage.
List of calculations will be at the end of the guide.
Weapons
Weapons listed below are the most general/recommended weapons for her. Other options will be listed under in a weapon comparison chart, but do note that they are only for her personal damage, not including team damage. Weapons will be split up between personal damage and support as Kokomi on field can act as a support in some teams.
Personal Damage:

Everlasting Moonglow
Her signature. Gives her all the stats she wants and is tailor made for her. However, do note that this weapon is practically useless on every other character currently, so don’t go out of your way to roll for it unless you really want to maximize Kokomi’s personal damage. Keep in mind that the damage gain isn’t significant like other signatures, making it a rather lackluster option.

Prototype Amber
F2P best in slot for personal damage and the most generalist weapon. Not only is this weapon a craftable, but it mirrors what Everlasting Moonglow offers. The refund also reduces the ER% requirement and gets even better as you refine it.
Hakushin Ring
Another F2P option that provides many stats that Kokomi appreciates. In addition, the buff it provides is greatly appreciated by units such as Beidou and Fischl. Any refines help to increase her team’s overall damage if running her in an Electrocharged team.
Support:
R5 Thrilling Tales of Dragon Slayers
Like other support catalyst users, TTDS is an extremely strong option for Kokomi. The ATK% bonus for an ally provides great utility along with the fact that Kokomi can appreciate the HP% substat the weapon has. Do note that if you are using her elemental burst to extend the Bake-Kurage, you need to invest more into ER% compared to the other weapons.
Hakushin Ring
Another strong support weapon and is comparable to TTDS in Electro teams. The bonus Electro% she gives to electro units for basically existing is greatly appreciated. In addition, Kokomi acts as a very strong enabler for off field electro characters such as Beidou and Fischl. Scales off of refines very well.
Prototype Amber
The most generalist weapon if you need the energy. If you don’t need the energy that it provides, TTDS wins out. Although her personal damage increases with Prototype Amber, you lose out on the 48% ATK buff on allies. However, this weapon can serve as a hybrid between personal damage builds and support builds if you feel like swapping between the two roles often.
Sacrificial Fragments
Extremely niche weapon for elemental skill only builds. The EM substat is practically useless outside of Electrocharged teams, and in those, she prefers to obtain them through substats as the Hakushin Ring exists. However, if you are lucky and can get the reset, it allows you to not use her elemental burst to extend her hydro application.
Artifacts
Sets/Combinations:

Best artifact set for damage in general. Provides Kokomi with a decent chunk of damage over her old best personal damage set, 4pc Heart of Depth. With enough ER%, this can come close to 4ToM team damage wise in an Off-Field role as well due to burst extending her Bake-kurage.

Best artifact set for supportive setups. She can practically have permanent uptime on the 4pc bonus and combined with TTDS, she can provide a great amount of ATK% for her team. She also benefits from the 2pc bonus unlike many users of 4ToM, which is an extra bonus.
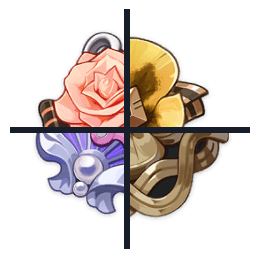
Any of these four artifact two piece sets can be used in combination with each other. Do note that 2pc Healing% and 2pc Heart of Depth are valued more due to their stats not being available through substats, but the difference is negligible. Note: Kokomi’s elemental skill does not scale off Healing% ever, even after casting burst so 2pc Maiden’s set bonus will not help off field aside from Ocean Hued Clam bubbles.
Stats
Generally, go for:
Sands: HP% or ER%
Goblet: Hydro%
Circlet: Healing Bonus% or HP%
For substats, aim for ER% (up to threshold) > HP% > Flat HP = ATK% > EM > Flat ATK
For Off Field, it depends on what set you go for and what you personally value. If you are going into 4OHC, you can keep using the same main stats as above. If you are opting into any other set, You can either go the above or:
Sands: ATK%
Goblet: Hydro% or ATK%
Circlet: ATK%
However, the damage difference is minimal while losing a great deal of healing.
A note on EM: Generally, Kokomi should be providing Hydro Aura for others to vaporize, so EM in those set ups are useless. In electro charged teams, the trigger for electro charged is inconsistent and unreliable so it’s usually better to use standard builds. But a few subs of EM here and there are not bad.
Please don’t use crit Blizzard Strayer builds outside of for-fun purposes. The damage difference compared to standard Kokomi builds are negligible and they assume MAXIMUM stats and perfect scenarios, which are unrealistic.
ER requirements can be tricky to lock down. Generally, Kokomi wants around 170-200+ ER%. Things will increase or decrease depending on her team and weapon choice. Use Zakharov’s ER calculator to figure out the ER% you need.
Team Comps and Synergies
A lot of Kokomi’s teams and synergies are similar to other Hydro units such as Xingqiu, Tartaglia, and Mona. Although she might not provide the most damage in said teams, she can provide healing and a more comfortable gameplay experience. This guide will list some of the main teams that she can slot into and highlight a few special interactions that you can mess with. Sample rotations will be given in a video, but things may change. Adapt the rotation to your set up if needed.
Main Teams / “Meta”
Teams discussed here are either most comparable to or similar to the “Meta” teams in Genshin. These are also her best teams as they are generally always viable and she can fit into them without any major changes in rotation from previous variations.
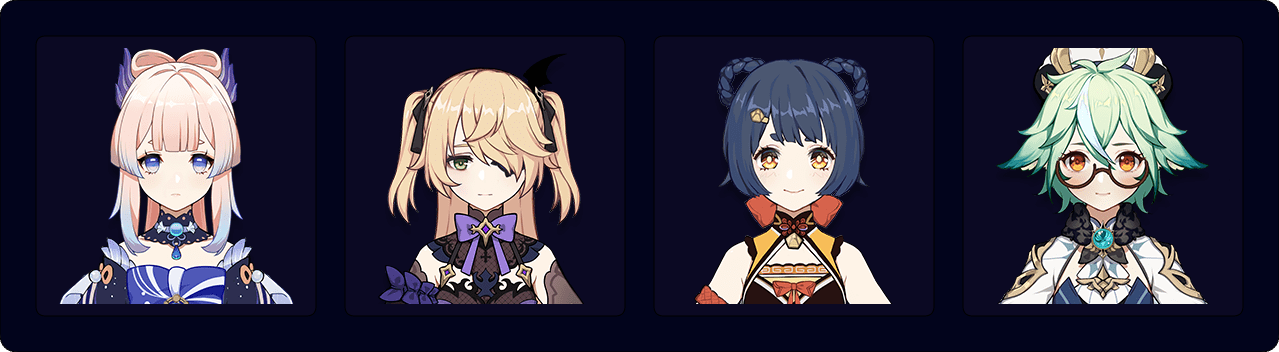
Electro Charged Enabler/Driver:

Combine Kokomi with two electro units and an Anemo to dish out a great amount of damage. Before, most taser teams did not have a dedicated healer and suffered high opportunity cost by requiring Xingqiu. Kokomi can provide not only Hydro but can serve as the team’s healer as well. Due to her being ranged and having a relatively fast Normal Attack combo, she can enable units like Beidou extremely well. Anemo groupers can make the Bake-Kurage’s lack of repositioning more manageable while also aiding in large amounts of AoE damage. This is by far Kokomi’s most reliable and go-to team.
Generally, when running Sucrose, Kokomi should go Hakushin Ring. Otherwise, choose either TTDS or Hakushin Ring.
Rotation Demos:
https://www.youtube.com/watch?v=rN0we3e9T-8 by Terrapin#8603
https://youtu.be/6LsMqgKa8CE by xf3#3123
Flex/Alternatives: Raiden, Kazuha, Sucrose, Anemo MC, Venti, Xingqiu
“Sukokomon”:
This is Kokomi’s “Signature” team composition. Everyone on this team is currently irreplaceable, including Kokomi. It involves Swirling Guoba (yes I know) with Sucrose’s Elemental Skill and causing chain reactions with the Swirl. It boasts extremely high damage in AoE and is one of the most unique teams in the game. It is harder to play than most other teams due to needing to Guoba Swirl and executing the Swaps and Skill casts correctly in the right order, but the trade off is worth it.
Unlike the Driver Kokomi team, Kokomi will go TTDS in this team.
Rotation Demo: Sukokomon New Rotation Breakdown: Sucrose’s Pokemon Team – YouTube by Terrapin#8603
Explanation by Tenten:
Electro Charged 2 (TF Kazuha):

Now with two turrets, Kazuha can freely spam his Midare Ranzan without needing to worry about Normal Attacking to apply rainswords for Hydro app. In addition, Kokomi’ bake-kurage has more frequent Hydro application over Barbara while still providing healing for the team, allowing her to fit in perfectly. Note that Kazuha must have a 4p Thundering Fury set for this team to work property, but once he does, jump to your heart’s content.
Rotation (button mashing) Demo: https://youtu.be/BVSjunJ-Hxk by xf3#3123
Flex/Alternatives: Venti, Sucrose, Anemo MC, Beidou, Raiden
Freeze Support:
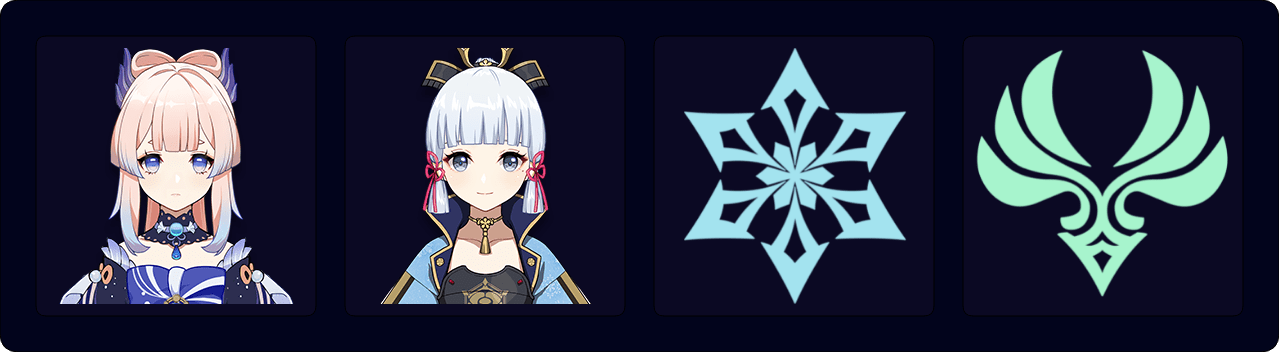
Freeing up Xingqiu, Kokomi can act as a Hydro source for freeze teams. Her slower Hydro application in comparison to Xingqiu doesn’t matter much in freeze teams, allowing them to drop a healer if needed.
You may choose to burst extend or not. It does help greatly with freeze uptime but doesn’t necessarily increase overall team DPS unless you are using 4OHC.
Rotation Demo: https://youtu.be/M7edrZlorH4 by xf3#3123
Flex/Alternatives: Rosaria, Kaeya, Ganyu, Aloy, Chongyun, Sucrose, Venti, Anemo MC
Freeze Support 2:

The classic Ganyu Venti freeze team, but using Kokomi instead of Mona. Although you lose out on the Omen buff, what you gain is a different secondary Cryo unit other than Diona. Variations of the Morgana team, including one consisting of Ayaka and Ganyu now have a real healer in place to act as a safety net which never existed before.
You may choose to burst extend or not. If you don’t, you have to fill in some downtime compared to the Mona variant. If you do, Ganyu barely has any time to shoot charge shots as other characters will have their elemental skills ready to use.
Rotation (button mashing) Demo: https://youtu.be/18aCjIgIxs4 by xf3#3123
Flex/Alternatives: Ayaka, Kaeya, Rosaria, Aloy, Chongyun
Vape Enabler:

The classic Xiangling Bennett Hydro core, but now with Kokomi. On paper, this team can work and is very powerful, but issues arise when extra Pyro application is included along with Xiangling. This can be mitigated with C1 Kokomi but even still you run into some issues. As Kokomi is ranged and the fact that the bake-kurage is not able to be repositioned, the team struggles against mobile targets or content with high mob density. Kokomi has to keep using stamina to reach enemies for Xiangling’s Pyronado to hit, forcing her to play at point blank as a ranged unit.
Rotation Demos:
https://youtu.be/bEWjomcKdjw by ProfHugo#6478
https://youtu.be/XQ4iNdak29U by ProfHugo#6478
https://youtu.be/Bum7tN5TpgE by xf3#3123
Flex/Alternatives: Sucrose, Venti, Kazuha, Anemo MC, Zhongli, Xingqiu.
Other Teams / Interesting Ideas
Teams listed here are either ideas popping up as theorycrafters continue to play with Kokomi, or are teams oriented away from the general recommended/meta teams. Note: Just because they aren’t “meta” doesn’t mean you can’t play them or that they are “bad.” These teams just can’t be reliably recommended to all players to get consistent or general success with Kokomi.
On Field Pyro Carry Vape Enabler and Other Notes:

Kokomi’s bake-kurage can actually provide enough Hydro for Diluc vape setups. It can be made easier provided an Anemo support is able to provide Hydro with an infused ability. Previously, Diluc was practically married to Xingqiu as he supplied Diluc with Vaporize reactions. Kokomi can be used instead due to Diluc’s low application rate in comparison to other Pyro Carries. This opens up new possibilities outside of the rigid Diluc compositions, such as Amber Support + Kazuha or Xingqiu + Xiangling.
Kokomi can also enable Yoimiya to a similar degree, but has issues in comparison to Diluc. Yoimiya can vape off of Kokomi’s bake-kurage application well when her Ryuukin Saxifrage is not active. Once you start adding Ryuukin Saxifrage however, Pyro will over take Hydro at some point if you aren’t using a Hydro infusion Anemo Support.
Note that for both Diluc and Yoimiya, you may need to either delay your first attack in order for it to match up with the bake-kurage pulses, otherwise you end up applying Pyro first.
Note that these setups are not 100% recommended yet and if you were to use them, they have extreme caveats compared to using Xingqiu over Kokomi. Yoimiya has the added issue of being ranged, meaning enemies can run out of the bake-kurage’s zone while they are chasing you. But feel free to try them out.
Diluc + Kokomi Demo Video: https://youtu.be/yEs4Ce8wPdU by xf3#3123
Xiangling + Xingqiu Demo Video: https://youtu.be/ikVlfPQlCHI by xf3#3123
Amber + Kazuha Demo Video: https://youtu.be/3llpa-QXbAk by xf3#3123
Kokomi + Yoimiya Demo Video: https://youtu.be/lfGAIZiQpeI by CC#5588
Kokomi + Yoimiya Burst Demo Video: https://youtu.be/VLeqdAtlByA by CC#5588
Flex/Alternatives: Sucrose, Kazuha, Bennett, Amber, Xinyan, Bennett, Xingqiu, Zhongli.
Freeze On Field:
NOTE: Kokomi does not build 4pc Blizzard Strayer in this set up.
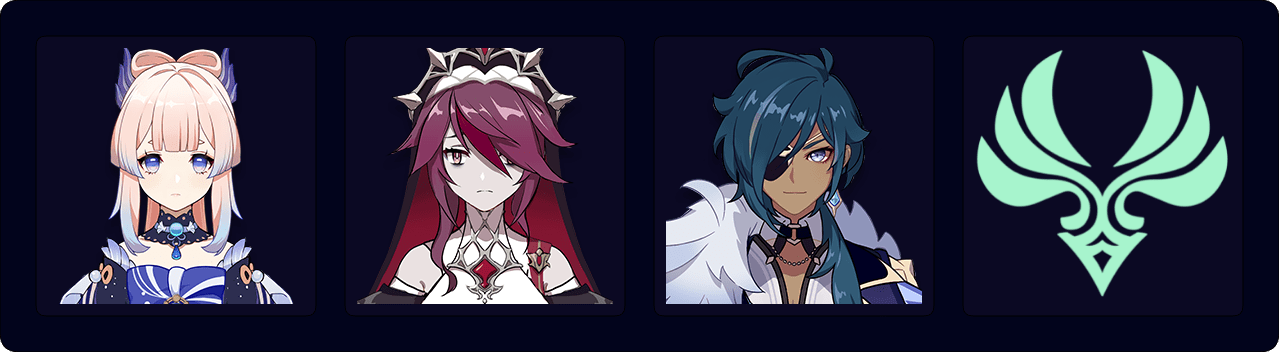
If you liked the comfy gameplay of Kokomi and need more, then freeze comps can be an option as well. Kaeya and Rosaria together supply lots of Cryo for Kokomi to freely hit enemies. Kokomi’s projectiles are not considered blunt, meaning that her attacks will not shatter enemies, allowing you to play arguably one of the safest set ups in the game.
Rotation Demo: https://youtu.be/jrVS_0OZDgA by Terrapin#8603
Flex/Alternatives: Sucrose, Venti, Kazuha, Anemo MC.
Credits
There’s a lot of people to thank and you know who you are if you did help me out. Specifically, I would like to thank Steno#0119, Faranight#0001, Ayzel#7399, ProfHugo#6478, Terrapin#8603, Zakharov#5645, and tenten for assisting and providing info and tools used in this guide. A big thank you to the KokomiMains staff and KQM staff as well for being nothing but supportive during my work on this character.
Team displays made using Muakasan’s Portrait Tool and other visuals made by using assets from the Genshin Impact Fandom Wiki.
Personal DMG Calcs by xf3: https://imgur.com/a/25nIWGs
Team DMG Calcs by Steno:
https://docs.google.com/spreadsheets/d/1U0itdsagAxlwKmv40YLbIs5P6xeQOETbeAWIkJOQDrI/edit#gid=0