
Updated for Version 7.1

Varka is a 5-star Anemo Claymore character in Genshin Impact who excels in dealing both Anemo and Pyro/Hydro/Electro/Cryo (PHEC) damage with his dual sword playstyle. Learn about Varka’s best builds, best weapons, best artifacts, and best teams in this quick guide.
Note that the information given may change if new discoveries are made. More extensive testing is in progress.
Join our Discord to check on and participate in the theorycrafting process.
Table of Contents
New Content
 Prune | One of Varka’s best Anemo and Hexerei teammates. Prune provides teamwide DMG Bonus, ATK% and, at C6, Flat ATK to Varka. |
 Nicole | Nicole is the best Pyro buffer for Varka with her Skill’s teamwide Flat ATK, her Burst’s coordinated attacks that partially scale off Varka’s stats, alongside the ability to hold 4pc Celestial Gift and TTDS. She also provides a sturdy shield. |
 Odette | Odette enables the Stellar Swirl (SSW) reaction and forms the best Cryo teams for Varka. |
 Cryo Traveler | Cryo Traveler is a decent Cryo teammate for Varka. They can enable the SSW reaction and pair well with Odette. |
 Alyosha | Alyosha is a healer who provides a humble but long-lasting ATK% buff that doubles at C6. His EM and Stellar-Conduct DMG% buffs are useless on Varka. |
   Beidou, Qiqi, Diona | These units have recently received various buffs, which improve their power, especially in Stellar Glimmer teams. However, these buffs do not benefit Varka much, nor does their value to him change. |
 Vodyanitsa | Vodyanitsa is one of the best Hydro teammates for Varka. She provides healing, Hydro RES Shred, Additive Base DMG Bonus, 4pc TotM and TTDS while requiring minimal field time. |
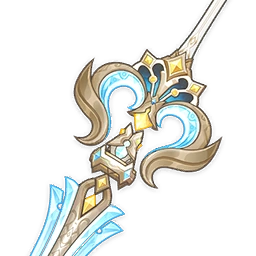 A Teaspoon of Transcendence | A good stat stick if players own it. |
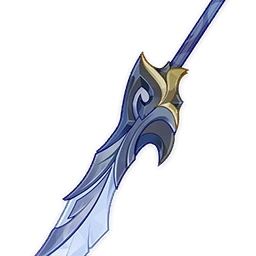 Blade of Atonement | In SSW teams, this craftable weapon performs better than Tidal Shadow without a healer. Outside of this, it should not be used. |
 4pc Celestial Gift (CG) | Put this set on one of Varka’s Hexerei teammates (preferably the PHEC ones) to give the whole team 40% DMG Bonus to Anemo and the Element of the set wielder. |
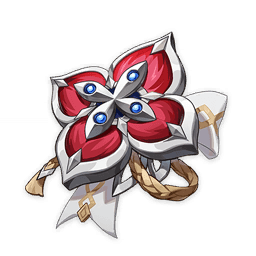 4pc Scarlet Proof | This set performs well on Varka in SSW teams, but still second to 4pc Rising Winds. |
Infographic
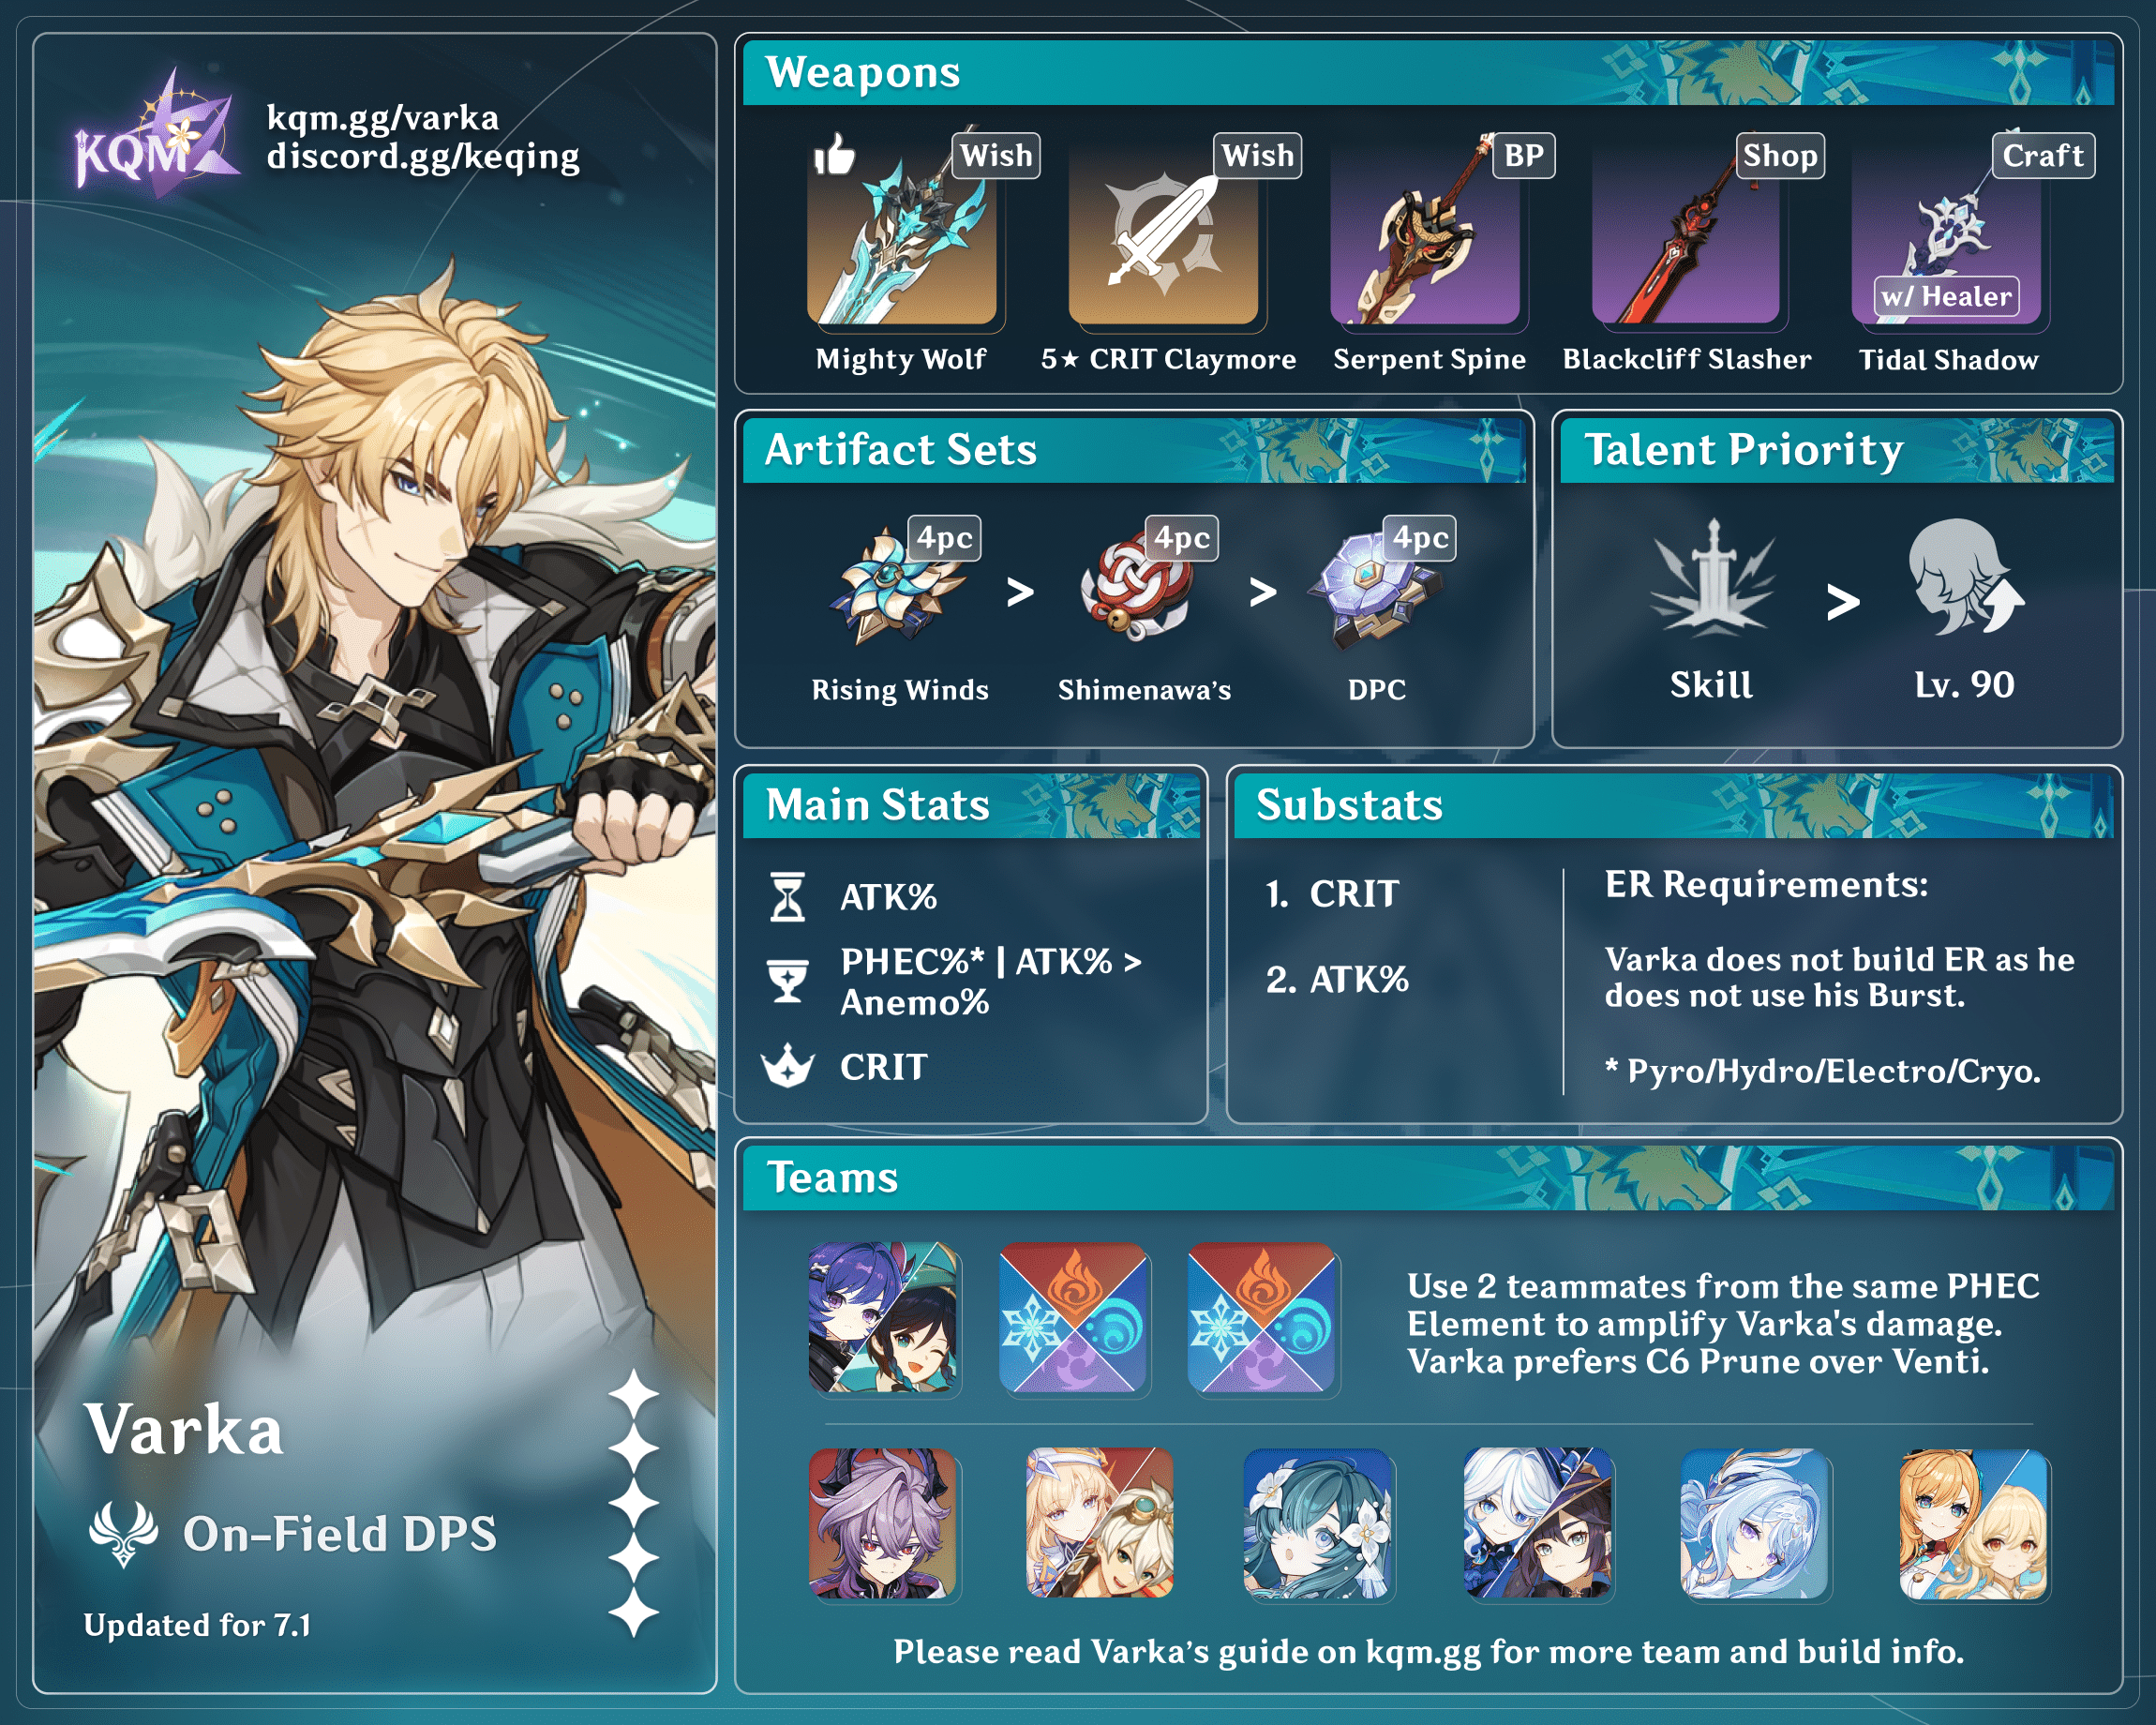
Credits to: cegewinne, acerbus114, auntyplays, and KQM Staff
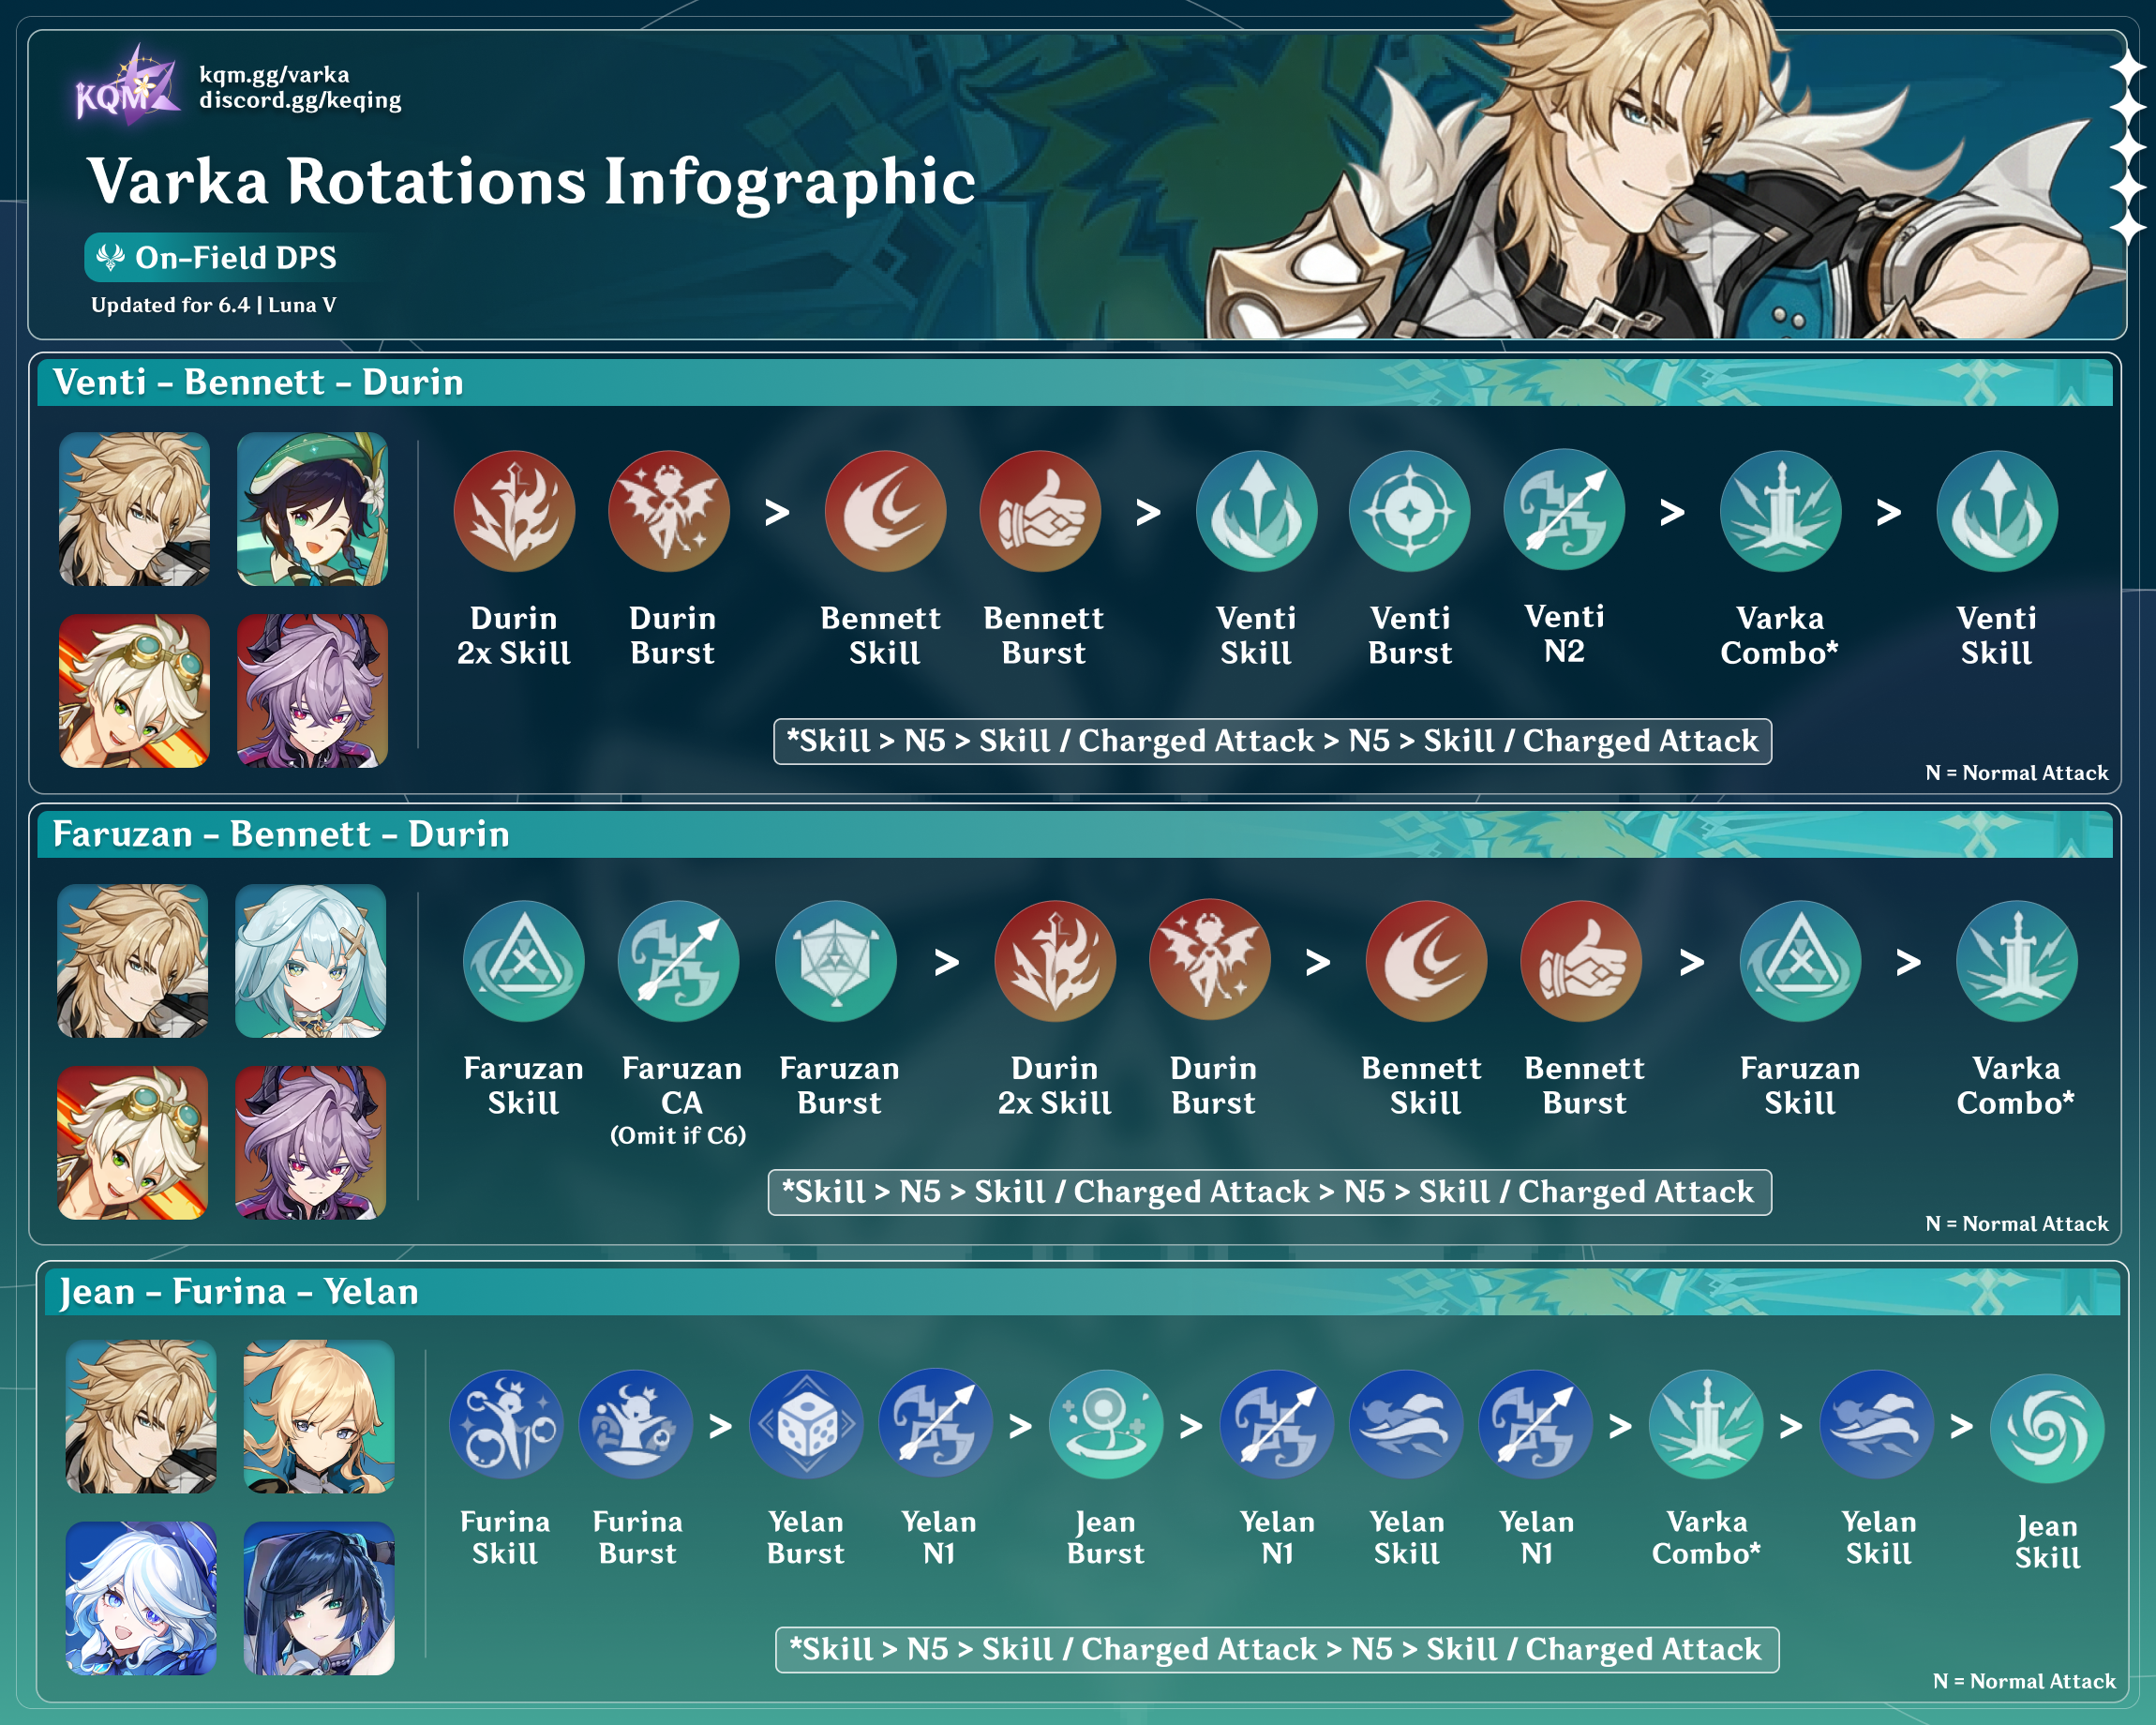
Credits to: euphorysm, acerbus114, and KQM Staff
Character Overview
Pros
- Can change his Elemental damage type (PHEC) to gain advantages in fights that favor a specific Element.
- Has a fast attack string for a Claymore user.
- Scales well with vertical investment.
- Is objectively handsome.
Cons
- Hydro/Electro/Cryo teams are worse than Pyro teams.
- Lacks synergetic 4-star Hexerei options.
- Has issues using existing 4-star Claymores.
- Does not have a team with Flins.
Playstyles
Dual-Element On-Field DPS
Varka wields two Claymores to attack enemies, dealing both Anemo and another type of Elemental damage based on his teammates’ Elements. To maximize his damage, his passives encourage an Anemo teammate, a Hexerei teammate, and two teammates of the same Element (Pyro, Hydro, Electro, or Cryo).
Talents
Level and Talent Priority
Skill > Character Level
Most of Varka’s damage comes from his Skill Talent, so leveling it should take priority. Varka’s Burst is generally not worth using. Its damage is low because it does not benefit from his A1 and A4 Passives — unlike his Normal Attack, Charged Attack, special Charged Attack, and special Skill. Thus, players can keep his Burst at Lv. 1 and raise his Character Level to 90 instead. His Normal and Charged Attack multipliers during his Skill state are based on his Skill’s Talent level, so there is no need to level the Normal Attack Talent either.
Talent Overview
 Normal Attack | Favonius Bladework: Dancing Radiance
Talent Description
Normal Attack
Imitating an ancient knightly war-dance, Varka wields dual claymores to perform up to 5 consecutive strikes.
Charged Attack
Consumes a certain amount of Stamina to charge forward and perform an especially powerful dual blade slash toward the front.
Plunging Attack
Plunges from mid-air to strike the ground below, damaging opponents along the path and dealing AoE DMG upon impact.
While Varka uses his Normal and Charged Attacks to deal damage, their multipliers during the Skill state are determined by his Skill’s Talent level instead. Varka’s Physical damage attacks from this Talent are not used for his gameplay.
 Elemental Skill | Windbound Execution
Talent Description
Manifest the true essence of Favonius Bladework with absolute power. Produces different effects depending on whether the skill is Tapped or Held.
Tap
Leap forward and slash in one fluid motion, dealing AoE Anemo DMG and switching to Sturm und Drang mode.
While in Sturm und Drang, Varka’s Normal Attack DMG is increased, and he cannot perform Plunging Attacks. Also, when performing Normal or Charged Attacks, Varka’s dual-wielded claymores will deal corresponding Elemental DMG based on the Elemental Types of the characters in the party, respectively. This Elemental DMG cannot be overridden by infusions.
Additionally, when in Sturm und Drang, if there are Pyro, Hydro, Electro or Cryo characters in the party, Varka’s Elemental Skill Windbound Execution will be converted to the special Elemental Skill, Four Winds’ Ascension, dealing corresponding Elemental DMG and Anemo DMG. Additionally, Varka can also expend uses for the special Elemental Skill Four Winds’ Ascension to perform a special Charged Attack, Azure Devour, that does not consume stamina to deal corresponding Elemental DMG and Anemo DMG.
Hold
After charging for a while, leap forward. The duration of the charge will increase the distance of the leap.
Varka’s Elemental Skill has two versions: Tap and Hold. The Hold version is mostly used for quick leaping in the overworld.
Upon tapping the Skill, Varka deals an Anemo attack and switches to his Sturm und Drang mode. During this mode, Varka’s Normal and Charged Attacks convert to Anemo and a PHEC Element based on the Elemental type of his teammates: his left Claymore always deals Anemo damage, while his right Claymore deals Elemental damage based on the standard PHEC Absorption priority: Pyro > Hydro > Electro > Cryo.
Additionally, while in the Sturm und Drang mode, Varka can use his special Skill, Four Winds’ Ascension, to deal dual damage. This special Skill has 2 charges, and Varka starts off Sturm und Drang with no active charges on a cooldown of 11s (affected by cooldown reduction effects). The special Skill’s cooldown is reduced by 0.5s (1s with the Hexerei Passive) whenever Varka’s Normal Attacks hit a target, and he can reduce the special Skill’s cooldown 15 times via this method. Varka can also expend a special Skill charge to use his special Charged Attack, Azure Devour, dealing slightly more damage without consuming any Stamina.
Varka’s combos during Sturm und Drang are his main source of damage, and he deals more PHEC damage than Anemo due to the higher multipliers of his PHEC attacks.
Below is a table showing which of Varka’s hits are Anemo (bright teal) and which are PHEC (base color), based on Varka’s Elemental Skill’s multipliers at Lv. 9.
| Normal Attack 1-Hit DMG | 161.7% |
| Normal Attack 2-Hit DMG | 59.3% + 110.1% |
| Normal Attack 3-Hit DMG | 80.1% + 148.8% |
| Normal Attack 4-Hit DMG | 137.0% + 73.8% |
| Normal Attack 6-Hit DMG | 172.3% + 92.8% |
| Charged Attack DMG | 211.6% + 133.9% |
| Special Charged Attack DMG | 168.5%×2 + 90.7%×2 (four hits in total) |
| Special Skill DMG | 316.4% + 170.4% |
 Elemental Burst | Northwind Avatar
Talent Description
In the name of the mightiest Knight of Boreas, unleash a powerful double slash attack toward the front, dealing 2 instances of Anemo DMG.
If there are Pyro, Hydro, Electro or Cryo characters in the party, the first slash will be converted to deal corresponding Elemental DMG according to the priority order of the aforementioned Elemental Types.
Varka stars in a slow-mo, close-up animation before unleashing 2 Anemo damage instances in a large AoE in front of him. If there is at least one PHEC unit in the team, the first damage instance, which is also the bigger hit, is converted to the Elemental type of that unit (following the PHEC Absorption priority). However, because Varka’s Burst is not buffed by his A1 and A4 Passives, it is rarely worth using over his Normal Attacks, unless the rotation has downtime Varka can fill with.
 Ascension 1 Passive | Dawn Wind’s March
Talent Description
When there are Pyro, Hydro, Electro or Cryo characters in the party, according to the aforementioned priority order of the Elemental Types, every 1,000 points of Varka’s ATK will grant Varka a 10% Anemo DMG Bonus and corresponding Elemental DMG Bonus (among the aforementioned Elemental Types, only one element can gain bonus DMG this way). Up to 25% bonus DMG can be gained this way.
Additionally, if there are at least 2 Anemo characters, or at least 2 characters of the same Element among Pyro, Hydro, Electro or Cryo in the party, the Normal Attacks, Charged Attacks, Special Charged Attack Azure Devour and the special Elemental Skill Four Winds’ Ascension that Varka deals or unleashes while in the Sturm und Drang mode will deal 140% of their original DMG. If there are at least 2 Anemo characters and at least 2 other characters of the same element among Pyro, Hydro, Electro or Cryo present in the party at the same time, the aforementioned effect will be increased to 220%.
When there is at least one PHEC unit in the team, Varka gains extra Anemo DMG and Elemental DMG Bonuses, based on his total ATK, for the Element ranked higher in the PHEC priority. He can gain up to 25% DMG Bonus to both Anemo and the PHEC Element this way at a total of 2500 ATK, which is easy to reach in his Double Pyro teams with Bennett.
Additionally, if the team includes one Anemo teammate or two teammates of the same PHEC Element, Varka’s Normal Attack, Charged Attack, and special Skill deal 140% of their original damage during Sturm und Drang. If both conditions are met (one Anemo teammate and two teammates of the same PHEC Element), this Base DMG Multiplier is increased to 220% instead. As a result, Varka’s teams are heavily encouraged to meet those requirements to avoid losing out on damage.
 Ascension 4 Passive | Wind’s Vanguard
Talent Description
When nearby party members trigger Swirl reaction(s), Varka gains one stack of Azure Fang’s Oath, increasing the DMG dealt by his Normal Attacks, Charged Attacks, special Charged Attack Azure Devour and special Elemental Skill Four Winds’ Ascension by 7.5% for 8s. Max 4 stacks. Each character can grant Varka with 1 stack of Azure Fang’s Oath every second this way.
When Varka or his teammates trigger a Swirl reaction, he obtains an Azure Fang’s Oath stack that gives a 7.5% DMG Bonus to his Normal Attack, Charged Attack, and special Skill during Sturm und Drang, stacking up to 4 times. With an Anemo teammate, he can easily stack and maintain this passive.
 Witch’s Eve Rite Passive | Dawn’s Return
Talent Description
After completing Witch’s Homework: The Untitled Question, Varka will become a Hexerei character. When the party includes at least 2 Hexerei characters, you will gain the Hexerei: Secret Rite effect, which enhances Hexerei characters.
Hexerei: Secret Rite
Enhances the special Elemental Skill Four Winds’ Ascension: When Varka hits an opponent with Normal Attack(s) in Sturm und Drang, the CD of Four Winds’ Ascension will be reduced by 1s.
Pairing Varka with another Hexerei character activates the Secret Rite effect: Varka’s Normal Attacks now decrease the cooldown of his special Skill by 1s instead of 0.5s for every time he hits enemies. Prior to this, Varka’s base Sturm und Drang duration often only allows for 1 special Skill charge per rotation. This incentivizes using another Hexerei teammate for reliable access to both of Varka’s special Skill charges.
However, choosing a more synergistic non-Hexerei teammate can still be optimal, as the special Skill/Charged Attack does not do much more damage than a regular Charged Attack.
Constellations
Each one of Varka’s first three Constellations is a decent upgrade for his personal damage. While C4 and C5 are less of an increase, they are stepping points to his C6, a very powerful capstone Constellation.
 Constellation 1 | “Come, Friend, Let Us Dance Beneath the Moon’s Soft Glow”
Constellation Description
When Varka switches to Sturm und Drang, he will obtain an additional use of the special Elemental Skill Four Winds’ Ascension.
Additionally, after switching to Sturm und Drang, Varka will gain the Lyrical Libation effect: When unleashing the special Elemental Skill Four Winds’ Ascension, or when performing the special Charged Attack Azure Devour, Varka can consume this effect to deal 200% of the original DMG dealt by Four Winds’ Ascension or Azure Devour.
Varka can use his special Skill or Charged Attack immediately upon entering Sturm und Drang. Additionally, the first special Skill or Charged Attack will deal double its damage. This is a good Constellation for Varka, greatly increasing his frontloading capability and overall damage output.
 Constellation 2 | “When Dawn Breaks, Our Journey Shall Take Flight”
Constellation Description
When unleashing the special Elemental Skill Four Winds’ Ascension, or when performing the special Charged Attack Azure Devour, Varka will perform an additional strike, dealing AoE Anemo DMG equal to 800% of Varka’s ATK.
After Varka uses a special Skill or Charged Attack, he will do an additional hit that deals Anemo damage. As Varka uses 3 special Skills/Charged Attacks per rotation at C1+, this Constellation will be triggered 3 times at C2–C5, and 6 times at C6, resulting in a considerable damage increase.
At C2, using an ATK% or Anemo DMG% Goblet can become optimal for him over a PHEC Goblet due to the extra Anemo hit.
 Constellation 3 | “O Friend, Quaff Not the Bitter Wine That Brings Tears of Woe”
Constellation Description
Increases Elemental Skill Windbound Execution Level by 3.
Maximum upgrade level is 15.
A simple yet effective level increase for Varka’s Elemental Skill, which is the source of all his damage.
 Constellation 4 | “For None May Take From Us Our Freedom of Song”
Constellation Description
When Varka triggers a Swirl reaction, based on the Elemental Types involved in the reaction, all nearby party members gain a 20% Anemo DMG Bonus and the corresponding Elemental DMG Bonus for 10s.
This Constellation gives Varka and his teammates 20% Anemo DMG and 20% Elemental DMG for the Element he Swirls. While this is a smaller increase to his personal damage compared to previous Constellations, his C4’s teamwide buff is appreciated for team DPS.
 Constellation 5 | “Fill High the Cup With Fine Wine, for Tyrants Come and Go”
Constellation Description
Increases Elemental Burst Northwind Avatar Level by 3.
Maximum upgrade level is 15.
Since Varka skips his Burst in most scenarios, this level-increasing Constellation is mostly useless for him.
 Constellation 6 | “Beloved Mondstadt, Steadfast You Shall Shine”
Constellation Description
Sturm und Drang is enhanced:
- For a short time after unleashing the special Elemental Skill Four Winds’ Ascension, Tapping on Varka’s Elemental Skill or Holding his Normal Attack will not expend any uses of Four Winds’ Ascension, and will perform one additional instance of the special Charged Attack, Azure Devour.
- For a short time after performing the special Charged Attack Azure Devour, tap on Varka’s Elemental Skill to unleash an additional instance of Four Winds’ Ascension without expending any uses of Four Winds’ Ascension.
When triggering an additional special Charged Attack, Azure Devour, or unleashing an additional special Elemental Skill, Four Winds’ Ascension, in this manner, the above effect cannot be triggered.
Additionally, the Azure Fang’s Oath effect in Ascension Talent Wind’s Vanguard is enhanced: Every stack of Azure Fang’s Oath will increase Varka’s CRIT DMG by 20%.
Varka’s C6 allows him to use his special Skill and special Charged Attack back to back, in either order, while only consuming a single charge. With his C1 in effect, this means he can use up to 6 special Skills/Charged Attacks per Sturm und Drang mode. Additionally, Varka gains 20% CRIT DMG for everyA4 stack, or 80% CRIT DMG in total at maxed stacks. Together, these effects massively amplify Varka’s personal damage and make C6 his best Constellation by far.
C1 vs R1
Varka’s C1 is a bigger increase than Gest of the Mighty Wolf if he has access to Thousand Blazing Suns or R4+ Serpent Spine (full uptime), or if he has any of the 5-star CRIT Claymores in a team full of DMG% buffs. Otherwise, prioritize getting his signature weapon before investing into his Constellations.
Combos
Combo Notation
- N = Normal Attack
- C = Charged Attack
- sC = special Charged Attack
- A = Aimed Shot
- P = Plunging Attack
- E = Elemental Skill
- sE = special Skill
- tE = Tap Skill
- hE = Hold Skill
- Q = Elemental Burst
- D = dash (cancel)
- J = jump (cancel)
- W = walk (cancel)
- > = switch character
- ( ) = “these actions are optional; please refer to the notes below”
- [ ] = “repeat these actions the specified number of times”
Note that Varka’s combos may change as new combos are tested. More extensive testing is in progress.
Despite having slightly lower multipliers, Varka’s special Skill should be used over his special Charged Attack because of its better AoE and lower animation time.
Overall, all of Varka’s combos perform with marginal differences from one another, so use the one that you are most comfortable with. Some combos listed below take around 11s to perform, which is desired in teams with short buff/teammate ability uptime. In a team with higher buff uptime, longer cooldown (e.g. TTDS), adding more Normal and Charged Attacks (N2, N1C, N3, N2C) to extend his field time can be preferable.
With his C1, Varka can use an N1sE at the start of his combos for more frontloaded damage.
| CW (Walk cancel on normal Charged Attack) | Varka’s normal Charged Attacks’ ending animation can be shortened by a walk cancel (holding a direction button during the attack). This allows him to start his Normal Attack back slightly faster. |
| E 2[N5sE] (N2/N1C/N3/N2C) | Varka’s most basic combo. However, getting interrupted during the long animation of his 5th NA can result in a hefty DPS loss. As doing 2 sets of N5sE only takes around 11s, he can extend his field time a bit to deal extra damage as needed with an N2, N1C, N3 or N2C. |
| E N1CW N4sE 3[N1CW] N1sE N1 E 2[N2CW] N2sE N2CW N2sE N1C | These are Varka’s best combos, especially when he has more CA buffs than NA ones. They take around 13s to perform. |
| E N1CW 2[N4sE] (N3/N2C/N4/N2CW N1) | Doing N1C instead of a 5th NA hit can lead to a slight DPS increase despite the ~0.5s more field time. This is one of Varka’s high-performing combos. To lengthen this combo, Varka can add more attacks at the end of it: ~2s extension: Add N3 or N2C. ~2.5s extension: Add N4 or N2C N1. |
| E N5sE N4sE (N3/N2C/N4/N2CW N1) | At round ~10s, this is the shortest among his combos, and is achieved by cutting down the 5th hit of the second NA chain from his 2[N5sE] combo. This results in a slight DPS increase, especially when his teammates’ uptime is short. To lengthen this combo, Varka can add more attacks at the end of it: ~2s extension: Add N3 or N2C. ~2.5s extension: Add N4 or N2C N1. |
| E N3D N2D N3D N1sE N2sE (N3/N2C/N4/N2CW N1) | A combo that uses more dash cancels so that Varka does not get interrupted doing a full N5 string. However, because Varka does not get better animation time with dash cancel, this combo performs worse than his other ones. |
Artifacts
Artifact Stats
 Sands |  Goblet |  Circlet |
| ATK% | PHEC DMG% | ATK% > Anemo DMG% | CRIT DMG | CRIT Rate |
Stat Priority: CRIT > ATK% (> EM)* > Flat ATK
It is not recommended to build ER on Varka as he does not use his Burst most of the time.
Varka’s Goblet choices vary depending on his team buffs, gear, Constellations, and combo. Prior to C2, Varka prefers either PHEC DMG% or ATK% Goblets depending on team buffs. For example, in teams with Nicole and Varka on 4pc Rising Winds, Pyro DMG% Goblets tend to be ahead of ATK% and Anemo DMG%. Likewise, in teams with abundant DMG% buffs and little to no ATK% buffs (e.g. Furina-Mona-Prune), ATK% Goblets are often optimal. At C2+, ATK% Goblets are similar to PHEC DMG% Goblets for Varka, even with large ATK buffs from teammates or his equipment. Anemo DMG% Goblets can also give competitive results at C2 since the C2 damage instances are Anemo damage.
Additionally, while their effects on Varka’s Goblet selection are minimal, Varka’s combos that perform N1 more frequently close the gap between ATK% and PHEC DMG% Goblets somewhat.
*Against enemies with innate auras, depending on the possible reactions, Varka can build a bit EM to increase his reaction damage (e.g. Melt, Vape).
Artifact Sets
Hover over artifact images/names for more information.
 4pc A Day Carved From Rising Winds (Rising Winds) | Varka’s best-in-slot set. It provides a massive unconditional ATK% buff and an additional 20% CRIT Rate when he completes his Witch’s Homework, due to Varka being a Hexerei character. |
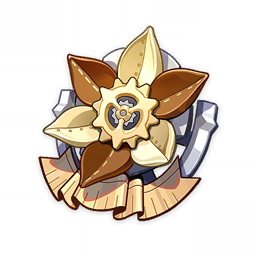 4pc Marechaussee Hunter (MH) | Varka’s second-best option when paired with Furina. It provides a massive CRIT Rate buff along with Normal and Charged Attack DMG Bonus. However, it is exclusive to team compositions featuring Furina to drain HP and trigger the 4pc effect, which further restricts Varka’s already limited team-building options. |
4pc Scarlet Proof (SP) | Varka’s second-best set in SSW teams. While its 2pc ATK% and 4pc CRIT Rate buffs are similar to the Rising Winds set, the 40% Stellar Swirl DMG Bonus from Scarlet Proof’s 4pc effect falls short of the 25% ATK provided by Rising Winds. This is because Varka still mainly deals Talent damage even in SSW teams. |
 4pc Shimenawa’s Reminiscence | Varka’s general second-best option. It offers a significant DMG Bonus to his Normal and Charged Attacks, and the associated Energy drain does not negatively affect his standard gameplay. It is recommended to use Varka’s special Charged Attack with this set since it buffs his CA DMG. |
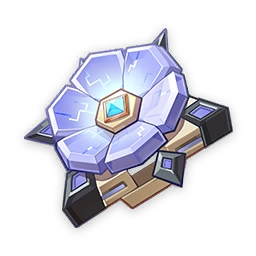 4pc Desert Pavilion Chronicle (DPC) | A good transitional set which buffs Varka’s Normal Attack and Charged Attack damage. It can only be used if you already have it and is not recommended to farm. In order to fully utilise this set’s passive, it is recommended to perform an N1C at the beginning of Varka’s combos and to use his special Charged Attack. |
| 4pc Blizzard Strayer / Heart of Depth / Nymph’s Dream / Lavawalker / Thundersoother | Niche sets for his double Element teams. These are significantly less flexible and worse than 4pc Rising Winds or Shimenawa. |
 4pc Gladiator’s Finale | An easy option to obtain that buffs Varka’s Normal Attacks. Since the majority of Varka’s damage comes from his Skill state’s Normal Attacks, this set is a good alternative for those who are still farming 4pc Rising Winds. |
 2pc Mixed Sets | 2pc Bonuses: 2pc ATK%, 2pc Marechaussee Hunter, 2pc PHEC DMG% These 2-piece combinations are great generalist or transitional sets while farming for a 4pc Rising Winds set. |
Weapons
Hover over weapon images/names for more information.
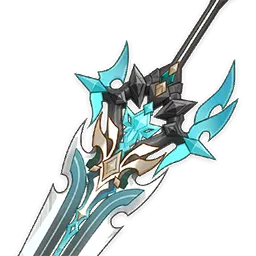 5★ Gest of the Mighty Wolf | Varka’s signature weapon, and his best-in-slot. It offers a significant boost to Attack SPD, CRIT Rate, a stacking DMG Bonus, and extra CRIT DMG when he is partnered with Hexerei teammates. |
 5★ A Thousand Blazing Suns, Beacon of the Reed Sea, Redhorn Stonethresher, A Teaspoon of Transcendence, Verdict | These weapons serve as Varka’s second best options. They provide desirable stats like CRIT and ATK%, along with passives that he can utilize to some extent as well. |
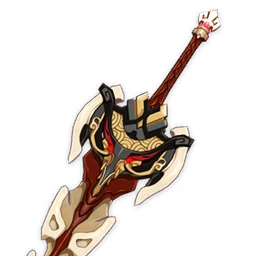 4★ Serpent Spine | Varka’s best 4-star option. In teams with many ATK buffs, at high refinements, it can even compete with Thousand Blazing Suns for the second-best ranking, offering high CRIT Rate and a massive DMG Bonus. However, it may be difficult to maintain its passive without a shielder. |
 5★ The Unforged, Wolf’s Gravestone, Fang of the Mountain King | These are other good 5-star Claymores that offer a lot of ATK% but little to no CRIT, and thus fall behind 5-star CRIT Claymores in teams with Bennett or Nicole. In teams with fewer ATK buffs, these weapons perform better. |
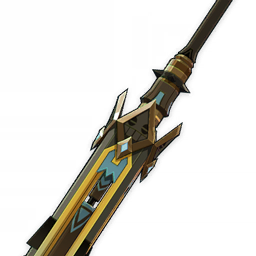 4★ Talking Stick | It offers CRIT Rate and can provide either an ATK% or an Elemental DMG% buff when Varka is affected by an Element. The ATK% buff is reliably activated in teams that include Bennett, while the Elemental DMG% buff depends on the specific enemy encounter, making it unreliable in many cases. |
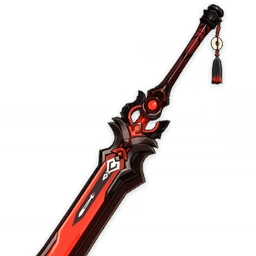 4★ Blackcliff Slasher | A reliable CRIT stat stick that Varka can use if you don’t have any of the BP weapons. It has a high CRIT DMG secondary stat and an ATK% passive that is only useful in multi-target scenarios. Blackcliff can be considered as Varka’s general best free option. |
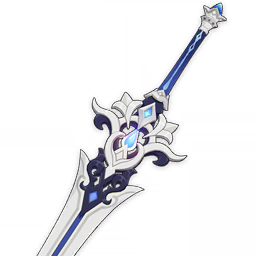 4★ Tidal Shadow | Tidal Shadow has decent performance and can compete with a low refinement Serpent Spine in teams with healing and few ATK buffs. However, without either of those conditions, its performance plummets. Note that triggering this Claymore’s passive with Bennett alone is unreliable since he doesn’t heal Varka if he is already above 70% HP. |
4★ Blade of Atonement | In SSW teams, this craftable weapon performs better than Tidal Shadow without a healer. Outside of this, it should not be used. |
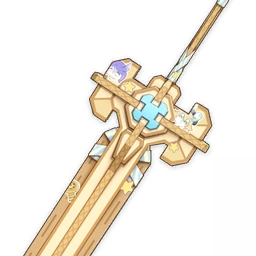 4★ Ultimate Overlord’s Mega Magic Sword | A solid generalist weapon for Varka, comparable to most craftable options, though slightly weaker than Tidal Shadow (with its passive) in raw damage. Complete the Melusine world quests in Merusea Village to unlock its full ATK% buffing passive. |
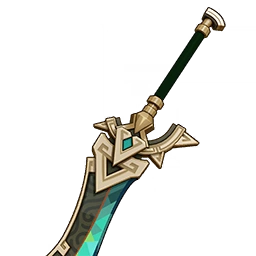 4★ Earthshaker | An alternative craftable option that provides relatively high base ATK and an ATK% secondary stat. Its passive is only useful in Varka’s Double Pyro compositions. Varka uses his special Skills instead of special Charged Attacks with this weapon. |
Teams
Rotation Notation
- N = Normal Attack
- C = Charged Attack
- sC = special Charged Attack
- A = Aimed Shot
- P = Plunging Attack
- E = Elemental Skill
- sE = special Skill
- tE = Tap Skill
- hE = Hold Skill
- Q = Elemental Burst
- D = dash (cancel)
- J = jump (cancel)
- W = walk (cancel)
- > = switch character
- ( ) = “these actions are optional; please refer to the notes below”
- [ ] = “repeat these actions the specified number of times”
Double Anemo + Double Pyro/Hydro/Electro/Cryo

Due to his A1 Passive, Varka should be played with an Anemo teammate and two teammates of the same PHEC Element. A Hexerei teammate is also recommended to allow for two casts of Varka’s special Skill/special Charged Attack per rotation during Sturm und Drang.
Due to the abundance of Elemental DMG Bonus from Varka’s kit, ATK buffs are extremely valuable for his damage, especially with his signature weapon.
Notable Teammates
Hexerei Teammates
These off-field characters enable Varka’s Hexerei Passive. Hexerei units from the PHEC Elements should hold 4pc CG to give the entire team 40% DMG Bonus to Anemo and the respective PHEC Element of the wielder.
 ★ Prune | Prune fulfills both the Anemo and the Hexerei teammate roles for Varka. Her A4 Passive provides a teamwide DMG% buff based on her ATK, while her Hexerei Passive gives the active character (Varka) a 30% ATK buff. Additionally, Prune’s C6 buffs Varka by 350 Flat ATK while extending the uptime of all her buffs. This makes her one of Varka’s best Anemo teammates, especially at C6. Doing EQ too fast on Prune will funnel her particles to the next character. If this is undesirable, wait around 0.5s before swapping her off. |
 ★ Venti | Venti is another great Hexerei Anemo teammate for Varka. He groups enemies, buffs Varka’s damage with 50% DMG Bonus from his Hexerei Passive, and refunds a decent amount of Flat Energy to the two PHEC teammates. Additionally, Venti can snapshot buffs (notably Bennett’s Flat ATK) and deal decent off-field damage himself. C0 Venti usually performs similarly to pre-C6 Prune, but he can be preferred over Prune in content that requires strong grouping. Players can hyper-optimize the rotation by doing EQ N1 with Venti instead of EQ N2, but make sure both hits of his N1 land before swapping out, or Venti will not benefit from his full Burst extension. |
 Sucrose | Sucrose can be used if neither Prune nor Venti is available and there is no Hexerei character among the two PHEC teammates. While Sucrose’s buffs, personal damage, and grouping are inferior to Venti’s, she is still a decent pick with a short field time requirement. Sucrose uses 4pc VV and TTDS to buff Varka. |
 ★ Nicole | Nicole is the best Pyro buffer for Varka with her Skill’s teamwide Flat ATK, her Burst’s coordinated attacks that partially scale off Varka’s stats. She also provides a sturdy shield to allow smooth gameplay and maintain Serpent Spine’s stacks. TTDS performs extremely well on Nicole, exchanging less total ATK on her for more ATK buffing on Varka. It performs similarly to 5-star ATK Catalysts except her signature weapon. |
 ★ Durin | Durin is one of the best Pyro teammates for Varka’s Double Pyro teams. He shreds both Pyro and Anemo RES via his A1 Passive while doing solid personal damage from off-field. |
 ★ Mona | Mona is a good buffer for Varka in Double Hydro teams, especially at C4, when she provides 15% CRIT Rate and CRIT DMG from her Burst in addition to the 60% DMG Bonus. She also can hold TTDS to buff Varka further, or use Prototype Amber to sustain the team and stack Furina’s Fanfare. |
 Fischl | Fischl can team up with Varka in Double Electro teams. However, she is merely an off-field DPS who can enable Varka’s Hexerei Passive; her kit does not provide him any buffs. |
Anemo
An Anemo teammate is required for Varka; otherwise his damage output is considerably lower. This teammate uses 4pc Viridescent Venerer to buff Varka’s PHEC damage as well as that of the other two teammates. Note that with Anemo Resonance, all units in Varka teams have a 5% cooldown reduction, which allows them to run faster rotations.
 ★ Prune | Prune fulfills both the Anemo and the Hexerei teammate roles for Varka. Her A4 Passive provides a teamwide DMG% buff based on her ATK, while her Hexerei Passive gives the active character (Varka) a 30% ATK buff. Additionally, Prune’s C6 buffs Varka by 350 Flat ATK while extending the uptime of all her buffs. This makes her one of Varka’s best Anemo teammates, especially at C6. Doing EQ too fast on Prune will funnel her particles to the next character. If this is undesirable, wait around 0.5s before swapping her off. |
 Venti | Venti is another great Hexerei Anemo teammate for Varka. He groups enemies, buffs Varka’s damage with 50% DMG Bonus from his Hexerei Passive, and refunds a decent amount of Flat Energy to the two PHEC teammates. Additionally, Venti can snapshot buffs (notably Bennett’s Flat ATK) and deal decent off-field damage himself. C0 Venti usually performs similarly to pre-C6 Prune, but he can be preferred over Prune in content that requires strong grouping. Players can hyper-optimize the rotation by doing EQ N1 with Venti instead of EQ N2, but make sure both hits of his N1 land before swapping out, or Venti will not benefit from his full Burst extension. |
 Sucrose | Sucrose can be used if neither Prune nor Venti is available and there is no Hexerei character among the two PHEC teammates. While Sucrose’s buffs, personal damage, and grouping are inferior to Venti’s, she is still a decent pick with a short field time requirement. Sucrose uses 4pc VV and TTDS to buff Varka. |
 Faruzan | Faruzan is a decent buffer for Varka as around a third of his damage is Anemo. Her value increases if Varka is C2+ because of the increased Anemo damage proportion. However, her performance drops considerably without her C6. |




Pyro
Double Pyro teams provide Varka with a much appreciated 25% ATK buff from Pyro Resonance. Nicole and Durin are the most powerful Pyro pair for Varka.
 ★ Nicole | Nicole is the best Pyro buffer for Varka with her Skill’s teamwide Flat ATK, her Burst’s coordinated attacks that partially scale off Varka’s stats. She also provides a sturdy shield to allow a smooth gameplay and maintain Serpent Spine’s stacks. TTDS performs extremely well on Nicole, exchanging less total ATK on her for more ATK buffing on Varka. It performs similarly to 5-star ATK Catalysts except her signature weapon. Varka should extend his combo to allow a 21s+ rotation for TTDS to be active on every rotation. |
 ★ Durin | Durin is one of the best Pyro teammates for Varka’s Double Pyro teams. He shreds both Pyro and Anemo RES via his A1 Passive while doing solid personal damage from off-field. |
 ★ Bennett | With his massive Flat ATK buff and good healing, Bennett is a good support for Varka when either Nicole or Durin is not available. It is worth noting that Bennett only heals characters whose HP are under 70%, so activating Tidal Shadow’s passive with him is not reliable. However, Varka would still rather use a worse Claymore than drop Bennett or his other synergistic teammates such as Prune or Durin in order to use a less restrictive healer. |
 C6 Chevreuse | C6 Chevreuse is used for her up-to-60% Pyro DMG Bonus and decent healing output. While she is not the best choice for Varka teams, being better suited to teams that can trigger Overloaded, the C6 buff is still potent. |
 Mavuika | Mavuika is a decent choice for her respectable personal damage, even without a second Nightsoul character. She also slightly buffs Varka with her A4 Passive’s Common DMG Bonus. |
 Xiangling | Xiangling deals respectable damage and buffs Varka with her A4, C1, and C6. Buffing Xiangling’s Burst with Bennett is best for team DPS, but it does take buff uptime away from Varka, reducing his personal damage contribution. |
 Thoma | Thoma can be considered to maintain Serpent Spine’s passive and, at C6, provide Varka with a 15% DMG Bonus to Normal and Charged Attacks. Their synergy is reduced if Thoma is not C6 and negligible if Varka is not using Serpent Spine. |
Hydro
Despite not benefitting from Hydro Resonance, Varka can still team up with Hydro units to deal decent damage.
★ Vodyanitsa | Vodyanitsa is one of the best Hydro teammates for Varka. She provides healing, interruption resistance, Hydro RES Shred, Additive Base DMG Bonus (Shenhe’s Icy Quill like), 4pc TotM and TTDS while requiring minimal field time. |
 ★ Mona | Mona is a good buffer for Varka in Double Hydro teams, especially at C4, when she provides 15% CRIT Rate and CRIT DMG from her Burst in addition to the 60% DMG Bonus. She also can hold TTDS to buff Varka further, or use Prototype Amber to sustain the team and stack Furina’s Fanfare. |
 ★ Furina | Despite the lack of synergistic teamwide healers, Furina is still one of the premier Hydro teammates for Varka with Common DMG Bonus from her Burst and decent personal damage from her Skill. She requires a healer such as Vodyanitsa to build Fanfare stacks for her Burst’s buff, but using Prototype Amber on Mona or Prune as the only source of healing is still better than using less synergetic healers. |
  Yelan Xingqiu | Off-field damage dealers who provide additional team utility. Varka is a good driver for these characters’ coordinated attacks thanks to his combos being full of Normal Attack strings. Yelan is generally the better option owing to her higher personal damage and Common DMG Bonus buff for Varka. However, Xingqiu is not a much worse option thanks to his damage reduction, interruption resistance, small healing, and C2’s Hydro RES Shred. |
 Sigewinne | Sigewinne is a good team healer who also buffs Furina’s off-field Skill damage. Her C2 is a decent increase for team DPS if players have it. |
 Candace | Candace provides Varka with Normal Attack DMG% buffs and can hold 4pc Noblesse Oblige. Her personal damage is negligible, though. |
 Dahlia | Dahlia offers a decent shield that can refresh itself when broken, which is especially helpful when Varka is using Serpent Spine. He also gives up to 20% Attack SPD (and additional 10% from C6) to Varka, allowing him to do more Normal Attacks during his Sturm und Drang. However, due to hitlag, the Attack SPD buff has only a small impact on Varka’s damage. |
Electro
Varka does not fully synergize with the current Electro buffers or off-field damage dealers. As such, Double Electro teams are best utilized against content that favors Electro damage rather than for general use. Note that Electro Swirl does not generate extra Electro particles for Electro Resonance.
 Fischl | Fischl can team up with Varka in Double Electro teams. However, she is merely an off-field DPS who can enable Varka’s Hexerei Passive; her kit does not provide him any buffs. Use 4pc CG on Fischl. |
 Iansan | Without a different Element’s aura to trigger a reaction for 4pc Scroll’s DMG% buff, Iansan’s value drops heavily. In addition, Varka’s kit lacks movement mechanics and cannot consistently maintain her higher ATK buff or her C6. However, Iansan remains a decent option for Varka teams, especially with higher investment into him. |
 Alyosha | Alyosha is a healer who provides a humble but long-lasting ATK% buff that doubles at C6. His EM and Stellar-Conduct DMG% buffs are useless on Varka. Alyosha should hold 4pc Noblesse. |
 Sara | Sara buffs Varka with Flat ATK and a CRIT DMG buff for Electro damage at C6. However, her buff duration (6s) is too short for Varka’s field time (usually at least 10s), and often runs out before his second special Skill/Charged Attack use. Sara uses her Burst every other rotation due to its long cooldown. |
  Beidou Yae Miko | Off-field damage dealers. Beidou locks Varka to a 19s+ rotation; however, she somewhat makes up for it with damage reduction, interruption resistance, a decent shield (from C1), and Electro RES Shred (from C6). Yae Miko deals off-field Skill damage and allows Varka to run a shorter rotation, but she provides no buffs. |
 Kuki Shinobu | A healer with little to no personal damage. The only utility she can provide for Varka is holding 4pc Tenacity of the Millelith for an ATK% buff. |
 Lisa | While Lisa has decent DEF Shred via her A4 Passive, she forces Varka teams into 19s+ rotations, which does not pair well with shorter-uptime units such as Fischl or Sara. She should use either Prototype Amber for teamwide healing or TTDS for more buffs to Varka. |
Cryo
Cryo Resonance gives Varka a good 15% CRIT Rate buff to every hit landed on enemies with Cryo aura.
 ★ Odette | Odette enables Stellar Swirl, which allows the whole team to deal more reaction damage compared to regular Cryo Swirl. She also applies constant Cryo and deals significant personal damage herself. |
 ★ Cryo Traveler | Cryo Traveler is a more freely accessible SSW option compared to Odette. Their Burst and special Charged Attack deal the majority of their damage, while their Skill applies Cryo from off-field. They work well with Odette to form a powerful Cryo pair for Varka. |
 ★ Escoffier | Despite only being able to give 10% Cryo RES Shred, Escoffier is still a good teammate for Varka’s Double Cryo teams thanks to her decent damage and good healing. |
 Shenhe | Shenhe’s buffs increase Varka and his teammates’ damage output considerably. She can choose between Bursting every rotation at the cost of higher ER requirements and longer rotations, or Bursting every other rotation for shorter rotations and lower ER requirements. |
 Ganyu | Ganyu can be considered in multi-target content, especially with Venti for his tight grouping. |
 Charlotte, Layla, Mika, Diona | Sustain options with various additional benefits. Charlotte can hold TTDS, while Mika provides an Attack SPD buff. Layla’s personal damage is decent when she is built, especially with Shenhe in the team. Diona can hold Elegy for the End for more team buffs. |
  Rosaria, Kaeya | Possible off-field damage dealers if Escoffier or Shenhe is not available. Rosaria is a better choice with her higher damage and teamwide CRIT Rate buff. |
Example Teams
This is not a comprehensive list of teams. The inclusion or exclusion of any given team does not necessarily reflect its power level.

This is Varka’s best Double Pyro team. Venti is preferred over Prune when she is not C6, or against content that incentivizes grouping. Nicole should be played right before Varka so that all her Projections are procced by him. As a result, TTDS performs extremely well on Nicole, exchanging less total ATK on her for more ATK buffing on Varka. It performs similarly to 5-star ATK Catalysts except her signature weapon. Extend Varka’s field time so that the team rotation is at least 21s for TTDS’s passive every rotation.
Sample Rotation (Prune)
Durin 2[E]Q > Prune EQ > Nicole EQ > Varka E combo
Sample Rotation (Venti)
Durin 2[E]Q > Venti EQ N2 > Nicole EQ > Varka E combo

These supports are solid alternatives for players who do not own Nicole and have low Constellations on Prune. In fact, pulling Varka’s signature weapon or early Constellations may be a smarter investment than chasing Nicole or Prune’s C6, as Varka’s own upgrades offer universal value across all his team compositions.
Sample Rotation (Venti)
Durin 2[E]Q > Bennett EQ > Venti EQ N2 > Varka E combo > Venti E N1
Sample Rotation (Faruzan)
Faruzan E¹ > Durin 2[E]Q > Bennett EQ > Faruzan (C)² Q > Varka E combo
¹Starting at the second rotation and onwards. To trigger additional Favonius proc and maintain VV uptime.
²If Faruzan is not C6.

Between Durin and Nicole, the former is a better unit for Varka’s Pyro team’s performance, despite the latter buffing him more.
Sample Rotation (Prune)
Bennett EQ > Prune EQ > Nicole EQ > Varka E combo
Sample Rotation (Venti)
Bennett EQ > Venti EQ N2 > Nicole EQ > Varka E combo

These are generally Varka’s best Hydro teams. Use TTDS on either Mona or Vodyanitsa.
Sample Rotation (Mona)
Vodyanitsa E > Prune EQ > Mona Q N1 E N3 > Varka combo
Sample Rotation (Furina)
Furina ED Q > Prune EQ > Vodyanitsa E > Varka combo

Hydro teams still perform decently without Vodyanitsa. With Furina, the optimal weapons choice for both Prune and Mona is Prototype Amber. With Yelan, they can use different Catalysts, including TTDS for Mona.
Sample Rotation (Furina)
Furina ED Q > Mona Q N1 > Prune EQ > Mona N1 E N1 > Varka E combo
Sample Rotation (Yelan)
Yelan EQ N1 > Mona Q N1¹ > Prune EQ > Mona N1 E N1¹ > Varka E combo
¹If Mona uses TTDS, do Prune EQ > Mona Q N1 E N3 instead.

Stellar Swirl teams can be regarded as Varka’s best Cryo setup. Cryo Traveler deals more personal damage while Escoffier provides RES Shred, which improves Varka’s personal damage further.
Sample Rotation (Cryo Traveler)
Cryo Traveler E¹ N1C Q > Prune EQ > Odette 2[E] > Varka combo
¹In the first rotation, Traveler only uses their Skill.
Sample Rotation (Escoffier)
Escoffier (Q)¹ E > Prune EQ > Odette 2[E] > Varka combo
¹Burst whenever needed.

Unless Escoffier has her signature weapon, she should not build ER and should instead Burst whenever needed for survivability. Shenhe can also Burst every other rotation in this team to shorten the rotation and lower her ER needs.
Sample Rotation
Escoffier (Q)¹ E > Shenhe hE(Q)² > Prune EQ > Varka E combo
¹Burst whenever needed.
²Can be used every other rotation. Best to alternate between Shenhe’s Burst and Escoffier’s Burst each rotation.

Oz does not snapshot Iansan’s buff if Fischl is switched out during her Burst animation, so use Fischl’s Burst before Iansan’s field time.
Sample Rotation
Odd rotations: Iansan E(C)¹Q > Fischl E > Venti Q E N2 > Varka combo > Venti E N1
Even rotations: Fischl Q > Iansan E(C)¹Q > Venti Q E N2 > Varka combo > Venti E N1
¹If Iansan is pre-C2.
Limited Roster Alternatives
These teams are meant for newer players whose limited roster prevents them from using the teams above; as such, the teams below result in lower damage output.

A more accessible Double Pyro team for Varka, especially without Prune. Dehya uses 4pc Tenacity of the Millelith (TotM) and Bennett uses 4pc Noblesse in this team. Dehya should also use a highly refined Sacrificial Greatsword to shorten her Skill cooldown if possible.
Sample Rotation
Dehya 2[E] > Bennett EQ > Sucrose (Q)¹ ED > Varka E combo > Sucrose N2/Bennett E²
¹Burst whenever available.
²Sucrose N2 on the first rotation, then alternate with Bennett E to manage TTDS uptime.

As Jahoda’s off-field Skill damage is not needed in this team, skip the charging by pressing the Skill again shortly after its casting. Similarly, Sayu’s Skill should be released early after casting its Hold version. If Lisa does not use TTDS, use her Burst before Jahoda’s or Sayu’s.
The recommended artifact allocation for this team is 4pc Noblesse on Lisa, 4pc VV on Jahoda, and 4pc CG on Fischl.
Sample Rotation (Jahoda)
Fischl E/Q > Jahoda Q > Lisa Q > Varka E combo > Jahoda 2[E] > Lisa hE
Sample Rotation (Sayu)
Fischl E/Q > Sayu Q > Lisa Q > Varka E combo > Sayu shE > Lisa hE

An accessible Double Cryo setup. Diona should use 4pc TotM and Burst every other rotation or whenever available. Cryo Traveler can either use 4pc Heart of the Furnace or 4pc Noblesse.
Sample Rotation
Diona hE(Q)¹ > Prune EQ > Cryo Traveler E² N1C Q > Varka E combo
¹Burst whenever available.
²In the first rotation, Traveler only uses their Skill.
Credits
Writer(s): acerbus114, luke_260
Contributors: caxia5, madeofseaglass (Marvel), chasing_haze, antiguaa
Team images made with the KQM portrait generator.