Updated for Version 3.2
Welcome to Keqing’s Quick Guide! Keqing is a 5-star Electro character that primarily serves as an on-field damage dealer. This guide will be a condensed version of KQM’s comprehensive Keqing Guide, focusing mainly on on-field Electro Keqing.
If you have any questions related to Physical or Quickswap Keqing, please feel free to visit the main guide, or head over to the help section in the KQM Discord.
Table of Contents
Infographic
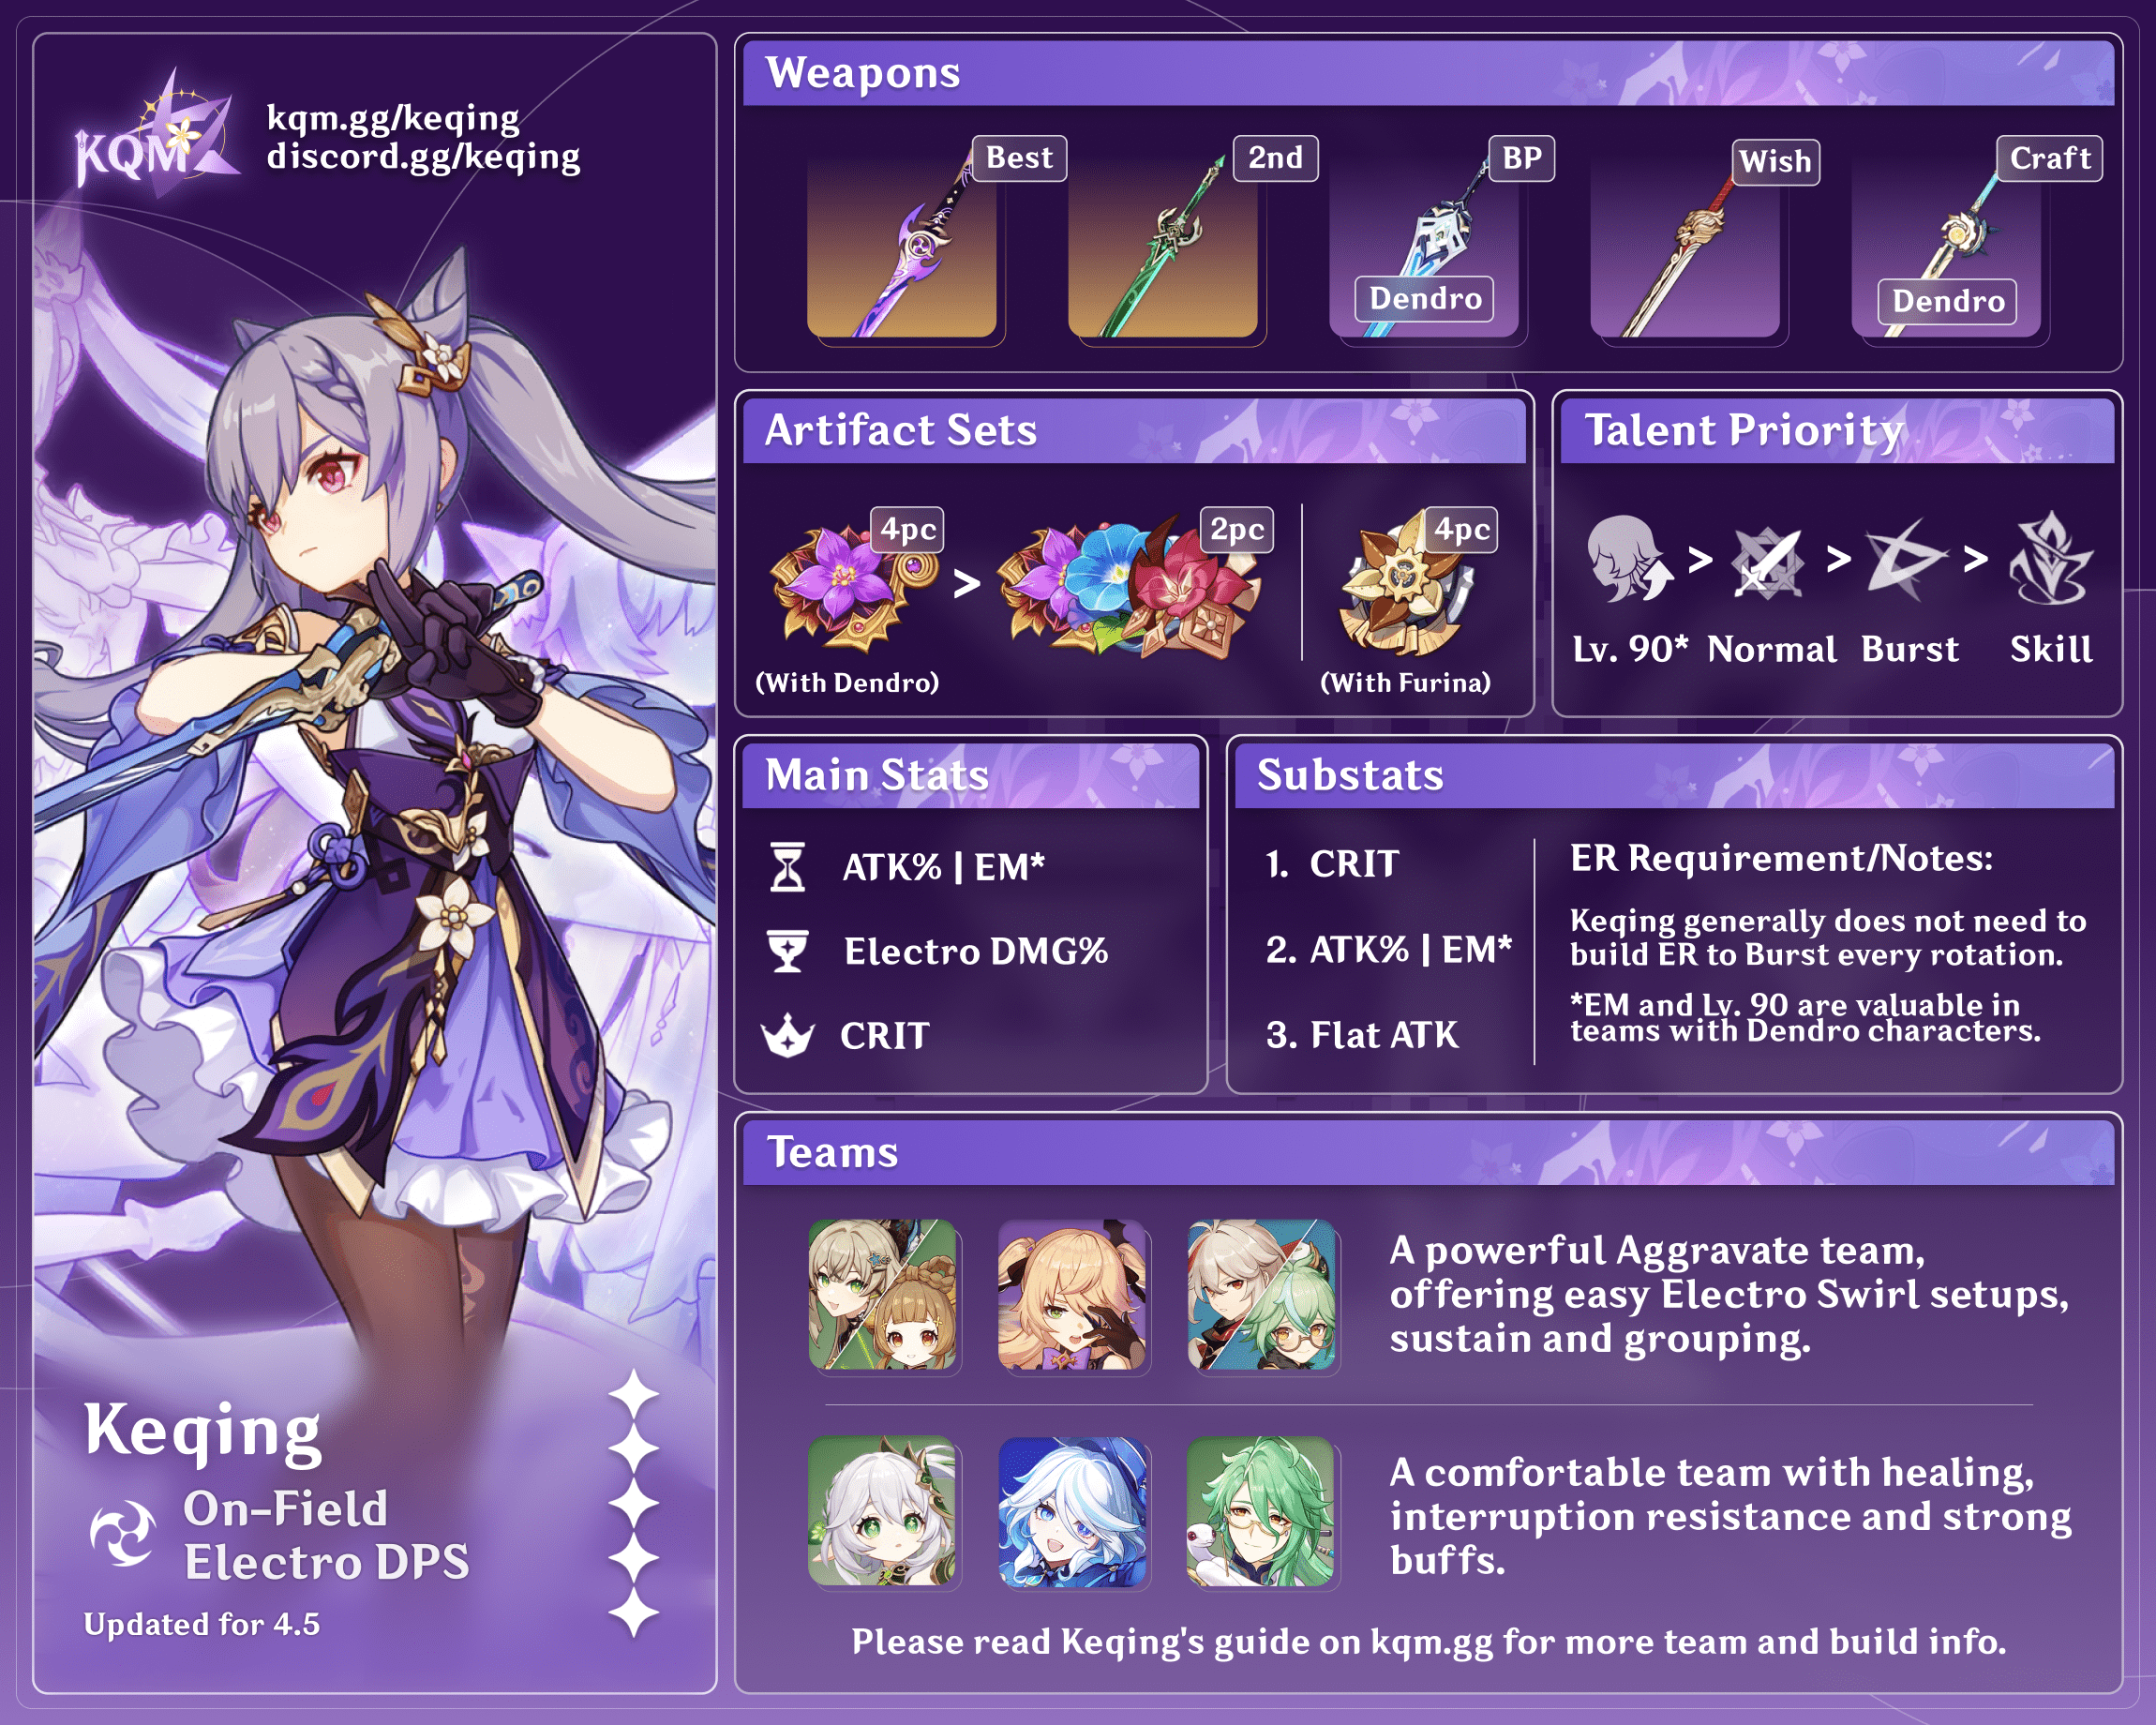
Design: euphorysm
Content: casdela
Character Overview
Talent Priority
For Standard Electro Keqing:
Normal > Burst > Skill
For Aggravate Keqing:
Normal > Burst = Skill
Furthermore, leveling Keqing to 90 is important in Aggravate because it increases her damage per rotation by over 20%.
Talents
![]() Normal Attack | Yunlai Swordsmanship
Normal Attack | Yunlai Swordsmanship
Talent Description
Normal Attack
Performs up to 5 rapid strikes.
Charged Attack
Consumes a certain amount of Stamina to unleash 2 rapid sword strikes.
Plunging Attack
Plunges from mid-air to strike the ground below, damaging opponents along the path and dealing AoE DMG upon impact.
Keqing’s Normal Attack is a 5-hit string with a multi-hit on her N4 (4th Normal). Keqing’s Charged Attack (CA) hits twice and knocks lightweight enemies away from her.
The optimal strings to use are N1C and N4C. N1C is the highest damaging string but consumes the most Stamina while N4C leaves breathing room for Stamina recovery. Ideally you should look to weave N4Cs whenever you are running low on Stamina. Video Example:
![]() Elemental Skill | Stellar Restoration
Elemental Skill | Stellar Restoration
Talent Description
Hurls a Lightning Stiletto that annihilates her opponents like the swift thunder.
When the Stiletto hits its target, it deals Electro DMG to opponents in a small AoE, and places a Stiletto Mark on the spot hit.
Hold
Hold to adjust the direction in which the Stiletto shall be thrown.
Stilettos thrown by the Hold attack mode can be suspended in mid-air, allowing Keqing to jump to them when using Stellar Restoration a second time.
Lightning Stiletto
If Keqing uses Stellar Restoration again or uses a Charged Attack while its duration lasts, it will clear the Stiletto Mark and produce different effects:
If she uses Stellar Restoration again, she will blink to the location of the Mark and unleash one slashing attack that deals AoE Electro DMG. When blinking to a Stiletto that was thrown from a Holding attack, Keqing can leap across obstructing terrain.
If Keqing uses a Charged Attack, she will ignite a series of thundering cuts at the Mark’s location, dealing AoE Electro DMG.
There are three parts to Keqing’s Elemental Skill:
- Initial Stiletto damage
- Lightning Slash damage (Skill Recast)
- Thunderclap Slash damage (CA detonation)
When Keqing casts her Elemental Skill, she throws a Stilleto that deals damage when it lands on enemies. Following that, Keqing has two options, recasting the Elemental Skill will teleport Keqing to the Stiletto’s location and infuse Yunlai Swordsmanship with Electro with her Ascension 1 Passive. Alternatively, players can cast a CA to detonate the Stiletto, proccing Thunderclap Slash damage and avoiding the teleportation as well as the Electro Infusion.
With 4-piece Thundering Fury:
With 4-piece Thundering Fury, your Elemental Skill usage can change a little bit. Since Keqing is going to get her Elemental Skill ready again before the infusion ends, you have the option to detonate the Stiletto the next time with a Charged Attack while also maintaining infusion. This nets us an extra N1C in a rotation which is fairly relevant.
When should you cast Thunderclap Slash vs Lightning Slash? If you are hugging the enemy and you have plenty of Stamina, you can opt out of Lightning Slash and instead detonate the Stiletto with a Charged Attack. Keep in mind detonating the Stiletto will tighten your infusion time so if you get knocked around or lose time then your fourth N1C will not have an Electro infusion.
![]() Elemental Burst | Starward Sword
Elemental Burst | Starward Sword
Talent Description
Keqing unleashes the power of lightning, dealing Electro DMG in an AOE.
She then blends into the shadow of her blade, striking a series of thunderclap-blows to nearby opponents simultaneously that deal multiple instances of Electro DMG.
The final attack deals massive AoE Electro DMG.
Keqing’s main source of AoE damage. Her Elemental Burst hits multiple times, resulting in a high overall multiplier, and paired with her Ascension 4 Talent, her Elemental Burst becomes a highly valuable part of her kit. That being said, there are situations where you should avoid casting Keqing’s Elemental Burst, specifically in Driver Keqing teams where Keqing is driving Beidou / Xingqiu / Yelan.
![]() Ascension 1 Passive | Thundering Penance
Ascension 1 Passive | Thundering Penance
Talent Description
After recasting Stellar Restoration while a Lightning Stiletto is present, Keqing’s weapon gains an Electro Infusion for 5s.
This Talent is the reason Sustained Electro Keqing exists. Infusion can simply be avoided by casting a Charged Attack while a Stiletto is present.
![]() Ascension 4 Passive | Aristocratic Dignity
Ascension 4 Passive | Aristocratic Dignity
Talent Description
When casting Starward Sword, Keqing’s CRIT Rate is increased by 15%, and her Energy Recharge is increased by 15%. This effect lasts for 8s.
This Ascension Talent carries high stat value because of how much CRIT Rate it gives for free, on top of some Energy Recharge to help maintain casting Starward Sword off cooldown.
Wording clarity: Aristocratic Dignity has a duration of 8 seconds starting from the frame you cast the Elemental Burst. Therefore, the 15% CRIT Rate applies to your Elemental Burst and the buff duration remaining after the Elemental Burst is around 5 seconds.
Constellations
Overall, it is not recommended to roll for Keqing’s Constellations, especially if you don’t play Electro Keqing. Don’t roll if you seek more damage – only roll if you love the character.
![]() Constellation 1 | Thundering Might
Constellation 1 | Thundering Might
Constellation Description
Recasting Stellar Restoration while a Lightning Stiletto is present causes Keqing to deal 50% of her ATK as AoE Electro DMG at the start point and terminus of her Blink.
A small damage increase for Electro Keqing. Note that the fact that Keqing’s C1 shares an ICD with her Elemental Skill doesn’t allow more Aggravetes.
Damage increase over C0: 1.7%
![]() Constellation 2 | Keen Extraction
Constellation 2 | Keen Extraction
Constellation Description
When Keqing’s Normal and Charged Attacks hit opponents affected by Electro, they have a 50% chance of producing an Elemental Particle.
This effect can only occur once every 5s.
This Constellation doesn’t do much for Keqing’s already low Energy needs. However, Energy hungry teammates like Sara and Beidou might appreciate the extra Electro particle.
Damage increase over C1: N/A
Damage increase over C0: 1.7%
![]() Constellation 3 | Foreseen Reformation
Constellation 3 | Foreseen Reformation
Constellation Description
Increases the Level of Starward Sword by 3.
Maximum upgrade level is 15.
A damage increase to your Elemental Burst.
Damage increase over C2: 4.6%
Damage increase over C0: 6.4%
![]() Constellation 4 | Attunement
Constellation 4 | Attunement
Constellation Description
For 10s after Keqing triggers an Electro-related Elemental Reaction, her ATK is increased by 25%.
25% Attack is nothing to scoff at, especially if you are using a weapon with high Base ATK like Mistsplitter Reforged. To add onto that, some of Keqing’s best team comps utilize Elemental Reactions, allowing for high uptime on her C4.
Damage increase over C3: 12.1%
Damage increase over C0: 19.3%
![]() Constellation 5 | Beckoning Stars
Constellation 5 | Beckoning Stars
Constellation Description
Increases the Level of Stellar Restoration by 3.
Maximum upgrade level is 15.
A simple damage increase to Keqing’s Elemental Skill.
Damage increase over C4: 2.08%
Damage increase over C0: 21.8%
![]() Constellation 6 | Tenacious Star
Constellation 6 | Tenacious Star
Constellation Description
When initiating a Normal Attack, a Charged Attack, Elemental Skill or Elemental Burst, Keqing gains a 6% Electro DMG Bonus for 8s.
Effects triggered by Normal Attacks, Charged Attacks, Elemental Skills and Elemental Bursts are considered independent entities.
Yet another constellation that grants additional damage to Keqing. Although the amount of Electro DMG you get is non-negligible, it is unfortunately a C6 for a 5 star unit, which makes it difficult to recommend.
Damage increase over C5: 8.4%
Damage increase over C0: 32%
Artifacts
Aggravate Keqing
Artifact Stats
 Sands |  Goblet |  Circlet |
| ATK% EM | Electro DMG% | CRIT Rate CRIT DMG |
Atk or EM Sands?
Generally speaking, the difference between ATK Sands and EM Sands is negligible, and you should use the Sands with better substats. However, if you are using 4-piece Gilded Dreams, look to use an ATK Sands over an EM Sands as the difference between the two Sands for 4-piece GD is noticeable (~3%).
Substats
CRIT > ATK% = EM > ATK
Keqing’s ER requirements are very low and should not need to be specifically built around.
Artifact Sets
Ordered by strength.
 4 Thundering Fury (4TF) | With the introduction of Aggravate, Keqing can make good use of the 4-piece set effect, buffing up her Aggravate damage, as well as getting more Skill casts off. The extra skill casts can provide QOL improvements, such as reducing Stamina consumption throughout a rotation, more Energy Particles, and more teleporting.  |
 4 Thundersoother (4TS) | In Aggravate teams, you’re going to generally have high Electro uptime, making the 4-piece set effect reliable. Extremely competitive with 4-piece Thundering Fury. |
 4 Gilded Dreams (4GD) | Assuming one Electro character and two Non-Electro characters, the EM and ATK buffs are both buffs that Aggravate Keqing wants. Solid option but falls behind the two sets mentioned above by around 4% with ATK Sands, and ~7-9% with EM Sands. |
 2TF 2EM / 2TF 2ATK | The strongest 2-piece mixed sets. Use 2-piece EM with ATK Sands and 2-piece ATK with EM Sands to maximize your damage. |
 2EM 2EM / 2EM 2ATK / 2ATK 2ATK | The difference between these set combinations is marginal. Use the combination with better substats. |
Non-Aggravate Keqing
Artifact Stats
 Sands |  Goblet |  Circlet |
| ATK% | Electro DMG% | CRIT Rate CRIT DMG |
Substats
CRIT > ATK% > ATK
Keqing’s ER requirements are very low and should not need to be specifically built around.
Artifact Sets
Ordered by recommendation.
 2 ATK% + 2 Thundering Fury (2ATK 2TF) | 2-Piece Thundering Fury combined with 2-Piece Gladiator or SR is one of Electro Keqing’s most consistent sets. |
 2 ATK% + 2 ATK% (2ATK 2ATK) | Marginally better than 2-piece TF 2-piece ATK% for Mistsplitter users, as well as potentially being competitive with 2-piece TF 2-piece ATK% depending on substats. |
 4 Thundersoother (4TS) | This set outputs high damage on paper, but practically speaking it’s not a versatile set as it is entirely dependent on the enemies having Electro Aura. Not recommended to use. |
 4 Shimenawa’s Reminiscence (4SR) | Can be used in Driver Keqing teams, where Keqing can skip Burst in rotations. |
 4 Gladiator’s Finale (4GF) | The 4-piece set bonus only buffs Keqing’s Normal Attacks and not her Charged Attacks, making the 4-piece set bonus lackluster. |
Weapons
Aggravate Keqing
Ordered by strength.
Calculated with EM Sands. You can find the full list with % damage difference as well as an ATK% Sands weapon comparison in the main guide linked here.
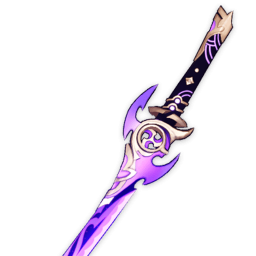 Mistsplitter Reforged | Best-in-slot option for Sustained Electro Keqing. Mistsplitter offers 44.1% CRIT DMG alongside a very high Base Attack and an extremely strong passive, which Keqing has an easy time maintaining. |
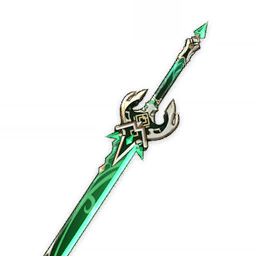 Primordial Jade Cutter | The gap between Mistsplitter and Jade Cutter in Aggravate Keqing is much smaller due to the high CRIT Rate, boosting Aggravate’s damage. |
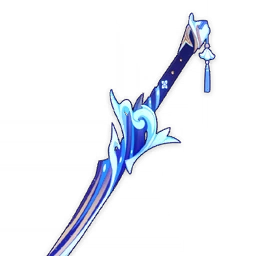 Haran Geppaku Futsu | Since Keqing Aggravates mostly from her first Normal Attack, Haran’s NA DMG% pushes Aggravate’s damage quite high. On top of that, Haran provides a large amount of CRIT Rate, making this weapon sit at a comfortable top 3 spot. |
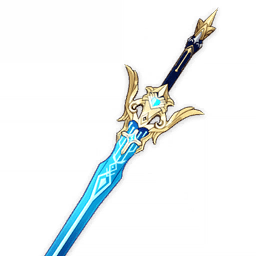 Freedom Sworn | Aggravate Keqing appreciates the EM provided by Freedom Sworn, alongside the ATK% buff and the NA / CA buff, pushing this weapon to a comfortable top spot. |
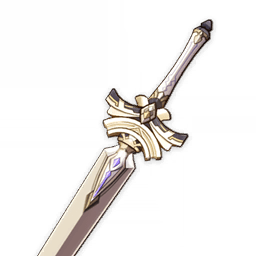 R5 Harbinger of Dawn | Wait HoD is this high up? It is! The amount of CRIT stats provided by this weapon push Aggravate’s damage quite high. However, maintaining the passive is crucial. |
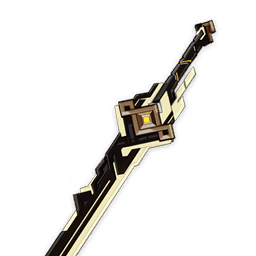 Summit Shaper | While Summit Shaper usually needs time to ramp up, Keqing’s Elemental Burst fully stacks this weapon by itself. This, paired with consistent shield uptime, makes Summit Shaper one of Keqing’s top weapons. |
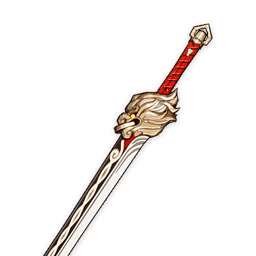 Lion’s Roar | Aggravate Keqing has nearly 100% uptime on Lion’s Roar’s passive, making it reliable unless you are facing enemies with innate Element. |
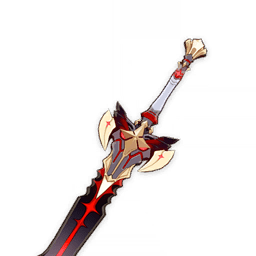 The Black Sword | The Black Sword remains a strong and consistent option for Keqing, and beats Lion’s Roar with EM / ATK buffs. |
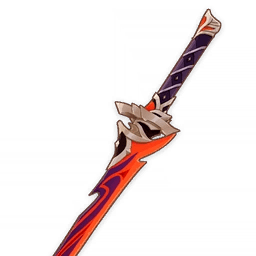 Kagotsurube Isshin | Unfortunately, the lack of CRIT, EM, and DMG buffs weakens Aggravate damage, dropping this weapon’s value by quite a bit compared to Non-Aggravate Keqing. Remains one of Keqing’s strongest F2P options though. |
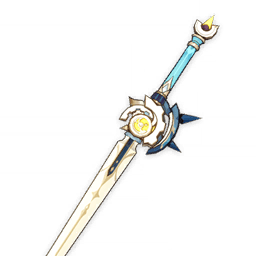 Iron Sting | Similar to other EM Weapons, Aggravate Keqing loves the EM provided by this weapon, and at refinement 5, it becomes a strong 4-star option for her. |
Non-Aggravate Keqing
Ordered by strength.
You can find the full list with % damage difference in the main guide linked here.
 Mistsplitter Reforged | Best-in-slot option for Sustained Electro Keqing. Mistsplitter offers 44.1% CRIT DMG alongside a very high Base Attack and an extremely strong passive, which Keqing has an easy time maintaining. Mistsplitter loses to Jade Cutter in teams that forgo Keqing’s Elemental Burst. |
 Primordial Jade Cutter | Jade Cutter was previously Electro Keqing’s Best-in-slot up until Mistsplitter’s release. This sword offers 44% CRIT Rate for free without conditional passives which is immensely valuable. |
 Haran Geppaku Futsu | Although Haran only buffs Keqing’s Normal Attacks, it provides a non-negligible Elemental DMG buff, as well as high amounts of CRIT Rate, making it a strong weapon for Keqing. |
 Summit Shaper | While Summit Shaper usually needs time to ramp up, Keqing’s Elemental Burst fully stacks this weapon by itself. This, paired with consistent shield uptime, makes Summit Shaper one of Keqing’s top weapons. |
 Lion’s Roar | Keqing’s best 4-star weapon in situations where Electro Aura is maintained. Maintaining the passive is a big part of this weapon’s strength, which should not be a problem for Electro Keqing. |
 The Black Sword | The premier 4-star weapon for Keqing. Although The Black Sword is slightly weaker than Lion’s Roar with its passive up, this weapon makes building Keqing more forgiving due to the CRIT Rate secondary stat and the lack of a condition on its passive. |
 Kagotsurube Isshin | Very strong 4-star option that really appreciates DMG% buffs, slightly pulling ahead of The Black Sword if you’re running 2 TF 2 ATK% artifacts. |
 R5 Harbinger of Dawn | Solid F2P option provided you keep Keqing above 90% HP. |
Teams and Character Synergies
Aggravate

Keqing’s fast rate of Electro application allows her to utilize the Aggravate reaction effectively, significantly boosting her personal damage.
The standard skeleton for an Aggravate Keqing team needs a Dendro character to apply Quicken, an Anemo character or Zhongli for Resistance Shred, utility, and situational off-field damage, and an off-field Electro character. You should have no problems maintaining Aggravate uptime with this team archetype.
Notable Teammates
  Dendro MC / Collei | Stock standard Dendro options. Collei can fit into shorter rotations and doesn’t have as many Energy needs as Dendro MC. However, Dendro MC’s rotations are easier to execute as short rotations tend to be strict. |
 Nahida | Far superior personal damage compared to Dendro MC and Collei. That being said, her high rate of Dendro application can cause Anemo characters to miss Electro Swirls. Best paired with Zhongli. |
  Fischl / Beidou | Fischl and Beidou are both capable off-field DPS characters that can proc Aggravate. Fischl works best against Single Target content while Beidou offers more AoE and survivability. Do note that Beidou can run into Energy issues without Fischl as a partner. |
 Kuki Shinobu | Kuki can slot in as your healer while also dealing AoE off-field damage with Aggravate, providing high value to your team. |
Driver Keqing
Driver Keqing teams primarily play off of off-field DPS characters, like Xingqiu, Yelan, or Beidou, by having Keqing be the on-field DPS and proccing Beidou Burst, Xingqiu Burst, etc. Additionally, Driver Keqing teams almost always proc Electro-Charged consistently, adding extra damage to the team, as well as utility through stagger.
Xingqiu Variant

Notable Teammates
 Yelan | Best paired with Xingqiu due to their powerful synergy that comes from being able to battery each other, reducing ER requirements, and the Hydro Shred from Xingqiu’s C2. You can read more about their synergy in KQM’s Yelan guide! |
 Fischl | Fischl offers high off-field damage as well as consistent Electro application and strong Energy generation making her one of the most popular picks for this team. Can slot into the 4th spot. |
 Beidou | Beidou is another Electro character that offers strong off-field damage and Electro application as well as extremely potent AoE damage, covering Fischl and Xingqiu’s “weakness”. Her damage reduction is also an added bonus that further lowers your need for a healer. Can slot into the 4th spot. |
 Kuki Shinobu | Kuki can fill a healer’s spot while providing off-field damage by proccing Electro-Charged. |
 Kazuha | Provides off-field damage through Swirls, as well as team utility by shredding both Hydro and Electro, buffing your team’s DMG% and reducing the enemy’s Resistance. |
 Sucrose | Sucrose provides some defensive utility through Crowd Control, and an ATK% buff through TTDS. She also applies large amounts of Anemo making it highly likely that you will Swirl both Hydro and Electro, increasing the damage of your entire party. |
  Sayu / Jean | Your Anemo healer options. |
Kokomi Variant

Notable Teammates
 Beidou | Ideally you should try to snapshot TTDS on Beidou by swapping into her after Kokomi and casting your Burst THEN swapping into Keqing. |
 Kazuha | In this specific variant you don’t need to worry about Swirling Hydro because Kokomi doesn’t utilize the Shred, so your rotations are a little easier. |
 Sucrose | Sucrose grouping is quite strong for Kokomi because her Jellyfish only covers a certain area and staying within its range is important for the team to function. Avoid running TTDS on both Sucrose and Kokomi. |
Credits
3b00d_09#2235, uhinf1999
