Updated for Version 5.8
Rosaria is a 4★ Cryo Polearm character in Genshin Impact who deals strong personal damage and grants a CRIT Rate buff in a variety of teams. Learn about Rosaria’s best builds, best weapons, best artifacts, and best teams in this quick guide.
The full-length guide is available here. It is currently out-of-date.
Table of Contents
Infographic
Design: kol, icedsquid, auntyplays, auraolis
Content: KQM TC Staff
Design: kol, icedsquid, auntyplays
Content: Lesterberne and KQM TC Staff
Design: kol, icedsquid, auntyplays, auraolis
Content: Lesterberne
Character Overview
Playstyles
Rosaria is seen in different playstyles and team archetypes that are viable in a variety of scenarios.
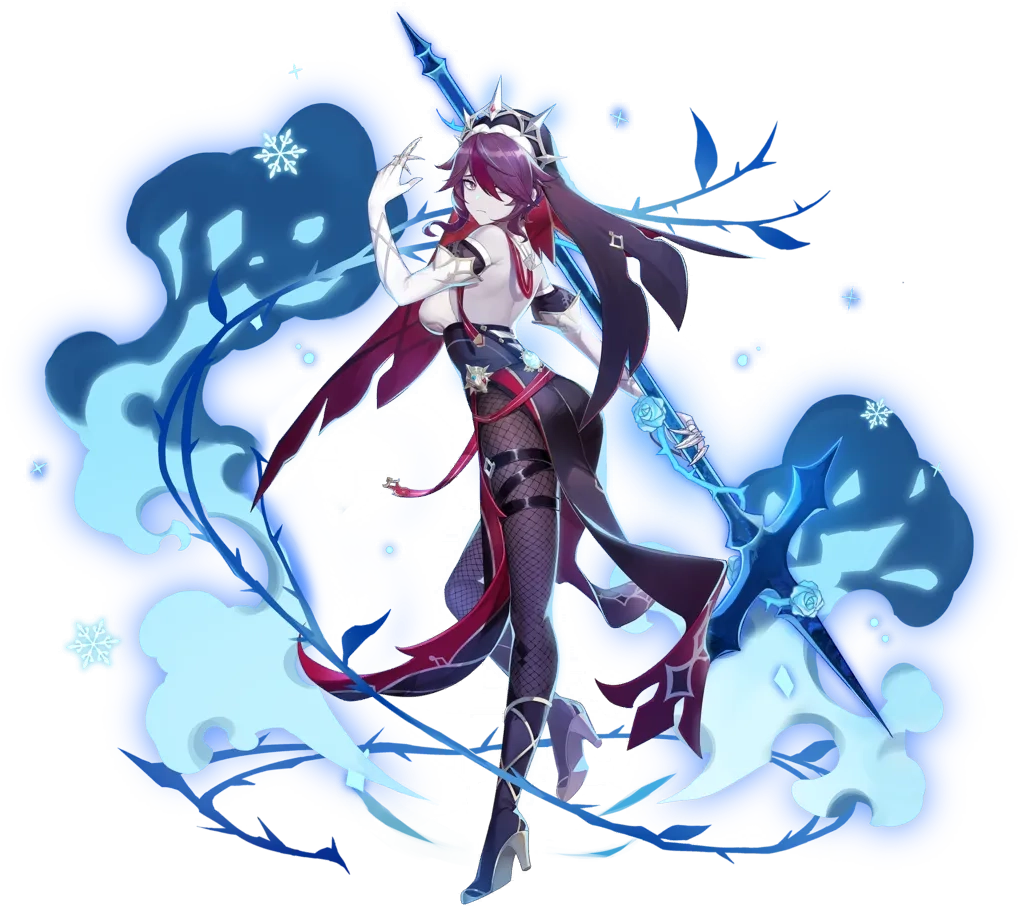
Reverse Melt
Rosaria is a viable Reverse Melt DPS, either as an off-field or quickswap DPS. She possesses high multipliers on her Burst and Skill, which always trigger Melt if there is a Pyro aura on the enemy due to their lack of internal cooldown (ICD). She can also snapshot buffs onto her Burst.
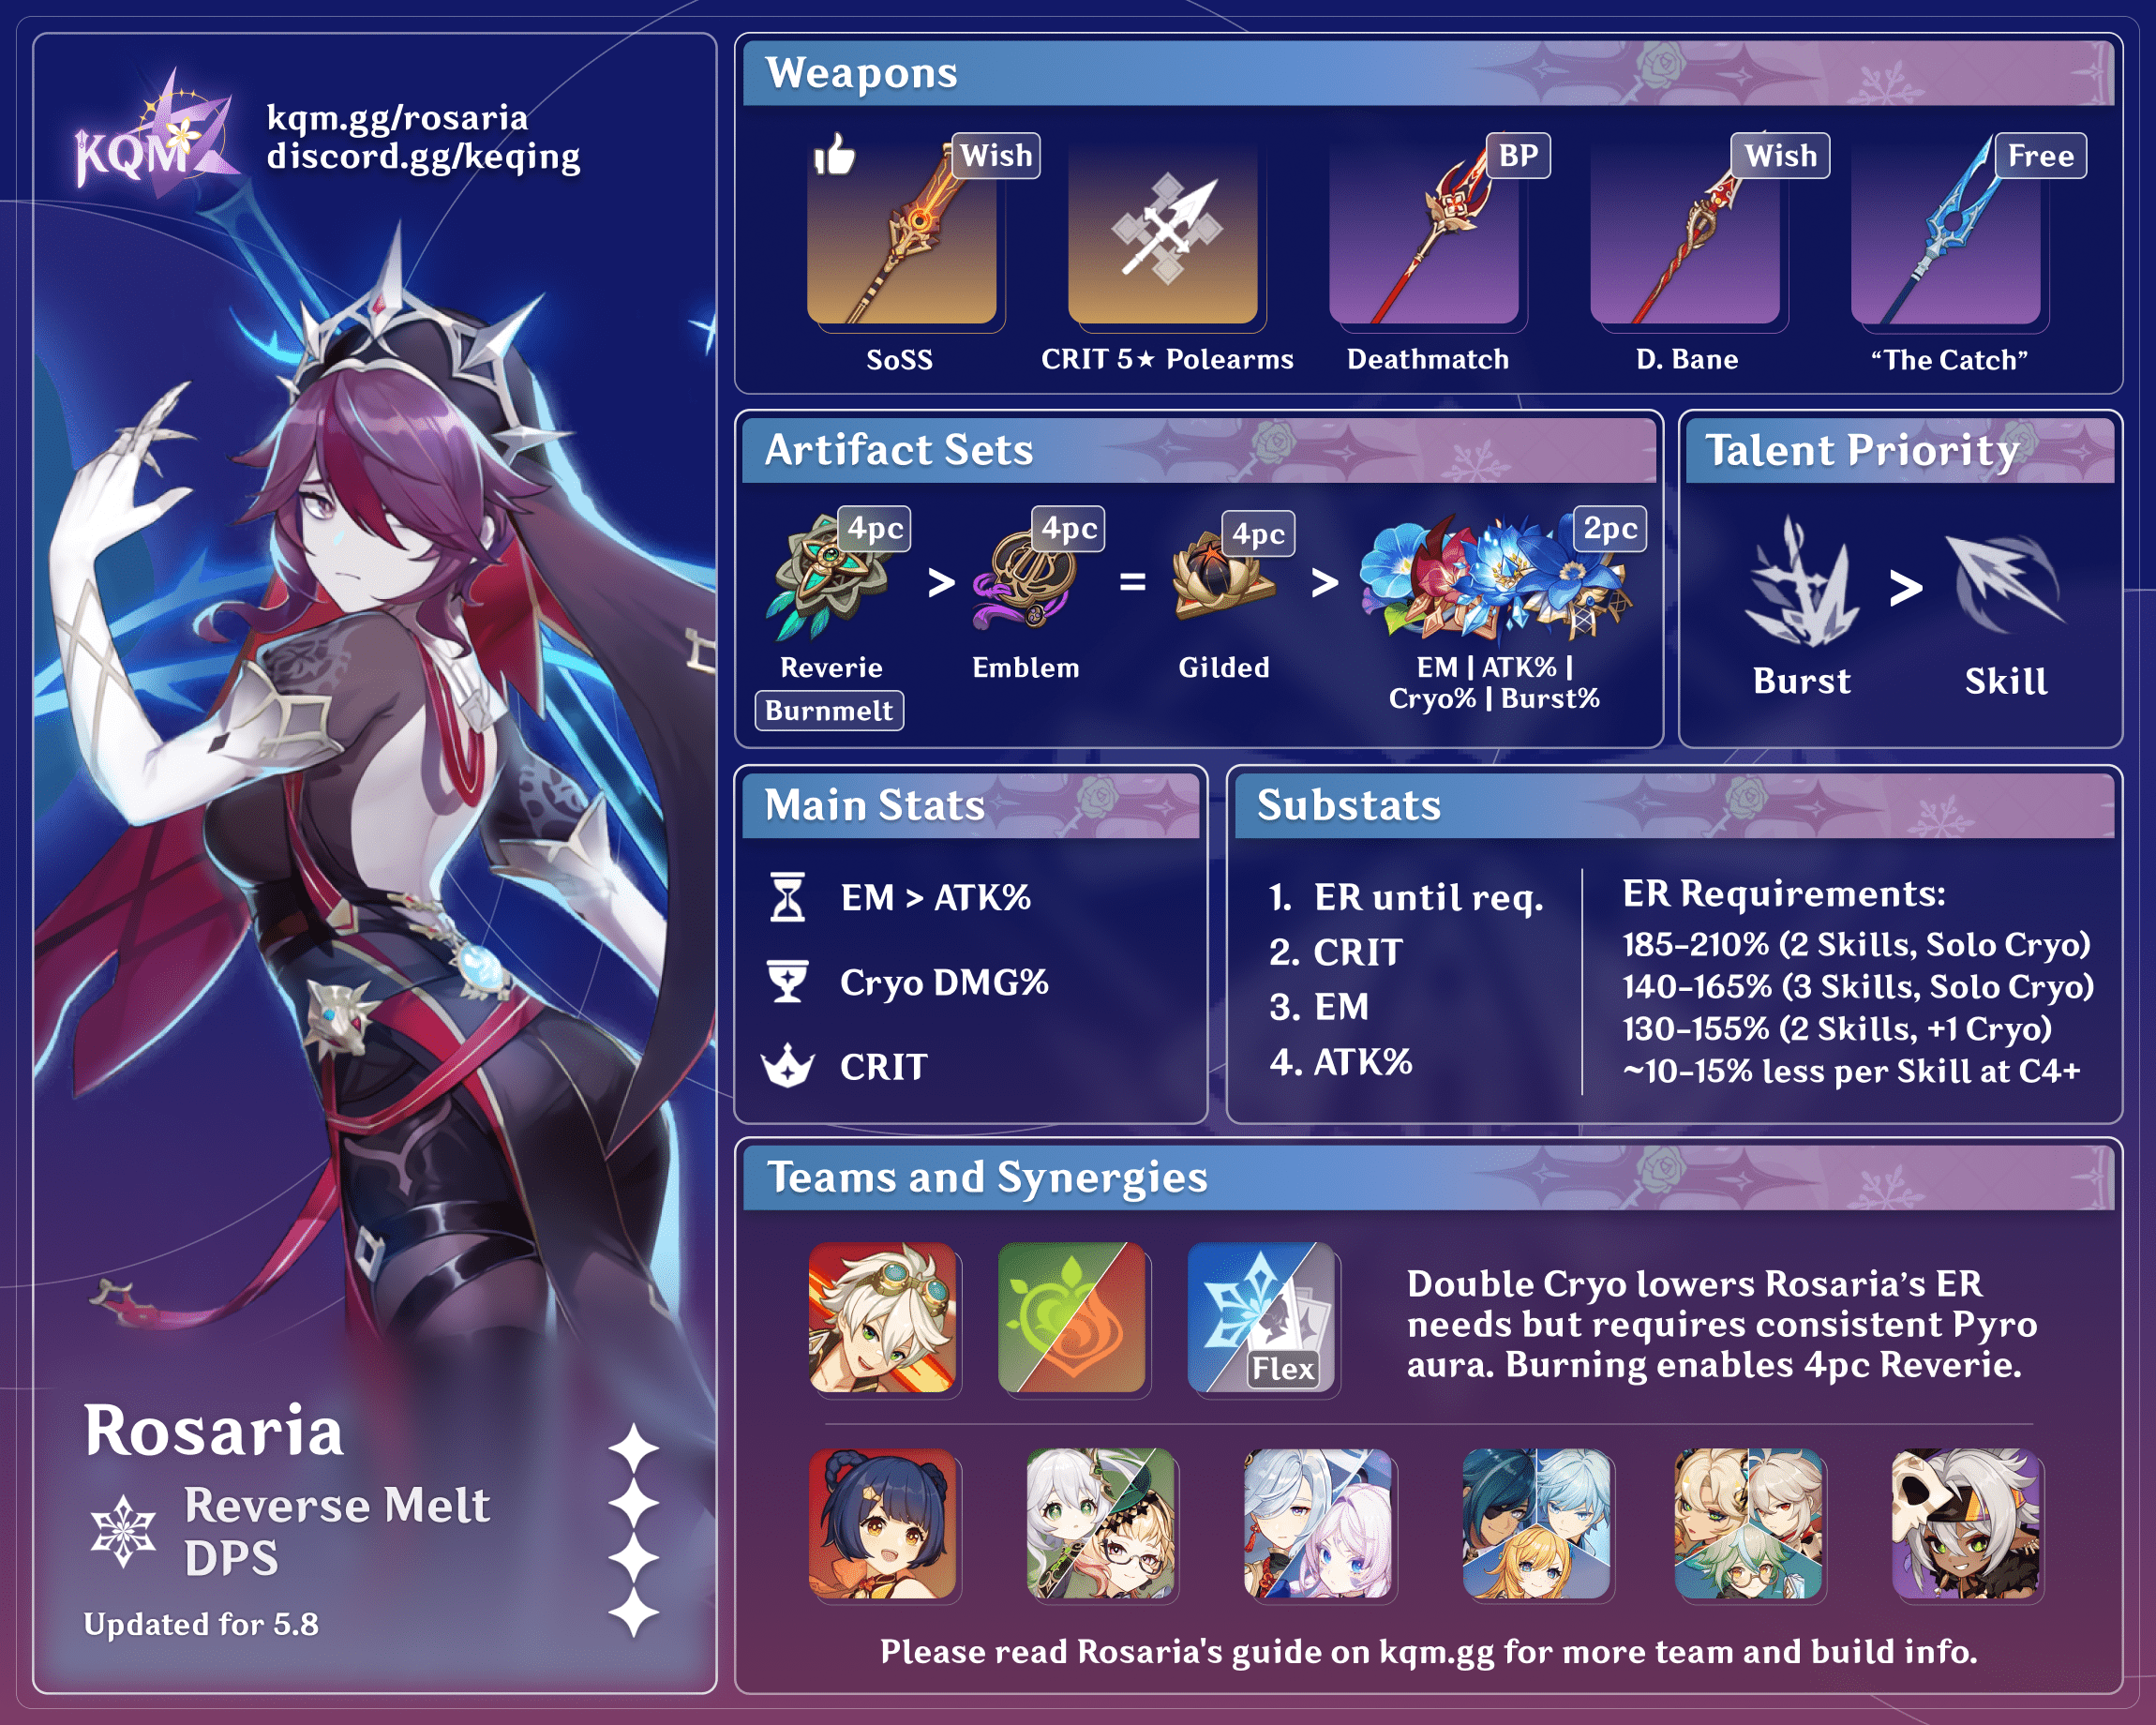
Freeze / Mono Cryo
Rosaria’s Freeze teams make full use of her consistent off-field damage, superb particle generation, and CRIT Rate buff. She helps lower another Cryo character’s ER requirements and keep enemies Frozen to create a comfortable and smooth playstyle. Mono Cryo teams have the same benefits but without the comfort from Freezing enemies. It is best against bosses.
Support
Rosaria’s support capabilities include excellent particle generation, consistent Cryo application, a CRIT Rate buff, Physical RES Shred (at C6), and potentially high personal damage. She is most often used to enable Forward Melt for Pyro DPS characters, increase an on-field DPS unit’s CRIT Rate with her A4 Passive, shred enemy Physical RES with her C6, and provide an ATK% buff with 4pc Noblesse Oblige.
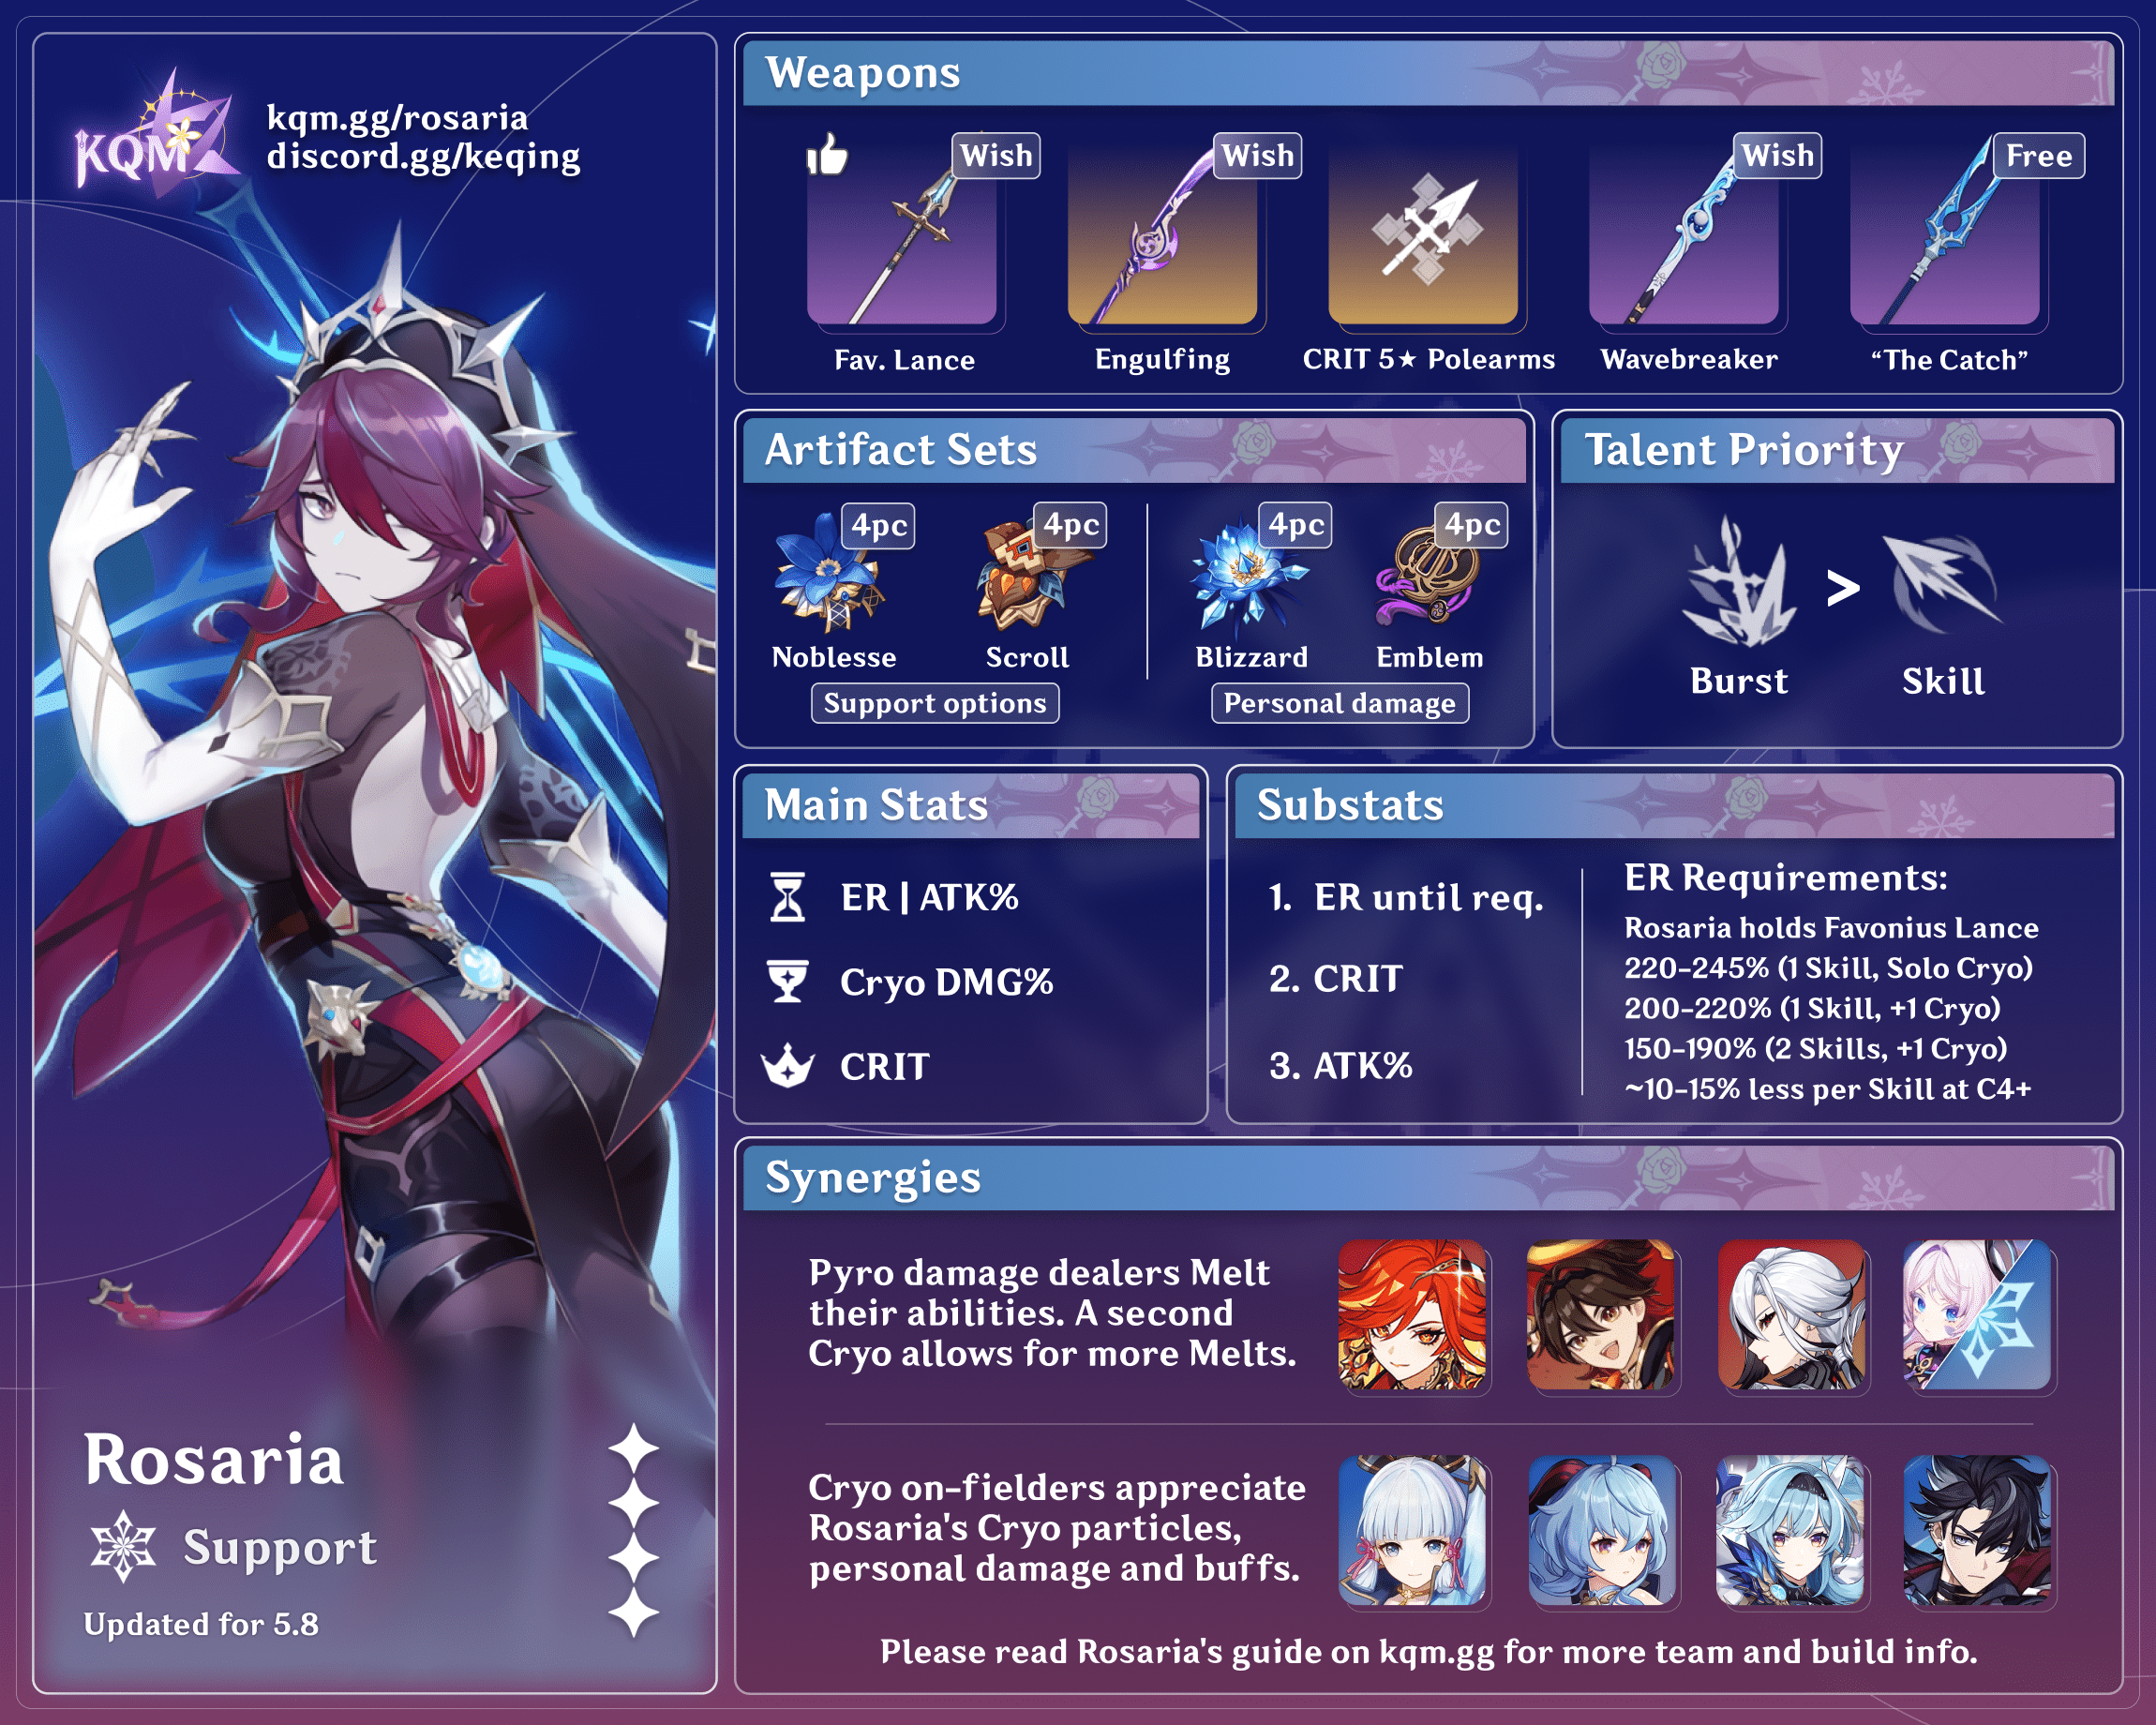
Physical
This quick guide will not focus on Rosaria’s Physical DPS playstyle.
While Rosaria has Constellations and Talents that suggest her as a potential Physical DPS, her Physical DPS teams generally perform worse than her Reverse Melt or Freeze teams. Even when Rosaria is built as a Physical DPS, more than 30% of her damage comes from her Burst and Skill (which deal Cryo damage).
If you still want to play Physical Rosaria, go ahead! Play the game as you enjoy it.
Talents
Talent Priority
Burst > Skill
Rosaria’s Normal Attack Talent does not need to be leveled for any of the teams mentioned in this quick guide. For a Physical or Hybrid build, her Normal Attack Talent can be leveled.
Talent Overview
 Normal Attack | Spear of the Church
Talent Description
Normal Attack
Performs up to 5 consecutive spear strikes.
Charged Attack
Consumes a certain amount of Stamina to lunge forward, dealing damage to opponents along the way.
Plunging Attack
Plunges from mid-air to strike the ground below, damaging opponents along the path and dealing AoE DMG upon impact.
In her off-field and quickswap playstyles, Rosaria’s Normal Attacks are only used to help proc certain effects like Favonius Lance’s passive or a teammate’s coordinated attack (like Xingqiu’s Burst). Their damage is negligible.
 Elemental Skill | Ravaging Confession
Talent Description
Rosaria swiftly shifts her position to appear behind her opponent, then stabs and slashes them with her polearm, dealing Cryo DMG.
This ability cannot be used to travel behind opponents of a larger build.
Rosaria’s Skill deals Cryo damage and can place her behind enemies (up to a certain size). It has a 6s cooldown with good Cryo Particle generation, which makes it valuable for contributing to team DPS in quickswap teams and lowering her Cryo teammate’s ER requirements.
Her Ascension 1 Passive grants her 12% CRIT Rate if her Skill lands a crit on an opponent from behind.
 Elemental Burst | Rites of Termination
Talent Description
Rosaria’s unique take on this prayer ritual: First, she swings her weapon to slash surrounding opponents; then, she summons a frigid Ice Lance that strikes the ground. Both actions deal Cryo DMG.
While active, the Ice Lance periodically releases a blast of cold air, dealing Cryo DMG to surrounding opponents.
Rosaria’s Burst is the most important part of her kit, providing CRIT Rate to her teammates after cast thanks to her Ascension 4 Passive. It deals 2 initial instances of Cryo damage and procs 4 times over its duration (6 times at C2). Her Burst also lacks ICD which means it can trigger Melt on every hit, granted there is sufficient Pyro application in her Reverse Melt team. Rosaria’s Burst can also enable Forward Melt for some Pyro DPS units. It can also snapshot buffs.
 Ascension 1 Passive | Regina Probationum
Talent Description
When Rosaria strikes an opponent from behind using Ravaging Confession, Rosaria’s CRIT Rate increases by 12% for 5s.
Rosaria’s A1 Passive grants her 12% CRIT Rate upon landing a crit hit on an enemy from behind with her Skill. Note that it is impossible for Rosaria to move behind certain larger enemies and almost all bosses.
 Ascension 4 Passive | Shadow Samaritan
Talent Description
Casting Rites of Termination increases CRIT Rate of all nearby party members (except Rosaria herself) by 15% of Rosaria’s CRIT Rate for 10s.
CRIT Rate Bonus gained this way cannot exceed 15%.
After casting Rosaria’s Burst, the whole party except Rosaria gains 15% of her CRIT Rate for 10s. This Passive stacks with her Ascension 1 Passive, so Rosaria should always use Skill before her Burst. As a result, Rosaria’s CRIT Rate effectively caps at 88% to maximize her A4 Passive.
Constellations
 Constellation 1 | Unholy Revelation
Constellation Description
When Rosaria deals a CRIT Hit, her ATK SPD increases by 10% and her Normal Attack DMG increases by 10% for 4s.
Increases Normal Attack damage and Movement Speed by 10% after CRIT hit. Not a helpful Constellation as Rosaria’s Normals don’t contribute much to her teams’ damage.
 Constellation 2 | Land Without Promise
Constellation Description
The duration of the Ice Lance created by Rites of Termination is increased by 4s.
Increases Rosaria’s Burst duration by 4 seconds, which gives her 2 extra DoTs procs. Her most important Constellation.
 Constellation 3 | The Wages of Sin
Constellation Description
Increases the Level of Ravaging Confession by 3.
Maximum upgrade level is 15.
Increases Skill Level by 3. Good Constellation, just nothing game-changing.
 Constellation 4 | Painful Grace
Constellation Description
Ravaging Confession’s CRIT Hits regenerate 5 Energy for Rosaria.
Can only be triggered once each time Ravaging Confession is cast.
Critting on Rosaria’s Skill gives her 5 Flat Energy, reduces her Energy Recharge requirements depending on how many Skill casts she can get in a rotation.
 Constellation 5 | Last Rites
Constellation Description
Increases the Level of Rites of Termination by 3.
Maximum upgrade level is 15.
Increases Burst Level by 3. Very helpful Constellation as most of Rosaria’s damage comes from her Burst.
 Constellation 6 | Divine Retribution
Constellation Description
Rites of Termination’s attack decreases opponents’ Physical RES by 20% for 10s.
Dealing damage with Rosaria’s Burst reduces enemies’ Physical Resistance by 20% for 10s, only useful in Physical teams.
Combos
Combo Notation
- N = Normal Attack
- C = Charged Attack
- A = Aimed Shot
- P = Plunging Attack
- hP = High Plunge
- lP = Low Plunge
- E = Elemental Skill
- tE = Tap Skill
- hE = Hold Skill
- Q = Elemental Burst
- D = dash (cancel)
- J = jump (cancel)
- W = walk (cancel)
- > = switch character
- ( ) = these actions are optional; please refer to the notes below
- [ ] = repeat these actions the specified number of times
| E Q | Rosaria’s default combo as an off-fielder. She casts her Skill to generate particles that would be caught after her Burst is used. Against small enemies, Rosaria swiftly positions herself behind them to trigger her A1’s CRIT Rate self buff, which will increase her A4’s teamwide CRIT Rate share. |
| Q E | This combo allows Rosaria to feed her particles onto the next teammate. In some Forward Melt setups, this can also front-load her Cryo application better. |
| E > Teammate | Rosaria’s Skill has low cooldown, so she can use it multiple times during a rotation. This works best in quickswap teams where she can cast her Skill off-cooldown and feed it to her teammates. |
Reverse Melt
ER Requirements
Solo Cryo
| No C4 | C4+ | |
| 1 Skill (Not Recommended) | >240% | >240% |
| 2 Skills | 200–210% | 180–190% |
| 3 Skills | 155–165% | 120–130% |
Double Cryo
| No C4 | C4+ | |
| 1 Skill | 190–200% | 170–180% |
| 2 Skills | 145–155% | 120–130% |
| 3 Skills | 125–135% | 100–110% |
- It is recommended to run at least 1 Favonius weapon in Solo Cryo teams.
- For best results at higher ER requirements, equip 4pc Emblem of Severed Fate and a weapon with an ER secondary stat and an offensive passive.
- One Favonius weapon passive proc per rotation lowers Rosaria’s requirements by 15–20% ER.
- 3 Skills per rotation extends some rotations or is difficult to execute overall.
Use the Energy Recharge Calculator to determine exact requirements for your team and rotation. For more details on how Favonius weapons will affect your team, please use Ac1d’s Favonius Mastersheet.
Artifact Stats
 Sands |  Goblet |  Circlet |
| EM or ATK% | Cryo DMG Bonus | CRIT Rate or CRIT DMG |
Stat Priority: ER (until requirement) > CRIT Rate ≥ CRIT DMG > EM > ATK%
Building more CRIT Rate is fairly important to increase Rosaria’s A4 CRIT Rate buff and to ensure an A1 Passive and C4 proc. EM Sands can be better if used with an ATK% weapon while ATK% Sands can be better if used with an EM weapon.
We recommend using Genshin Optimizer to compare your actual artifacts.
Artifact Sets
 4pc Gilded Dreams (GD) | The 2pc and 4pc bonus EM and ATK% make 4pc Gilded Dreams one of Rosaria’s best sets for Reverse Melt at lower ER requirements. |
 4pc Lavawalker | 4pc Lavawalker grants 35% DMG Bonus from the 4pc set bonus, which makes it a very competitive option if you have good pieces. |
 4pc Unfinished Reverie | Rosaria’s best option in a Burnmelt team at lower ER requirements. |
 4pc Emblem of Severed Fate (EoSF) | 4pc EoSF is a great generalist set and may outperform other sets at higher ER requirements. |
 2pc + 2pc Mixed Sets | 2pc Bonuses: EM, ATK%, Cryo DMG%, Burst DMG%, ER These 2pc bonuses improve Rosaria’s DPS since her Burst Melts scale with all of these stats. Sets that give Rosaria ER or Energy refund (2pc EoSF and 2pc Scroll, respectively) help her reach the desired ER requirements easier. |
Weapons
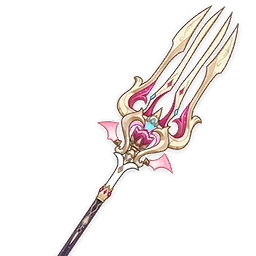
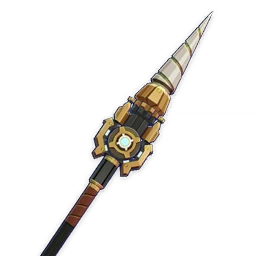
 5★ Staff of the Scarlet Sands | Staff of the Scarlet Sands is Rosaria’s best weapon in Reverse Melt teams. It offers a high CRIT Rate secondary stat and a passive that gives her Flat ATK based on her EM. |
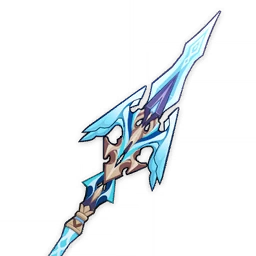
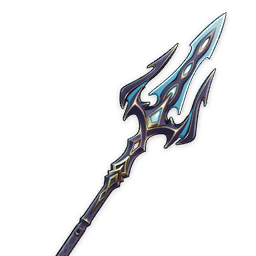
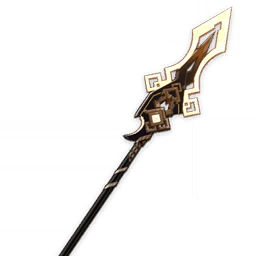
 5★ 608 Base ATK Polearms with CRIT secondary stats | Fractured Halo, Staff of Homa, Lumidouce Elegy, Symphonist of Scents These CRIT stat sticks perform well on Rosaria thanks to the balance between high Base ATK and high CRIT secondary stats. All four weapons have an ATK-boosting passive, with Fractured Halo’s passive being the highest in terms of ATK increase. At low HP, Homa outclasses all of Rosaria’s other options, barring Staff of the Scarlet Sands. |
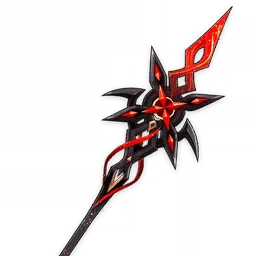
 5★ Calamity Queller | Calamity Queller suffers from Rosaria being unable to fully use the weapon’s passive due to snapshotting — however, it still remains a competitive option. It generally performs similarly to R1 Ballad of the Fjords or Deathmatch, but does not scale as well. |
 4★ Ballad of the Fjords | Ballad of the Fjords performs on par with Deathmatch at the same refinements, assuming the team has at least three different Elements. While one would expect it to be higher, Rosaria already gets all the EM she needs for Amplifying Reactions from three different-Element teammates while on 4pc Gilded Dreams. Choose between Ballad or Deathmatch based on your Sands; if EM, use Deathmatch. If ATK%, use Ballad. |
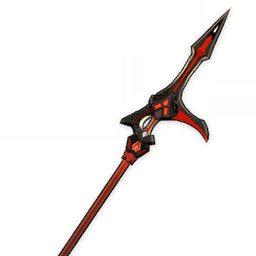
 4★ Deathmatch | Deathmatch has the highest CRIT Rate for a 4-star Polearm, which helps boost Rosaria’s CRIT Rate share from her A4 Passive. Choose Deathmatch over Ballad of the Fjords if you also want Rosaria as a CRIT Rate support in other archetypes. |
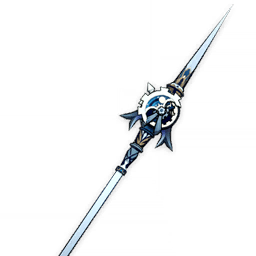
 4★ Wavebreaker’s Fin | Wavebreaker’s Fin is a competitive option that provides Burst DMG%, ATK%, and a high Base ATK. It scales very well with refinements, even beating some 5-star options at R5. |
 5★ Primordial Jade Winged-Spear | PJWS performs on-par with R1 Deathmatch. It offers high Base ATK, some CRIT Rate with its secondary stat, and a small ATK% buff with its passive. Rosaria never reaches full stacks of its passive in a typical Reverse Melt team. |
 5★ Crimson Moon’s Semblance | CMS has a slightly lower performance than PJWS if Rosaria cannot use her Charged Attacks to gain the Bond of Life. However, with a Charged Attack used every rotation, Rosaria can gain enough Bond of Life in two rotations to receive a decent DMG Bonus buff, assuming she does not receive healing from teammates. |
 4★ Dragon’s Bane | Dragon’s Bane’s EM secondary stat and DMG% passive make it an excellent choice for Reverse Melt. Rosaria benefits from the passive as long as there is a Pyro aura on the enemy. This makes Dragon’s Bane Rosaria’s default accessible 4-star option. |
 4★ Missive Windspear | Missive Windspear is a viable event-exclusive weapon that performs on par with “The Catch”. Most other weapons surpass it. |
 4★ “The Catch” | “The Catch” is the strongest free and permanent option for Rosaria in Reverse Melt. Any of the options above perform better, but it improves at higher ER requirements. |
Teams
Rotation Notation
- N = Normal Attack
- C = Charged Attack
- A = Aimed Shot
- P = Plunging Attack
- E = Elemental Skill
- tE = Tap Skill
- hE = Hold Skill
- Q = Elemental Burst
- D = dash (cancel)
- J = jump (cancel)
- W = walk (cancel)
- > = switch character
- ( ) = these actions are optional; please refer to the notes below
- [ ] = repeat these actions the specified number of times
Teambuilding
Reverse Melt teams have Rosaria as one of the major damage dealers thanks to her hard-hitting Burst being able to snapshot buffs and trigger Melt on every hit. Bennett is almost irreplaceable in Rosaria Reverse Melt teams due to his massive Flat ATK buff and comfy healing. A teammate needs to consistently apply Pyro directly, or via Pyro Swirls / Pyro Absorption, or Burning to let Rosaria trigger Melt. You can run another Cryo character to reduce Rosaria’s ER requirements. Many Cryo options also offer support or strong personal damage.
Notable Teammates
Pyro
 Bennett ★ | Bennett is key to Rosaria’s Reverse Melt teams. He provides a large Flat ATK buff, healing, and a self-applied Pyro aura at regular intervals within his Burst. His Pyro application also enables an Anemo or Dendro character to apply Pyro. His Elemental Skill can be used to battery a Pyro teammate. |
These Pyro characters can enable a consistent Pyro aura for Rosaria to trigger Melt. They also deal strong personal damage or provide team buffs.


Anemo
Anemo characters hold 4pc Viridescent Venerer (VV) to increase the team’s damage via its 4pc RES Shred effect. Some Anemo characters are able to provide additional Pyro application via various methods to enable more Melt for Rosaria.
Kazuha ★ | Kazuha can apply just enough Pyro with his Elemental Burst to enable a consistent Pyro aura on the enemy. His A4 DMG Bonus buff is also a good boost to team DPS. |
 Jean | Jean and Bennett’s Bursts apply Anemo and Pyro to the on-field character, enabling the “Sunfire” effect which allows Rosaria to consistently Melt. |
 Lynette | Lynette’s Burst can absorb Pyro to supplement Bennett’s Pyro application from his Skills, allowing Rosaria to Melt all her Burst hits. Lynette also gives an appreciable ATK% buff on top of 4pc VV. |
 Chasca | Chasca is a unique Anemo character in the sense that she behaves like a Pyro / Hydro / Electro / Cryo DPS depending on the Elements of her teammates. She can be used alongside Rosaria in Reverse Melt, gaining a Cryo bullet Conversion to deal respectable Reverse Melt damage. |


Dendro
Nahida | Nahida enables a consistent Pyro aura via Burning thanks to her strong Dendro application. Bennett or another Pyro enabler helps maintain the Burning aura throughout the rotation. |
Emilie | Emilie also provides Dendro application to maintain Burning aura. While she does not have a strong buff to offer like Nahida, her good personal damage makes up for it. |
Flex
The last slot in Rosaria Reverse Melt teams can be flexible. A second Cryo can be used for their particles, buffs, or personal damage. Buffers or damage dealers of other Elements can also be used so long as their application does not interfere with Rosaria’s Melts.


Example Teams
This is not a comprehensive list of teams. The inclusion or exclusion of any given team does not necessarily reflect its power level.

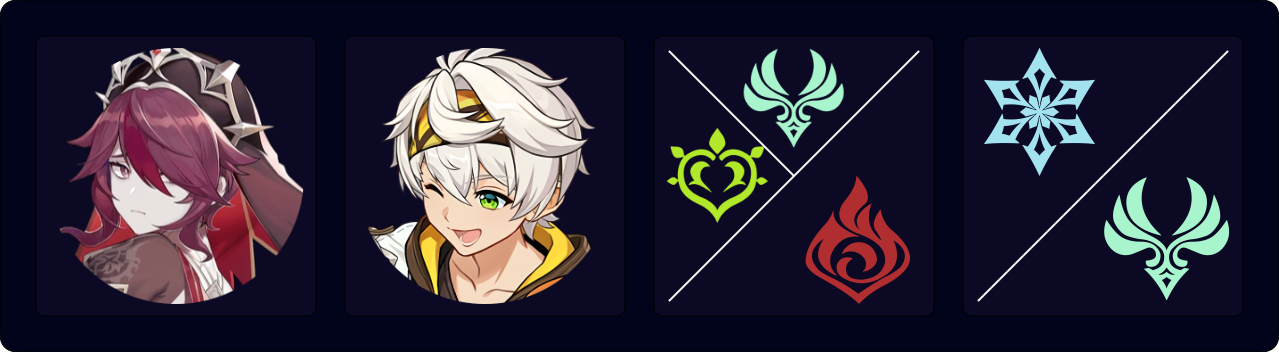
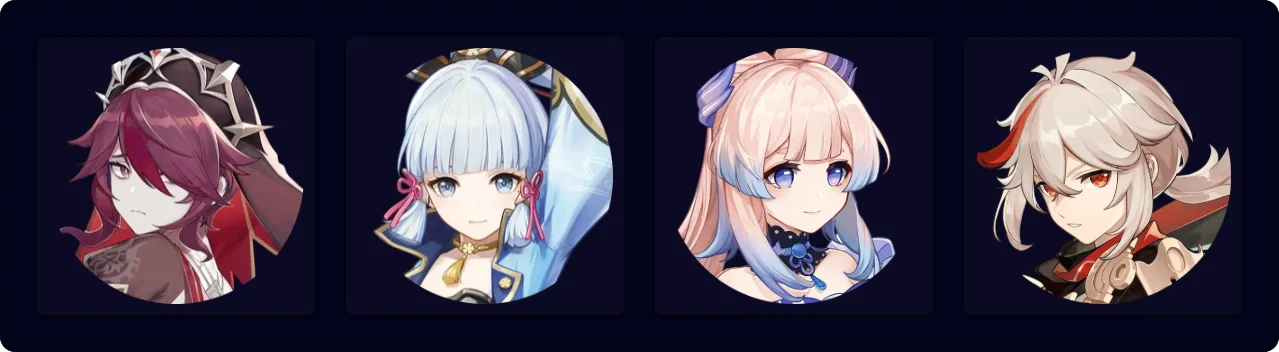
Kazuha acts as a Pyro enabler and provides strong buffs with his A4 Passive and 4pc VV Cryo RES Shred. With C6 Bennett’s Pyro Infusion, the team has enough Pyro application to allow Rosaria to Melt even with Shenhe’s Burst going on in the background. Shenhe’s Burst can be skipped if Bennett is not C6 to avoid stealing Rosaria’s Melts.
Sample Rotation (C6 Bennett)
Shenhe Q¹ N1 tE > Kazuha tEP > Bennett Q E > Rosaria EN1Q > Kazuha Q > Shenhe N2 tE N2 > Rosaria E > Bennett N2 E > Kazuha tEP > Rosaria N1 E
¹Skip Shenhe’s Burst if Bennett is not C6

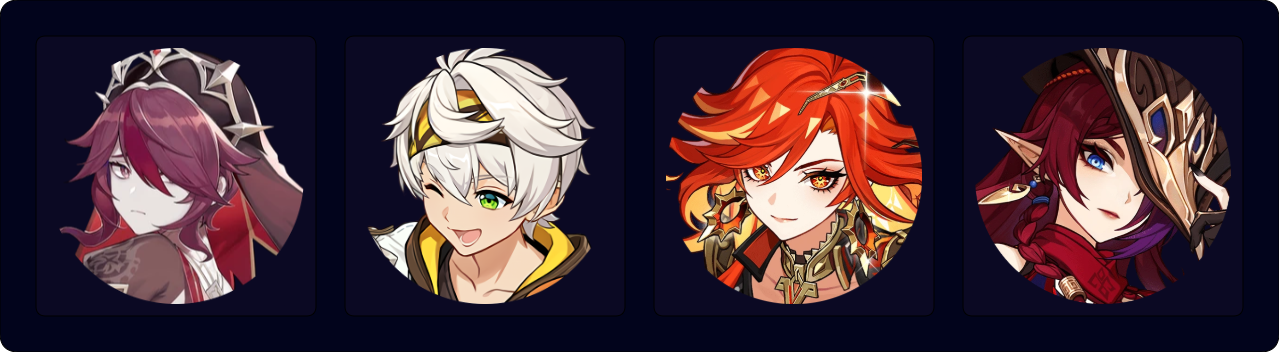
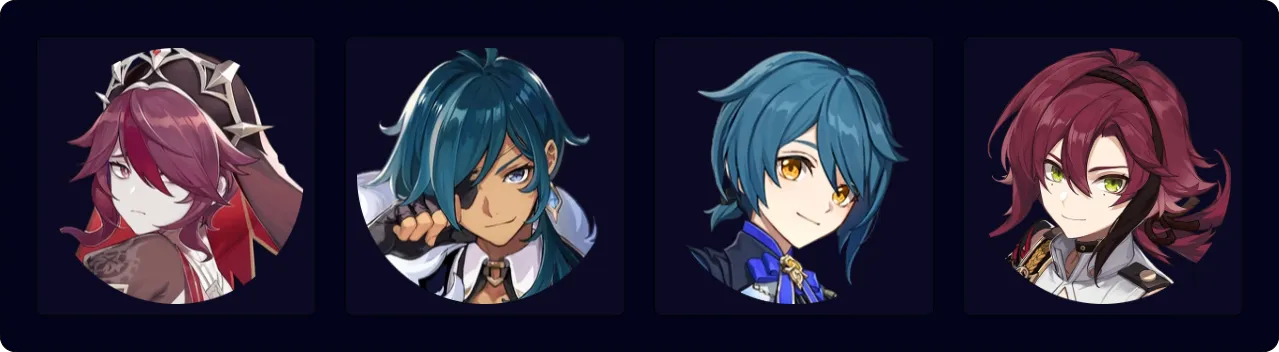
Xiangling’s Pyro application is strong enough to allow an additional Melt Cryo DPS in the team. Escoffier is a good pick as her Skill can Melt every other hit and her Burst can Melt for a formidable nuke. Kaeya’s Burst’s Melt-to-non-Melt ratio is lower than that of Escoffier’s Skill, but he is still a good F2P option with high particle generation nevertheless.
Sample Rotation (Escoffier)
Bennett Q E > Rosaria EN1Q > Xiangling Q E > Escoffier EQ > Rosaria N1 E > Bennett N2 E > Xiangling N2 > Bennett E > Rosaria N1 E N2 > Bennett E > Xiangling N4
Sample Rotation (Kaeya)
Kaeya E > Bennett Q E > Rosaria EN1Q > Xiangling Q E > Kaeya EQ > Rosaria N1 E > Bennett N1 E > Xiangling N3 > Kaeya E > Rosaria N2 E > Bennett E > Xiangling N2

This is a variation of Burnmelt that utilizes Chongyun’s C2 cooldown reduction to decrease the team’s rotation time to increase DPS. Bennett refreshes the Burning aura with his Skill.
Sample Rotation
Nahida E Q > Chongyun E > Bennett Q E > Rosaria EQ > Bennett N2 E > Chongyun Q > Bennett E N2 > Nahida E > Rosaria E > Bennett E N2
This rotation assumes C2+ Chongyun.
In this team, both Chasca and Rosaria deal Reverse Melt damage thanks to the Pyro application from Mavuika and Chasca herself. Mavuika can also Melt her Burst for front-loaded damage with the right setup.
Sample Rotation
Bennett E Q > Rosaria EN1Q > Mavuika Q tE > Chasca E 4[C] Q/C¹ > Rosaria E N4
¹Burst when available, otherwise hold Chasca’s Charged Attack until she falls to the ground
Freeze / Mono Cryo
ER Requirements
| No C4 | With C4 | |
| 1 Skill | 195–205% | 175–185% |
| 2 Skills | 150–160% | 125–135% |
- One Favonius weapon passive proc per rotation lowers Rosaria’s ER requirements by 15–20%.
- If Venti’s Burst absorbs Cryo, then Rosaria’s ER requirements reduce by 20–25%.
- 3 Skills per rotation prolong some rotations or are simply too difficult to execute.
Use the Energy Recharge Calculator to determine exact requirements for your team and rotation. For more details on how Favonius weapons will affect your team, please use Ac1d’s Favonius Mastersheet.
Artifact Stats
Sands | Goblet | Circlet |
| ATK% or ER | Cryo DMG Bonus | CRIT DMG or CRIT Rate |
Stat Priority: ER (until requirement) > CRIT DMG > CRIT Rate > ATK%
Prioritize ER since Rosaria’s Burst is most important. With 5% innate CRIT Rate, her A1 Passive, 4pc Blizzard Strayer, and Cryo Resonance, Rosaria can have up to 72% CRIT Rate already before getting any more from substats. If not using 4pc Blizzard Strayer, prioritize CRIT Rate over CRIT DMG to maximize her A4 Passive CRIT buff.
Artifact Sets
 4pc Blizzard Strayer (BS) | 4pc BS is the best set in Freeze teams. However, this set loses its value against enemies who cannot be Frozen (e.g. boss enemies). Nevertheless, 4pc BS can still be Rosaria’s best option even when her targets only have Cryo aura. Run a CRIT DMG Circlet when running this set to avoid overcapping on CRIT Rate. |
 4pc Marechaussee Hunter (MH) | A good set to run with Furina in the team. Rosaria needs to wait a few seconds for her HP drain done by Furina’s pets, in order to gain 4pc MH stacks before casting her Burst. Still, this set comes with a benefit of not relying on enemies being Frozen like 4pc BS. |
4pc Emblem of Severed Fate (EoSF) | 4pc EoSF can be used at higher ER requirements or when you lack additional Blizzard Strayer pieces. |
 4pc Noblesse Oblige | 4pc NO trades Rosaria’s personal damage for a much-appreciated teamwide buff. This is Rosaria’s best set in most teams where her team damage contribution is not the largest. |
 4pc Scroll of the Hero of Cinder City (Scroll) | Similar to 4pc NO, 4pc Scroll can be equipped on Rosaria for more team buffs. Notably, its DMG Bonus buff is more universally useful than the ATK buff of 4pc NO. |
2pc + 2pc Mixed Sets | 2pc Bonuses: ATK%, Cryo DMG%, Burst DMG%, ER These 2pc bonuses improve Rosaria’s DPS since her Burst scales with all of these stats. 2pc EoSF or 2pc Scroll can be used to meet ER requirements more easily. |
 4pc Archaic Petra (AP) | Niche set that is viable in Mono Cryo teams with a Geo unit. Rosaria can pick up the Cryo shard to give herself and other Cryo DPS units in the team 35% Cryo DMG Bonus, making this a worthwhile consideration for team DPS in such cases. |
Weapons
 5★ Fractured Halo, Staff of Homa, Symphonist of Scents | CRIT DMG stat sticks with good ATK-boosting passives. These are Rosaria’s best weapon choices for Freeze / Mono Cryo teams. |
5★ Calamity Queller | Due to the lack of ATK buffs in these archetypes, Calamity Queller performs similarly to the 5-star CRIT DMG Polearms with its massive amount of ATK stats. Note that the double ATK effect does not work on Rosaria as her Burst snapshots upon casting. Nevertheless, it remains as one of her top weapons. |
4★ Wavebreaker’s Fin | Wavebreaker’s Fin is a competitive option that provides Burst DMG%, ATK%, and a high Base ATK. It scales very well with refinements; at R5, it performs on par with Staff of Homa. |
4★ Deathmatch | Another good 4-star option that can compete with the 5-star Polearms at high refinements. Deathmatch’s CRIT Rate helps increase her A4 CRIT Rate share, although it also makes it harder to build around the CRIT Rate if Rosaria uses 4pc BS or 4pc MH. |
5★ CRIT Rate Polerarms | Primordial Jade Winged-Spear, Staff of the Scarlet Sands, Lumidouce Elegy Viable 5-star options to use, but hard to build around with 4pc BS / MH. |
 4★ Lithic Spear | A situationally good option that can perform as well as the 5-star CRIT Rate Polearms in teams with 2–3 Liyue teammates and at high refinements. |
 4★ Prospector’s Drill | A good 4-star weapon that gives a lot of ATK% and DMG Bonus provided there is a healer in the team. |
 5★ Vortex Vanquisher | Most Freeze or Mono Cryo teams do not have a shield, so the double ATK effect of this weapon cannot be utilized on Rosaria. However, it still performs decently because of the amount of ATK stats it gives as a 5-star. |
 4★ Favonius Lance | Favonius Lance is a great option to lower team ER requirements, especially in a team with an on-field Cryo DPS unit like Ayaka, Ganyu, and Eula. |
4★ “The Catch” | “The Catch” is Rosaria’s best free option in Freeze teams. Its ER secondary stat, Burst DMG% and CRIT Rate passive, and decent Base ATK make it a solid pick. |
 4★ Blackcliff Pole | Blackcliff Pole is the only 4-star Polearm with a CRIT DMG secondary stat, which makes it a decent choice if you already have it. We do not recommend spending Starglitter to purchase Blackcliff weapons. Use “The Catch” instead. |
 4★ Crescent Pike | A niche option for on-field playstyles. It can be Rosaria’s best 4-star Polearm choice when she has the field time to perform her Normal and Charged Attacks. With Crescent Pike, a Hybrid build between Burst and Normal / Charged Attack damage is viable, even in a Freeze / Mono Cryo team. |
Teams
Rotation Notation
- N = Normal Attack
- C = Charged Attack
- A = Aimed Shot
- P = Plunging Attack
- E = Elemental Skill
- tE = Tap Skill
- hE = Hold Skill
- Q = Elemental Burst
- D = dash (cancel)
- J = jump (cancel)
- W = walk (cancel)
- > = switch character
- ( ) = these actions are optional; please refer to the notes below
- [ ] = repeat these actions the specified number of times
Teambuilding

These teams focus on the raw damage of Cryo and Hydro damage dealers instead of their Amplifying Reactions. Rosaria is a good 4-star pick in these teams thanks to her decent personal damage, good particle generation, and valuable CRIT Rate buff.
A Freeze team is preferred against mobile enemies that can be Frozen; AoE Hydro application is typically wanted, to match Rosaria’s AoE Cryo application. Mono Cryo teams significantly reduce the ER requirements of all Cryo units involved (Rosaria included). They fare better against single-target boss fights than multiple-target scenarios.
Notable Teammates
 Escoffier ★ | The strongest core piece of any contemporary Freeze / Mono Cryo team. She provides good personal damage, healing, and up to 55% Cryo and Hydro RES Shred when the team consists of only Cryo and Hydro units. Rosaria’s good particle generation helps Escoffier lower her ER requirements. In return, Escoffier increases Rosaria’s damage output through her RES Shred. |
Cryo
Another Cryo teammate reduces ER requirements and enables Cryo Resonance. Cryo DPS options are preferred, but supportive teammates can also be used if Rosaria’s DPS is your primary focus.
 Shenhe ★ | Shenhe is an excellent buffer for Cryo damage dealers, including Rosaria. In a quickswap team, Shenhe is allowed to use her Tap Skill twice, buffing Rosaria’s and other Cryo DPS units’ damage with up to 10 instances of Icy Quill. Her DMG Bonus and Cryo RES Shred also improve her buffing capability. |


Hydro
A reliable Hydro applier is necessary to maintain Freeze uptime. AoE Hydro application is typically preferred.
A Double Hydro core shifts the focus onto their damage, making Rosaria’s role more of a support in the team.
 Furina ★ | The best Hydro buffer in Freeze teams. On top of her sizable partywide DMG Bonus buff, Furina also applies Hydro fairly often in a decent AoE. She drains the team’s HP over time, allowing the on-fielder to use 4pc Marechaussee Hunter, a strong set for DPS. The only requirement to play Furina in Freeze teams is decent healing, preferably teamwide healing. Luckily, many of the good supports in Freeze teams are also good healers, such as Escoffier and Xilonen. |


Anemo
An Anemo teammate provides Elemental RES Shred via 4pc Viridescent Venerer. They also provide additional benefits in the form of buffs and grouping.


Flex
Flex options from other Elements can be used as long as they do not interfere with the Freeze or Cryo aura. Geo characters are the most notable for their ability to hold 4pc Archaic Petra in Mono Cryo teams. Other characters who contribute personal DPS or give team buffs are also used.


Example Teams
This is not a comprehensive list of teams. The inclusion or exclusion of any given team does not necessarily reflect its power level.

The best Freeze team for Rosaria’s personal damage. Rosaria can use all the buffs her teammates provide to the fullest, and has low ER requirements thanks to Shenhe’s, Escoffier’s, and her own particle generation.
In this team, Rosaria can deal a significant amount of Normal and Charged Attacks, thus making Crescent Pike and a Hybrid build viable on her.
Sample Rotation
Furina ED Q > Escoffier EQ > Shenhe tEQ > Rosaria EQ 2[N3CD] E > Shenhe N1 tE > Rosaria N3CD N3 E

Rosaria can stay off-field and contribute to the team with her decent personal damage and CRIT Rate share in this Skirk team.
Sample Rotation
Furina ED Q > Escoffier EQ > Rosaria EQ > Skirk combo > Rosaria E
This is an incredibly potent Ayaka Freeze team in multi-target fights. Kokomi provides AoE Hydro application, healing, and can hold TTDS to provide Ayaka with an ATK% buff. Kazuha provides a Cryo DMG% buff via his A4 Passive. Rosaria generates Cryo particles, gives a CRIT Rate buff, and deals respectable AoE damage herself.
Sample Rotation
(Ayaka D)¹ > Kazuha tEPQ > Rosaria EQ > Kokomi E > Ayaka D (N1) EQ > Rosaria E > Kazuha tEP² > Ayaka D 3[N1C] > Rosaria E > Ayaka ED N1C
¹First rotation only.
²Kazuha Plunge can be canceled by opening the glider to avoid breaking enemies’ Frozen states.
This is a relatively free-to-play friendly team with only 4-star units. Heizou is the on-field driver in this team. Weaving in Normal Attacks to proc Xingqiu’s Burst is crucial to increasing team DPS.
Sample Rotation
Xingqiu EDQ N1 > Rosaria EQ N1 > Heizou N1C Q N1 E N1 > Rosaria E N1 > Kaeya E N1 Q > Heizou N4C N1 > Rosaria E N1 > Heizou E N1 > Kaeya E N1
This rotation weaves in many Normal Attacks to proc Xingqiu’s Burst, which can be canceled by swapping to the next character even without them dealing damage.
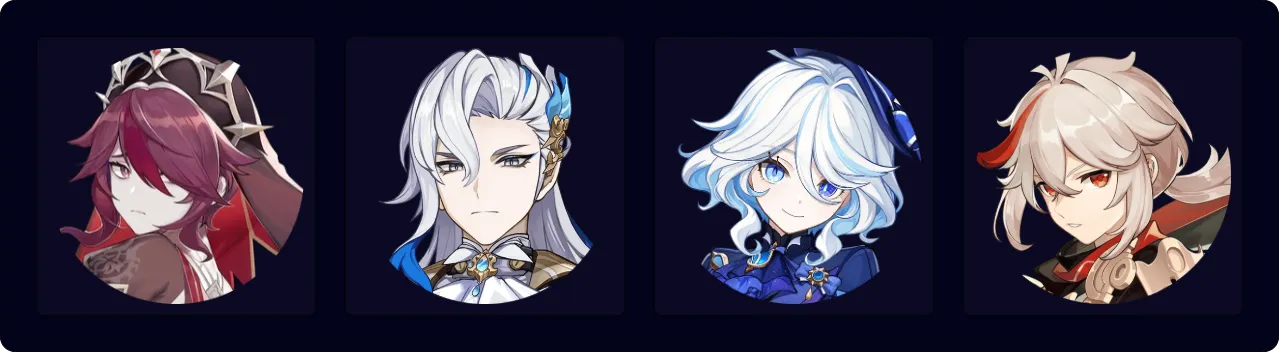
This is an atypical Freeze team that focuses on Neuvillette and Furina’s damage instead of a Cryo DPS unit’s damage. Kazuha provides 4pc VV Hydro RES Shred and his own A4 DMG Bonus buff. Rosaria has high ER requirements here since she is the only Cryo character.
Escoffier can also be used instead of Kazuha to enable Cryo Resonance and even higher Freeze uptime.
Sample Rotation
Neuvillette E > Furina ED > Kazuha Q > Rosaria EQ > Furina Q > Kazuha tEP > Neuvillette C Q E C > Kazuha tEP > Rosaria E > Neuvillette 2[C]

A strong quickswap Mono Cryo team that allows everyone to run relatively low ER requirements thanks to the shared Cryo particle generation.
Sample Rotation
Escoffier EQ > Shenhe tEQ > Rosaria EQ > Ganyu EQ C > Rosaria E > Shenhe tE N1 > Ganyu 2[C] E N1 > Rosaria E N1
A good Double Cryo Double Geo team that makes use of its members’ short cooldowns to run a 16–17s rotation. Rosaria has a high ER requirement in this team, so use ER weapons or Sands on her.
Place Rosaria in the team slot next to Chiori for her double-Skill quickswap technique.
Sample Rotation
(Wriothesley N1)¹ > Xilonen E (Q)² N2 > Chiori (Q)³ 2[E] > Rosaria EQ > Wriothesley E combo
¹First rotation only.
²Use if you need the healing.
³Burst when available. Can be skipped.
Support
ER Requirements
Rosaria’s ER requirements as a support heavily depend on her team composition. Use the Energy Recharge Calculator to determine exact requirements for your team and rotation.
Artifact Stats
Sands | Goblet | Circlet |
| ER or ATK% | Cryo DMG Bonus | CRIT Rate or CRIT DMG |
Stat Priority: ER (until requirement) > CRIT Rate > CRIT DMG > ATK%
ER Sands should only be used if ER requirements can not be met with an ATK% Sands.
Artifact Sets
4pc Noblesse Oblige | 4pc NO is Rosaria’s go-to support set for ATK-scaling DPS units. Its 2pc effect grants her a Burst DMG% buff and the 4pc effect grants her entire team a 20% ATK buff after using her Burst. |
4pc Scroll of the Hero of Cinder City (Scroll) | 4pc Scroll is notable for Rosaria when she is the support for non-ATK scalers (e.g. Neuvillette or Furina). The 2pc effect also gives her some Flat Energy in teams with Natlan characters. |
4pc Emblem of Severed Fate (EoSF) | 4pc EoSF can be used to meet Rosaria’s ER requirements and increase her personal DPS if another character in the team is holding 4pc NO or 4pc Scroll. |
2pc + 2pc Mixed Sets | 2pc Bonuses: ER, ATK%, Burst DMG%, Cryo DMG% These are transitional sets which can be used while farming for 4pc NO or 4pc EoSF. |
4pc Archaic Petra (AP) | Niche set that is viable in teams with a Geo unit. 4pc AP is mostly used to hyperbuff the main DPS unit’s damage output at the cost of Rosaria’s personal damage. |
Weapons
4★ Favonius Lance | Favonius Lance is highly recommended to reduce team ER requirements, even at a cost to Rosaria’s personal damage. As a support, her team’s overall damage is most important. Lowering ER requirements means that more investment can be put into offensive stats. |
5★ Staff of the Scarlet Sands | Staff of the Scarlet Sands’ high CRIT Rate makes it one of the best Polearms for Rosaria’s personal damage while also maximizing her CRIT Rate buff. |
4★ Deathmatch | Deathmatch has the highest CRIT Rate for a 4-star Polearm, which makes it a valuable option for maximizing Rosaria’s CRIT Rate buff. |
5★ Primordial Jade Winged-Spear | Primordial Jade Winged-Spear has higher personal damage but lower CRIT Rate than Deathmatch. |
 5★ Engulfing Lightning | Engulfing Lightning has the highest ER secondary stat in the game, which helps meet Rosaria’s typically high ER requirements. Its ER to ATK conversion also helps increase Rosaria’s personal DPS. Favonius Lance is typically preferred over Engulfing Lightning most of the time. |
4★ “The Catch” | “The Catch” is a free option which can be used to meet Rosaria’s ER requirements. |
Teams
Rotation Notation
- N = Normal Attack
- C = Charged Attack
- A = Aimed Shot
- P = Plunging Attack
- E = Elemental Skill
- tE = Tap Skill
- hE = Hold Skill
- Q = Elemental Burst
- D = dash (cancel)
- J = jump (cancel)
- W = walk (cancel)
- > = switch character
- ( ) = these actions are optional; please refer to the notes below
- [ ] = repeat these actions the specified number of times
Teambuilding

Rosaria’s support capabilities include excellent particle generation, consistent Cryo application, a CRIT Rate buff, Physical RES Shred (at C6), and potentially high personal damage. She is most often used to provide these buffs to an on-field DPS unit. The other two slots in the team are taken up by other characters who synergize well with the on-field DPS.
Notable Teammates
  Eula, Freminet | These two Physical DPS characters appreciate the Cryo particles from Rosaria’s Skill, the CRIT Rate buff from her A4 Passive, and the Physical RES Shred from her C6. Rosaria’s Burst also maintains a fairly consistent Cryo aura, which activates Cryo Resonance. |
 Other Physical DPS Units | Rosaria provides a CRIT Rate buff, applies Cryo off-field to enable Superconduct, and shreds enemy Physical RES with her C6. |
 Forward Melt Pyro DPS Units | Rosaria’s off-field Cryo application from her Burst can act alone or pair with another Cryo unit to enable Forward Melt reactions for some Pyro damage dealers. Her CRIT Rate buff is also welcomed by them. |
Chasca | Chasca converts her bullets according to her teammates’ Elements. She usually uses Rosaria in her Melt teams to deal Reverse Melt Cryo bullet Charged Attacks, or to deal Forward Melt Pyro bullet Charged Attacks on the Cryo aura applied by Rosaria. |
Wanderer | Wanderer enjoys Rosaria’s CRIT Rate buff and Cryo application to enable his A1 Passive. With Favonius Lance equipped, she also helps lower Wanderer’s and Faruzan’s ER requirements. |
Navia | As a Cryo character, Rosaria activates Navia’s A4 Passive. She also provides good off-field Cryo application to trigger Crystallize on. |
 Other On-Field DPS Units | Other DPS units can benefit from Rosaria’s generalist support utility. The options listed above are just the most common or noteworthy. |
Example Teams
This is not a comprehensive list of teams. The inclusion or exclusion of any given team does not necessarily reflect its power level.
This Physical team has a staple Furina–Mika core featuring Rosaria for Cryo particles, CRIT Rate, and C6 Physical RES Shred buffs.
Sample Rotation (Eula)
Furina ED Q > Mika Q > Rosaria EQ > Mika E N1 > Eula tEQ N4 hE W¹ N4D N2 > Rosaria E > Eula N2
¹To wait for Eula hE to hit before continuing her combo.
Sample Rotation (Freminet)
Furina ED Q > Mika Q > Rosaria EQ > Mika E N1 > Freminet EQ N2 2[E] 4[N2 E] N3 E

Rosaria and Diona provide enough combined Cryo application to allow Gaming to Melt all of his Plunging Attacks. They also grant valuable buffs, namely CRIT Rate from Rosaria, EM from C6 Diona, and Cryo Resonance from the two.
Sample Rotation
Diona hEQ¹ > Bennett EQ > Rosaria EQ > Gaming Q 6[EP] > Rosaria E > Gaming EP > Bennett E
¹If Diona is equipped with 4pc Scroll, use a Gaming EP in the first rotation before Diona.
This is a Wanderer team with the classic Faruzan and Bennett core. This team lacks a shield, which means careful positioning and dashing are necessary during Wanderer’s Skill state to avoid being staggered.
Sample Rotation
Faruzan E (C) Q > Bennett EQ > Rosaria EQ > Wanderer C E combo Q > (Rosaria E > Bennett E)¹
¹Can be skipped if you have enough Energy.
Credits
Contributors of this Quick Guide update: acerbus114, rezmir, lostguide, irokei
Contributors of previous Quick Guide editions: emiliabyss, irokei, itslin, mocha_biscuit, cqlqrs, sew, cuzimori, kolvii, idkanonymized, seima, konodiada, twce_, jamberry
Team images made with the KQM portrait generator.