Updated for Version 4.4
Xiao is a 5-star Anemo Polearm character in Genshin Impact who deals damage mainly by utilizing Plunging Attacks during his Burst. Learn about Xiao’s best builds, best weapons, best artifacts, and best teams in this quick guide.
Note that the information given may change if new discoveries are made. More extensive testing is in progress.
The full-length guide is available here. It is currently up-to-date. All KQM Xiao content is written in collaboration with the Xiao Mains Discord Server.
Table of Contents
New Content
 Xianyun | Xianyun is the premier buffer to Plunging Attack DPS units. She gives a Base DMG Bonus and a CRIT Rate buff to Xiao’s Plunges, in addition to particle generation and healing. |
Infographic
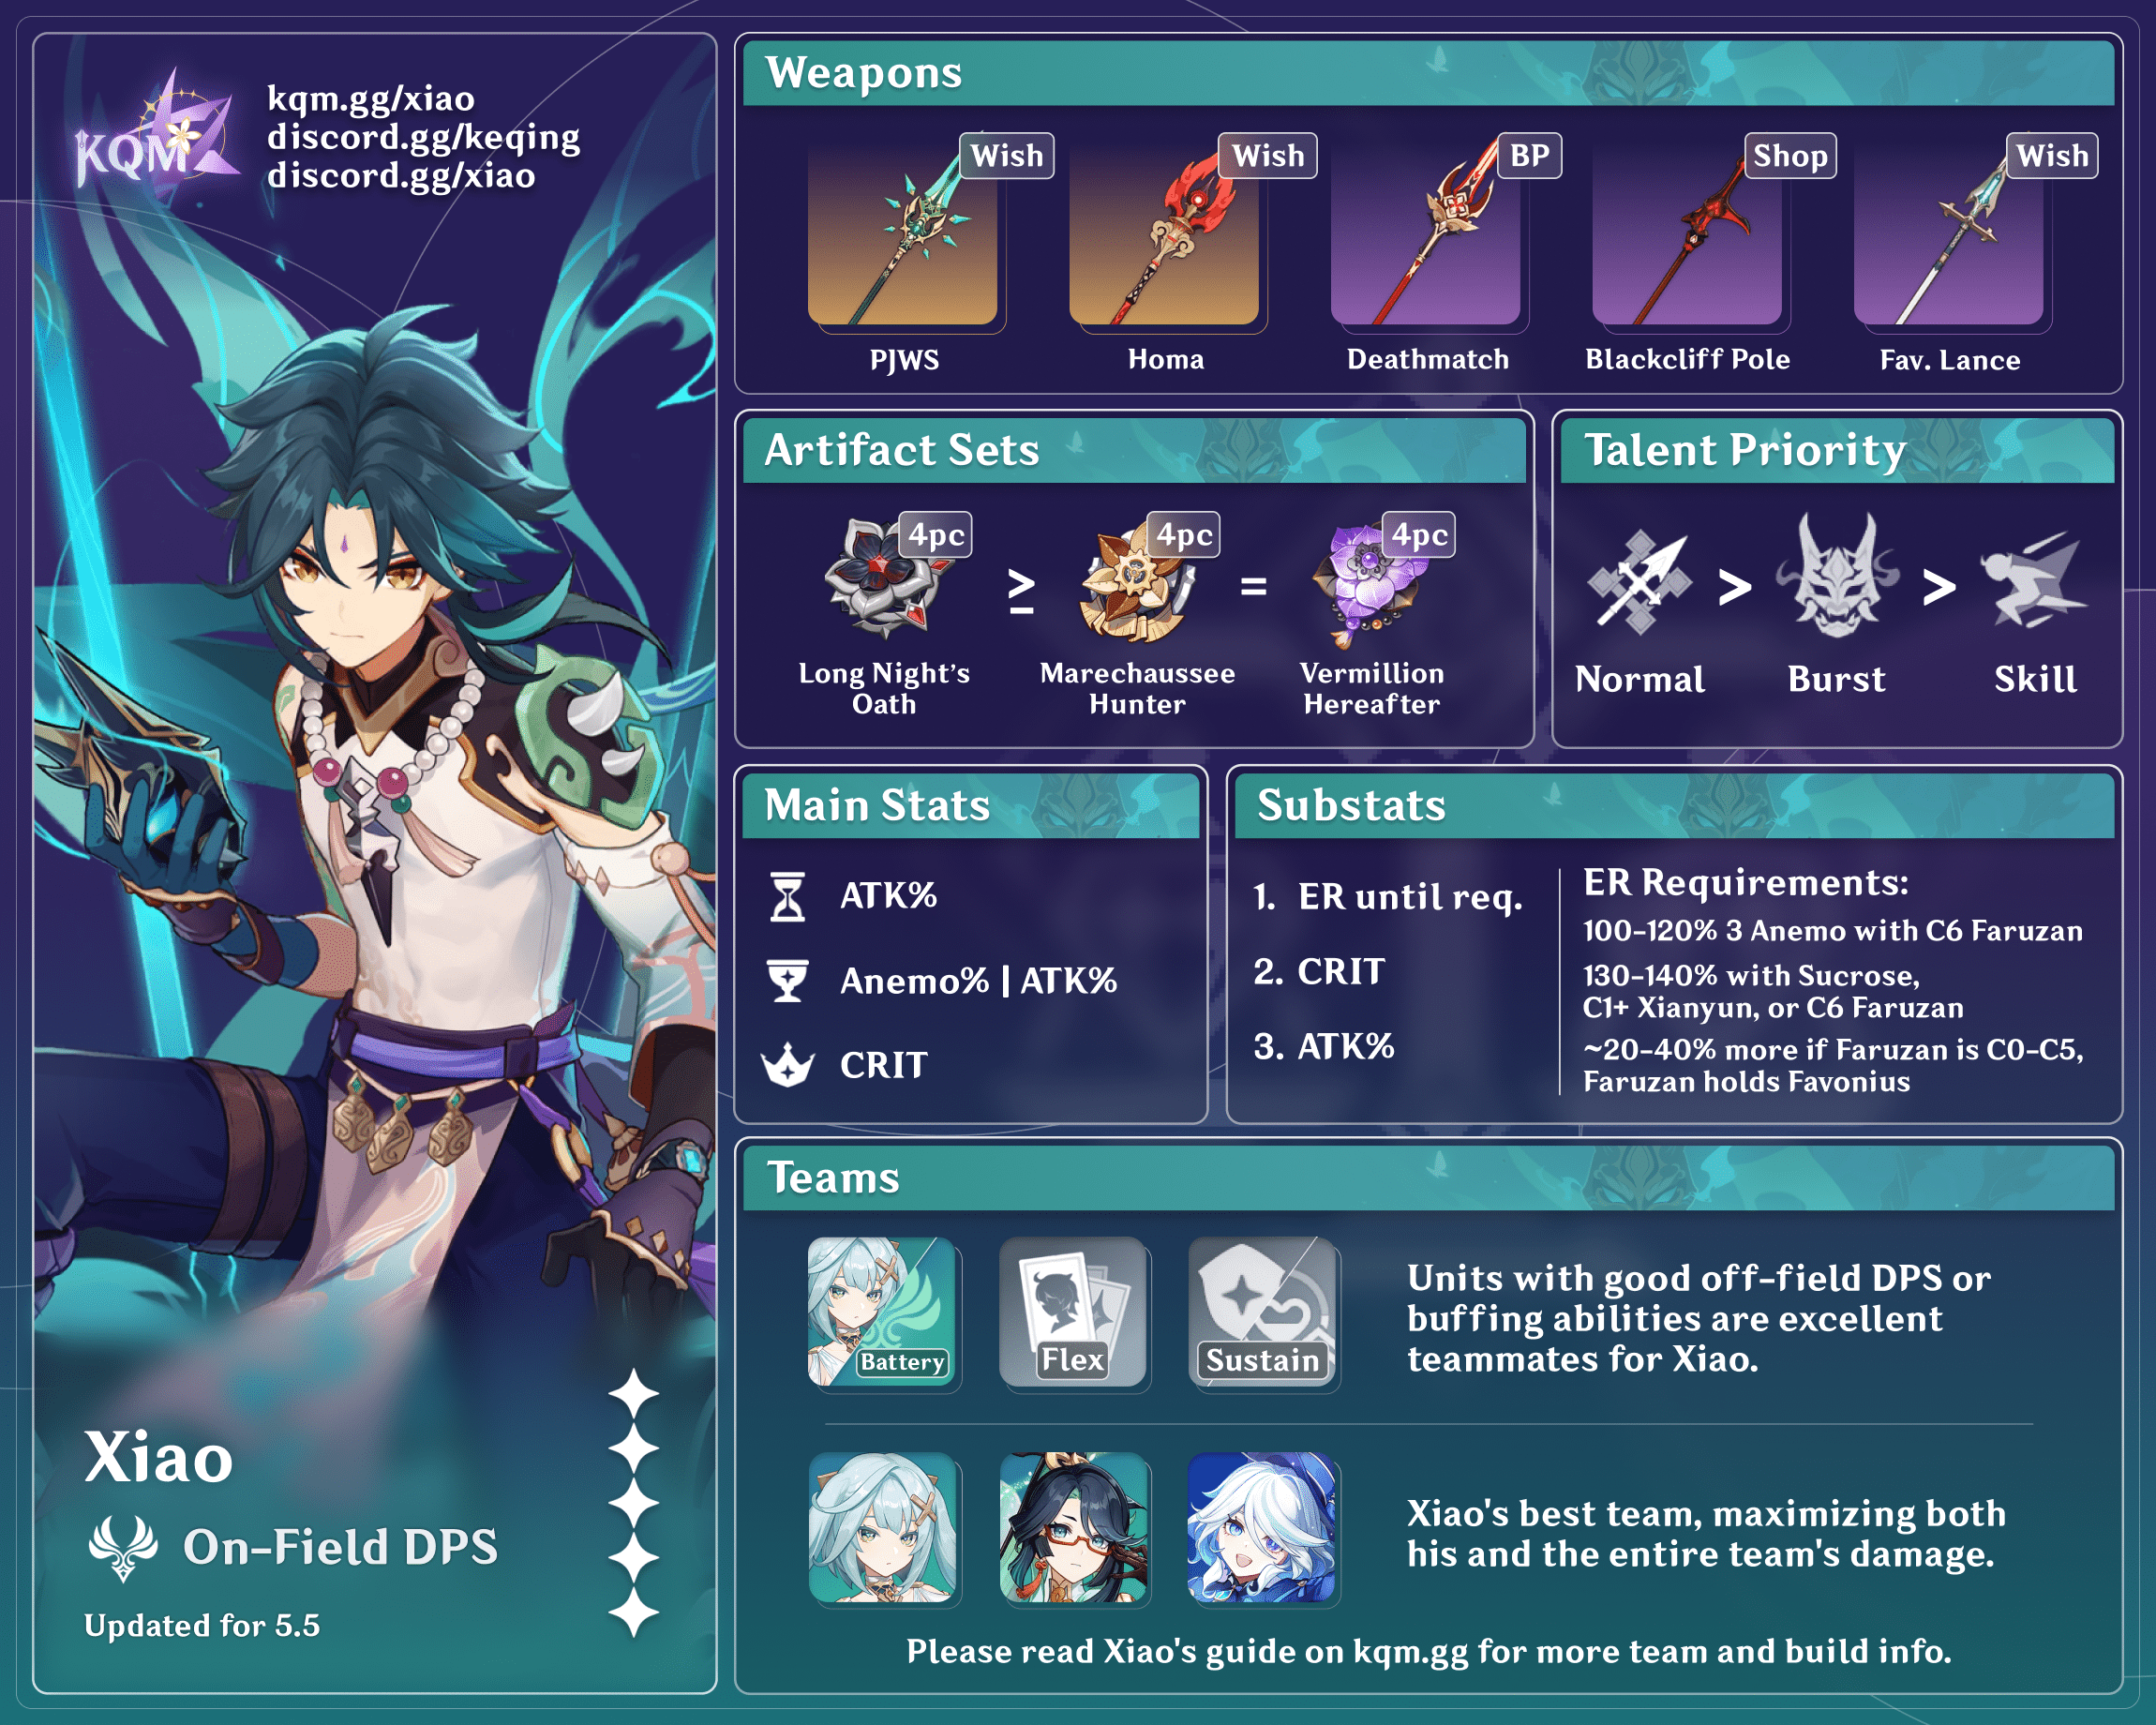
Credits to: cuppacote, cegewinne & casdela
Character Overview
Pros
- Xiao’s basic combos require little skill.
- Xiao’s Plunging Attacks have a large AoE.
- His teammates require minimal investment but excel at high investment.
- Xiao offers a mobile playstyle, allowing him to dynamically reposition his AoE during his Burst.
- Xiao’s Plunges stagger enemies, stopping them from attacking.
Cons
- Xiao has limited free weapon options.
- As a Burst-reliant damage dealer, Xiao requires intentional Energy management.
- Xiao’s teammates are limited by his long field time.
- His Constellations are mostly unimpactful.
- Xiao drains his own HP during his Burst, so he requires a shield or healing for survivability.
Playstyles
Plunging Attack Hypercarry DPS
Xiao’s traditional playstyle. Xiao’s teammates aim to primarily buff and support Xiao from off-field, so they should have minimal on-field presence and activate their abilities before swapping off. Xiao can then take the field and activate his Burst, granting his Normal, Charged, and Plunging Attacks a DMG Bonus and enhancing his jump height. This allows Xiao to perform Plunging Attack combos during his Burst’s 15s duration.
Anemo units are important in Xiao’s hypercarry teams for their utility as well as buffing and batterying capabilities. An Anemo battery should come before Xiao in rotations and funnel their Skill particles to him (e.g., Sucrose, Lynette), or produce particles from off-field during his field time (e.g., C6 Faruzan).
Constellation 6 Skill DPS
Xiao’s Constellation 6 activates in multi-target combat when he deals damage to two or more enemies with Plunging Attacks. It allows Xiao to cast his Skill many times, changing his gameplay for these scenarios considerably. A C6 playstyle is not covered in-depth in this quick guide — KQM partner Xiao Mains has a dedicated C6 guide available here.
Talents
Talent Priority
Normal Attack > Burst > Skill
Xiao’s Normal Attack Talent is his main source of damage (through his Plunging Attacks) and first priority. His Burst enhances his Plunging Attacks, and comes second. Though Xiao’s Skill is still relevant, it is not a significant contribution to his overall damage, so it should be leveled last.
Although Xiao’s C6 enables a higher damage contribution from his Elemental Skill, it doesn’t trigger in single-target scenarios. It is therefore still advised to level C6 Xiao’s Skill and Normal Attack talents equally.
Talent Overview
 Normal Attack | Whirlwind Thrust
Talent Description
Normal Attack
Performs up to 6 consecutive spear strikes.
Charged Attack
Consumes a certain amount of Stamina to perform an upward thrust.
Plunging Attack
Plunges from mid-air to strike the ground below, damaging opponents along the path and dealing AoE DMG upon impact.
Xiao does not take DMG from performing Plunging Attacks.
Xiao’s Normal Attack Talent is his primary source of damage — Xiao’s high Plunge damage during his Burst increases with his Normal Attack Talent level. Xiao may also weave in Normal Attacks between Plunges to trigger teammate abilities and use his Charged Attack in the N1CJP combo.
 Elemental Skill | Lemniscatic Wind Cycling
Talent Description
Xiao lunges forward, dealing Anemo DMG to opponents in his path.
Can be used in mid-air.
Starts with 2 charges.
When Xiao uses his Elemental Skill, he passes through enemies and deals Anemo damage. Though non-negligible, this is a small damage contribution — the importance of Xiao’s Skill primarily lies in its Energy generation. At C6, however, Xiao’s Skill becomes the most significant part of his damage in multi-target scenarios.
Xiao’s Skill has 2 charges and generates 3 Anemo Particles per use. By casting his Skill twice in succession before his Burst, Xiao can pre-funnel their particles for his next Burst. This technique allows him to make full use of their Energy even when his Burst is already full (i.e., when starting an Abyss chamber).
Note that Xiao’s Skill will not generate particles during his Burst, so casting it before his Burst is important.
 Elemental Burst | Bane of All Evil
Talent Description
Xiao dons the Yaksha Mask that set gods and demons trembling millennia ago.
Yaksha’s Mask
- Greatly increases Xiao’s jumping ability.
- Increases his attack AoE and attack DMG.
- Converts attack DMG into Anemo DMG, which cannot be overridden by any other elemental infusion.
In this state, Xiao will continuously lose HP.
The effects of this skill end when Xiao leaves the field.
Xiao’s Burst is a key aspect of his kit, as it enables his Plunging Attack gameplay. It has three important effects:
- Converts Xiao’s Normal, Charged, and Plunging Attacks to Anemo.
- Increases his jump height, allowing Xiao to execute Plunges consistently.
- Grants his Normal, Charged, and Plunging Attacks a DMG Bonus.
For these benefits, managing Energy is important in order to cast Xiao’s Burst every rotation.
Few buffs last for Xiao’s entire Burst duration. However, it is still recommended to remain on-field until it runs out — his Plunges deal a substantial amount of damage regardless, and cutting the rotation short may increase ER requirements.
 Ascension 1 Passive | Conqueror of Evil: Tamer of Demons
Talent Description
While under the effects of Bane of All Evil, all DMG dealt by Xiao increases by 5%. DMG increases by a further 5% for every 3s the ability persists. The maximum DMG Bonus is 25%.
This passive grants Xiao a ramping DMG Bonus during his Burst. It starts at 5% and increases by another 5% every 3s, maxing out at 25% DMG Bonus after 12s.
 Ascension 4 Passive | Dissolution Eon: Heaven Fall
Talent Description
Using Lemniscatic Wind Cycling increases the DMG of subsequent uses of Lemniscatic Wind Cycling by 15%. This effect lasts for 7s, and has a maximum of 3 stacks. Gaining a new stack refreshes the effect’s duration.
After casting his Skill once, Xiao’s A4 Passive grants him 15% Skill DMG Bonus for all subsequent Skills cast. Due to Xiao’s limited Skill charges, this passive does not provide a significant damage increase without Xiao’s C6.
Constellations
 Constellation 1 | Dissolution Eon: Destroyer of Worlds
Increases Lemniscatic Wind Cycling’s charges by 1.
This Constellation adds 1 more charge to Xiao’s Skill; only one charge will reduce cooldown at a time. This grants Xiao a third Skill usage every other rotation.
Xiao cannot pre-funnel 3 Skills’ worth of energy, so players with C1 should still only pre-funnel at most 2 Skills. The third Skill is best utilized after Xiao’s first Burst to fund the second rotation.
Overall, C1 is not a significant damage increase and does not reduce ER requirements past the first two rotations.
 Constellation 2 | Annihilation Eon: Blossom of Kaleidos
When in the party and not on the field, Xiao’s Energy Recharge is increased by 25%.
Grants Xiao 25% additional Energy Recharge while he is off-field. As Xiao takes the majority of his team’s field time and gains most of his Energy while on-field, this Constellation has negligible effect.
 Constellation 3 | Conqueror of Evil: Wrath Deity
Increases the Level of Lemniscatic Wind Cycling by 3.
Maximum upgrade level is 15.
Increases Xiao’s Skill Talent level by 3. At C0, this is a minimal damage increase. At C6, it provides a nice damage increase for his Skill-spam playstyle in multi-target scenarios.
 Constellation 4 | Transcension: Extinction of Suffering
When Xiao’s HP falls below 50%, he gains a 100% DEF Bonus.
Grants Xiao 100% DEF Bonus when below 50% HP. Xiao’s C4 is an unimpactful Constellation — it does not increase damage nor, typically, survivability. Xiao’s teams frequently include a healer like Bennett, Jean, or Xianyun, so he may not go below 50% HP to earn this buff in the first place. A shielder such as Zhongli is also often sufficient to sustain Xiao.
 Constellation 5 | Evolution Eon: Origin of Ignorance
Increases the Level of Bane of All Evil by 3.
Maximum upgrade level is 15.
Increases Xiao’s Burst Talent level by 3. This bonus grants an additional 11–14% DMG Bonus to Xiao’s Plunging Attacks. However, because DMG Bonus is additive, the net damage gain is minimal.
 Constellation 6 | Conqueror of Evil: Guardian Yaksha
While under the effects of Bane of All Evil, hitting at least 2 opponents with Xiao’s Plunging Attack will immediately grant him 1 charge of Lemniscatic Wind Cycling, and for the next 1s, he may use Lemniscatic Wind Cycling while ignoring its CD.
Xiao’s most notable Constellation. During his Burst, for every Plunging Attack that hits two or more enemies, Xiao can immediately cast his Skill 3–4 times in succession. This Constellation drastically shifts his gameplay from focusing on Plunging Attacks to focusing on Skill spam.
For in-depth information on Xiao’s C6 playstyle, check out KQM partner Xiao Mains’ C6 Guide.
Combos
- N = Normal Attack
- C = Charged Attack
- P = Plunging Attack
- J = Jump (cancel)
- hP = High Plunge
- lP = Low Plunge
| JP (Plunge Spam) | Use Case: Easy Execution – AoE Combat Xiao’s easiest combo involves simply spamming jumps followed by Plunging Attacks. It is optimal in multi-target combat and against single enemies if High Plunges are able to deal midair collision damage. It can also be the best combo in teams where ramping buffs expire early, like with Xianyun or Furina. The optimal combo of this type consists of 11 High Plunges and 2 Low Plunges. |
| N1JP (Weave in a Normal Attack) | Use Case: Activate Team Abilities – AoE Combat A variation of Plunge spam. This combo inserts Normal Attacks in the combo to stack weapon passives faster and activate teammate abilities that require Normal Attacks to trigger. Jump right after the first hit of Xiao’s Normal Attack to cancel its animation and hitlag. N1JP is most useful to trigger fast-activating abilities like Yelan’s Burst. Teammates with abilities that activate longer into the attack’s animation lead to a lower amount of Plunges in the combo and are not recommended. |
| N1CJP (JET) | Use Case: Harder Execution – Some Single-Target Combat N1CJP, also known as “JET”, consists of using a Normal Attack followed by a Charged Attack between Plunges. Perform Low Plunges if Collision is possible; otherwise, use High Plunges. This combo requires precise execution, but can be Xiao’s highest-damaging attack string in single-target combat if executed perfectly. For an easier alternative, Low Plunge spam with collision is recommended. |
Artifacts
ER Requirements
Below is a general guideline to Xiao’s ER requirements according to teammate choice. See details regarding each teammate’s batterying capabilities in the Notable Teammates section.
Calcs for ER requirements can be found here (last updated for Version 4.4).
| C6 Faruzan (Favonius) | C0–C5 Faruzan (Favonius) | No Faruzan | |
| Sucrose, C1+ Xianyun | 100% | 120–130% | 130–140% |
| Lynette | <105% | 130–140% | 1 Funnel: 145–155% 2 Funnels: 130–140% |
| Jean (Favonius) | 110–120% | 1 Funnel: 150–160% 2 Funnels: 115–125% | 1 Funnel: 170–180% 2 Funnels: 125–135% |
| C0 Xianyun | 110–120% | 1 Funnel: 160–170% 2 Funnels: 120–130% | — |
| No Other Anemo | 130–140% | 1 Funnel: 175–185% 2 Funnels: 130–140% | — |
- An additional team Favonius proc (unfunneled) reduces ER requirements by ~10%. An extra funneled Favonius proc or funneled Charged Shot from Faruzan reduces ER needs by 15–20%.
- Additional Favonius weapons or Skills / Charged Shots may be necessary for reasonable ER requirements in some team compositions (noted above, under 2 Funnels variations).
- Multi-target combat allows running significantly lower ER% due to the amount of particles generated from the enemies.
- Use the Energy Recharge Calculator to determine exact requirements for your team and rotation.
Xiao should have enough Energy Recharge to use his Burst every rotation, as his damage depends entirely on having his Burst active. To reduce his ER requirements, his teams typically have at least one other Anemo teammate to generate particles for him, with C6 Faruzan being ideal.
C6 Faruzan, Sucrose, and C1+ Xianyun are the only Anemo teammates whose Double Anemo teams have viable ER requirements. If your Anemo battery does not belong to this group, add a third Anemo character to the team or extend the rotation to funnel additional particles to Xiao.
Artifact Stats
 Sands |  Goblet |  Circlet |
| ATK% | Anemo DMG Bonus or ATK% | CRIT Rate or CRIT DMG |
Stat Priority: ER% (until requirement) > CRIT > ATK%
Xiao is a traditional DPS unit that builds ATK% and CRIT stats. Xiao’s gameplay revolves around his Burst, therefore it is important to have enough ER% through artifact substats for him to Burst every rotation.
Builds and teams with ATK or Base DMG Bonus buffs favor an Anemo DMG% Goblet, while the presence of DMG% buffs increases the value of an ATK% Goblet. Substats are the primary consideration when choosing between the two main stats.
Artifact Sets
 4pc Vermillion Hereafter | One of Xiao’s best artifact sets. His Burst’s HP drain stacks a buff of up to 48% ATK. This set can be obtained through the Artifact Strongbox. |
 4pc Marechaussee Hunter | 4pc Marechaussee generally performs on par with 4pc Vermillion. It grants a whopping 36% CRIT Rate and is easily activated by Xiao’s HP drain. However, care must be taken with Xiao’s build — combined with his Ascension CRIT Rate and a CRIT Rate weapon, this set risks overcapping 100% CRIT Rate. |
 4pc Desert Pavillion Chronicle | 4pc Desert Pavillion Chronicle grants a 40% DMG Bonus to Xiao’s Normal, Charged, and Plunging Attacks after using a Charged Attack. This means that Xiao must perform at least one N1CJP string at the start of his field time — this may be optimal in single-target combat, but it is wasteful in multi-target. Even in the best scenario, this set falls behind 4pc Marechausse and 4pc Vermillion. Farm one of those sets instead. |
 2pc Mixed Sets | 2pc Bonuses: Anemo DMG%, ATK%, ER% Temporary gear that can be used while farming for a 4pc set. Anemo DMG% and ATK% increase Xiao’s damage, while ER% (2pc Emblem) helps him meet his ER requirements. |
Weapons
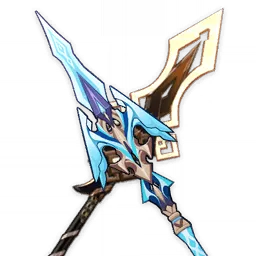
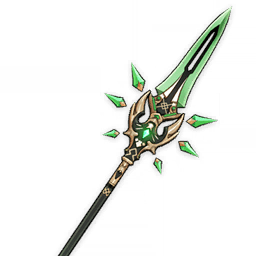 Primordial Jade Winged-Spear | Xiao’s signature weapon and general best-in-slot. It has high Base ATK, a CRIT Rate secondary stat, and grants a stackable ATK% buff through its passive. |
 Staff of Homa | Performs comparably to Jade Spear. It has a CRIT DMG secondary stat and lower Base ATK, but its passive increases Xiao’s ATK based on his HP — doubling when under 50% HP. Homa’s performance is good even while above 50% HP. You should not build HP stats nor force a healerless team to maximize its passive. |
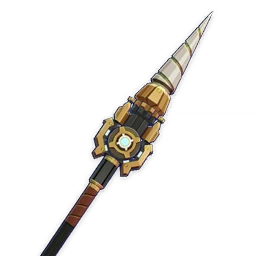
 ATK% 5-Star Polearms | Calamity Queller, Vortex Vanquisher ATK stat sticks that can be used if you already have them. If you want a 5-star weapon for Xiao, pull for Jade Spear or Homa. These weapons perform better in scenarios without ATK and Base DMG Bonus buffs. Due to lacking a CRIT secondary stat, 4pc Marechaussee Hunter is recommended to balance Xiao’s CRIT stats. |
 Other 5-Star Polearms | Staff of Scarlet Sands, Skyward Spine, Engulfing Lightning Stat sticks. These weapons perform better than 4-star options, even if they’re not particularly suited for Xiao. If you want a 5-star weapon for Xiao, pull for Jade Spear or Homa. Skyward Spine and Engulfing Lightning are less valuable when Xiao’s ER needs can be satisfied by artifact substats. Staff of Scarlet Sands has low Base ATK and risks overcapping CRIT Rate due to its high secondary stat. |
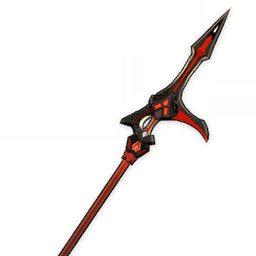
 Deathmatch | A Battle Pass weapon and Xiao’s best 4-star option. It has a low Base ATK and a high CRIT Rate secondary stat. Its passive grants an ATK% buff that increases in single-target combat. |
 Lithic Spear | A limited 4-star weapon whose passive grants ATK% and CRIT Rate according to the number of Liyue characters in the team. Xiao’s best teams only obtain at most 2 stacks of this effect, which makes this weapon perform middlingly unless highly refined. |
 Prospector’s Drill | A limited 4-star weapon whose passive gives an ATK% buff and a DMG Bonus when Xiao uses his Skill or Burst after being healed. However, Xiao’s rotations use his Skill right after he takes the field, leaving little time for healing in the first rotation. This means that this weapon will only be fully stacked after the second rotation. |
 Blackcliff Pole | Obtainable from Paimon’s Bargains, it is Xiao’s best “free” option, mainly for its CRIT DMG secondary stat. Its passive grants an unreliable but appreciated ATK% buff when enemies are defeated. In an ideal scenario (high multi-target combat), this weapon would rank considerably higher. |
 Missive Windspear | An Event weapon obtainable during Version 3.1. It provides plenty of ATK through its secondary stat and passive and performs on par with Blackcliff, potentially surpassing it in scenarios with a lack of ATK and Base DMG Bonus buffs. |
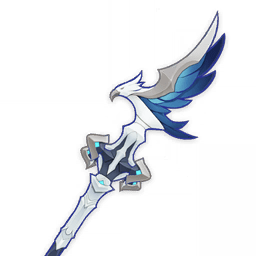
 Favonius Lance | Favonius is a very comfortable choice. This weapon nullifies Xiao’s ER requirements, allowing his build to be focused on offensive stats, though this generally performs worse than getting ER% substats. Nevertheless, Favonius Lance’s Energy generation may increase damage in scenarios with very high ER needs. Furthermore, it makes Energy-hungry teammates (e.g., Furina, pre-C6 Faruzan) easier to use by reducing their ER needs. |
Teams
Rotation Notation
- N = Normal Attack
- C = Charged Attack
- A = Aimed Shot
- P = Plunging Attack
- E = Elemental Skill
- tE = Tap Skill
- hE = Hold Skill
- Q = Elemental Burst
- D = dash (cancel)
- J = jump (cancel)
- W = walk (cancel)
- > = switch character
- ( ) = these actions are optional; please refer to the notes below
- [ ] = repeat these actions the specified number of times
Hypercarry Teambuilding

Xiao’s recommended playstyle focuses on maximizing his personal damage.
- Xiao should be paired with one or two more Anemo characters to reduce his ER needs.
- Xiao’s playstyle is highly mobile, which lowers the value of effects with limited AoEs that lead to “Circle Impact” issues.
- Flex teammates should either buff Xiao’s damage, ensure his survivability, or provide their own off-field damage during his Burst.
Notable Teammates
Anemo Supports
 Faruzan | Faruzan is the premier Anemo support. She considerably increases Xiao’s damage through Anemo DMG Bonus and Anemo RES Shred and can battery him by funneling her enhanced Charged Shot’s particles. Pre-C6 Faruzan should hold Favonius Warbow due to her very high ER requirements. To lower her and Xiao’s ER needs, you can extend the rotation to use and funnel 2 of Faruzan’s Charged Shots. Faruzan’s Burst buffs are important and should have maximum uptime during Xiao’s field time. Before C2, it is ideal to cast Faruzan’s Burst as close to Xiao’s field time as possible, without getting in the way of a battery. With C2’s duration extension, she can cast her Burst at the start of the rotation. C6 Faruzan’s benefits are even greater at C6: she provides a hefty CRIT DMG buff to Anemo damage and greatly reduces her and Xiao’s ER needs by generating particles during his field time, which allows for Double Anemo teams with comfortable ER requirements. Faruzan can use 4pc Tenacity of the Millelith to give a 20% ATK buff to the team. Due to the team’s reduced ER requirements, she can also run Elegy for the End for even more buffing capability. |
Xianyun | Xianyun gives a high Base DMG Bonus to Xiao’s Plunging Attacks alongside teamwide healing that can stack Furina’s Fanfare, so she ticks many boxes at once. These effects also follow Xiao, so there is no restraint to his mobility. C0 Xianyun generally does not funnel her Skill’s 5 particles to Xiao due to her buff’s stack limitations. However, her particle generation still benefits Triple Anemo teams. C1 Xianyun can take the field after Xiao’s Burst to funnel 1 set of Skill particles to him. |
 Sucrose | Sucrose is one of Xiao’s best batteries. Her Skills generate 4 Anemo Particles each, and she can funnel up to 2 Skills to Xiao every rotation, one of which can be pre-funneled too. Sucrose’s Energy greatly reduces ER needs for up to 3 consecutive rotations at a time. At C0, Sucrose should hold Sacrificial Fragments to cast her Skill twice in a row, but at C1 she can buff Xiao with Thrilling Tales of Dragon Slayers. |
 Jean | Jean is an adequate Anemo healer that allows stacking Furina’s Fanfare. Additionally, she can battery Xiao with her Skill (2 particles) and Favonius Sword. In Double Anemo teams, Jean should take the field twice to funnel 2 sets of Skills to Xiao. With C4, Jean becomes a potent buffer, as she grants 40% Anemo RES Shred so long as enemies are inside her Burst’s AoE. |
 Lynette | Lynette is obtained for free upon reaching AR 25. She gives a small ATK% buff and also deals damage from off-field using her Burst — her damage notably benefits from Faruzan’s buffs. Lynette can funnel her Skill’s 4 particles to Xiao: only one set at a time and she cannot pre-funnel them, so she should only funnel to Xiao if his Burst is not full. She should have C4 or Sacrificial Sword for an EQ E combo, catching one set of Skill particles and funneling the other. After C4, a damage-oriented weapon is valuable to increase her damage contribution. When using Lynette as the sole battery in Double Anemo teams, she should take the field at another point in the rotation to funnel both Skills to Xiao. |
 Kazuha | Kazuha is used in Triple Anemo teams with Faruzan for his off-field damage, but he does not buff Xiao. He is more relevant in multi-target combat for his strong grouping. Kazuha is not able to consistently funnel his Skill to Xiao; instead, pre-C6 Faruzan should funnel a Charged Shot. Outside of multi-target combat, though, teams with Kazuha have higher ER needs. |
 Other Anemo Units | Other Anemo units may be paired with Xiao for their particle generation. However, they perform suboptimally or even have anti-synergy with Xiao. Not recommended over options above. |
Other Supports
 Bennett | Bennett’s Burst brings strong healing to the on-field characters and an immense Flat ATK buff that greatly increases Xiao’s damage. His downside is that these effects are limited to a small AoE and end before Xiao finishes his field time. Nevertheless, Bennett is one of Xiao’s best non-Anemo teammates and a great choice for one of the team’s flex slots. |
 Furina | Furina gives a large teamwide DMG Bonus, Fanfare, that increases with changes to her teammates’ HP. This buff does not have a limited range and lasts for most of Xiao’s field time. Furina also contributes great off-field damage that lasts through Xiao’s Burst. Her Skill benefits from her own DMG Bonus. A healer is important to counter her Skill’s HP drain and to further stack Fanfare — while Bennett can accomplish this, teamwide healers like Xianyun or Jean are preferred. |
Zhongli | Zhongli is a comfortable choice for his extremely strong and long-lasting shield, keeping Xiao alive and preventing interruption. Furthermore, he can increase Xiao’s damage by shredding enemy Elemental RES and holding 4pc Tenacity of the Millelith. |
 Diona | Diona is a suitable shielder and healer for Xiao who also contributes to Cryo Resonance. She can hold Favonius weapons to lower the team’s ER requirements. Though Diona’s shield is weaker and has lower uptime when compared to alternatives, her healing compensates for the lower value of her shield. |
 Thoma | Thoma shields and can grant a DMG Bonus at C6, but he is discouraged as a shielder for Xiao. This is because maintaining his shield requires a slower N1JP combo, decreasing the amount of Plunges Xiao can perform and hurting his damage considerably. |
Secondary DPS Units
Secondary damage dealers, particularly off-field DPS units, may supplement Xiao’s damage and bring other value. Note that their damage should not be prioritized at the cost of Xiao’s personal damage, e.g., by running 4pc Viridescent Venerer on an Anemo support instead of 4pc Tenacity of the Millelith or 4pc Noblesse Oblige.
 Raiden | Raiden is able to work with Xiao in a dual-carry team. She significantly lowers Xiao’s ER requirements by using her Burst combo after Xiao’s field time and generally deals enough damage to compensate for the extended rotation. While Xiao-Raiden teams were some of Xiao’s best prior to the release of buffers dedicated to him, these teams perform worse than alternatives with Faruzan and/or Xianyun, important buffers and batteries for Xiao in Triple Anemo teams. |
 Yelan | Yelan is a Hydro off-field DPS unit whose Burst lasts for most of Xiao’s field time. She gives Xiao a ramping DMG Bonus and can supplement the team’s Energy with her high particle generation (especially with Favonius Bow). In order to deal damage, Yelan requires Xiao to weave in Normal Attacks between his Plunges. |
 Xingqiu | Like Yelan, Xingqiu can work as a Hydro off-field DPS who also enhances survivability. However, his Burst triggers much longer into the Normal Attack animation, which leads to less Plunges in Xiao’s combo. For this reason, Xingqiu is less valuable as a Xiao teammate. |
  Albedo, Geo Traveler | Geo units can be used alongside Zhongli to enable Geo Resonance and deal their own damage. Albedo deals greater personal damage that lasts through all of Xiao’s field time, while Geo Traveler gives a CRIT Rate buff and has some crowd control with his Burst’s walls. |
 Other Off-Field DPS | More off-field DPS units such as Xiangling, Fischl, and Rosaria may be utilized with Xiao simply for their damage contribution. However, they have no particular synergy with Xiao’s kit or impact on his gameplay. |
Example Teams
This is not a comprehensive list of teams. The inclusion or exclusion of any given team does not necessarily reflect its power level.

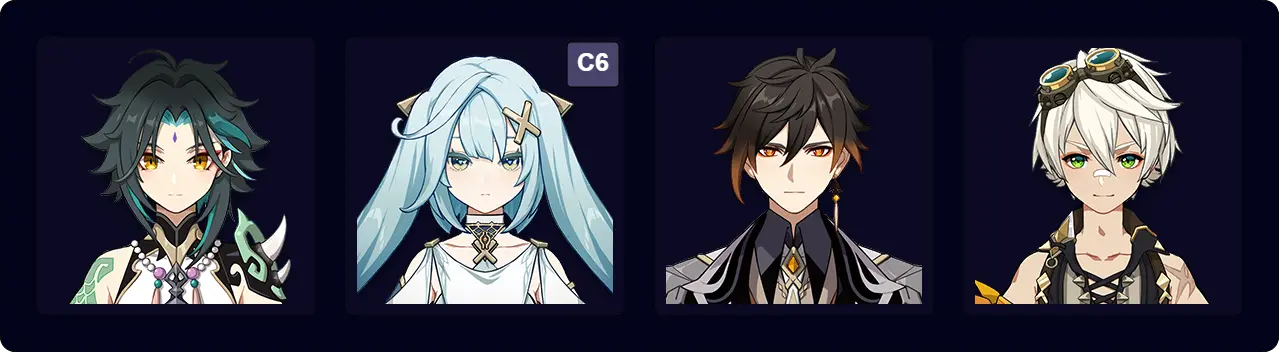
Xiao’s peak-performance team. All of his teammates significantly augment his damage with buffs, plus they don’t limit his mobility (no “Circle Impact”). Xiao makes the most of Xianyun’s Base DMG Bonus through the high amount of DMG Bonus and CRIT buffs available in this team.
In this composition, Xiao’s best combo is Plunge spam (ideally 12[JhP] 2[JlP]) regardless of combat scenario.
Sample Rotation (C6 Faruzan)
Faruzan Q > Furina ED Q > Xianyun EPQ > Xiao 2[E]Q combo
Sample Rotation (C2–C5 Faruzan)
Faruzan E Q > Furina ED Q > Xianyun EPQ > Faruzan C > Xiao 2[E]Q combo
Sample Rotation (C0–C1 Faruzan)
Furina ED Q > Xianyun EPQ > Faruzan E Q C > Xiao 2[E]Q combo
A traditional hypercarry team without Xianyun. C6 Faruzan and Bennett buff Xiao with ATK, DMG Bonus, and CRIT DMG. Zhongli enhances the team by offering survivability, interruption resistance, and Anemo RES Shred via his shield.
A C6 Faruzan is required for viable ER requirements. Without her C6, a Triple Anemo team with Sucrose or Lynette in Zhongli’s place is preferred.
Sample Rotation
Zhongli hE > Faruzan Q > Bennett EQ > Xiao 2[E]Q combo
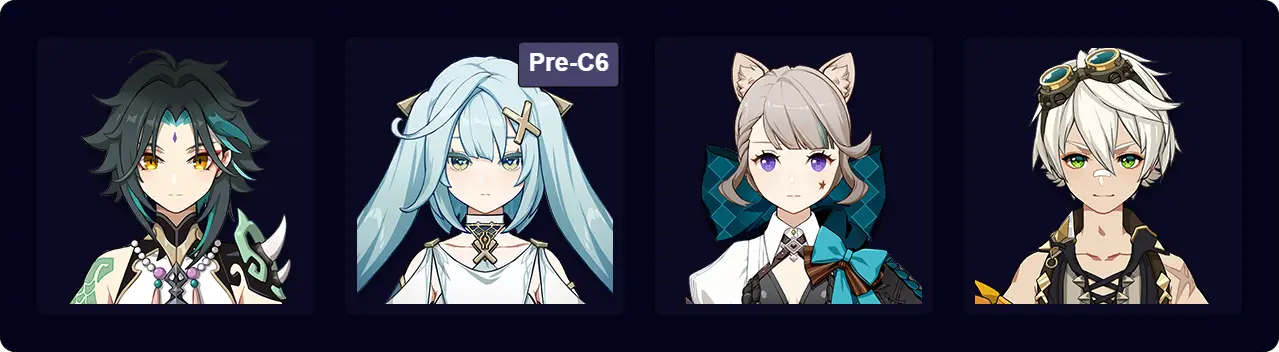
An accessible team for a low-Constellation Faruzan. Lynette deals personal damage and batteries Xiao by funneling 1 set of Skill particles to him; her particles also reduce Faruzan’s ER needs. Prior to C4, Lynette needs to hold Sacrificial Sword to use 2 Skills every rotation.
Sample Rotation (C2–C5 Faruzan)
Faruzan E CQ > Bennett EQ > Lynette EQ (E)* > Xiao 2[E]Q combo
*In the second rotation and above.
Sample Rotation (C0–C1 Faruzan)
Bennett EQ > Faruzan E CQ > Lynette EQ (E)* > Xiao 2[E]Q combo
*In the second rotation and above.
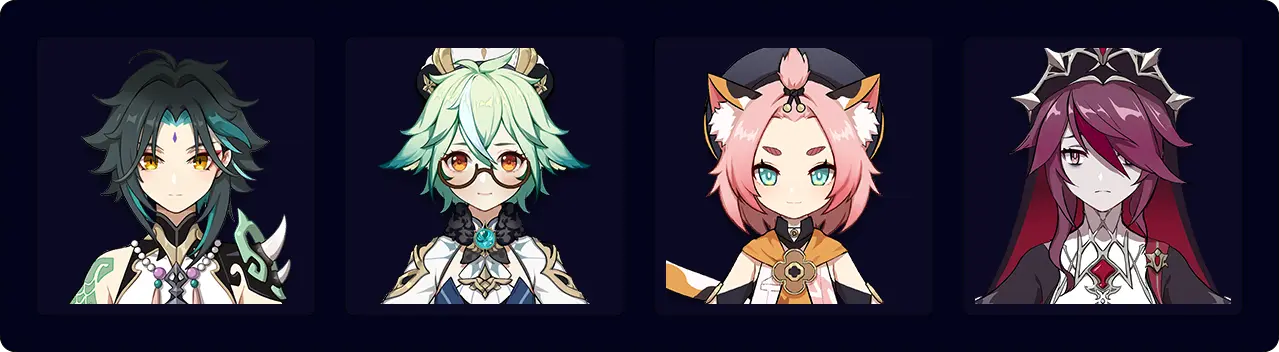
An accessible Double Cryo team without Faruzan. Sucrose batteries Xiao by funneling up to 2 sets of Skill particles. Diona batteries Rosaria with her Skill’s particles and sustains the team with her shield and healing. Rosaria deals personal damage in addition to buffing Xiao by enabling Cryo Resonance and giving her own CRIT Rate buff; combined, these buffs increase Xiao’s CRIT Rate by up to 30%.
Rosaria ideally uses 4pc Noblesse Oblige. Sucrose may use 4pc Viridescent Venerer to increase Rosaria’s damage — doing so is not a loss in this team, since there are no artifact options for buffing Xiao. Prior to C1, Sucrose needs to hold Sacrificial Fragments to use 2 Skills every rotation.
Sample Rotation
Diona (Q) hE > Rosaria EQ > Sucrose (Q) 1–2[E]* > Xiao 2[E]Q combo
*Sucrose uses 1 Skill in the first rotation, then 2 Skills in the second and third. Using 2 Skills is not possible in the fourth rotation, so ER requirements increase.
Credits
- polomo, baloopy, baeliph, felic1an, itslin, quinslay, casdela, notnilou, nova_licious, alix.sh, frankdgaf, irokei
- Xiao Mains — Discord, Website
- Xiao Extended Guide
- Faruzan Extended Guide
Team images made with the KQM portrait generator.