Updated for Version 5.6

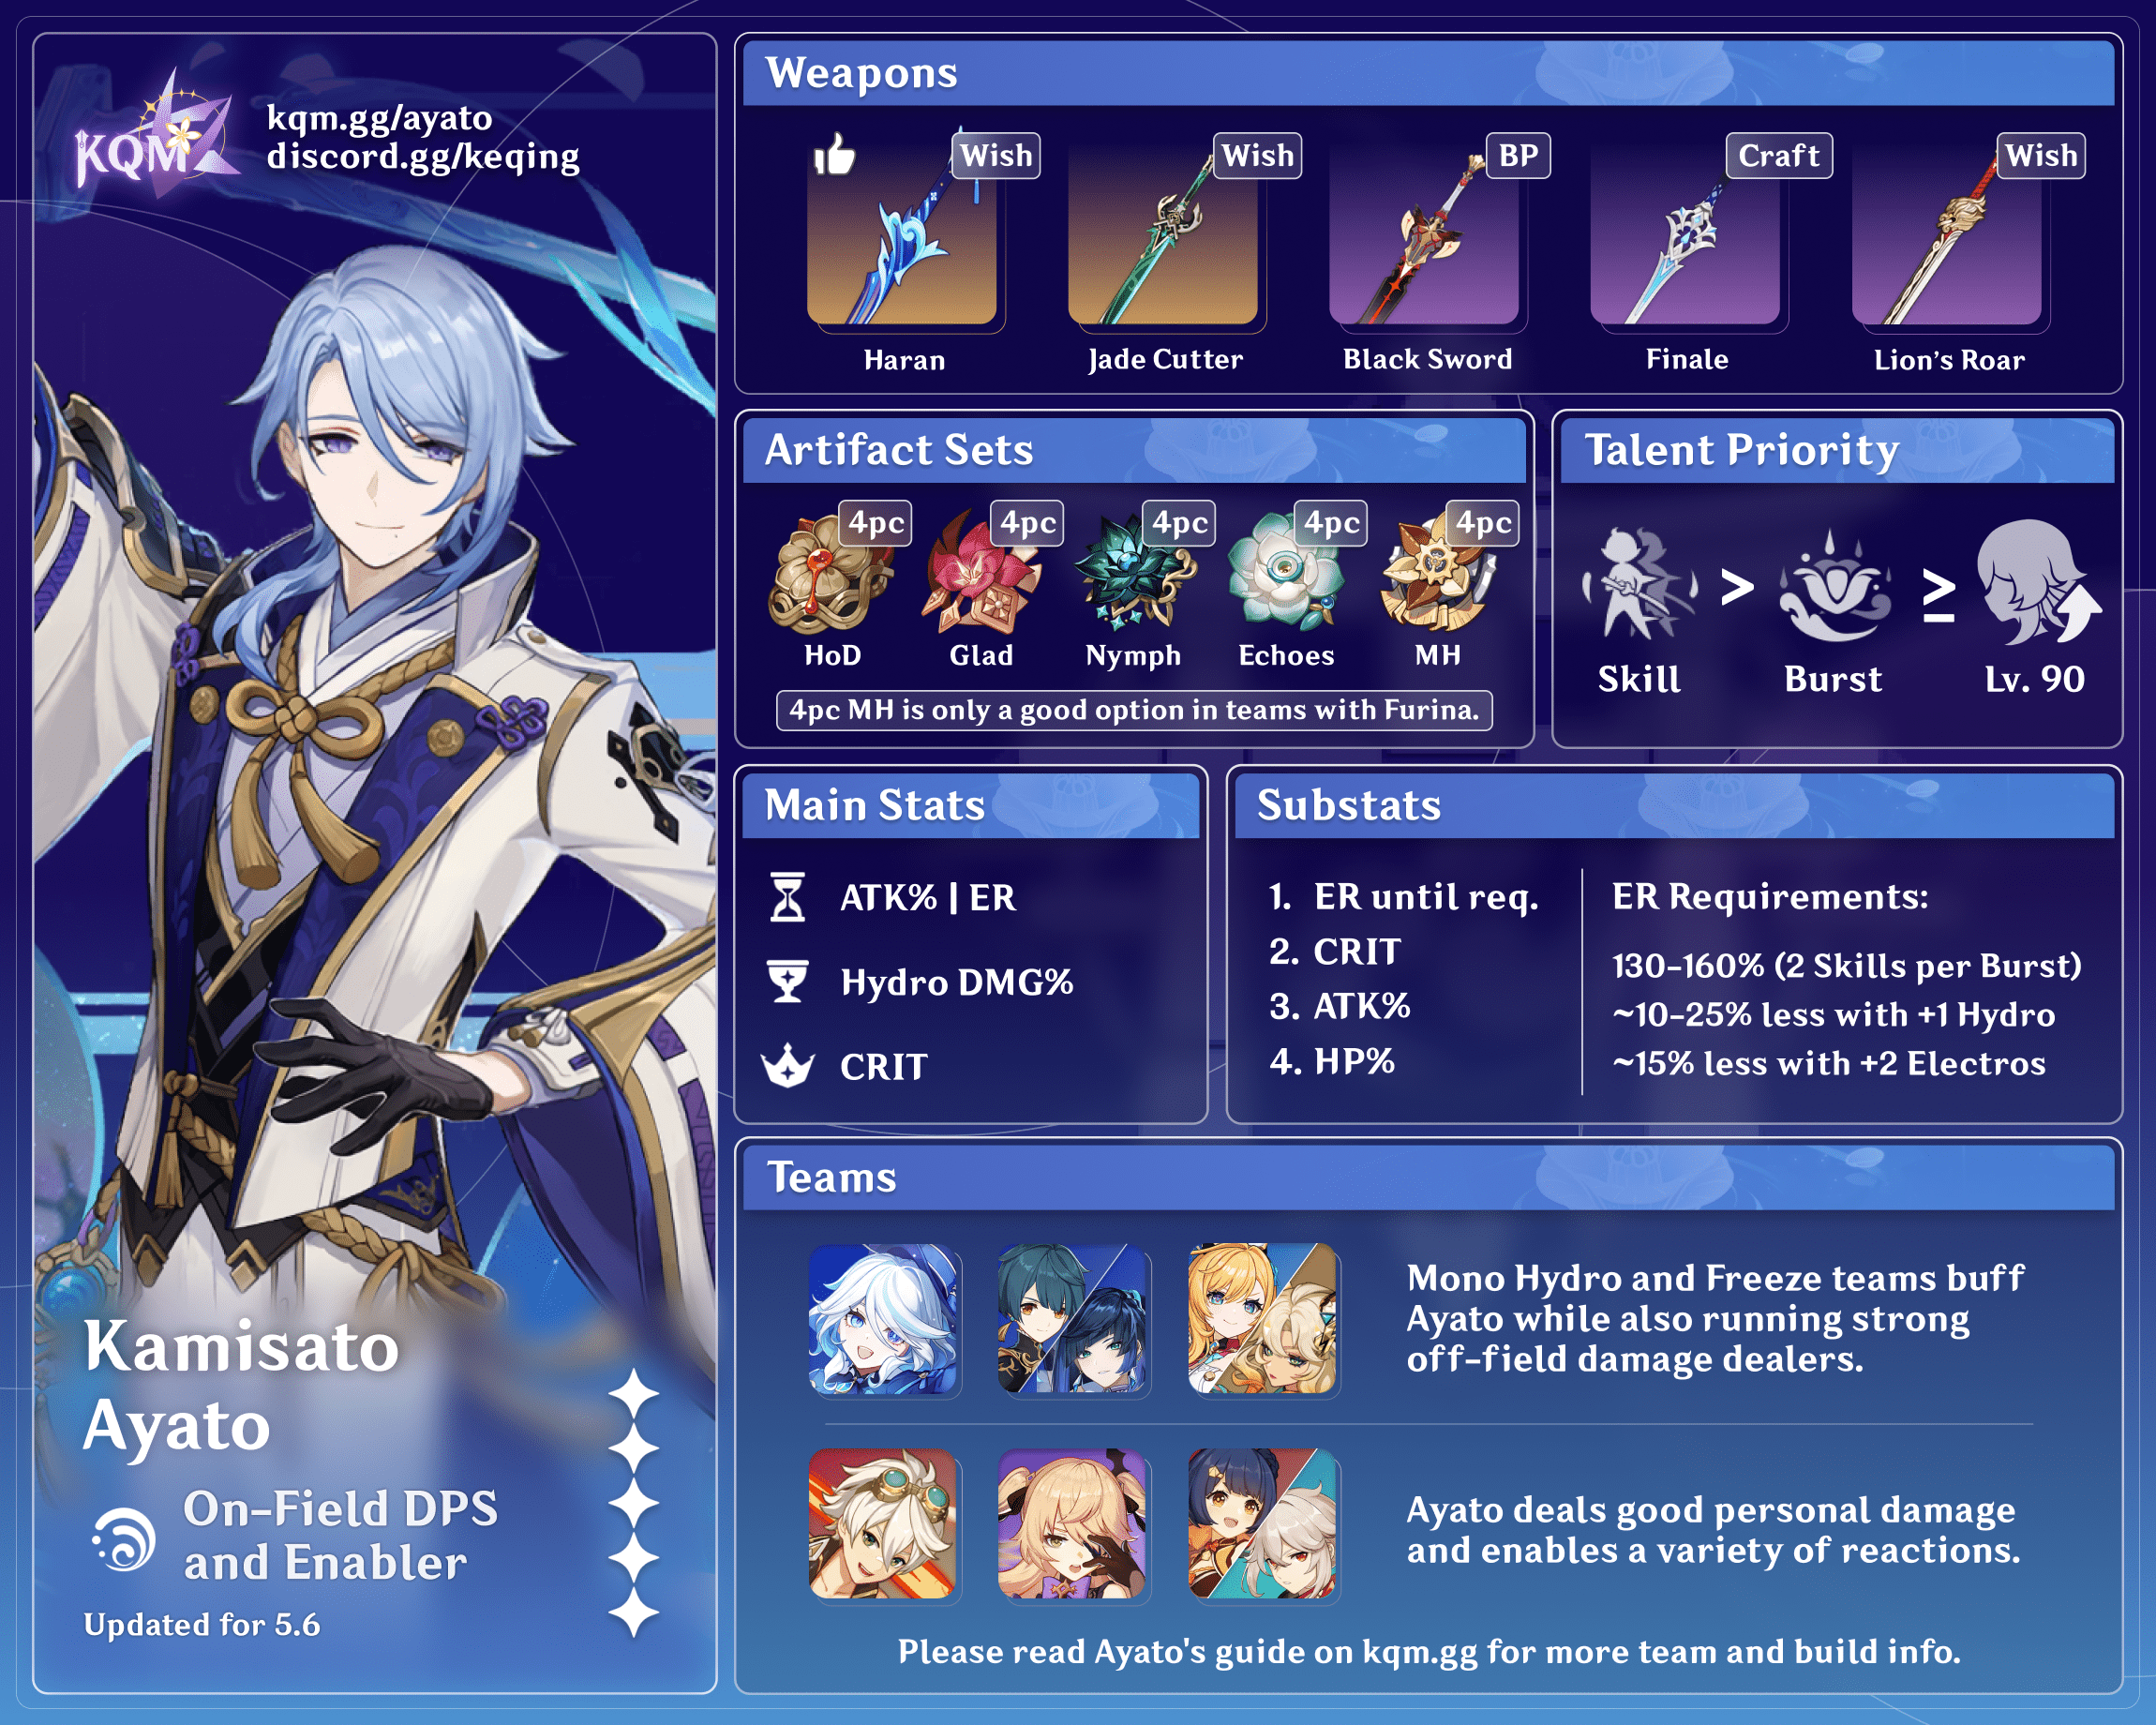
Ayato is a 5★ Hydro Sword character in Genshin Impact who uses his Elemental Skill and Burst to deal considerable Hydro damage. He is a flexible and versatile Hydro DPS unit. Learn about Ayato’s best builds, best weapons, best artifacts, and best teams in this quick guide.
Note that the information given may change if new discoveries are made. More extensive testing is in progress.
The full-length guide is available here. It is currently updated for Version 5.1.
Table of Contents
Infographic
Credits to: angtahimik, luno_, lesterberne, and KQM Staff
Character Overview
Pros
- Strong, consistent damage output in both multi-target and single-target scenarios
- Valuable on-field and off-field Hydro application
- Wide variety of team compositions
- Multiple Resin-efficient artifact options
- High viability without Constellations
Cons
- 12s Skill cooldown resulting in 24–25s rotations which do not sync well with most other characters’ cooldowns
- Free-to-play weapon selection that performs significantly worse than other options
- Lack of front-loaded damage without Constellations
- Competition from other Hydro units
- Team compositions that require highly-contested teammates
Playstyles
Ayato is primarily an on-field DPS unit, but he does have some off-field potential via his Burst. This quick guide focuses on Ayato’s on-field playstyle.
On-Field DPS
As an on-field DPS, Ayato generally uses two Elemental Skills per Burst. He can enable or trigger Elemental Reactions in his teams.
Off-Field Burst DPS
As an off-field Burst DPS, Ayato uses only one Skill per Burst to decrease his field time. Instead, he capitalizes on his Burst’s off-field AoE Hydro application to enable different reactions.
Talents
Level and Talent Priority
Skill > Burst
Level 90 is recommended to maximize the damage from Ayato’s Namisen stacks. Ayato does not need to level his Normal Attack Talent since the damage from his Shunsuiken attacks (Hydro-infused Normal Attacks after using his Skill) scales with his Elemental Skill Talent.
Talent Overview
 Normal Attack | Kamisato Art: Marobashi
Talent Description
Normal Attack
Performs up to 5 rapid strikes.
Charged Attack
Consumes a certain amount of Stamina to dash forward and perform an iai.
Plunging Attack
Plunges from mid-air to strike the ground below, damaging opponents along the path and dealing AoE DMG upon impact.
Ayato’s Hydro-infused Normal Attacks do not scale with his Normal Attack Talent. His Physical Normal Attacks are never used in combat.
 Elemental Skill | Kamisato Art: Kyouka
Talent Description
Kamisato Ayato shifts positions and enters the Takimeguri Kanka state.
After this shift, he will leave a watery illusion at his original location. After it is formed, the watery illusion will explode if opponents are nearby or after its duration ends, dealing AoE Hydro DMG.
Takimeguri Kanka
In this state, Kamisato Ayato uses his Shunsuiken to engage in blindingly fast attacks, causing DMG from his Normal Attacks to be converted into AoE Hydro DMG. This cannot be overridden.
It also has the following properties:
- After a Shunsuiken attack hits an opponent, it will grant Ayato the Namisen effect, increasing the DMG dealt by Shunsuiken based on Ayato’s current Max HP. The initial maximum number of Namisen stacks is 4, and 1 stack can be gained through Shunsuiken every 0.1s. This effect will be dispelled when Takimeguri Kanka ends.
- Kamisato Ayato’s resistance to interruption is increased.
- Unable to use Charged or Plunging Attacks.
Takimeguri Kanka will be cleared when Ayato leaves the field. Using Kamisato Art: Kyouka again while in the Takimeguri Kanka state will reset and replace the pre-existing state.
Ayato’s Elemental Skill provides the bulk of his damage. After casting his Skill, Ayato can perform 15 consecutive Shunsuiken attacks at C0. These attacks generate Hydro Particles and apply Hydro. Shunsuiken attacks have a noticeably large AoE, which means that Ayato can still hit enemies who are not tightly grouped.
Note that you can hold down the Normal Attack button to perform Shunsuiken attacks. You do not have to individually perform each Shunsuiken attack.
 Elemental Burst | Kamisato Art: Suiyuu
Talent Description
Unveils a garden of purity that silences the cacophony within.
While this space exists, Bloomwater Blades will constantly rain down and attack opponents within its AoE, dealing Hydro DMG and increasing the Normal Attack DMG of characters within.
Ayato’s Elemental Burst deals AoE Hydro damage through Bloomwater Blades, which we refer to as droplets. Characters within the Burst radius gain a Normal Attack DMG Bonus.
Droplet Targeting
Ayato’s Burst lasts for 18s and drops 36 droplets that deal Hydro damage in a small AoE, but not all droplets necessarily hit an enemy.
Each droplet targets a random enemy within its field that has not been targeted by one of the three most recent droplets. If there are no such enemies, the next droplet drops randomly within the field.
Quadratic Scaling
Individual droplets deal damage in a small AoE. Enemies that are grouped closely enough can take damage from droplets that target another enemy. This results in quadratic scaling damage; that is, the number of damage instances from droplets can equal the number of enemies if they are grouped closely enough. For Ayato’s Burst, the quadratic scaling effect caps at 4 enemies.
 Ascension 1 Passive | Kamisato Art: Mine Wo Matoishi Kiyotaki
Talent Description
Kamisato Art: Kyouka has the following properties:
- After it is used, Kamisato Ayato will gain 2 Namisen stacks.
- When the water illusion explodes, Ayato will gain a Namisen effect equal to the maximum number of stacks possible.
Ayato’s A1 Passive lets him start out with 2 Namisen stacks after casting his Elemental Skill. When his clone explodes, he gains the maximum amount possible of Namisen stacks (4 or 5 depending on Constellation).
 Ascension 4 Passive | Kamisato Art: Michiyuku Hagetsu
Talent Description
If Kamisato Ayato is not on the field and his Energy is less than 40, he will regenerate 2 Energy for himself every second.
Ayato’s A4 Passive can help lower his ER requirements. The Energy generated from this passive is Flat Energy, which is not affected by ER stats.
Constellations
Ayato’s C2 and C3 are good stopping points before going for C6. It is not worth pulling solely for his C1.
Calcs for Constellation comparisons can be found here (last updated for Version 5.1).
 Constellation 1 | Kyouka Fuushi
Constellation Description
Shunsuiken DMG is increased by 40% against opponents with 50% HP or less.
Ayato’s C1 is unreliable and dependent on enemy health. It has a minuscule impact on his damage in most cases.
 Constellation 2 | World Source
Constellation Description
Namisen’s maximum stack count is increased to 5. When Kamisato Ayato has at least 3 Namisen stacks, his Max HP is increased by 50%.
Ayato’s C2 increases his usual cumulative Namisen stack damage from 57 stacks to 69 (assuming 15 Shunsuiken attacks per Skill), resulting in a significant damage increase. It also increases his Max HP by 50% if he has at least 3 active stacks.
 Constellation 3 | To Admire the Flowers
Constellation Description
Increases the Level of Kamisato Art: Kyouka by 3.
Maximum upgrade level is 15.
Ayato’s C3 is quite strong since it increases the damage from his Skill, the primary source of his damage. This Constellation also synergizes with his C2.
 Constellation 4 | Endless Flow
Constellation Description
After using Kamisato Art: Suiyuu, all nearby party members will have 15% increased Normal Attack SPD for 15s.
Ayato’s C4 increases the whole team’s Normal Attack SPD, which allows him to perform 2–3 more Shunsuiken attacks per Skill. This results in a solid overall damage increase.
 Constellation 5 | Bansui Ichiro
Constellation Description
Increases the Level of Kamisato Art: Suiyuu by 3.
Maximum upgrade level is 15.
Ayato’s C5 increases his Burst’s damage, which results in a minor damage buff.
 Constellation 6 | Boundless Origin
Constellation Description
After using Kamisato Art: Kyouka, Ayato’s next Shunsuiken attack will create 2 extra Shunsuiken strikes when they hit opponents, each one dealing 450% of Ayato’s ATK as DMG.
Both these Shunsuiken attacks will not be affected by Namisen.
Ayato’s C6 provides a large amount of front-loaded damage after using his Skill, resulting in a considerable damage increase.
Combos
Combo Notation
- N = Normal Attack
- E = Elemental Skill
- Q = Elemental Burst
Ayato can hold his Normal Attack button during his Elemental Skill. He usually casts two Elemental Skills per rotation, leading to ~24–26s rotations. For more information about Ayato’s cooldowns and how to fill downtime in rotations, please check out the extended guide.
| Q > Team > E N15 > Team > E N15 | Default combo (reactions) Starting the rotation with Ayato’s Elemental Burst provides some sustained Hydro application, which is generally preferred for Bloom and Reverse Vaporize teams. |
| Team > E N15 Q > Team > E N15 | Default combo (Double Hydro) This setup is often preferred in Double Hydro teams or when paired with Bennett to snapshot Ayato’s Elemental Burst. |
| Q > Team > E N15 E N15 | When using 4pc Thundering Fury in Double Electro teams with Fischl, Ayato can reduce his Elemental Skill cooldown enough to cast two in a row, further reducing rotation length down to ~20s. |
Artifacts
ER Requirements
Calcs for ER requirements can be found here (last updated for Version 5.1).
Tables below assume Favonius procs when applicable. Each additional Favonius proc reduces Ayato’s ER requirements by ~10–15%.
On-Field (2 Skills)
In most cases, you can get by with 135–140% ER, but you should still check your team’s specific requirement.
| Solo Hydro | 130–160% |
| Solo Hydro + Double Electro | 115–145% |
| Double Hydro | 120–135% |
| Triple Hydro | 100–120% |
Burst-Oriented (1 Skill)
| Solo Hydro (Freeze) | 155–175% |
| Double Hydro (Nilou) | 135–170% |
Use the Energy Recharge Calculator to determine exact requirements for your team and rotation. For more details on how Favonius weapons will affect your team, please use Ac1d’s Favonius Mastersheet.
Artifact Stats
 Sands |  Goblet |  Circlet |
| ATK% / Energy Recharge | Hydro DMG Bonus | CRIT Rate / CRIT DMG |
Stat Priority: ER (until requirement) > CRIT > ATK% > HP%
An ER Sands can be used to meet Ayato’s ER requirements if he is used as an off-field Burst DPS.
While Ayato can make use of HP% substats, they should not be prioritized over CRIT or ATK%.
Artifact Sets
Calcs for artifact comparisons can be found here (last updated for Version 5.1).
Recommended Sets
All of these sets perform similarly. Choose the option that has the best substats for your account. We recommend using Genshin Optimizer to compare your artifacts.
 4pc Heart of Depth | 4pc Heart of Depth is one of Ayato’s best sets. It usually performs better without additional Hydro DMG Bonus from teammates or Ayato’s weapon. |
 4pc Gladiator’s Finale | 4pc Gladiator’s Finale is another top contender. It performs slightly better with weapons that provide less ATK but more DMG% stats. |
 4pc Nymph’s Dream | 4pc Nymph’s Dream is a great option, performing on par with 4pc Gladiator’s Finale and 4pc Heart of Depth. Ayato can usually reach only 2 stacks, unless his clone deals damage to an enemy. |
 4pc Echoes of an Offering | 4pc Echoes of an Offering’s performance varies based on ping. Its performance is highest when ping is below 100ms; however, even at higher ping, this set is still on par with sets above. |
 2pc Mixed Sets | 2pc Set Bonuses: Hydro DMG Bonus, Normal Attack DMG Bonus, ATK%, Energy Recharge, Scroll of the Hero of Cinder City* 2pc Hydro DMG Bonus provides the strongest 2pc set bonus for Ayato since it buffs all of his damage. Depending on your artifact substat quality, these 2pc combinations may be your best option. *Note that to activate 2pc Scroll’s set effect, a Natlan character needs to be in the party. |
Niche Sets
These sets depend on different circumstances to be viable.
 4pc Marechaussee Hunter | 4pc Marechaussee Hunter (MH) is his best option when paired with Furina. Note that since Ayato’s Burst snapshots, it might not benefit from the 4pc effect if cast at the start of the rotation. |
 4pc Blizzard Strayer | 4pc Blizzard Strayer is a good option against Frozen enemies; however, such scenarios are not always consistently available. Even against freezable content, some options like 4pc MH (with Furina) may provide better results. |
 4pc Thundering Fury | 4pc Thundering Fury is an option in Electro-Charged teams with 2 Electro characters (primarily Fischl and Beidou). In these teams specifically, its 4pc effect reduces Ayato’s Skill cooldown enough to perform consecutive Skill uses without a 6s break. The DPS increase from using this set is minor (around 5–6%); however, it is noted here if you already have a good set or think the playstyle is fun. |
 4pc Unfinished Reverie | 4pc Unfinished Reverie is a strong option in Burgeon and Burnvape teams. Its viability is diminished if the team cannot reliably trigger Burning often, which usually occurs with high Hydro application and low Dendro application. |
 4pc Emblem of Severed Fate | 4pc Emblem of Severed Fate is recommended for Ayato if he is the only Hydro character and he serves as an off-field Burst DPS unit. Nonetheless, any of his recommended sets perform similarly if you can meet his ER requirements. |
Weapons
Calcs for weapon comparisons can be found here (last updated for Version 5.1).
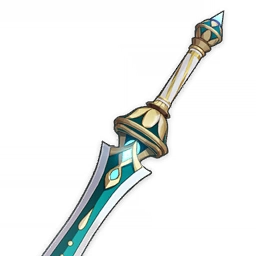
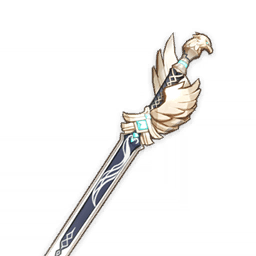
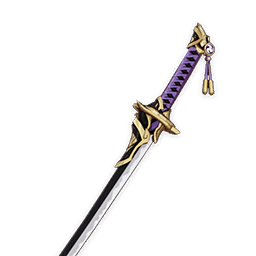
 5★ Haran Geppaku Futsu, Primordial Jade Cutter | Haran Geppaku Futsu and Primordial Jade Cutter are Ayato’s strongest weapons. They provide a CRIT Rate substat and solid, practically unconditional stats from their passives. |
 5★ Mistsplitter Reforged | Mistsplitter Reforged is Ayato’s third-best option. Ayato can struggle to maintain maximum stacks in his typical rotations, which makes it fall further behind his top two picks. It performs relatively stronger in off-field Burst DPS playstyles, and its CRIT DMG substat makes artifacts that provide CRIT Rate easier to use. |
 5★ Uraku Misugiri, Light of Foliar Incision | Uraku Misugiri and Light of Foliar Incision are strong options for Ayato that can pull further ahead of weapons below them if their passives are active. Uraku Misugiri has good performance in Xilonen teams. Light of Foliar Incision is more competitive if receiving EM buffs (e.g., Sucrose’s A1 / A4, Kazuha’s C2, Nahida’s A1). |
 5★ Absolution, Splendor of Tranquil Waters, Summit Shaper | Absolution, Splendor of Tranquil Waters, and Summit Shaper are solid stat sticks. Note that Summit Shaper’s performance drops when unshielded or when paired with Bennett. |
 4★ Calamity of Eshu | Calamity of Eshu is a strong option, beating out Black Sword in shielded teams. Unfortunately, such teams are scarce, but notably, Ayato can make use of this weapon when paired with Thoma in Burgeon, Kirara in Bloom, and Citlali or Lan Yan in his carry teams. |
 4★ The Black Sword | The Black Sword is Ayato’s strongest 4-star weapon option. It provides a valuable CRIT Rate secondary stat and a Normal Attack DMG Bonus. Refinements from R1 to R5 only result in a 6–7% DPS increase. |
 5★ Skyward Blade | Skyward Blade helps meet Ayato’s ER requirements and performs roughly on par with R1 Black Sword. Ayato can execute a couple more slashes per Skill thanks to the Attack SPD buff from its passive. |
 4★ Sturdy Bone | Sturdy Bone has impressive performance rivaling some 5-stars even at R1 when paired with Bennett, DMG% buffs, and RES Shred. This weapon drops in performance significantly if Ayato doesn’t receive buffs or is in multi-target scenarios, due to its cap of 18 instances of damage. |
 4★ Finale of the Deep | Finale of the Deep is a good option for Ayato only if he can consistently clear the Bond of Life with a healer. It has better drip on Ayato compared to Kagotsurube Isshin. |
 4★ Kagotsurube Isshin | Kagotsurube Isshin is Ayato’s best free option, available from Kazuha’s second Story Quest. It provides ATK stats and not much else. Ayato can snapshot its passive effect onto his Burst, so perform a single Normal Attack at the beginning of his rotations if you are using this weapon. |
 3★ Harbinger of Dawn | R5 Harbinger of Dawn is a strong option only if you can keep Ayato above 90% Max HP. It performs on par with Black Sword R1 in these circumstances. However, it is unusual for Ayato to maintain the passive effect due to his on-field presence and typical teammate selection. |
 4★ Lion’s Roar | In Electro-Charged teams only, Lion’s Roar is a strong 4-star option for Ayato. In other cases, it performs very poorly. |
 4★ Xiphos’ Moonlight | Xiphos’ Moonlight is a good option in Nilou Bloom teams, providing Ayato with EM and ER. |
 4★ Favonius Sword | Favonius Sword is not a good option for Ayato’s own personal damage; however, it’s a solid option when he is used as an off-field Burst DPS, due to his high ER requirements. |
 4★ Amenoma Kageuchi | Not recommended. Amenoma Kageuchi has amazing drip; however, its Energy passive is often not utilized by Ayato who tends to cast his Burst before his first Skill, so it should be avoided. |
Teams
This is not a comprehensive list of teams. The inclusion or exclusion of any given team does not necessarily reflect its power level.
Rotation Notation
- N = Normal Attack
- C = Charged Attack
- P = Plunging Attack
- E = Elemental Skill
- tE = Tap Skill
- hE = Hold Skill
- Q = Elemental Burst
- D = dash (cancel)
- J = jump (cancel)
- W = walk (cancel)
- > = switch character
- ( ) = these actions are optional; please refer to the notes below
- [ ] = repeat these actions the specified number of times
Notable Teammates


Dendro
Ayato has great synergy with Dendro teams. One or two Dendro teammates can be used in his Hyperbloom, Burgeon, and Nilou Bloom teams.
Nahida | Nahida is an excellent teammate in Ayato’s Hyperbloom, Burgeon, and Nilou Bloom teams. She provides strong Dendro application, personal damage, and an EM buff. |
 Baizhu | Baizhu is a strong defensive choice and good buffer in Ayato’s Dendro-related teams. He is one of two healing Dendro options available in Nilou Bloom. |
 Yaoyao | Yaoyao is a 4-star alternative to Baizhu. She provides 15s of AoE Dendro application and healing with her Skill. Outside of Nilou Bloom teams, she does not need to worry about using her Burst (except for emergency healing), which removes any need to build ER. |
Kirara | Kirara is a solid defensive option for Bloom teams. She has very low off-field Dendro application pre-C4. Her 8–12s Skill cooldown lines up well with Ayato rotations. |
 Collei | Collei is a good free option in Ayato’s Dendro-related teams since her cooldowns line up well. It can be difficult to position her Burst correctly, but she is a good option nonetheless. |
 Dendro Traveler | Dendro Traveler is a decent free option in Ayato’s Dendro teams despite their Burst duration and cooldown not lining up perfectly with Ayato rotations. In Burgeon teams, their Elemental Burst must make contact with Hydro before Pyro to avoid exploding the Burst prematurely |
 Emilie | Emilie is an off-field damage dealer who is primarily used in Ayato’s Burnvape teams with Bennett and Xiangling. Due to her Skill’s long duration and her Burst’s good AoE potential, she can also be used in Nilou Bloom teams with decent results |
Anemo
Anemo units are strongly recommended in Ayato’s non-Dendro teams due to their ability to hold 4pc Viridescent Venerer (which shreds enemy Hydro RES with Hydro Swirls).
Kazuha | Kazuha is the most recommended Anemo teammate in all of Ayato’s non-Dendro teams. He provides a DMG% buff with his A4 Passive, groups enemies with his Skill, and provides good off-field damage with his Burst. |
   Jean, Xianyun, Sayu | Jean, Xianyun, and Sayu are solid healers who can pair well in Ayato–Furina teams. Additionally, Jean is a notable teammate in Ayato’s Overvape teams thanks to the “Sunfire” interaction between her Burst and Bennett’s Burst. |
 Venti | Venti is a good option in Ayato’s non-Dendro teams, especially Anemo Overvape, Electro-Charged, and Freeze. Venti’s Burst enables Ayato’s Burst’s pseudo-quadratic scaling in groupable multi-target scenarios. Ayato’s Shunsuiken attacks can also hit fully-lifted enemies within Venti’s Burst. |
 Sucrose | Sucrose is a solid option in Ayato’s Vaporize, Anemo Overvape, and Electro-Charged teams. She buffs the team’s EM and can hold Thrilling Tales of Dragon Slayers to buff Ayato’s ATK. Her Guoba Swirl tech allows a Double Swirl setup in Xiangling teams. |
Lan Yan | Lan Yan is a solid shielder for Electro-Charged and Freeze teams. Similarly to Sucrose, she can hold Thrilling Tales of Dragon Slayers to buff Ayato’s ATK. |
Geo
Geo teammates (with the exception of Xilonen) are generally not recommended with Ayato; however, they can be viable in a few team archetypes.
Xilonen | Xilonen is a fantastic support for Ayato, providing RES Shred, a DMG% buff via 4pc Scroll, and some healing. Her Skill cooldown is 7s, and her RES Shred lasts 15s through multiple waves of enemies, meaning her buffs almost always have full uptime. Despite her healing being only for the active character, she outshines Anemo healers like Jean in Furina teams. |
 Zhongli | Zhongli provides the strongest shield in the game and 20% Universal RES Shred against enemies. He can either hold 4pc Tenacity of the Millelith or 4pc Archaic Petra to further buff Ayato. Zhongli is a comfortable replacement for an Anemo character in certain teams if you lack other viable healer or shielder options in the team. |
  Chiori, Albedo | Chiori and Albedo are options for Double Geo teams with Zhongli or Xilonen to enable Geo Resonance and deal consistent off-field Geo damage. With Zhongli, Chiori can create 2 Tamoto dolls, which increases her own damage. In teams without a Geo Construct teammate, she deals comparable damage to Albedo. |
Kachina | Kachina can hold 4pc Scroll to provide both a Hydro and a Geo DMG Bonus. She’s comparable to Zhongli in Double Geo teams. |
 Yun Jin | Yun Jin generally underperforms with Ayato compared to other teammate options. While her Normal Attack buff seems like a logical choice, it runs out rather quickly in AoE scenarios and is outweighed by other characters’ more powerful damage and buffs. |
Electro
Electro teammates allow for Hyperbloom, Electro-Charged, and Overvape team compositions.
 Fischl | Fischl is an excellent choice in any of Ayato’s playstyles (except for Freeze), especially at C6. She helps battery a second Electro teammate in Electro-Charged teams. By alternating between her Skill and Burst, she fits perfectly into 25s rotations, which align well with Ayato’s cooldowns. |
 Kuki Shinobu | Kuki Shinobu is an excellent Hyperbloom trigger who also provides valuable healing. Since she has a 15s cooldown, Ayato needs to extend his rotations to 30s or use a flexible rotation where Kuki Shinobu casts her Skill when available. |
Raiden Shogun | Raiden Shogun is a fantastic Hyperbloom trigger that also buffs Ayato’s Burst damage. She lacks the healing utility of Kuki Shinobu, so a defensive option in the Dendro or flex slot is likely necessary. |
Ororon | Ororon is a great option in Electro-Charged and Overvape teams and can be solid as a Hyperbloom trigger in Dendro teams. He has solid AoE damage and provides a DMG% buff via 4pc Scroll. |
 Beidou | Beidou is a good option in Electro-Charged teams when facing 2–3 enemies, as Ayato is an effective driver for her Burst. She helps provide some defensive utility that such teams usually lack. She is also a solid flex pick in Hyperbloom teams as her Burst does not target Dendro Cores. |
Iansan | Iansan is a solid option in Electro-Charged and Vaporize teams. Ayato moves slightly while unleashing his Shunsuiken attacks, which helps improve uptime of the stronger version of Iansan’s Flat ATK buff. Iansan can also provide a DMG% buff via 4pc Scroll and an ATK% buff with her C2. Her buff only lasts for 12s pre-C6, so she is only able to buff one sequence of Ayato’s Shunsuiken attacks per rotation, but units that snapshot her buff can benefit from her maximum buff for the full duration of their skills. |
Pyro
Pyro teammates enable Vaporize and Burgeon compositions.
Mavuika | Mavuika does not have strong synergy with Ayato, but her raw power allows her to work well with him in Vaporize teams. She is able to Vaporize her Burst and some Charged Attacks to fill the downtime in Ayato’s rotations. She also provides a decaying DMG% buff to Ayato. Note that Mavuika requires another Natlan unit on her team, like Xilonen or Ororon, to charge her Burst. |
 Bennett | Bennett is essential to Ayato’s Vaporize and Anemo Overvape teams. He provides an excellent Flat ATK buff and strong healing to the on-field character within his Burst radius. His buff only lasts for 14.1s, so he is only able to buff one sequence of Ayato’s Shunsuiken attacks per rotation, but units that snapshot his buff can benefit from it for the full duration of their skills. |
Xiangling | Xiangling is a great option in Ayato’s Vaporize teams, providing strong Pyro damage and application with her Burst. While it is possible for Xiangling to be a Burgeon trigger, it is generally not recommended due to her high ER requirements as a solo Pyro unit. |
Thoma | Thoma is the quintessential Burgeon trigger. Ayato’s Shunsuiken attacks can proc Thoma’s Burst and refresh his shield. It is important to meet Thoma’s ER requirements since his Burst is crucial in Burgeon. |
Pyro Traveler | Pyro Traveler triggers Burgeon at a similar interval to Thoma but lacks defensive utility and also suffers from higher ER requirements if Thoma is C1+. Nonetheless, Pyro Traveler is still a good option for such teams and can even hold 4pc Scroll to buff the team. |
Hydro
Ayato benefits greatly from Hydro teammates since they help lower his ER requirements. They are especially powerful in Burgeon, Mono Hydro, Electro-Charged, and Escoffier Freeze teams.
Nilou | Ayato is a great Hydro option in Nilou Bloom teams. Using 1 Skill rotations is preferred for the team’s DPS; however, Ayato’s ER requirements are extremely high without enough Favonius weapons. |
 Furina | Furina is an amazing option in non-Dendro Ayato teams, provided she is paired with healers like Xilonen or Bennett. Ayato typically uses his Burst in the middle of the rotation to make the most of Furina’s DMG% buff. Additionally, she enables 4pc Marechaussee Hunter on Ayato provided he doesn’t overcap on CRIT Rate. |
 Xingqiu | Xingqiu provides strong single-target damage and Hydro application with his Burst, as well as some defensive utility with his orbital Rainswords and Hydro RES Shred at C2. |
 Yelan | Yelan provides strong single-target damage and a ramping DMG% buff to Ayato when he is on-field. Ayato’s split field time allows Yelan to cast her Skill twice per rotation, lowering both of their ER requirements. |
 Candace | Candace generally underperforms with Ayato compared to other teammate options. While she buffs less than Yun Jin, Candace provides valuable Hydro Particles to Ayato, and her buffs do not have a trigger quota that makes them weaker in multi-target scenarios. |
Cryo
Cryo teammates generally appear in Ayato’s Freeze teams. They enable 4pc Blizzard Strayer on Ayato provided he doesn’t overcap on CRIT Rate.
 Escoffier | Escoffier creates some of the strongest carry Ayato teams. In a team filled with only Hydro and Cryo units, she applies a large amount of RES Shred against enemies and deals solid single-target damage herself. Since she can also heal using her Burst, a team core of Ayato, Furina, and Escoffier is very strong. |
Citlali | Citlali greatly buffs Ayato’s damage and applies a large amount of Cryo to enable Freeze compositions. She provides Hydro RES Shred, a DMG% buff via 4pc Scroll, an ATK% buff via Thrilling Tales of Dragon Slayers, and a shield. |
  Rosaria, Kaeya | Rosaria and Kaeya are solid damage dealers in Ayato’s Freeze teams. Rosaria notably provides a CRIT Rate buff to Ayato. Their short Skill cooldowns allow them to cast 2–3 Skills per rotation. |
 Ganyu | Ganyu provides good AoE damage and a Cryo DMG% buff to her Cryo teammate. Ayato and Ganyu’s quadratic-scaling Bursts shine when paired with Venti against groupable multi-target scenarios. |
 Cryo Defensive Utility | Layla  and Diona and Diona  provide a comfortable shield for Freeze teams. Mika provide a comfortable shield for Freeze teams. Mika  and Charlotte and Charlotte These units can also be used outside of Freeze teams like in Burgeon teams. |
Mono Hydro / Hypercarry

Ayato’s Mono Hydro and Hypercarry teams can perform on par with his other teams thanks to the release of Furina. Teams without Furina can be viable depending on your Ayato’s level of investment and your other available teammates. Mono Hydro teams in particular lower all the Hydro teammates’ ER requirements.
Example Teams
This is one of many possible Ayato–Furina teams. All of Ayato, Furina, and Yelan deal a significant amount of damage. Yun Jin can replace Yelan to further improve Ayato’s personal damage and, at C6, allows him to use more Shunsuiken attacks. Note that, due to her short uptime, Yun Jin can only buff one of Ayato’s Elemental Skills.
Sample Rotation (Yelan)
Xilonen Q > Furina ED Q > Yelan Q N1 E N1 > Xilonen E N2 > Ayato E N15 Q > Xilonen N1 E N2 > Yelan N1 E N1 > Ayato E N15
Sample Rotation (Yun Jin)
Xilonen Q > Furina ED Q > Xilonen E N2 > Yun Jin EQ > Ayato E N15+ > Xilonen E N2 > Yun Jin E > Ayato Q E N10+
This Mono Hydro team is an outdated yet comfortable pick that performs alright in single-target scenarios. Zhongli should hold 4pc Archaic Petra and pick up Hydro Crystallize shards when possible.
Sample Rotation
Xingqiu EDQ N1 > Zhongli hED N1 > Yelan Q N1 E N1 > Ayato E N15 Q > Zhongli tE N2 > Yelan E N2 > Ayato E N15
This Hypercarry team provides Ayato with fantastic buffs; however, Ayato and Furina deal roughly the same amount of damage. The team is fairly weak in comparison to other options like Hyperbloom or the Mono Hydro teams above, since Ayato’s personal damage is lacking.
Sample Rotation
Furina ED Q > Bennett EQ > Kazuha hEPQ > Ayato Q E N15 > Bennett E > Kazuha tEP > Bennett E > Ayato E 15
Freeze

Ayato’s role in Freeze teams shifted with Escoffier’s release, from being a simple enabler for Cryo damage dealers to being a primary damage dealer in such teams. Escoffier teams are some of the strongest Ayato teams.
Outside of Escoffier teams, Ayato’s Freeze teams do not perform very well. Nonetheless, they are viable in multi-target scenarios with enemies that can be Frozen. Ayato can opt to use 4pc Blizzard Strayer; however, his Cryo teammates generally use the set better if you have limited artifact selection.
As an off-field Burst DPS, Ayato underperforms in comparison to Furina, Kokomi, and Mona.
Example Teams
This is one of the strongest Ayato teams in single-target scenarios. With Yelan, Escoffier has higher ER requirements, so her damage takes a hit. Citlali on the other hand enables Cryo Resonance, provides a DMG% buff via 4pc Scroll, and provides extra Cryo Particles for Escoffier. Ayato has a strong damage share in these teams and improves the team’s performance in multi-target scenarios.
Sample Rotation (Yelan)
Furina ED Q > Escoffier EQ > Yelan Q N1 E N1 > Ayato E N15 Q N1 > Escoffier N3 > Yelan N1 E N1 > Ayato N1 E N15
Sample Rotation (Citlali)
Furina ED Q > Escoffier EQ > Ayato E N15 Q > Citlali EQ N1 > Ayato N1 E N15
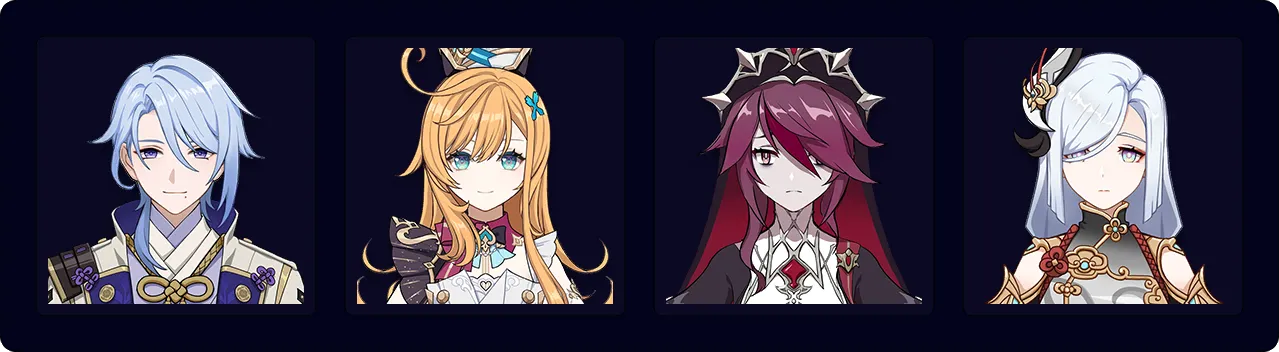
This Freeze team does not have a grouper but still boasts strong performance in multi-target scenarios. Despite the team having 3 Cryo teammates, Ayato is still being buffed with RES Shred from Escoffier and CRIT Rate from both Rosaria and Cryo Resonance.
Sample Rotation
Ayato Q > Escoffier EQ > Shenhe EQ > Rosaria EQ > Ayato E N15 > Shenhe E N2 > Rosaria E > Ayato E N15

This is a fun Freeze team that makes use of Ayato and Ganyu’s Burst quadratic scaling to deal damage to enemies grouped by Venti’s Burst. It’s solid against small mobs, but such scenarios are rare, so this team is generally not recommended. Ayato’s field time can be cut short, at the expense of his Energy, to allow Ganyu to do a second Charged Shot.
Sample Rotation
Diona (Q) hE > Ganyu EQ > Venti EQ > Ayato Q > Ganyu C > Venti E N1 > Ayato E N15
Hyperbloom

Ayato performs well in Hyperbloom teams. The AoE Hydro application from his Shunsuiken attacks and Burst droplets produce a significant amount of Dendro Cores.
Kuki Shinobu and Raiden Shogun are the strongest Hyperbloom triggers with Ayato. The flex slot can be an off-field Electro, Dendro, Hydro, or Geo teammate.
Example Teams

This is a great Hyperbloom team. Fischl may occasionally steal Hyperblooms from Kuki, but Fischl’s personal damage more than makes up for the difference. Ayato can also hold 4pc Thundering Fury in this team.
Sample Rotation (4pc Thundering Fury)
Ayato Q > Nahida E > Kuki (Q) E > Fischl E/Q > Ayato E N15 E N15
Sample Rotation (Other Sets)
Nahida E Q > Kuki E > Fischl E > Ayato E N15 Q > Nahida N3 E N3C > Kuki Q E > Fischl Q > Ayato E N15 > Nahida N3D N2
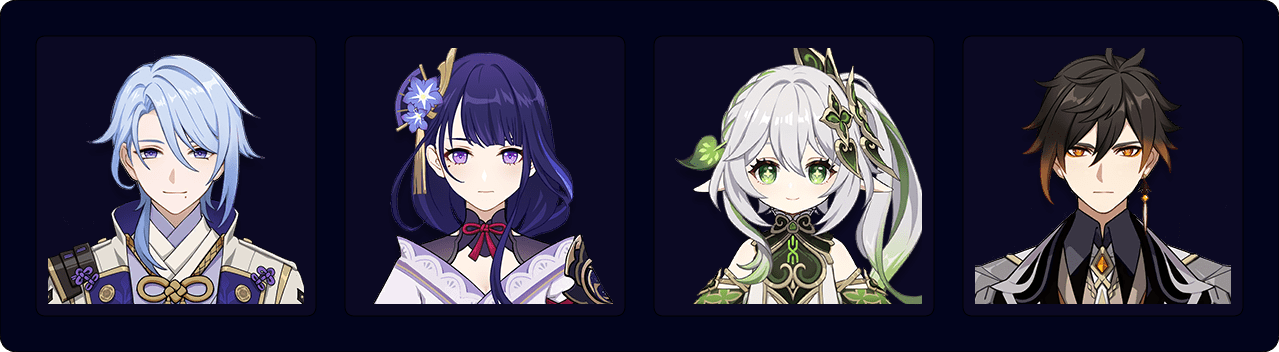
This is a strong Raiden Hyperbloom team that uses Zhongli for added comfort and his Universal RES Shred.
Sample Rotation
Raiden E > Ayato Q > Zhongli hED > Nahida E Q > Ayato E N15 > Nahida N3 E N3C > Raiden E > Zhongli tE > Ayato E N15
Burgeon

Ayato’s AoE Hydro application helps mitigate Burning (which limits Dendro Core production). Unlike Pyro Traveler, Thoma provides some defensive utility to counteract Burgeon self-damage. Additionally, his shield can activate effects like Calamity of Eshu’s passive. Xiangling is also a viable Burgeon trigger, but her teams are more limited due to her fast Pyro application. The flex slot is generally a Hydro, Electro, or Dendro teammate.
Example Teams

This is one of Ayato’s stronger Burgeon teams. Fischl helps eliminate Burning and provides strong personal damage. Nahida can hold Prototype Amber to provide healing for the team since Thoma’s shield is often insufficient on a full EM build.
Sample Rotation (C1+ Thoma)
Ayato Q > Fischl E > Nahida E N1 Q > Thoma EQ N1 > Ayato E N15 > Fischl Q > Nahida N2 E N2 > Thoma N1 E > Ayato E N15
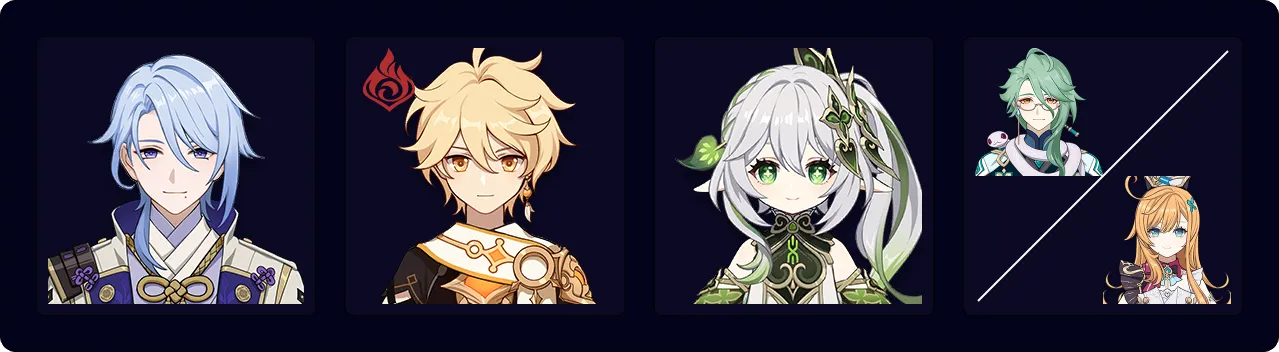
This is a comfortable Burgeon team. Pyro Traveler triggers Burgeon at a similar rate to Thoma but does not provide any defensive utility himself. If not holding 4pc Scroll, his ER requirements can be very hard to reach. Escoffier helps reduce Burning aura.
Sample Rotation (Baizhu)
Ayato Q > Nahida E (Q) > Baizhu EQ > Pyro Traveler tE Q > Ayato E N15 > Nahida N3 E > Baizhu E > Ayato E N15
Sample Rotation (Escoffier)
Ayato Q > Nahida E (Q) > Escoffier EQ > Pyro Traveler tE Q > Ayato E N15 > Nahida N3 E N3C > Ayato E N15
Nilou Bloom

Ayato works well in Nilou Bloom teams, an archetype that is incredibly strong in multi-target scenarios. At least one of the Dendro characters must be a healer or shielder.
Triple Hydro Nilou Bloom teams with Nahida are generally not recommended.
Example Teams
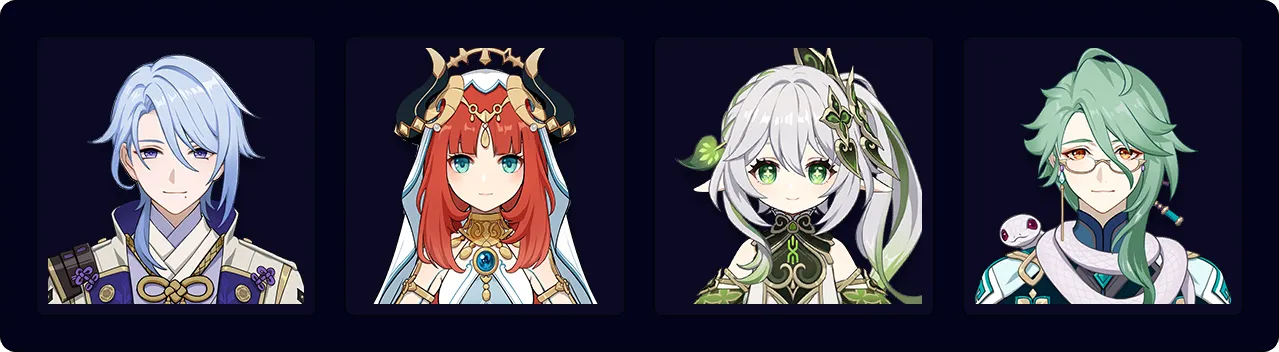
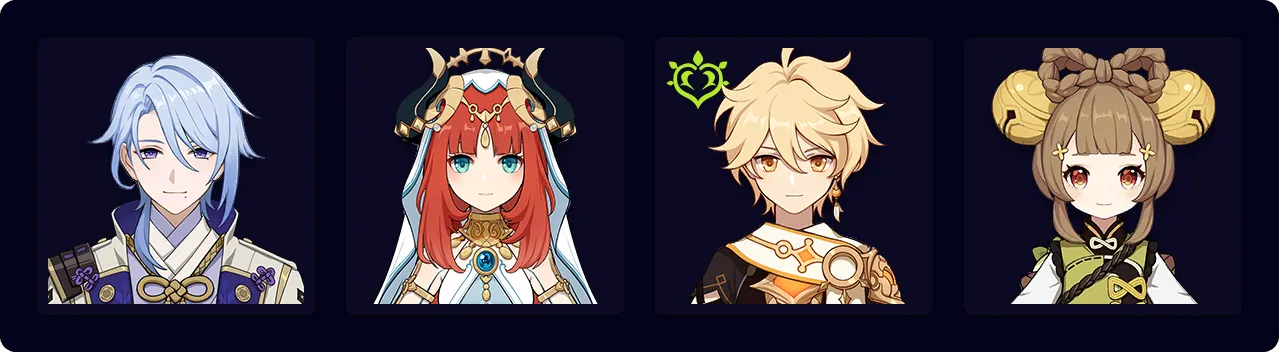
This is Ayato’s highest-performing Nilou Bloom team (with defensive units). Baizhu provides valuable defensive utility and increases damage from the active character’s Blooms. Nahida provides strong Dendro application and an EM buff.
Sample Rotation
Nahida E Q > Ayato Q > Nilou (Q) E N2 E > Baizhu EQ > Nahida N3 E N3C > Ayato E N15 > Baizhu E N2
This is a more accessible Nilou Bloom team. Yaoyao should use her Burst every rotation so the team can survive.
Sample Rotation
Dendro Traveler EQ > Ayato Q > Nilou (Q) E N2 E > Yaoyao Q 3[N3D] > Dendro Traveler E > Yaoyao E > Ayato E N15
Electro-Charged

Ayato’s Electro-Charged teams (also known as “Taser teams”) do not actually focus on the reaction. Rather, the Electro-Charged aura maintained on enemies allows Ayato to use Lion’s Roar and enables an Anemo unit to consistently Swirl both Hydro and Electro.
Ayato can opt to use 4pc Thundering Fury with Double Electro team compositions.
Example Teams
This team has amazing single-target damage output while also reducing Ayato’s ER requirements tremendously if Xilonen or Jean is using Favonius Sword. Both Xilonen and Jean shred Hydro and Electro RES and heal the team to counteract Furina’s HP drain. Xilonen can additionally provide a Hydro DMG Bonus via 4pc Scroll.
Sample Rotation (Xilonen)
Furina ED Q > Xilonen Q E N2 > Fischl E > Ayato E N15 Q > Xilonen E N2 > Fischl Q > Ayato E N15
Sample Rotation (Jean)
Furina ED Q > Fischl E > Jean EQ > Ayato E N15 Q > Fischl Q > Jean E N2 > Ayato E N15

This team uses 2 Electro units, meaning 4pc Thundering Fury becomes a viable option for Ayato. Rotations below do not assume 4pc Thundering Fury, however.
Sample Rotation (Beidou)
Ayato Q > Fischl E > Venti EQ > Beidou EQ > Ayato E N15 > Fischl Q > Venti E > Beidou E > Ayato E N15
Sample Rotation (Ororon)
Ayato Q > Fischl E > Venti EQ > Ayato E N15 > Fischl Q > Venti E > Ororon EQ > Ayato E N15
Vaporize / Overvape
Ayato is a viable Vaporize enabler. However, when paired with Xiangling, he cannot consistently sustain a Hydro aura on enemies unless paired with another Hydro or Electro applier.
He also has access to Anemo Overvape teams (also known as “Soup teams”) that are strong in both multi-target and single-target scenarios. The Anemo unit usually absorbs Pyro (through Bennett’s self-applied Pyro) to trigger Overloaded and Vaporize themselves.
Example Teams

This Ayato Overvape team is incredibly powerful, especially in single-target scenarios. In the latter half of the rotation, Normal Attacks can be used to fill downtime between Ayato’s Skill. In practice, this could also be dashing to a new wave of enemies or waiting for boss invulnerability windows.
Sample Rotation
Ayato Q > Bennett EQ > Fischl N1 E > Xiangling Q E > Ayato E N15 > Fischl N2 Q > Bennett N1 E > Xiangling N4 E > Ayato E N15

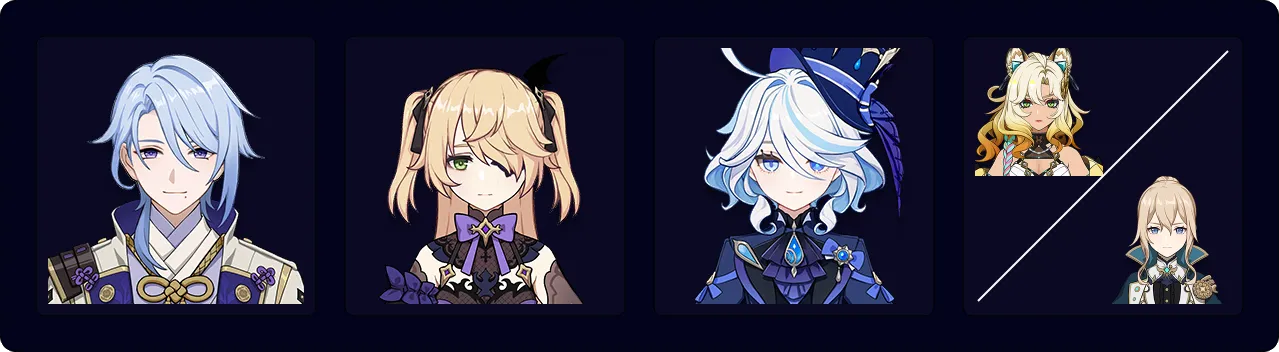
This team focuses on Vaporizing Xiangling’s Pyronado. Furina provides extra Hydro application for consistency, provides a buff to the whole team, lowers Ayato’s ER requirements, and allows Ayato to use 4pc Marechaussee Hunter.
Sample Rotation
Furina ED Q > Bennett Q E > Xiangling Q E > Ayato E N15 Q > Bennett E > Xiangling N2 E > Ayato E N15
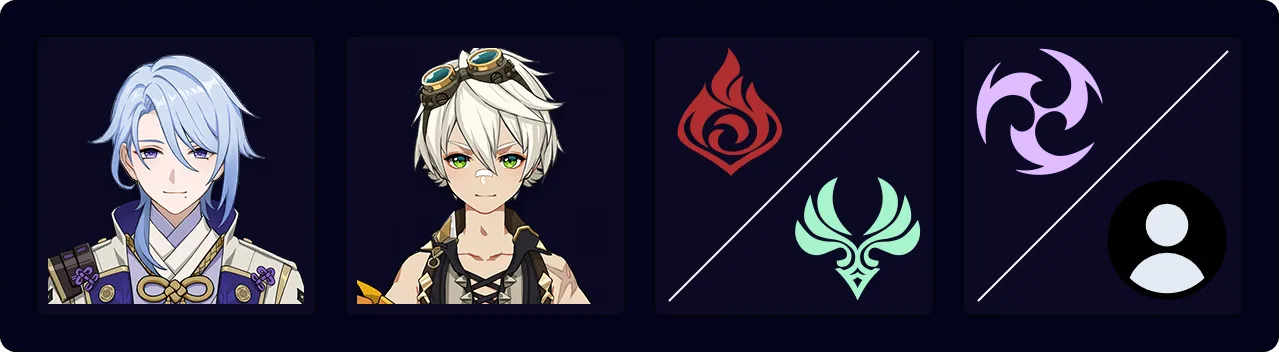
This team allows Mavuika to Vaporize her Burst, some of her Charged Attacks, and her Skill. Both Xilonen and Ororon help charge Mavuika’s Burst. Running Furina over Bennett can lead to better results since, even when buffed, Ayato has a smaller damage share compared to Mavuika.
Sample Rotation (Xilonen)
Ayato Q > Xilonen E N2 > Mavuika tE N1 > Bennett EQ > Ayato E N15 > Mavuika Q CD 2[C]D > Xilonen E N2 > Ayato E N15
Sample Rotation (Ororon)
Ayato Q > Mavuika tE N1 > Bennett EQ > Ayato E N15 > Mavuika Q CD 2[C]D > Ororon EQ > Ayato E N15

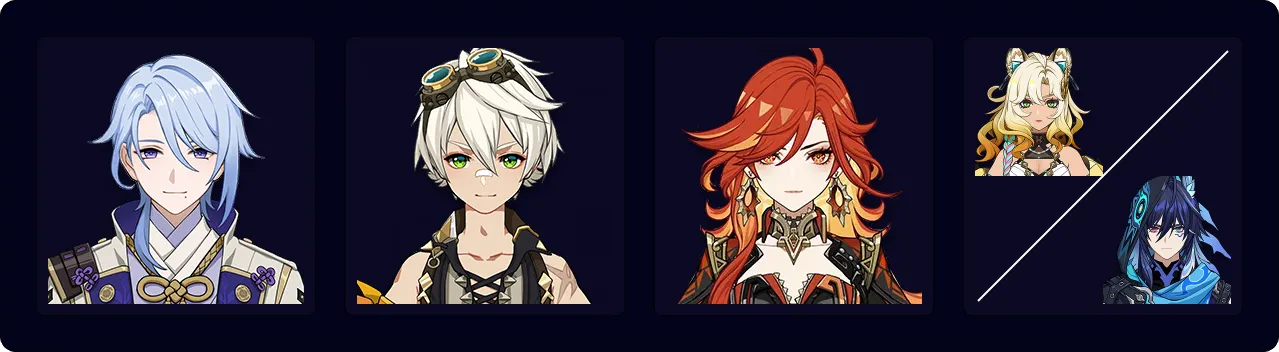
This is a strong Overvape team that excels in any scenario.
Sample Rotation
Ayato Q > Fischl E > Kazuha N1 hEP > Ayato E N15 > Bennett EQ > Fischl Q > Kazuha N1 tEPQ > Ayato E N15
Sample Rotation (Front-Loaded)
Ayato Q > Bennett EQ > Fischl E > Kazuha N1 tEPQ > Ayato E N15 > Bennett E > Fischl Q > Kazuha N1 hEP > Ayato E N15
Credits
luno_, kolvii, irokei, reens, polomo, quinslay, lesterberne, lostguide, plumetra
rrei., fritzzes, idk.anonymized, mina, seima, Leah, cinders_pear
Team images made with the KQM portrait generator.
