Updated for Version 4.5
Chiori is a 5-star Geo Sword character in Genshin Impact who primarily deals off-field Geo damage with her Skill. Learn about Chiori’s best builds, best weapons, best artifacts, and best teams in this quick guide.
Note that the information given may change if new discoveries are made. More extensive testing is in progress.
Join our Discord to participate in the theorycrafting process.
Table of Contents
Infographic
Credits to: pawketful, irokei, vladutsu, cegewinne, soulfish, and KQM Staff
Character Overview
Chiori occupies a similar niche to Albedo, but the underlying mechanics of their kits are different. It seems that Chiori deals more damage than Albedo even with a single doll active from her Skill. Further testing is needed to determine their exact relative value.
Playstyles
Off-Field Geo DPS
Chiori’s primary playstyle is similar to Albedo’s, where she deals the majority of her damage from off-field via her Skill. While Chiori has a Geo Infusion, her Normal Attacks are very lackluster before C6. She can use her Burst when available, but even then she remains primarily off-field.
In general, Chiori uses her Skill before the on-field DPS takes extended field time to deal damage. She swaps in, uses her Skill, and then swaps to the next party member by casting her Skill again. Chiori’s “Tamoto” doll turret damage doesn’t snapshot, so most buffs cannot cover all of her hits.
On-Field Geo DPS (C6 Only)
Chiori’s C6 opens up the possibility for an on-field or quickswap DPS playstyle. Stay tuned for Chiori’s Extended Guide for more information on her C6 possibilities!
Talents
Level and Talent Priority
Skill = Character Level > Burst
The vast majority of Chiori’s damage comes from her Elemental Skill. Chiori has dual scaling with ATK and DEF; however, she gains more from DEF stats than ATK stats in general. As such, raising her to Level 90 is relevant as it is her only source of Base DEF.
In most cases, it is not recommended to use Chiori’s Burst every rotation, so prioritize her Burst after her Skill and character level. She very rarely uses her Normal Attack Talent before C6.
Talent Overview
 Normal Attack | Weaving Blade
Talent Description
Normal Attack
Performs up to 4 rapid strikes.
Charged Attack
Consumes a certain amount of Stamina to unleash 2 rapid sword strikes.
Plunging Attack
Plunges from mid-air to strike the ground below, damaging opponents along the path and dealing AoE DMG upon impact.
Chiori’s Normal Attacks are disappointing in terms of performance even with the Geo Infusion active, so they normally aren’t worth using. At C6, this Talent becomes significantly more valuable and deals satisfactory amounts of damage.
 Elemental Skill | Fluttering Hasode
Talent Description
Dashes nimbly forward with silken steps. Once this dash ends, Chiori will summon the automaton doll “Tamoto” beside her and sweep her blade upward, dealing AoE Geo DMG to nearby opponents based on her ATK and DEF.
Holding the Skill will cause it to behave differently.
Hold
Enter Aiming Mode to adjust the dash direction.
Tamoto
· Will slash at nearby opponents at intervals, dealing AoE Geo DMG based on Chiori’s ATK and DEF.
· While active, if there are nearby Geo Construct(s) or Geo Construct(s) are created nearby, an additional Tamoto will be summoned next to your active character. Only 1 additional Tamoto can be summoned in this manner, and its duration is independently counted.
Chiori has a unique and slightly complex Elemental Skill. After Chiori finishes her Skill’s slash animation, a Tamoto doll appears that deals 5 instances of damage at an interval of 3.6s, with the first instance taking place roughly 0.6s after cast.
The interesting part comes when Geo Constructs are present or created. In this situation, a secondary Tamoto doll appears that has independent timing and duration, but deals the same amount of damage as the first Tamoto doll. If a construct is already present when Chiori casts her Skill, then both Tamoto dolls appear at the same time, with the second Tamoto hitting 1s after the first one. If a construct isn’t already present, the second Tamoto doll will spawn when a construct is summoned.
Chiori doesn’t generate Geo Particles with her initial slash damage; instead, Geo Particles generate near your on-field character every time the Tamoto doll hits an enemy. Each hit has a 20% chance to generate 2 Geo Particles and an 80% chance for 1 Geo Particle. Only the first Tamoto doll can generate particles.
It is worth noting these dolls cannot be broken by enemies and only despawn when their 17s duration ends.
 Elemental Burst | Hiyoku: Twin Blades
Talent Description
Twin blades leave their sheaths as Chiori slices with the clean cuts of a master tailor, dealing AoE Geo DMG based on her ATK and DEF.
Chiori’s Elemental Burst isn’t spectacular. It is a solid one-hit ability, but you won’t be amazed by its damage. It is not recommended to build ER% on pre-C2 Chiori to use her Burst every rotation. Instead, use her Burst when available.
If you have Chiori’s C2, it becomes worthwhile to build enough Energy Recharge to Burst every rotation or once every other rotation.
 Ascension 1 Passive | Tailor-Made
Talent Description
Gain different effects depending on the next action you take within a short duration after using Fluttering Hasode‘s upward sweep. If you Press the Elemental Skill, you will trigger the Tapestry effect. If you Press your Normal Attack, the Tailoring effect will be triggered instead.
Tapestry
· Switches to the next character in your roster.
· Grants all your party members “Seize the Moment”: When your active party member’s Normal Attacks, Charged Attacks, and Plunging Attacks hit a nearby opponent, “Tamoto” will execute a coordinated attack, dealing 100% of Fluttering Hasode’s upward sweep DMG as AoE Geo DMG at the opponent’s location. DMG dealt this way is considered Elemental Skill DMG.
· “Seize the Moment” lasts 8s, and 1 of “Tamoto”‘s coordinated attack can be unleashed every 2s. 2 such coordinated attacks can occur per “Seize the Moment” effect duration.
Tailoring
· Chiori gains Geo infusion for 5s.
When on the field, if Chiori does not either Press her Elemental Skill or use a Normal Attack within a short time after using Fluttering Hasode’s upward sweep, the Tailoring effect will be triggered by default.
Chiori’s A1 Passive enables either an off-field or on-field playstyle, the difference being which passive effect you trigger: Tapestry or Tailoring.
Tapestry is the ideal one to choose. To activate it, you have to cast her Skill again after the initial cast. This automatically swaps you to the next unit in your party. This ability allows the on-field unit to activate coordinated attacks from Chiori’s Tamoto doll (additional instances of damage separate from the Tamoto dolls’ regular attacks) when they deal damage through Normal, Charged, or Plunging Attacks within the next 8s. Only 2 coordinated attacks can be triggered per Skill use and there is a 2s cooldown between each one.
Tailoring is triggered by performing a Normal Attack with Chiori after casting her Skill, and it allows Chiori to gain Geo Infusion. Chiori’s on-field capabilities aren’t the best, so it is not advised to activate this passive. However, Tailoring’s value increases significantly with Chiori’s C6.
If neither mode is voluntarily triggered, Tailoring (Geo Infusion) activates by default. Make sure to press Chiori’s Skill twice for Tapestry (party swap and coordinated damage).
 Ascension 4 Passive | The Finishing Touch
Talent Description
When a nearby party member creates a Geo Construct, Chiori will gain 20% Geo DMG Bonus for 20s.
A straightforward passive that boosts Chiori’s damage in teams with Geo Constructs. It is also easy to maintain full uptime.
 Utility Passive | Brocaded Collar’s Beauteous Silhouette
Talent Description
When any party member is wearing an outfit apart from their default outfit, or is wearing a wind glider other than the Wings of First Flight, your party members will obtain the Swift Stride effect: Movement SPD is increased by 10%.
This effect does not take effect in Domains, Trounce Domains, and the Spiral Abyss. Swift Stride does not stack.
Chiori’s Utility Passive increases party Movement SPD by 10% if you have any skin or glider other than the default one on any party member. This effect does not stack with itself and does not work in Domains and Spiral Abyss, so it is only relevant in the overworld.
Constellations
Calcs for Constellation DPS increases can be found here (last updated for Version 4.5).
 Constellation 1 | Six Paths of Sage Silkcraft
The AoE of the automaton doll “Tamoto” summoned by Fluttering Hasode is increased by 50%.
Additionally, if there is a Geo party member other than Chiori, Fluttering Hasode will trigger the following after the dash is completed:
• Summon an additional Tamoto. Only one additional Tamoto can exist at the same time, whether summoned by Chiori this way or through the presence of a Geo Construct.
• Triggers the Passive Talent “The Finishing Touch.” This effect requires you to first unlock the Passive Talent “The Finishing Touch.”
Chiori’s C1 increases her Tamoto dolls’ range and causes 2 Tamoto dolls to always spawn when Chiori casts her Skill when any other Geo character is also on the team. It also causes her Skill to activate her A4 Passive, meaning she no longer requires a teammate who creates Geo Constructs to gain her Skill’s full potential. This Constellation is a damage increase only if you play Chiori in teams without Geo Constructs.
 Constellation 2 | In Five Colors Dyed
For 10s after using Hiyoku: Twin Blades, a simplified automaton doll, “Kinu,” will be summoned next to your active character every 3s. Kinu will attack nearby opponents, dealing AoE Geo DMG equivalent to 170% of Tamoto’s DMG. DMG dealt this way is considered Elemental Skill DMG.
Kinu will leave the field after 1 attack or after lasting 3s.
Chiori’s most noteworthy Constellation, introducing a new doll type: Kinu. After using her Burst, Chiori summons a Kinu doll every 3s that attacks once then leaves the field (3 Kinu hits overall). This Constellation adds more value to her Burst, so you should consider using it every rotation or every other rotation in cases where her ER requirements are too high.
 Constellation 3 | Four Brocade Embellishments
Increases the Level of Fluttering Hasode by 3.
Maximum upgrade level is 15.
An appreciated increase to Chiori’s Skill Talent level. Boosts her damage by a noticeable amount.
 Constellation 4 | A Tailor’s Three Courtesies
For 8s after triggering either follow-up effect of the Passive Talent “Tailor-Made,” when your current active character’s Normal, Charged, or Plunging Attacks hit a nearby opponent, a simplified automaton doll, “Kinu,” will be summoned near this opponent. You can summon 1 Kinu every 1s in this way, and up to 3 Kinu may be summoned this way during each instance of “Tailor-Made”‘s Seize the Moment or Tailoring effect. The above effect can be triggered up to once every 15s.
Must unlock the Passive Talent “Tailor-Made” first.
Chiori’s C4 lets her summon another set of Kinu dolls. The on-field character can summon one when they hit an enemy with a Normal, Charged, or Plunging Attack. Only 3 Kinu can be summoned per rotation and each one disappears after hitting an enemy. There is also a 1s summon cooldown.
 Constellation 5 | Two Silken Plumules
Increases the Level of Hiyoku: Twin Blades by 3.
Maximum upgrade level is 15.
Increases Chiori’s Burst Talent level. The damage increase is barely noticeable since Chiori’s Burst deals a small fraction of the team’s damage.
 Constellation 6 | Sole Principle Pursuit
After triggering a follow-up effect of the Passive Talent “Tailor-Made,” Chiori’s own Fluttering Hasode’s CD is decreased by 12s. Must unlock the Passive “Tailor-Made” first.
In addition, the DMG dealt by Chiori’s own Normal Attacks is increased by an amount equal to 235% of her own DEF.
Chiori’s last Constellation lets her become an on-field DPS. With increased Normal Attack damage, it is now worth using the Tailoring effect (Geo Infusion) from her A1 Passive. Additionally, the Skill cooldown reduction from Chiori’s C6 allows Chiori to cast her Skill again after 4s.
Artifacts
ER Requirements
It is not worth investing in ER% substats to meet Chiori’s ER requirements to use her Burst every rotation, so use it when available instead. If you still want to use her Burst every rotation, the table below provides estimates for different Geo teammate scenarios.
Calcs for ER requirements can be found here (last updated for Version 4.5).
| Zhongli (No Pillar Hits) | 260–270% |
| Zhongli (Pillar Hits) | 185–195% |
| Albedo | 165–185% |
| Navia | 160–170% |
| Ningguang | 155–165% |
| Itto + Gorou + Albedo/Zhongli | 115–120% |
- Default enemy HP particles
- “Safe” particle RNG
- Rotation length varies by team (17–24s)
- Additional teammate Favonius procs reduce Chiori’s ER requirements by 5–10%.
- Use the Energy Recharge Calculator to determine exact requirements for your team and rotation.
Artifact Stats
 Sands |  Goblet |  Circlet |
| DEF% | Geo DMG% ≥ DEF% | CRIT > DEF% |
Stat Priority: CRIT > DEF% > ATK% > ER%
Chiori scales better with DEF stats than with ATK stats. Chiori’s Burst isn’t used every rotation in most cases, so ER% is generally unnecessary.
DEF% Goblets perform just slightly worse than Geo DMG% Goblets with the same substat distribution. However, Geo DMG% Goblets are relatively rare, so your DEF% Goblets could be a better option due to higher substat value.
It is not recommended to run triple DEF% main stats.
KQM recommends using Genshin Optimizer to compare your actual artifacts.
Artifact Sets
Calcs for artifact set comparisons can be found here (last updated for Version 4.5).
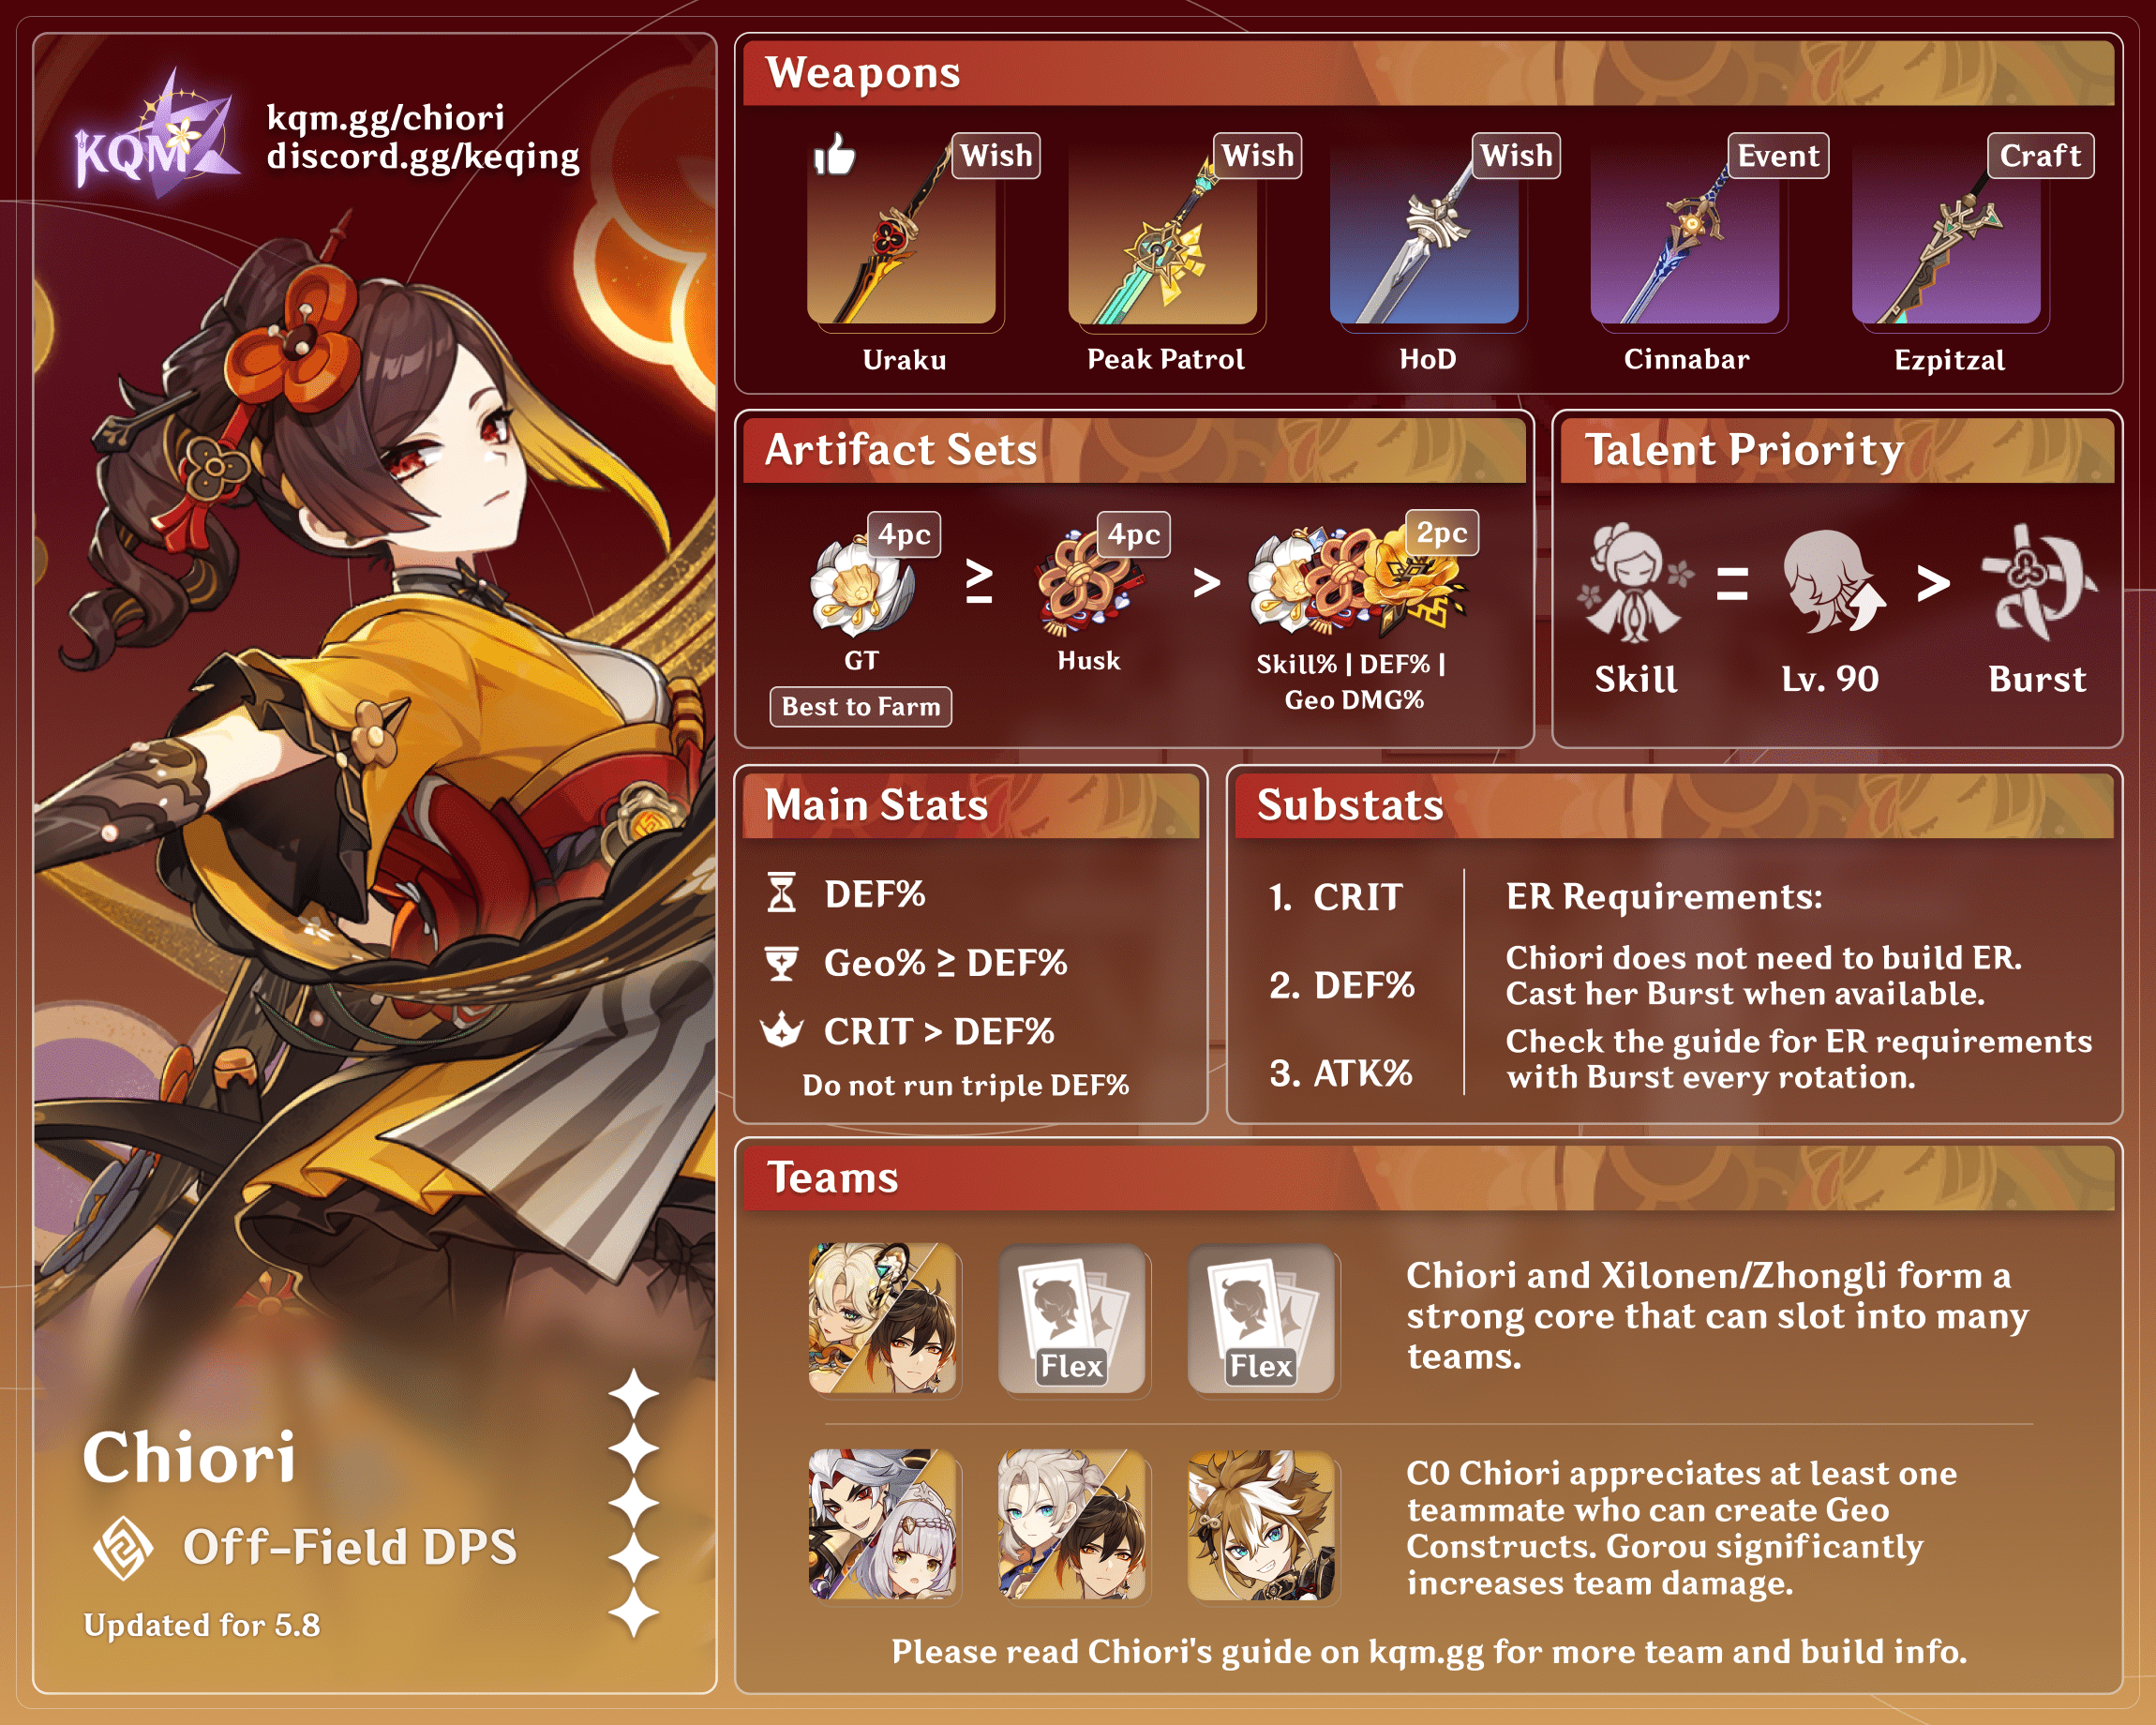
 4pc Golden Troupe | 4pc Golden Troupe is Chiori’s best artifact set due to its high Skill DMG% buff. Farm this set for Chiori. |
 4pc Husk of Opulent Dreams | 4pc Husk is Chiori’s second-best artifact set, being slightly worse than 4pc Golden Troupe. This set easily maintains full 4 stacks uptime starting with the second rotation. |
2pc Mixed Sets | 2pc Bonuses: Golden Troupe, Archaic Petra, Husk of Opulent Dreams, ATK% 2pc set combinations are good transitional pieces and can outperform 4pc Husk if they have better substats. 2pc Golden Troupe + 2pc Husk is the best combination (assuming equal substat value). |
Weapons
These are the only weapons worth using on Chiori. If a weapon is missing, then it is worse than Harbinger of Dawn.
Calcs for weapon comparisons can be found here (last updated for Version 4.5).
Recommended Options
These are solid picks for Chiori at a variety of investment levels.
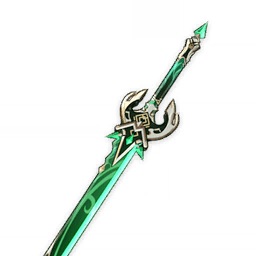
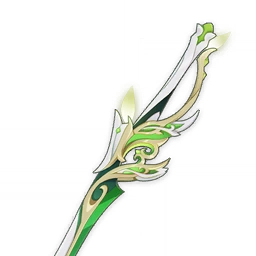
 Uraku Misugiri | Uraku Misugiri is Chiori’s Best-in-Slot Sword by far. Its passive effect is tailor-made for her! |
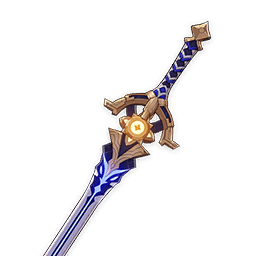
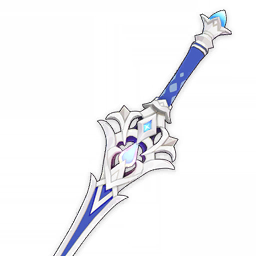
 Primordial Jade Cutter | Primordial Jade Cutter is Chiori’s second-best weapon overall. |
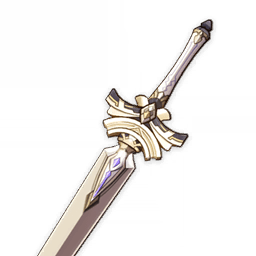 Harbinger of Dawn | Harbinger of Dawn is Chiori’s baseline free-to-play accessible option if you missed Cinnabar Spindle. You can easily maintain the passive’s HP requirement since Chiori is almost always off-field and cannot take damage. She is also often paired with Zhongli, who provided a strong shield. Note that, in teams with Furina, Chiori requires a strong teamwide healer to maintain Harbinger of Dawn’s passive effect. Single-ally healers are not recommended if you are locked to using Harbinger in teams with Furina, since its performance drops by roughly 20%. |
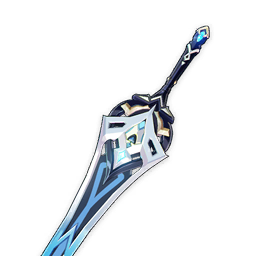
 Cinnabar Spindle | Cinnabar Spindle performs on par with Harbinger of Dawn. It is an Event-exclusive weapon released in Version 2.3, so you might have missed it! |
 Wolf-Fang | At R1, Wolf-Fang performs 5% worse than Harbinger of Dawn, but at R5, it can perform 2–5% better depending on the team. While Wolf-Fang is locked behind Battle Pass, it is unfortunately one of the few “accessible” options if Harbinger cannot be used in the team (e.g., Furina is a teammate or there is no shielder). |
Other Options
These Swords perform on par with Harbinger of Dawn if you have them. Other Sword characters are likely better users, but at least they don’t have a passive effect to worry about.
 Light of Foliar Incision | Light of Foliar Incision is a 5-star stat stick that performs just slightly better than R5 Harbinger of Dawn. |
 Haran Geppaku Futsu | Haran Geppaku Futsu is another 5-star stat stick that performs on par with R5 Harbinger of Dawn. Its high Base ATK may make it slightly better if Chiori receives team ATK% buffs. |
 Permanent 4-Star Options | • Finale of the Deep • Fleuve Cendre Ferryman • Amenoma Kageuchi If you have none of the weapons above or want to play Furina-Bennett but Harbinger of Dawn is your only other choice, then these free 4-star Swords perform roughly 20% worse than R5 Harbinger of Dawn. Better than Dull Blade! |
Teams
This is not a comprehensive list of teams. The inclusion or exclusion of any given team does not necessarily reflect its power level.
Rotation Notation
- N = Normal Attack
- C = Charged Attack
- A = Aimed Shot
- P = Plunging Attack
- E = Elemental Skill
- tE = Tap Skill
- hE = Hold Skill
- Q = Elemental Burst
- D = dash (cancel)
- J = jump (cancel)
- W = walk (cancel)
- > = switch character
- ( ) = these actions are optional; please refer to the notes below
- [ ] = repeat these actions the specified number of times
Teambuilding
 Geo Teammates | At C0, Chiori appreciates a teammate who creates Geo Constructs to enable 2 Tamoto dolls on the field and to activate her A4 Passive buff. At C1, she can be paired with any Geo character to activate the additional Tamoto doll. Geo Construct Characters: Zhongli, Albedo, Itto, Ningguang, Geo Traveler Other Geo Characters: Navia, Noelle, Gorou, Yun Jin |
 On-Field and Quickswap DPS Units | Since Chiori is an off-field DPS unit, another unit should be an on-field DPS unit or quickswap DPS unit. For Geo teammates, Itto, Ningguang, Navia, and Noelle are the current options. For non-Geo teammates, there are many options as long as Chiori is paired with Zhongli or Albedo. See the Double Geo Off-Field Core section for example teams. |
 Team Order | You should use Chiori’s Skill teammate swap mechanic, so make sure your party is in the correct order. For example, if you want to swap to Itto after using Chiori, she could be in Slot 3 and he should be in Slot 4. |
Mono Geo Teams
Itto is one of the best on-field DPS units to have in a Mono Geo team with Chiori. Ushi counts as a Geo Construct, so he lets the fourth team slot be somewhat flexible. Additionally, Chiori has highly consistent Geo Particle generation, which helps significantly reduce Itto’s and Gorou’s ER requirements. It is also possible for Chiori to use her Burst every rotation in Mono Geo Itto teams since it requires only a few ER% substats.
Noelle is an alternative to Itto, but she requires a Geo Construct character like Zhongli or Albedo in the fourth team slot since neither Noelle nor Gorou create constructs.
Example Teams
Zhongli is still a highly recommended option in Itto-Chiori teams since his Geo RES Shred and shield (for Geo Resonance) significantly increase the team’s damage.
Sample Rotation
Zhongli hED > Gorou Q > Chiori (Q) 2[E] > Gorou E > Itto combo
Despite Itto’s and Chiori’s DEF% scaling, Bennett’s Flat ATK buff is still good. Since Chiori’s Skill doesn’t snapshot, she can make use of Bennett’s 4pc Noblesse Oblige buff even if he takes the field after her. Note that this team lacks a shielder.
Sample Rotation
Gorou EQ > Bennett tEQ > Chiori (Q) 2[E] > Itto combo
Neither Noelle nor Gorou create Geo Constructs, so Albedo or Zhongli are recommended in this Mono Geo team if Chiori is C0. Chiori and Albedo’s combined Geo Particle generation significantly reduces Noelle’s ER requirements.
Sample Rotation
Gorou EQ > Albedo E > Chiori (Q) 2[E] > Noelle E Q N3D N3 > Gorou E > Noelle 3[N3D] N2
Ningguang-Chiori Teams

Ningguang is a viable on-field DPS who can allow shorter 17s rotations depending on her teammates’ cooldowns. Her teams with Chiori tend to perform best in single-target scenarios. The two flex slots should be off-field DPS units like Fischl, Yelan, or Furina, or off-field supports like Bennett, Zhongli, or Gorou.
Example Teams
This is a very strong Ningguang team, especially if Fischl is C6. Bennett’s buffs benefit the entire team. The rotation below allows Fischl to snapshot Bennett’s buff, but you can use Bennett immediately before Ningguang to maximize her use of his buffs.
Sample Rotation
Bennett EQ > Fischl E/Q > Ningguang C E > Chiori D (Q) 2[E] > Ningguang D Q E C N2C > Bennett E > Ningguang N2C
Fischl alternates between her Skill and Burst over multiple rotations. Ningguang and Chiori should dash through Ningguang’s Skill to receive the Geo DMG% buff before using their abilities.
Another strong Ningguang team with a 20s rotation to accommodate Furina. Bennett’s on-field healing prevents Harbinger of Dawn from being viable on Chiori in this team.
Sample Rotation
Furina ED Q > Bennett EQ > Ningguang C E > Chiori D (Q) 2[E] > Ningguang D Q E C N2C > Bennett E > Ningguang C N2C
Ningguang and Chiori should dash through Ningguang’s Skill to receive the Geo DMG% buff before using their abilities.
Navia-Chiori Teams

Navia benefits greatly from Chiori’s consistent Geo application and particle generation. However, Navia does not create a Geo Construct and strongly prefers two Pyro, Electro, Cryo, or Hydro teammates, which prevents another Geo teammate. Nonetheless, C0 Chiori is still great with Navia, and C1 Chiori only makes this pairing better.
Chiori does not generate Geo Particles on Skill cast, so she does not need to come before Navia in the rotation to prefunnel particles for Navia’s Burst.
Example Teams
This is a very strong Navia team comparable to the version with Zhongli instead of Chiori. Since Chiori’s Skill does not snapshot, she can take advantage of Bennett’s 4pc Noblesse Oblige buff even if she casts her Skill beforehand.
Sample Rotation
Navia Q > Bennett tEQ > Chiori (Q) 2[E] > Fischl E/Q > Navia E N3D N2 E N3D N2 > Bennett tE N1

Furina provides a powerful DMG% buff, while Kokomi’s healing counteracts Furina’s teamwide HP drain. This team prefers a 20s rotation since Furina’s Skill, Kokomi’s Skill, and TTDS all have a 20s cooldown.
Sample Rotation
Furina ED Q > Navia Q > Chiori (Q) 2[E] > Kokomi E > Navia E N3D N2 > Kokomi Q N2D N2 > Navia E N3D N2
Double Geo Off-Field Core

Chiori forms an excellent off-field core with Zhongli. He provides 20% Universal RES Shred, the strongest shield in the game, and a long-lasting Geo Construct.
Chiori can also be paired with Albedo, since he provides strong off-field damage and the longest-lasting Geo Construct in the game. However, he does compete with Chiori’s weapon selection. Geo Traveler and off-field Ningguang are free-to-play alternatives in the core, but they don’t provide nearly as much utility as Zhongli or as much damage as Albedo.
Her teammate’s Geo Constructs can be easily destroyed by bosses and large enemies, but they can be readily replaced thanks to short Skill cooldowns.
This Lyney team is incredibly easy to play. However, Chiori’s and Zhongli’s combined Geo application removes a Pyro aura, so Zhongli should place his pillar away from the enemy.
Sample Rotation
Zhongli hED > Chiori (Q) 2[E] > Bennett tEQ > Lyney 5[C] (Q/C) E
Lyney should use his Burst every other rotation. When his Burst is down, he can use a sixth Charged Shot before casting his Skill.
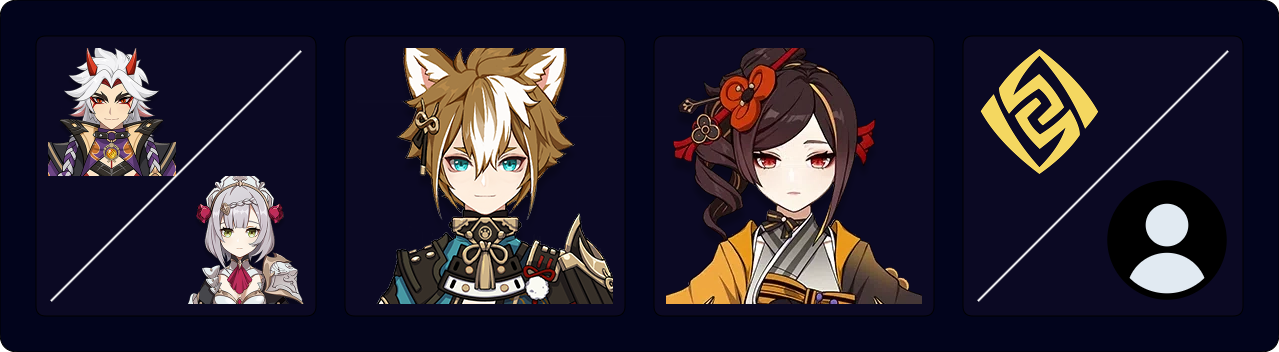
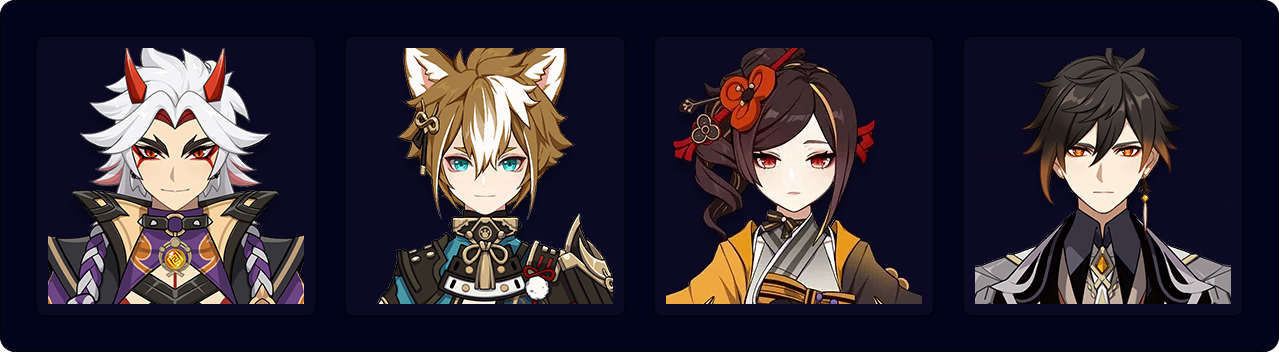
A Double Geo core with Zhongli enables a very simple yet effective Ganyu team. Chiori’s inclusion in this Mono Cryo archetype has several benefits: she enables Geo Resonance (which strengthens Zhongli’s shield) and deals good damage, all while maintaining low field time.
This team does not require a fixed rotation, since you can refresh abilities as they come off cooldown. Still, an optimized rotation is shown below.
Sample Rotation
Ganyu C > Zhongli hED > Chiori (Q) 2[E] > Shenhe tEQ > Ganyu E Q 3[C] > Shenhe tE > Ganyu C E C
This is a very simple yet potent Double Hydro + Double Geo team with Kokomi as the on-field driver and healer to counteract Furina’s teamwide HP drain. Chiori’s Skill also takes full advantage of Furina’s teamwide DMG% buff, since the latter lasts for Chiori’s entire Skill duration. Kokomi should pick up Hydro Crystallize shards to maintain the Geo Resonance buff.
Sample Rotation
Albedo E > Kokomi E > Furina ED Q > Chiori (Q) 2[E] > Kokomi Q 5[N3D]
Another strong Double Hydro + Double Geo team, especially in single-target scenarios. Yelan can drive on-field to take advantage of her own DMG% buff and easily fit 2 Skill uses per rotation.
Sample Rotation
Zhongli hED > Xingqiu EDQ N1 > Yelan E N1 Q N1 > Chiori (Q) 2[E] > Yelan 2[N3D] E 2[N3D]
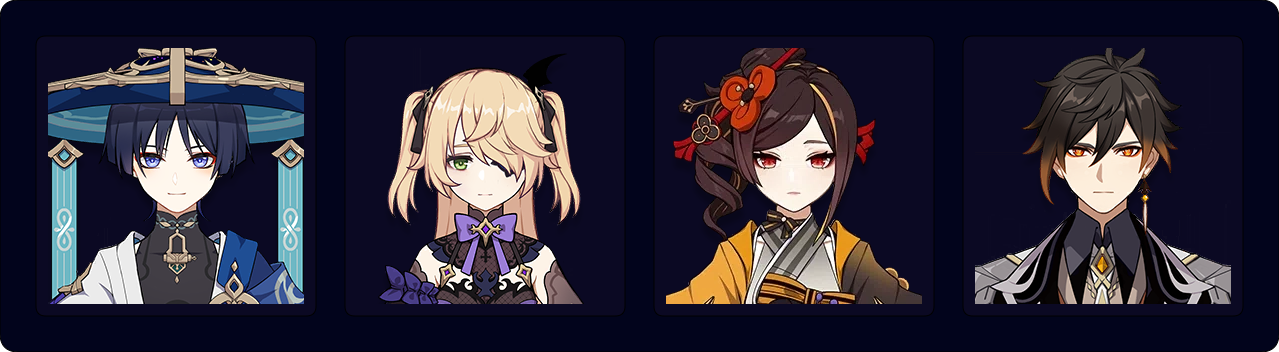
This is a potential Wanderer team without Faruzan. Fischl, Chiori, and Zhongli all have low field-time requirements and allow a 17s rotation. Wanderer uses his Burst when available.
Sample Rotation
Zhongli hED > Chiori (Q) 2[E] > Fischl E/Q > Wanderer E combo (Q)
Credits
irokei, vladutsu, emiliabyss, ac1d, leifa, sew, nikatosaurus, polomo, alehannita, natc
Team images made with the KQM portrait generator.