Updated for Version 4.2

Cyno is a 5-star Electro Polearm character in Genshin Impact who uses his Elemental Burst state to deal consistent on-field Electro damage. Learn about Cyno’s best builds, best weapons, best artifacts, and best teams in this quick guide.
Note that the information given may change if new discoveries are made. More extensive testing is in progress.
The full-length guide is currently being written. Join our Discord to participate in the theorycrafting process.
Table of Contents
New Content
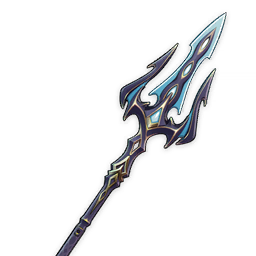 Ballad of the Fjords | Ballad of the Fjords is Cyno’s second-best option in Quickbloom teams and performs on par with Deathmatch in Aggravate teams. If you’re looking for a Battle Pass option for Cyno, go with Ballad. |
 Furina | Furina’s long Skill and Burst durations work well with Cyno’s long field time requirements. His Quickbloom teams with Furina generally prefer Baizhu as the healer. Furina may allow Cyno to use 4pc Marechaussee Hunter; however, further testing needs to be done to assess its viability. |
 Baizhu | Baizhu is a fantastic option for Cyno, especially in multiwave content. Baizhu consolidates Dendro application, healing, buffing, and interruption resistance for Cyno. His Dendro application lasts 14s, which aligns well with Cyno’s field time. |
 Yaoyao | Yaoyao is a good option if you do not have Baizhu. In teams with Cyno, she uses her Skill to provide off-field healing and AoE Dendro application. |
Kirara | Kirara provides a sufficient shield in Cyno’s teams. Her Dendro application is limited, so it is better to use her as an additional Dendro option for her defensive utility and to enable Dendro Resonance. |
Infographic
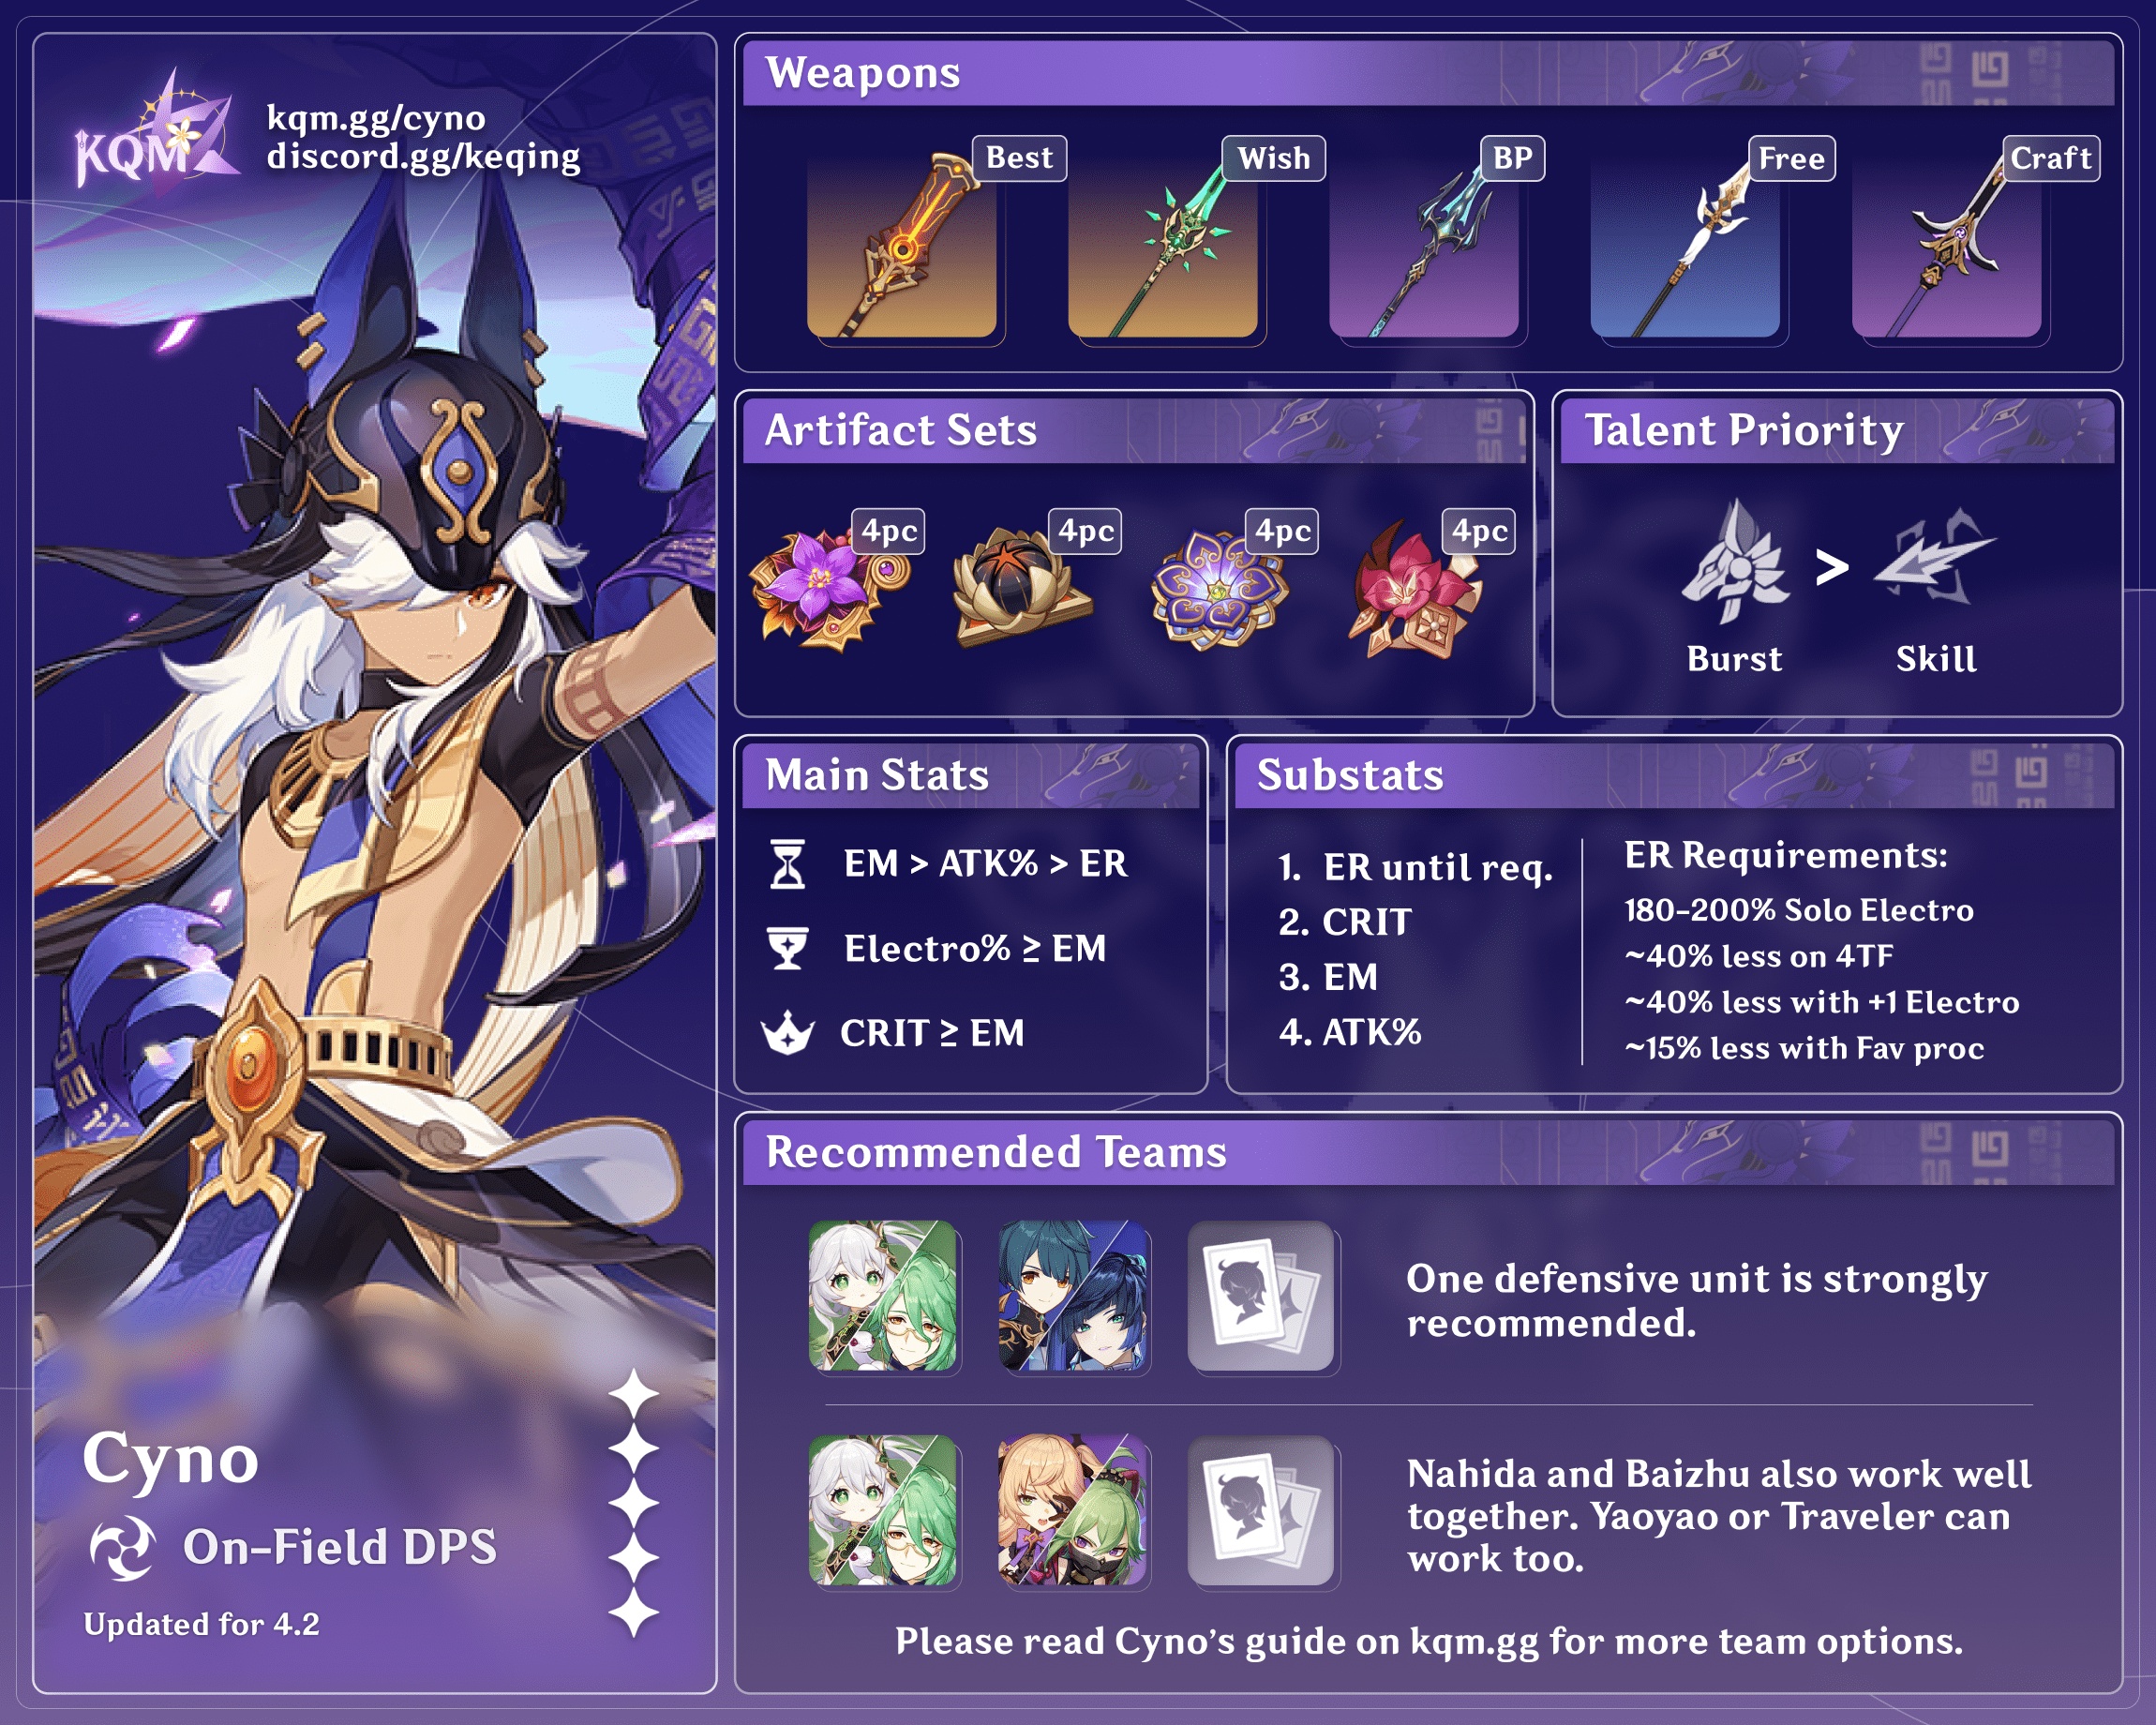
Design: icedsquid
Content: irokei
Character Overview
Playstyles
On-Field DPS or Driver
Cyno is an on-field damage dealer or driver in his teams. He uses his Burst to enter a special state and then perform combos of Normal Attacks and Elemental Skill uses. His teammates should use their abilities before swapping to Cyno since he should not swap out prematurely during his Burst.
Cyno’s preferred team archetype is Quickbloom. His other options include Aggravate and Quickburn.
Talents
Level and Talent Priority
Level 90 = Burst > Skill
Cyno should be raised to level 90 since it significantly increases his damage from Additive and Transformative Reactions like Aggravate and Hyperbloom.
Cyno does not need to level his Normal Attack Talent, since his damage scales with his Burst and Skill during his Burst state.
Talent Overview
 Normal Attack | Invoker’s Spear
Talent Description
Normal Attack
Performs up to 4 consecutive spear strikes.
Charged Attack
Consumes a certain amount of Stamina to lunge forward, dealing damage to opponents along the way.
Plunging Attack
Plunges from mid-air to strike the ground below, damaging opponents along the path and dealing AoE DMG upon impact.
Cyno should not level his Normal Attack Talent. During his Burst state, his Electro-infused Normal Attacks scale with his Burst Talent multipliers instead.
 Elemental Skill | Secret Rite: Chasmic Soulfarer
Talent Description
Performs a swift thrust, dealing Electro DMG to opponents along the path.
When Cyno is under the Pactsworn Pathclearer state triggered by Sacred Rite: Wolf’s Swiftness, he will instead unleash a Mortuary Rite that deals thunderous AoE Electro DMG and extends the duration of Pactsworn Pathclearer.
Cyno’s Elemental Skill is an important part of his kit. In his Burst state, his Skill deals AoE Electro damage, extends the duration of his Burst, and has a 3s cooldown. Efficient play with Cyno requires precise timing of his Skill in his Burst combo.
 Elemental Burst | Sacred Rite: Wolf’s Swiftness
Talent Description
Calls upon a divine spirit to indwell him, morphing into the Pactsworn Pathclearer.
Pactsworn Pathclearer
- Cyno’s Normal, Charged, and Plunging Attacks will be converted to Electro DMG that cannot be overridden.
- Cyno’s Elemental Mastery and resistance to interruption will increase, and he gains immunity to Electro-Charged DMG.
This effect will be canceled when Cyno leaves the field and lasts a maximum of 18s.
Cyno’s Burst is central to his kit. On cast, he enters a special state which grants him Electro Infusion and an EM buff. The state ends when Cyno swaps out, so it is important to set up his teammates’ abilities prior to activating his Burst. The increased resistance to interruption during his Burst state is minor, so you should use a defensive teammate with Cyno.
During Cyno’s Burst state, it is important to time his Skill with his A1 Passive Endseer stance. See Combos for more information.
 Ascension 1 Passive | Featherfall Judgment
Talent Description
When Cyno is in the Pactsworn Pathclearer state activated by Sacred Rite: Wolf’s Swiftness, Cyno will enter the Endseer stance at intervals. If he activates Secret Rite: Chasmic Soulfarer while affected by this stance, he will activate the Judication effect, increasing the DMG of this Secret Rite: Chasmic Soulfarer by 35%, and firing off 3 Duststalker Bolts that deal 100% of Cyno’s ATK as Electro DMG.
Duststalker Bolt DMG is considered Elemental Skill DMG.
Cyno enters a temporary Endseer stance at regular intervals during his Burst, which is visually indicated on-screen with a stylized purple eye. If Cyno uses his Skill while in an Endseer stance, he fires 3 Duststalker Bolts in an AoE in front of him and ends the stance. The Endseer stance expires, so it is important to time his Skill casts properly during his Burst combo.
 Ascension 4 Passive | Authority Over the Nine Bows
Talent Description
Cyno’s DMG values will be increased based on his Elemental Mastery as follows:
- Pactsworn Pathclearer’s Normal Attack DMG is increased by 150% of his Elemental Mastery.
- Duststalker Bolt DMG from his Passive Talent Featherfall Judgment is increased by 250% of his Elemental Mastery.
Cyno’s A4 grants increased damage, based off his EM, for his Electro-infused Normal Attacks and the Duststalker Bolts from his A1 Passive.
Constellations
 Constellation 1 | Ordinance: Unceasing Vigil
Constellation Description
After using Sacred Rite: Wolf’s Swiftness, Cyno’s Normal Attack SPD will be increased by 20% for 10s. If the Judication effect of his Passive Talent Featherfall Judgment is triggered during Secret Rite: Chasmic Soulfarer, the duration of this increase will be refreshed.
You need to unlock the Passive Talent “Featherfall Judgment.”
Cyno’s C1 provides a 20% Attack SPD increase. This results in higher damage and easier execution of 4pc Thundering Fury combos.
 Constellation 2 | Ceremony: Homecoming of Spirits
Constellation Description
When Cyno’s Normal Attacks hit opponents, his Electro DMG Bonus will increase by 10% for 4s. This effect can be triggered once every 0.1s. Max 5 stacks.
Cyno’s C2 effectively gives him a 50% Electro DMG Bonus, resulting in a massive DPS increase. This Constellation provides the largest DPS increase for Cyno and is a good stopping point until C6.
 Constellation 3 | Precept: Lawful Enforcer
Constellation Description
Increases the Level of Sacred Rite: Wolf’s Swiftness by 3.
Maximum upgrade level is 15.
Cyno’s C3 is a decent damage increase via his Burst.
 Constellation 4 | Austerity: Forbidding Guard
Constellation Description
When Cyno is in the Pactsworn Pathclearer state triggered by Sacred Rite: Wolf’s Swiftness, after he triggers Electro-Charged, Superconduct, Overloaded, Quicken, Aggravate, Hyperbloom, or an Electro Swirl reaction, he will restore 3 Elemental Energy for all nearby party members (except himself.)
This effect can occur 5 times within one use of Sacred Rite: Wolf’s Swiftness.
Cyno’s C4 provides 15 Flat Energy for the team, excluding himself. Its value depends on the ER requirements of his teammates, with it being more impactful with characters like Yelan, Xingqiu, Baizhu, and Beidou.
 Constellation 5 | Funerary Rite: The Passing of Starlight
Constellation Description
Increases the Level of Secret Rite: Chasmic Soulfarer by 3.
Maximum upgrade level is 15.
This is the least valuable Constellation for Cyno since his Skill is a much lower proportion of his damage compared to his Burst.
 Constellation 6 | Raiment: Just Scales
Constellation Description
After using Sacred Rite: Wolf’s Swiftness or triggering the Judication effect of the Passive Talent “Featherfall Judgment,” Cyno will gain 4 stacks of the “Day of the Jackal” effect. When he hits opponents with Normal Attacks, he will consume 1 stack of “Day of the Jackal” to fire off one Duststalker Bolt.
“Day of the Jackal” lasts for 8s. Max 8 stacks. It will be canceled once Pactsworn Pathclearer ends.
A maximum of 1 Duststalker Bolt can be unleashed this way every 0.4s.
You must first unlock the Passive Talent “Featherfall Judgment.”
In short, Cyno’s C6 results in 12–16 more Duststalker Bolts over a full rotation, resulting in a significant DPS increase.
Combos
Cyno’s ideal combos require you to use his Skill during 3 Endseer stance windows. If you stay on Cyno for fewer than 3 Endseer windows, then your rotation will desync and cooldown timings will mess up. However, there may be enemy wave scenarios where you may need to stay on Cyno longer to finish off the enemies.
Depending on your input timing and ping, you may have to drop or add a Normal Attack to cast Cyno’s Skill before the Endseer stance window ends.
N = Normal Attack
E = Elemental Skill
Q = Elemental Burst
( ) = these actions are optional; please refer to the notes below
[ ] = repeat these actions the specified number of times
4pc Thundering Fury Combos
In general on 4pc Thundering Fury (TF), Cyno should aim to use his Skill during each Endseer stance and between each Endseer stance. These combos are the same even at C1+.
| E (N1) Q E 6[N4E] | This is the preferred combo for C0 Cyno on 4pc TF and is more consistent in Quickbloom teams. Depending on timings, the fourth Normal Attack in the N4 E sequence might be animation canceled by his Skill (which is preferred over missing his Endseer stance window.) |
| E (N1) Q E 4[N4E] N5 N2 E | This combo has 6 Skill uses (instead of 7 as above), which makes it more consistent to fit in with Endseer timings. However, this may increase Cyno’s ER requirements slightly. |
Non-TF Combo
| E (N1) Q N2E 3[N5 N2E] | This is the preferred combo for C0 Cyno on a non-TF build. You must make sure to use Cyno’s Skill as soon as possible before the first Endseer window so every subsequent Skill occurs in an Endseer window. For C1+: the first N2E is either N3E or N4E. |
Artifacts
ER Requirements
| 4pc Thundering Fury | Other Sets | |
| Solo Electro | 140-160% | 180–200% |
| With Fischl | 100–110% | 115-130% |
| With Kuki Shinobu | 110–120% | 125–140% |
| With Other Electro | 120–140% | 140–160% |
- Each teammate Favonius proc lowers Cyno’s ER requirements by 10–15%.
- R5 Kitain Cross Spear lowers Cyno’s ER requirements by 50–65% in Solo Electro or without 4pc Thundering Fury.
Use the Energy Recharge Calculator to determine exact requirements for your team and rotation.
Artifact Stats
Artifact Stat Priorities
 Sands |  Goblet |  Circlet |
| EM > ATK% > ER% | Electro DMG% ≥ EM | CRIT ≥ EM |
Stat Priority: ER (until requirement) > CRIT > EM > ATK%
Sands: Cyno will always prefer an EM Sands for an ATK% Sands.
If Cyno is the only Electro character on the team and does not have either 4pc Thundering Fury or an ER% Polearm, then an ER% Sands is required to reasonably meet his ER requirements.
Goblet: Electro DMG% Goblets are preferred in all of Cyno’s team archetypes, but an EM Goblet performs more closely in Quickbloom teams. The gap is small, so use whichever Goblet with better substats.
Circlet: A CRIT Circlet performs best in Quicken or Quickburn. An EM Circlet performs on par with a CRIT Circlet in Quickbloom teams, especially with Staff of the Scarlet Sands.
We recommend that you use Genshin Optimizer to compare your actual artifacts.
Artifact Sets
Recommended Set
 4pc Thundering Fury (TF) | 4pc Thundering Fury is Cyno’s Best-in-Slot artifact set. It increases his damage and significantly lowers his ER requirements through additional Skill casts. |
Other Sets
 4pc Gilded Dreams (GD) | 4pc Gilded Dreams is an alternative to 4pc Thundering Fury; however, you should still aim for a 4pc TF set. |
 4pc Gladiator’s Finale (GF) | 4pc Gladiator’s Finale is an alternative to 4pc Thundering Fury in Aggravate teams; however, it is not good in Quickbloom teams (since 2pc + 2pc combinations perform better). |
 4pc Flower of Paradise Lost | 4pc Flower of Paradise Lost is competitive with 4pc Gilded Dreams only in a Quickbloom team with Xingqiu and 2 Dendro characters. In any other case, it is not worth using. |
2pc + 2pc EM or TF | 2pc EM + 2pc EM or 2pc EM + 2pc TF are good transitional sets while you work towards a full 4pc Thundering Fury set. These combinations outperform Gladiator’s Finale in Quickbloom and other Transformative Reaction–based teams. |
Weapons
Quickbloom Weapons
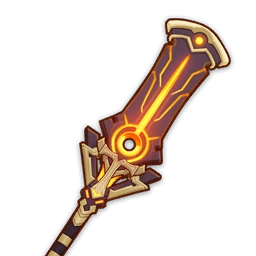 Staff of the Scarlet Sands | Staff of the Scarlet Sands is Cyno’s Best-in-Slot in Quickbloom teams. It provides a significant amount of CRIT Rate and ATK. |
 Ballad of the Fjords | Ballad of the Fjords is Cyno’s second-best option in Quickbloom teams, even at R1. At R5, it performs just slightly worse than Staff of the Scarlet Sands. |
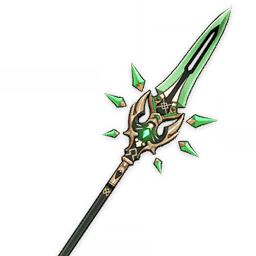 Primordial Jade Winged-Spear | Primordial Jade Winged-Spear is a viable option in Quickbloom; however, it is not worth pulling for Cyno in Quickbloom since his 4-star options perform similarly. |
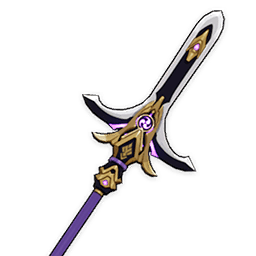 Kitain Cross Spear R5 | Kitain Cross Spear is extremely valuable in Quickbloom teams where Cyno is the sole Electro character, since he has high ER requirements (even with 4pc Thundering Fury). |
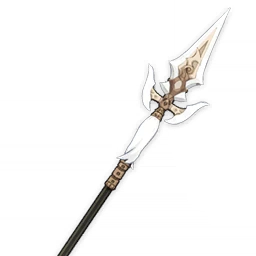 White Tassel R5 | White Tassel is a strong option with Cyno. It performs on par with Deathmatch. White Tassel is freely obtained from chests in Liyue. |
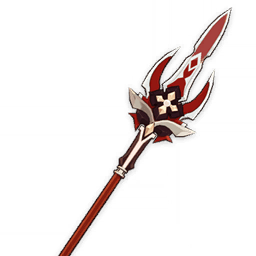 Deathmatch | Deathmatch is a viable option in Quickbloom if you have it. Nonetheless, Ballad of the Fjords is a stronger option at all refinements. |
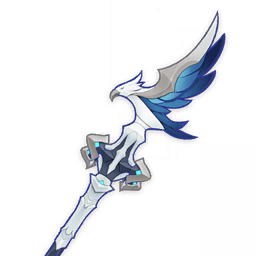 Missive Windspear R5 | Missive Windspear is an event-exclusive option from Version 3.1. It performs on par with White Tassel. |
Aggravate Weapons
 Staff of the Scarlet Sands | Staff of the Scarlet Sands is Cyno’s Best-in-Slot in Aggravate teams. It provides a significant amount of CRIT Rate and ATK. |
 Primordial Jade Winged-Spear | Primordial Jade Winged-Spear is Cyno’s second-best weapon in Aggravate. Cyno’s high field time lets him make full use of its passive. |
 Ballad of the Fjords | Ballad of the Fjords is Cyno’s best 4-star option in Aggravate, performing just slightly better than Deathmatch. If you are deciding between Battle Pass options, Ballad of the Fjords is preferred since it performs significantly better in Quickbloom teams. |
 Deathmatch | Deathmatch performs on par with Ballad of the Fjords in Aggravate teams. |
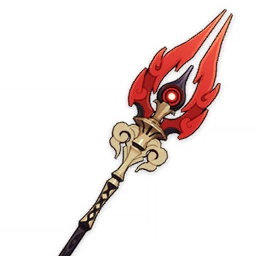 Staff of Homa | Staff of Homa is a viable option in Aggravate teams, performing just slightly worse than R5 Ballad of the Fjords. |
 White Tassel R5 | White Tassel is a strong option with Cyno. It performs better than R1 Ballad of the Fjords and Deathmatch. White Tassel is freely obtained from chests in Liyue. |
 Missive Windspear R5 | Missive Windspear is an event-exclusive option from Version 3.1. It performs on par with White Tassel. |
Teams
Rotation Notation
- N = Normal Attack
- C = Charged Attack
- A = Aimed Shot
- P = Plunging Attack
- E = Elemental Skill
- tE = Tap Skill
- hE = Hold Skill
- Q = Elemental Burst
- D = dash (cancel)
- J = jump (cancel)
- W = walk (cancel)
- > = switch character
- ( ) = these actions are optional; please refer to the notes below
- [ ] = repeat these actions the specified number of times
Teambuilding
- Dendro: All of Cyno’s teams include a Dendro unit. The remaining two team slots depend on the archetype.
- 2nd Electro: An Electro teammate like Fischl substantially lowers Cyno’s ER requirements; however, Cyno can still be played as a solo Electro character if his ER requirements are met.
- Defense: A teammate who provides a shield or strong interruption resistance is recommended to prevent Cyno from being staggered or knocked back.
- Off-Field Support: Cyno has relatively long field-time during which he cannot swap out. For this reason, teammates with long-lasting off-field abilities are strongly preferred.
- Multi-Wave Content: Since Cyno cannot swap out during his Burst, teammates who do not need to return on-field to reapply abilities avoid cutting Cyno’s Burst combo short, especially in multi-wave Spiral Abyss content where waves can be defeated early into a rotation.
Quickbloom
Quickbloom is Cyno’s most consistent and highest-performing team composition in most circumstances. Quickbloom is like a Hyperbloom team, except there is higher Quicken uptime (enabling Aggravate) and lower Dendro Core production. One of the team slots should ideally be a healer or shielder.
Notable Teammates
Dendro
 Nahida | Nahida is the preferred Dendro character if the team only has one Dendro unit. She provides strong Dendro application, an EM buff, and great personal damage. In multi-wave content, Nahida needs to return on-field to reapply Dendro through her Skill for each new wave. This means you have to forcibly interrupt Cyno’s field time. Against more powerful enemies or single-wave content, this is less of an issue. |
 Baizhu | Baizhu is a fantastic option for Cyno, especially in multi-wave content. Baizhu consolidates Dendro application, healing, buffing, and interruption resistance for Cyno. His Dendro application lasts 14s, which aligns well with Cyno’s field time. |
 Dendro Traveler | Dendro Traveler is a good option for consistent off-field Dendro application since their Burst lasts 15s without having to swap in to reapply Dendro. However, they offer little else outside of a minor EM buff and insignificant personal damage. |
 Yaoyao | Yaoyao is a good option if you do not have Baizhu. In teams with Cyno, she uses her Skill to provide healing and AoE Dendro application from off-field. |
Hydro
 Yelan | Yelan is a fantastic option in Quickbloom due to her strong personal damage, DMG Bonus, and consistent Hydro application. |
 Xingqiu | Xingqiu is a great pick in Quickbloom, performing as well as or better than Yelan (depending on Constellations). He offers great utility thanks to his interruption resistance, minor healing, and more frequent Hydro application (at C6). |
 Furina | Furina’s long Skill and Burst durations work well with Cyno’s long field time requirements. His Quickbloom teams with Furina generally prefer Baizhu as the healer. Furina may allow Cyno to use 4pc Marechaussee Hunter; however, further testing needs to be done to assess its viability. |
 Candace C6 | Candace is only viable in Cyno’s Quickbloom teams at C6. Her lower amount of Hydro application results in full Quicken uptime. Candace is only recommended in AoE content when no other option is available. |
Flex
 Kuki Shinobu | Kuki Shinobu provides healing, lowers Cyno’s ER requirements, and serves as an additional Hyperbloom trigger. Most of Shinobu’s Hyperbloom triggers are during setup since Cyno has a higher rate of Electro application during his Burst. |
 Fischl | Fischl provides strong personal damage and unrivaled Electro particle generation. She is not recommended to run without a defensive teammate (like Baizhu or Yaoyao). In general, Fischl should cast her Skill at the beginning of the rotation and use her Burst immediately before swapping Cyno to ensure maximum Oz uptime. |
 Beidou | Beidou provides strong AoE Electro damage. Her Burst procs do not trigger Dendro Cores, so she will almost never steal Hyperblooms from Cyno. When paired together, Beidou and Xingqiu provide enough resistance to interruption to allow Cyno comfortable gameplay. |
 Zhongli | Zhongli provides the strongest shield in the game, as well as Universal RES Shred that increases the entire team’s damage. The Geo application from his Skill’s stele is too slow to significantly interfere with reactions. |
Example Teams
This is not a comprehensive list of teams. The inclusion or exclusion of any given team does not necessarily reflect its power level.
This is a high-damage Cyno team with added comfort from Kuki Shinobu. Shinobu uses her Burst only when it is available.
| Sample Rotation (Shinobu Q) > Yelan EQ N1 > Nahida E Q > Shinobu E > Cyno combo |
Baizhu helps make up for Nahida’s Dendro application issues in multi-wave content. Xingqiu and Baizhu’s combined defensive utility is incredibly helpful.
| Sample Rotation Xingqiu EQ N1 > Nahida E Q > Baizhu N1 EQ > Cyno combo |
Xingqiu and Beidou provide enough interruption resistance combined to allow comfortable gameplay for Cyno.
| Sample Rotation Xingqiu EQ N1 > Traveler EQD N1 > Beidou EQ > Cyno combo |
Aggravate
Cyno is a viable Aggravate DPS character. Double Electro or Double Dendro (or both) are recommended to lower the team’s ER requirements and increase the number of reactions. As with his other teams, a defensive unit is strongly recommended.
Notable Teammates
Dendro
Two Dendro units can be used in the same team. This lowers their ER requirements and enables Dendro Resonance.
 Nahida | Nahida is the preferred Dendro character if the team only has one Dendro unit. She provides strong Dendro application, an EM buff, and great personal damage. In multi-wave content, Nahida needs to return on-field to reapply Dendro through her Skill for each new wave. This means you have to forcibly interrupt Cyno’s field time. Against more powerful enemies or single-wave content, this is less of an issue. |
 Baizhu | Baizhu is a fantastic option for Cyno, especially in multi-wave content. Baizhu consolidates Dendro application, healing, buffing, and interruption resistance for Cyno. His Dendro application lasts 14s, which aligns well with Cyno’s field time. |
 Dendro Traveler | Dendro Traveler is a good option for consistent off-field Dendro application since their Burst lasts 15s without having to swap in to reapply Dendro. However, they offer little else outside of a minor EM buff and insignificant personal damage. |
 Yaoyao | Yaoyao is a good option if you do not have Baizhu. In teams with Cyno, she uses her Skill to provide healing and AoE Dendro application from off-field. |
Electro
 Fischl | Fischl provides strong personal damage and unrivaled Electro particle generation thanks to her A4 Passive and Constellation 6. In general, Fischl should cast her Skill at the beginning of the rotation and use her Burst immediately before swapping Cyno to ensure maximum Oz uptime. |
 Yae Miko | Yae Miko deals strong off-field damage with Aggravate. She should only Burst when available (usually every other rotation). |
 Kuki Shinobu | Kuki Shinobu provides healing and lowers Cyno’s ER requirements. Her Burst is particularly useful to ensure Electro Swirls from an Anemo character. |
 Beidou | Beidou provides strong AoE Electro damage, alongside some interruption resistance and damage reduction. She is especially strong against 2–3 enemies at C2 because of the way her Burst works. |
Flex
 Zhongli | Zhongli provides the strongest shield in the game, as well as Universal RES Shred that increases the entire team’s damage. |
 Kazuha | Kazuha’s Electro DMG Bonus from his A4 is refreshed even while he is off-field. This allows him to be a viable Anemo option with Cyno even if the Electro RES Shred from 4pc Viridescent Venerer expires. |
 Sucrose | Sucrose’s EM buff can be refreshed from off-field with her Burst. While not as strong as Kazuha in this case, she can still be used. |
This is not a comprehensive list of teams. The inclusion or exclusion of any given team does not necessarily reflect its power level.
Example Teams
This is a powerful Double Dendro + Double Electro team with lower ER requirements for everyone. Baizhu can hold Thrilling Tales of Dragon Slayers (TTDS) to further buff Cyno.
| Sample Rotation (Baizhu with TTDS) Fischl E > Nahida E Q > Fischl Q > Baizhu EQ > Cyno combo |
| Sample Rotation (Baizhu without TTDS) Fischl E > Nahida E Q > Baizhu EQ > Fischl Q > Cyno combo |
Yae Miko can opt to use her Burst every rotation or every other rotation, depending on whether or not you can meet her ER requirements.
| Sample Rotation (Yae Burst Every Rotation) Yae 3[E] > Zhongli hE > Nahida E Q > Yae Q 3[E] > Cyno combo |
| Sample Rotation (Yae Burst Every Other Rotation) Zhongli hE > Nahida E Q > Yae (Q) 3[E] > Cyno combo |
Kazuha needs to Swirl Electro to allow Fischl and Cyno to take advantage of his A4 Passive’s Electro DMG Bonus. Yaoyao does not use her Burst (unless you need emergency healing).
| Sample Rotation Fischl E > Kazuha hEP > Yaoyao E > Fischl Q > Kazuha Q > Cyno combo |
Quickburn
The teams in this section require both Nahida and Thoma to work effectively. Other Dendro and Pyro options do not work.
Cyno — Nahida — Thoma — Electro (Quickburn) teams utilize a simultaneous Quicken and Burning aura to allow Electro characters to trigger both Aggravate and Overloaded from a single instance of Electro application.
Cyno — Nahida — Thoma — Hydro is a combination of Quickburn and Quickbloom (sometimes referred to as “Chaos”). It utilizes the simultaneous Quicken and Burning aura to trigger many Elemental Reactions: Aggravate, Burning, Overloaded, Vaporize, Spread, Hyperbloom, Burgeon, and Electro-Charged.
For further explanation on how these teams can function, read the Elemental Gauge Theory and Simultaneous Reaction Priority entries in KQM’s Theorycrafting Library.
Example Teams
This is not a comprehensive list of teams. The inclusion or exclusion of any given team does not necessarily reflect its power level.
Fischl is strongly recommended in Cyno’s Quickburn teams since her A4 Passive triggers off Quicken, Aggravate, and Overloaded.
| Sample Rotation Fischl E > Nahida E Q > Thoma EQ N1 > Fischl Q > Cyno combo |
This Cyno team is the prototypical Quickburn + Quickbloom archetype (known as “Chaos” in some circles). Yelan is actually preferred over C6 Xingqiu here since his Hydro application results in lower Quicken uptime, even through Burning. Yelan also consistently triggers Vaporize with her Burst procs.
Xingqiu is still an option, however, since his damage reduction helps Thoma’s shield last longer. This in turn allows Thoma to build more EM to improve his damage from Burning, Burgeon, and Overloaded.
| Sample Rotation Thoma EQ N1 > Nahida E Q > Yelan E N1 Q > Cyno combo |
Credits
irokei, noir, praws, koko, cuzimori, iekala, polomo, alix.sh
Team images made with the KQM portrait generator.
