Updated for Version 4.6
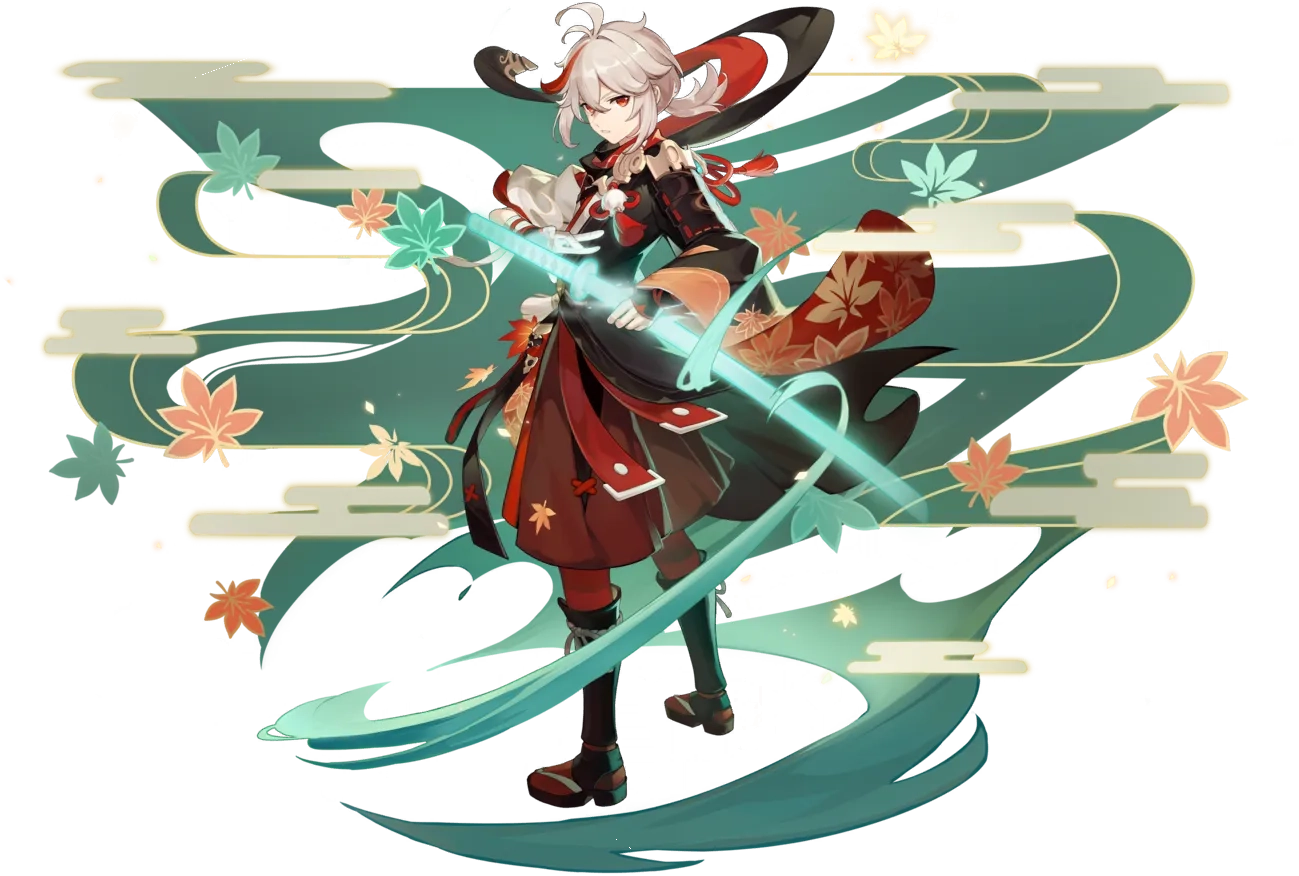
Kazuha is a 5-star Anemo Sword character that provides strong crowd control, team buffs, and Elemental application. Learn about Kazuha’s best builds, best weapons, best artifacts, and best teams in this quick guide.
The full-length guide is available here.
Table of Contents
New Content
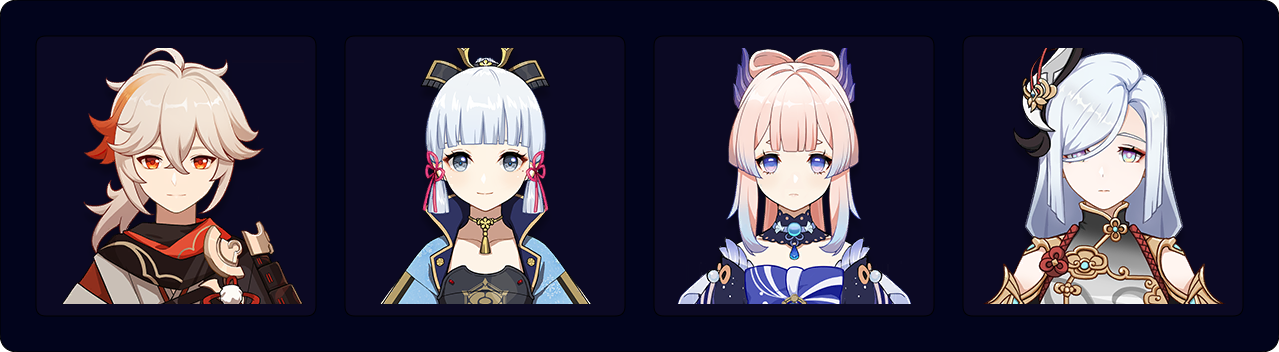
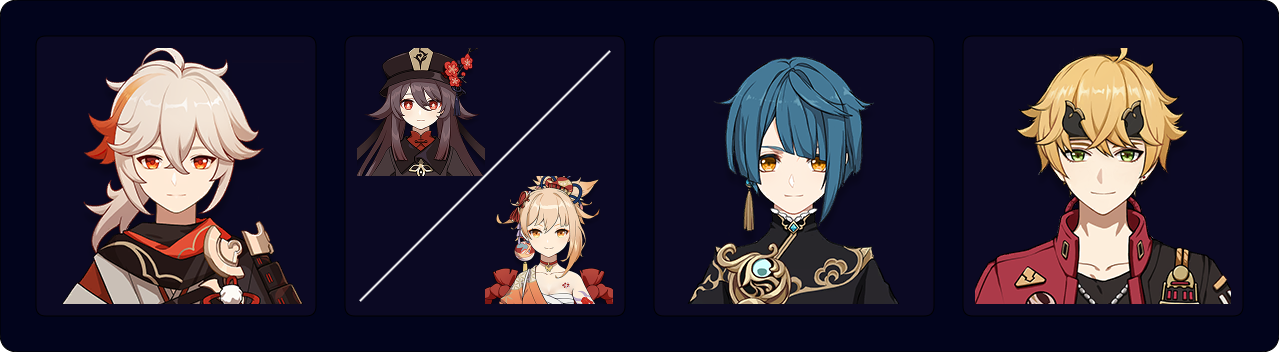
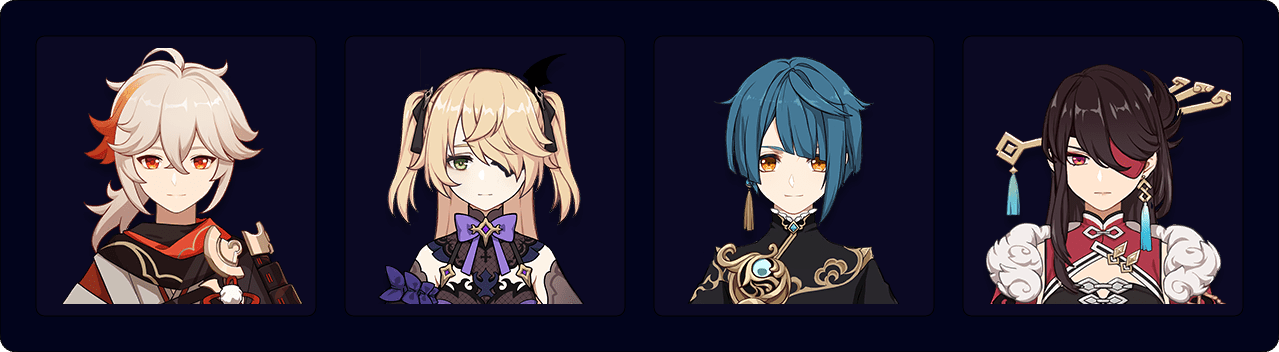
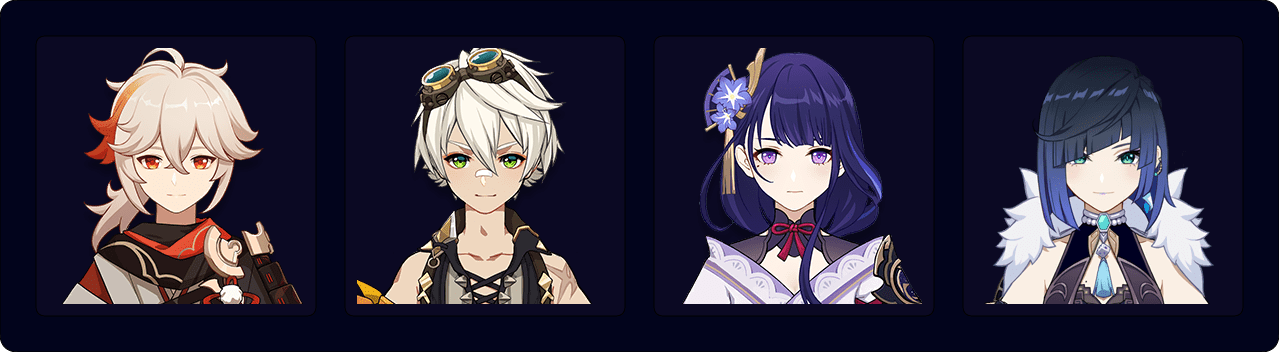
 Arlecchino | Arlecchino appreciates Kazuha’s Pyro DMG% buff in her Vape and Mono Pyro teams. Arlecchino’s Pyro Conversion persists even after swapping out, so you can swap in Kazuha to regroup enemies if necessary. |
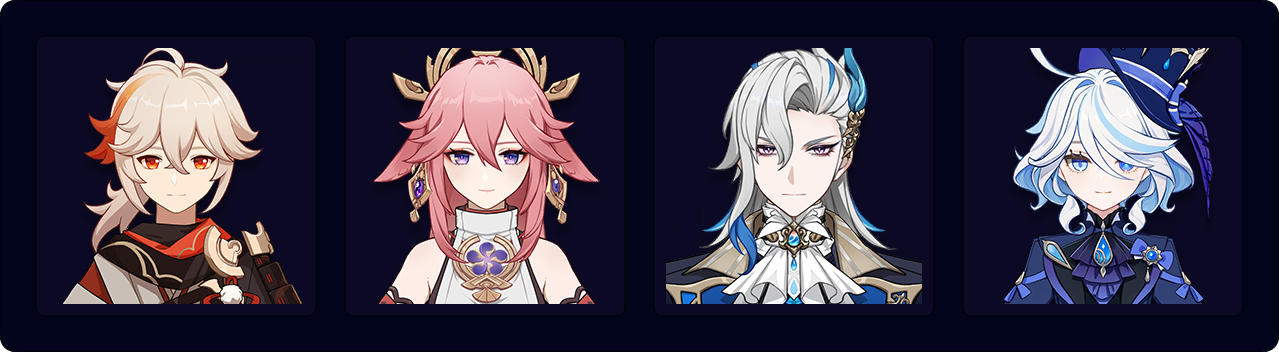
 Xianyun | Xianyun lets Kazuha become a viable Plunging Attack DPS with either his own C6 (Anemo Infusion) or with C6 Bennett (Pyro Infusion). She also buffs his Anemo-infused Plunging Attack called Midare Ranzan, so a 4pc Thundering Fury build may be possible with teammates like Fischl and Furina. This playstyle is not covered further in this guide. |
  Splendor of Tranquil Waters, Uraku Misugiri | These 5-star Swords have the same Base ATK and CRIT value as Primordial Jade Cutter, but they also provide an Elemental Skill DMG% buff with their passives. Overall, they are stat sticks that perform on par with Primordial Jade Cutter and Mistsplitter Reforged. Note: Splendor of Tranquil Water’s passive requires Kazuha’s HP to fluctuate, so it is only reliable with Furina. However, if you’re using Furina with Kazuha, you would most likely prefer to use Splendor of Tranquil Waters on Furina. |
 Fleuve Cendre Ferryman | Fleuve Cendre Ferryman is Kazuha’s best free Sword when you cannot reach ER requirements from substats alone. If you already possess a high refinement Favonius Sword, then you should still use that since its teamwide Energy generation is better. |
 Xiphos’ Moonlight | One of Kazuha’s top 4-star choices and arguably his best weapon at high refinements. This weapon performs well even at Refinement Rank 1. An ER Sands is usually unnecessary due to its passive, so Kazuha should use an EM Sands. |
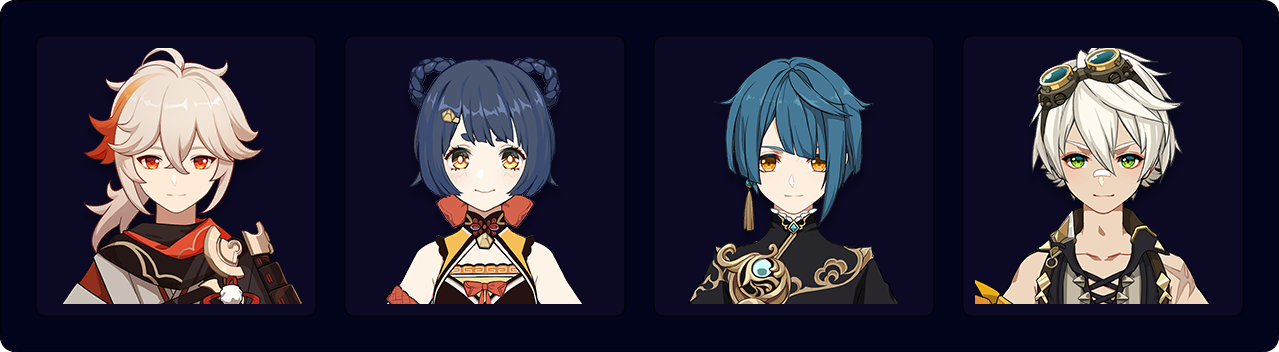
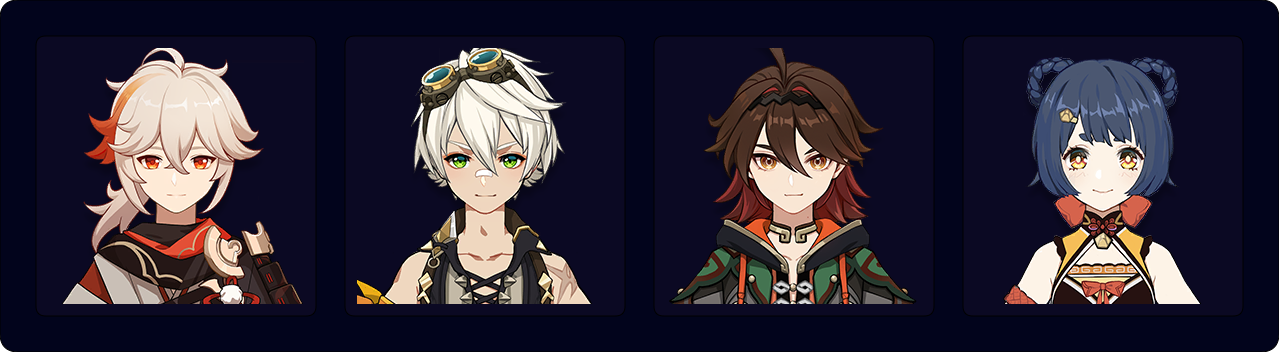
| Fontaine DPS Units | Lyney, Neuvillette, Wriothesley, Freminet, Furina All these characters synergize extremely well with Kazuha. Wriothesley and Kazuha work together in his Freeze and Mono Cryo teams, but they are not recommended together in Reverse Melt. |
Infographic
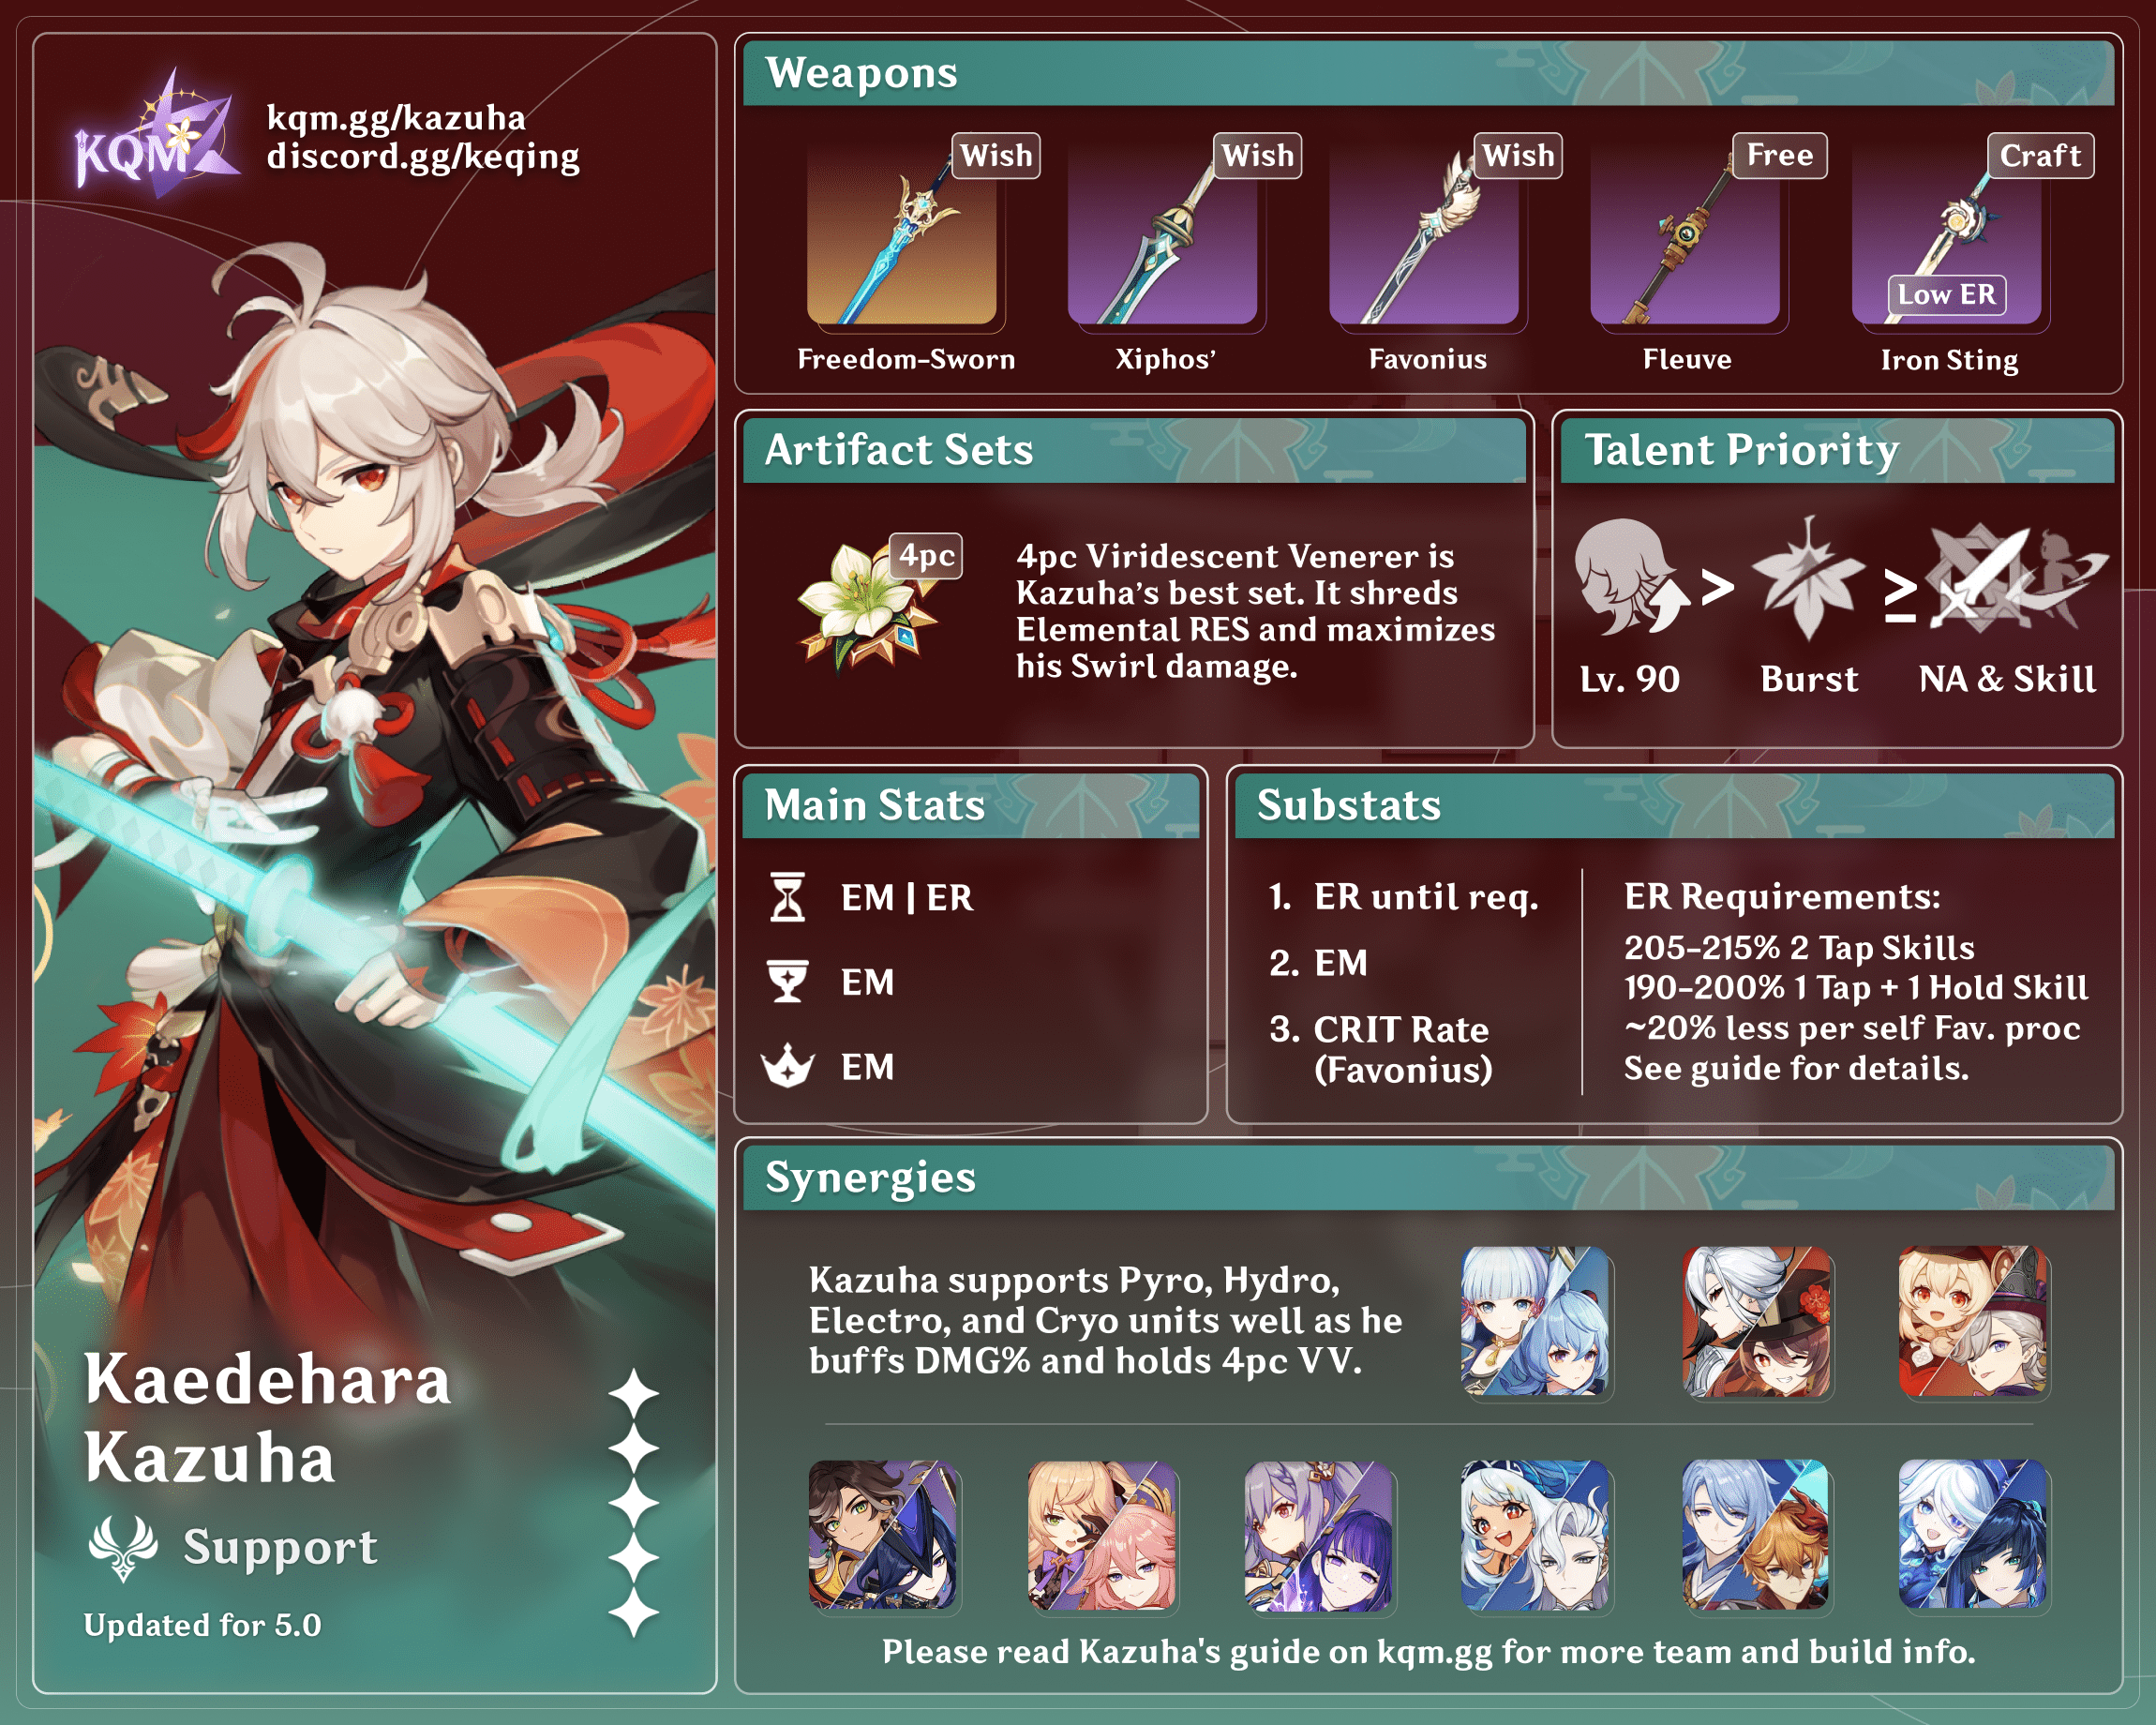
Credits to: cuppacote, irokei, and KQM Staff
Character Overview
Playstyles
Off-field or Quickswap Support
Kazuha is primarily an off-field or quickswap support who buffs his Elemental DPS teammates through his Ascension 4 Passive and 4pc Viridescent Venerer RES Shred.
Quickswap DPS (4-piece Thundering Fury)
Kazuha can hold 4pc Thundering Fury (4TF) in an Aggravate or Electro-Charged team and deal tremendous amounts of damage as a quickswap DPS through multiple Skill uses.
On-field DPS (Constellation 6)
Kazuha can be played as an on-field Anemo DPS at C6. Due to the Anemo Infusion on his Normal Attacks, he can attack on-field and trigger Swirl reactions. Read the Kazuha Extended Guide for more information.
Talents
Level and Talent Priority
Character Level > Burst > Normal Attack = Skill
Level 90 is strongly recommended to maximize Kazuha’s damage through Swirls and other Elemental Reactions. Talents contribute about a third of Kazuha’s overall damage, so they have lower priority.
Talent Overview
 Normal Attack | Garyuu Bladework
Talent Description
Normal Attack
Performs up to 5 rapid strikes.
Charged Attack
Consumes a certain amount of Stamina to unleash 2 rapid sword strikes.
Plunging Attack
Plunges from mid-air to strike the ground below, damaging opponents along the path and dealing AoE DMG upon impact. If this Plunging Attack is triggered by Chihayaburu, it will be converted to Plunging Attack: Midare Ranzan.
Plunging Attack: Midare Ranzan
When a Plunging Attack is performed using the effects of the Elemental Skill Chihayaburu, Plunging Attack DMG is converted to Anemo DMG and will create a small wind tunnel via a secret blade technique that pulls in nearby objects and opponents.
Kazuha’s Normal Attack Talent is just as useful as his other Talents despite his tendency to be played off-field, where he mostly relies on his Elemental Skill and Burst. Kazuha’s Anemo-converted Plunging Attack scales with his Plunging Attack Talent multiplier. Normal Attack Talent levels and Skill Talent levels offer Kazuha comparable damage gain.
 Elemental Skill | Chihayaburu
Talent Description
Unleashes a secret technique as fierce as the rushing wind that pulls objects and opponents towards Kazuha’s current position before launching opponents within the AoE, dealing Anemo DMG and lifting Kazuha into the air on a rushing gust of wind.
Within 10s of remaining airborne after casting Chihayaburu, Kazuha can unleash a powerful Plunging Attack known as Midare Ranzan.
Press
Can be used in mid-air.
Hold
Charges up before unleashing greater Anemo DMG over a larger AoE than Press Mode.
Plunging Attack: Midare Ranzan
When a Plunging Attack is performed using the effects of the Elemental Skill Chihayaburu, Plunging Attack DMG is converted to Anemo DMG. On landing, Kazuha creates a small wind tunnel via a secret blade technique that pulls in nearby objects and opponents.
Midare Ranzan’s DMG is considered Plunging Attack DMG.
Kazuha’s Elemental Skill is his main source of crowd control since it pulls enemies towards him. Using this Skill launches Kazuha into the air, letting him perform a Plunging Attack called Midare Ranzan. The launch also allows him to dodge certain enemy attacks.
Kazuha’s Elemental Skill can absorb an Element, allowing him to deal Elemental damage alongside Anemo damage. Absorption is distinct from the Element that Kazuha Swirls.
The Element absorbed follows Kazuha’s general Absorption priority:
Pyro > Hydro > Electro > Cryo
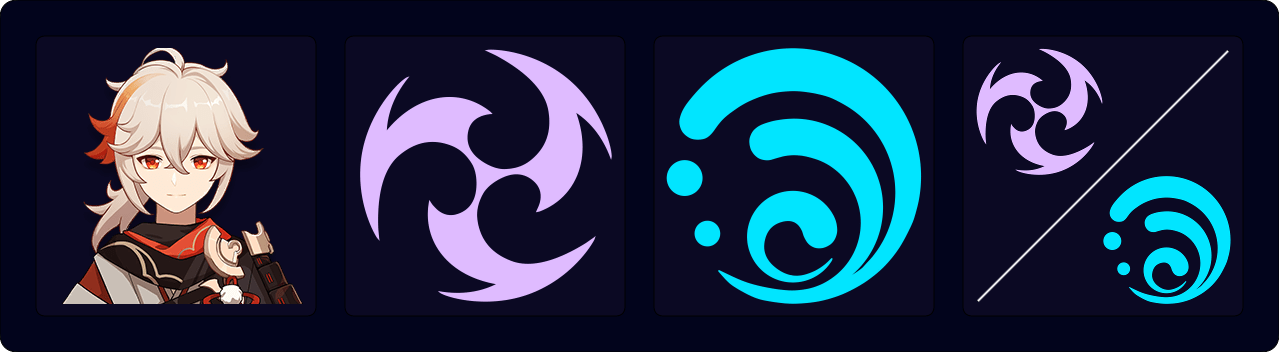
Kazuha’s Elemental Skill has two variants: Tap Skill (tE) and Hold Skill (hE). They have different cooldowns, animation duration, crowd control ability, damage, Elemental application, and particle generation.
Tap Skill
Hold Skill
- Weaker grouping AoE
- 6s cooldown
- Generates 3 Anemo Particles
- ~0.5s field time
- Slightly lower Talent scaling
- The difference is small when accounting for Swirl damage
- Stronger grouping AoE
- 9s cooldown
- Generates 4 Anemo Particles
- ~1s field time
- Slightly higher Talent scaling
- The difference is small when accounting for Swirl damage
 Elemental Burst | Kazuha Slash
Talent Description
The signature technique of Kazuha’s self-styled bladework — a single slash that strikes with the force of the first winds of autumn, dealing AoE Anemo DMG. The blade’s passage will leave behind a field named “Autumn Whirlwind” that periodically deals AoE Anemo DMG to opponents within its range.
Elemental Absorption
If Autumn Whirlwind comes into contact with Hydro/Pyro/Cryo/Electro, it will deal additional elemental DMG of that type. Elemental Absorption may only occur once per use.
Kazuha’s Elemental Burst is an extremely important part of his kit and makes up the largest portion of his damage.
His Burst costs 60 Energy and creates a field that persists for 8s and can absorb an Element, dealing both Anemo and absorbed Elemental damage in a large AoE.
Its Absorption priority is the same as his Elemental Skill’s:
Pyro > Hydro > Electro > Cryo
 Ascension 1 Passive | Soumon Swordsmanship
Talent Description
If Chihayaburu comes into contact with Hydro/Pyro/Cryo/Electro when cast, Chihayaburu will absorb that element and if Plunging Attack: Midare Ranzan is used before the effect expires, it will deal an additional 200% ATK of the absorbed elemental type as DMG. This will be considered Plunging Attack DMG.
Elemental Absorption may only occur once per use of Chihayaburu.
This Ascension Passive enables Kazuha’s Elemental Skill to absorb an Element and deal additional Elemental damage with his Plunging Attack, Midare Ranzan.
 Ascension 4 Passive | Poetics of Fuubutsu
Talent Description
Upon triggering a Swirl reaction, Kaedehara Kazuha will grant all party members a 0.04% Elemental DMG Bonus to the element absorbed by Swirl for every point of Elemental Mastery he has for 8s. Bonuses for different elements obtained through this method can co-exist.
Arguably the most important aspect of Kazuha’s kit. By Swirling an Element on a full EM build, Kazuha provides a substantial Elemental DMG Bonus to his teammates. Kazuha’s Burst also refreshes this passive, even if he is off-field.
Since the buff can co-exist for multiple Elements at the same time, some of Kazuha’s teams (notably those that utilize Vaporize and Melt reactions) have specific rotations to provide simultaneous Elemental DMG Bonuses for different Elements.
 Utility Passive | Cloud Strider
Talent Description
Decreases sprinting Stamina consumption for your own party members by 20%.
Not stackable with Passive Talents that provide the exact same effects.
This passive is fantastic for overworld exploration. In combat, the decreased Stamina consumption can be a nice quality-of-life upgrade for on-field DPS characters who rely on sprinting to dodge or utilize an aspect of their kit (such as Ayaka).
Constellations
 Constellation 1 | Scarlet Hills
Decreases Chihayaburu’s CD by 10%.
Using Kazuha Slash resets the CD of Chihayaburu.
Kazuha’s C1 can situationally allow him to build less ER and allocate more EM. However, one potential issue is that the additional Skill cast either lengthens a rotation or reduces field time for Kazuha’s teammates. This makes utilizing Kazuha’s first Constellation a DPS loss in some teams.
The additional Skill use also helps better group enemies in cases where enemies are too far apart to be grouped with one Skill use.
 Constellation 2 | Yamaarashi Tailwind
The Autumn Whirlwind field created by Kazuha Slash has the following effects:
• Increases Kaedehara Kazuha’s own Elemental Mastery by 200 for its duration.
• Increases the Elemental Mastery of characters within the field by 200.
The Elemental Mastery-increasing effects of this Constellation do not stack.
Kazuha’s second Constellation is extremely powerful — not only does it make him a better support than Sucrose for reaction-reliant units, but it also buffs his personal damage and increases his Ascension 4 DMG% buff. The EM buff only applies to the on-field character, however, as opposed to the teamwide buffs that other characters like Sucrose provide.
It is recommended to stop at this Constellation unless going for C6.
 Constellation 3 | Maple Monogatari
Increases the Level of Chihayaburu by 3.
Maximum upgrade level is 15.
This Constellation increases the damage on Kazuha’s Elemental Skill; however, it has low value since only a third of his damage comes from Talents.
 Constellation 4 | Oozora Genpou
When Kaedehara Kazuha’s Energy is lower than 45, he obtains the following effects:
• Pressing or Holding Chihayaburu regenerates 3 or 4 Energy for Kaedehara Kazuha, respectively.
• When gliding, Kaedehara Kazuha regenerates 2 Energy per second.
The first part of this Constellation can be used in conjunction with Kazuha’s first Constellation to grant him a large amount of Energy at once. This allows him to run even less Energy Recharge in exchange for more damage-focused stats.
While the gliding effect of Kazuha’s fourth Constellation has little practical use in combat, it can actually be useful outside of combat. The Spiral Abyss has a small slanted pillar that Kazuha can jump off to glide, which allows him to (slowly) recharge Energy in between Abyss floors.
The gliding ability is also useful in the overworld, where Kazuha glides to travel between locations frequently.
 Constellation 5 | Wisdom of Bansei
Increases the Level of Kazuha Slash by 3.
Maximum upgrade level is 15.
This Constellation is better than Kazuha’s C3 since the largest part of his Talent damage comes from his Elemental Burst.
Players should only try to get this Constellation if they’re going for C6.
 Constellation 6 | Crimson Momiji
After using Chihayaburu or Kazuha Slash, Kaedehara Kazuha gains an Anemo Infusion for 5s. Additionally, each point of Elemental Mastery will increase the DMG dealt by Kaedehara Kazuha’s Normal, Charged, and Plunging Attacks by 0.2%.
Kazuha’s C6 opens up an additional on-field DPS playstyle. He can still be played as an off-field DPS at C6, just with significantly higher damage. Read the Kazuha Extended Guide for more information on his C6 playstyles.
Builds
ER Requirements
Kazuha’s ER requirements vary greatly depending on his weapon and team. Here is a non-comprehensive list of possible combinations:
With another Favonius user on Kazuha’s team, his ER requirements are decreased by 15-25%. When played with Raiden Shogun’s Burst, his ER requirements can be decreased by 50-55%.
The Energy Recharge Calculator by Zakharov is available to calculate more specific Energy requirements for your given team and rotation.
| Kazuha’s ER (without Favonius Sword) | Kazuha’s ER (with Favonius Sword) | |
| Solo Anemo (Tap Skill + Hold Skill) | 190–200% | 160–170% 140–150% (2 Fav procs) |
| Solo Anemo (2 Tap Skills) | 205–215% | 170–180% 155–165% (2 Fav procs) |
| Double Anemo (4TF with 4 Tap Skills) | 105–110% | 100–105% |
| Triple Anemo (Tap Skill + Hold Skill) | 145–155% | 115–125% |
| Solo Anemo (1 Hold Skill) | 270–280% | 215–225% 190–200% (+1 Team Fav) |
Artifact Stats
 Sands |  Goblet |  Circlet |
| EM / ER | EM | EM |
Substats: ER (until requirement) > EM >> ATK% = CRIT
- EM Sands: Run an EM Sands with Favonius Sword, Xiphos’ Moonlight, or Sacrificial Sword.
- ER Sands: Run an ER Sands with Iron Sting, Toukabou Shigure, or other Swords, unless you can meet ER requirements through substats alone.
On Favonius Sword, Kazuha benefits from CRIT Rate. However, he generally doesn’t need more than 20% CRIT Rate to consistently trigger its particle generation.
Artifact Sets
Recommended Set
 4pc Viridescent Venerer (4VV) | 4pc Viridescent Venerer (4VV) is the artifact set that Kazuha uses in almost all of his teams. Not only does it allow him to shred Elemental RES to buff his team members, but it also boosts his personal damage by buffing Swirl and Anemo damage. |
Niche Set
 4pc Thundering Fury (4TF) | 4pc Thundering Fury (4TF) can be used in specific Aggravate or Electro-Charged teams, in which Kazuha can frequently trigger the 4pc set effect (Elemental Skill cooldown reduction when triggering an Electro-related reaction on-field). |
Weapons
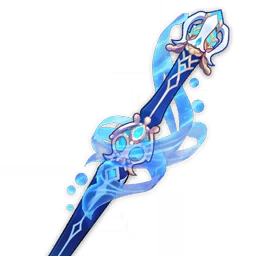
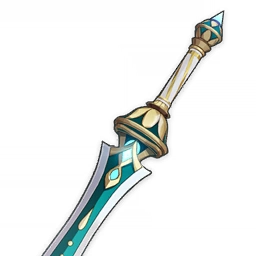
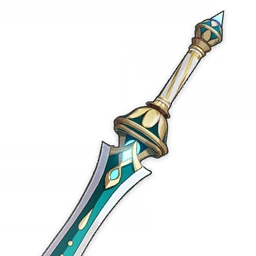
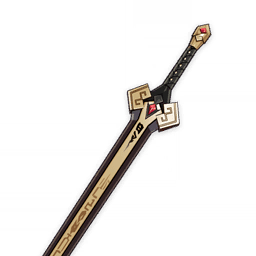
 Freedom-Sworn | Freedom-Sworn almost always outperforms other options, although Xiphos’ Moonlight can outperform the weapon when Kazuha’s teammates don’t benefit from Freedom-Sworn’s buffs. If Kazuha can reach ER thresholds and has teammates who benefit from Freedom-Sworn’s buff, then it’s a good idea to use the weapon. Otherwise, Xiphos or Favonius may be a better choice. |
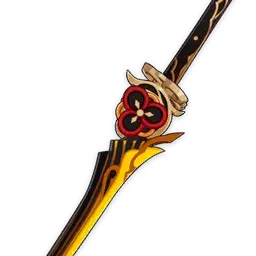
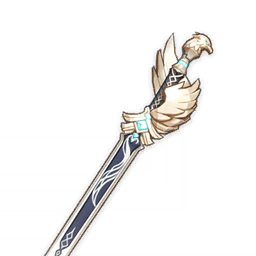
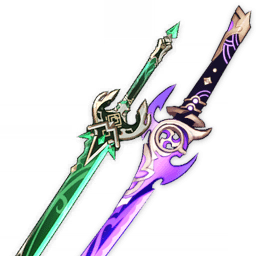
 Xiphos’ Moonlight | One of Kazuha’s top 4-star choices and arguably Kazuha’s best weapon at high refinements. This weapon performs well even at Refinement Rank 1. An ER Sands is usually unnecessary due to its passive, so Kazuha should use an EM Sands. While higher refinements make it stronger, an R1 Xiphos’ with sufficient ER substats on artifacts is competitive with Favonius Sword. |
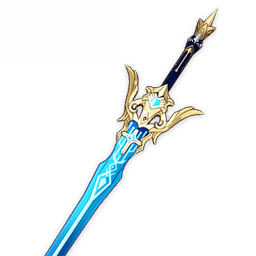
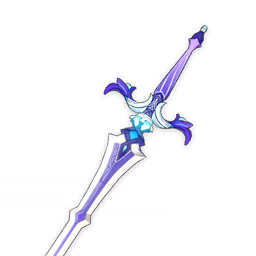
 Favonius Sword | Recommended weapon for teams where Kazuha or other party members require high amounts of Energy Recharge. Favonius Sword benefits the entire team while still allowing you to build a lot of Elemental Mastery. You only need about 20% CRIT Rate to consistently trigger its Energy generation. |
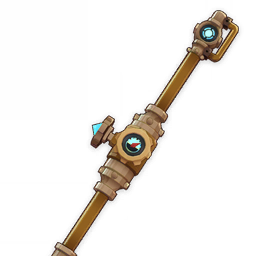
Fleuve Cendre Ferryman | Fleuve Cendre Ferryman is Kazuha’s best free Sword when you cannot reach ER requirements from substats alone. If you already possess a high refinement Favonius Sword, then you should still use that since its teamwide Energy generation is better. |
 Sacrificial Sword | Sacrificial Sword allows Kazuha to cast another Skill, which increases his personal DPS, lowers his ER requirements, and provides him another opportunity to group enemies. The additional Skill use affects rotation time and buff uptime, so it should be used with care. Sacrificial Sword is a nice alternative if you cannot use Favonius Sword. |
 Iron Sting & Toukabou Shigure | Kazuha’s most recommended free-to-play weapons at low ER requirements. Generally a solid choice. Iron Sting is not worth refining. Despite the small difference in performance in single-target and AoE scenarios, they perform practically the same. Nonetheless, Toukabou Shigure does match Kazuha’s outfit and doesn’t require a billet unlike Iron Sting. |
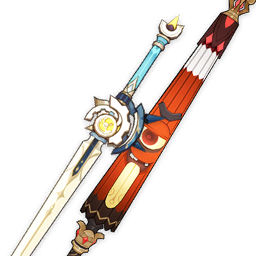
 Dark Iron Sword | Solid free-to-play option if you cannot craft Iron Sting or didn’t get Toukabou Shigure. Dark Iron Sword is available from Chen the Sharp in Liyue Harbor near the Waypoint in the south of the city. |
 Primordial Jade Cutter & Mistsplitter Reforged | Despite being CRIT weapons, they still perform well due to how strong they are. These weapons increase Kazuha’s personal damage and can deliver in both EM and ADC builds. However, this does not mean Kazuha should use an ADC build with these weapons. A triple EM build still performs better in every team except Triple Anemo. Prioritize using these weapons on your DPS units instead of Kazuha. |
Teams
This is not a comprehensive list of teams. The inclusion or exclusion of any given team does not necessarily reflect its power level.
Rotation Notation
- N = Normal Attack
- C = Charged Attack
- A = Aimed Shot
- P = Plunging Attack
- E = Elemental Skill
- tE = Tap Skill
- hE = Hold Skill
- Q = Elemental Burst
- D = dash (cancel)
- J = jump (cancel)
- W = walk (cancel)
- > = switch character
- ( ) = these actions are optional; please refer to the notes below
- [ ] = repeat these actions the specified number of times
Quicken
Kazuha is an excellent Anemo support in Quicken teams with two Electro teammates. While Kazuha does not buff Dendro units (unless at C2), his Electro DMG buff and 4VV Electro RES Shred significantly increase the DPS of his Electro teammates. Moreover, his Electro-absorbed Skill and Burst can trigger Aggravate off of a Quicken aura. Kazuha is best utilized in multi-target scenarios since his Swirl damage takes a hit in single-target.
Notable Quicken Teammates
All Electro and Dendro characters are viable with Kazuha to varying degrees.
Example Quicken Teams
Sample Rotation
(Keqing EE) > Kazuha tEP Q > Kirara (Q) hE > Fischl Q > Keqing E Q E N1C N1 E 3[N1C] > repeat
Keqing starts the rotation with her Skill if there is no Electro aura on the enemy. Kirara uses her Burst only if she is on 4pc Noblesse Oblige. In other cases, Kirara’s Burst can be used every other rotation or in AoE scenarios. Kirara only holds her Skill briefly (short hold).
Sample Rotation
Raiden E > Kazuha N1 tEP > Nahida E Q > Sara E CA > Kazuha N1 tEP Q > Sara Q > Raiden Q 3[N3C] N1C > repeat
4TF Kazuha (Aggravate)
Kazuha can serve as a quickswap Aggravate DPS with the Thundering Fury artifact set (4TF), whose 4pc set effect (which triggers off Aggravate) reduces the Skill cooldown of the holder. Kazuha should be used with another 4VV Anemo unit and a highly consistent Electro applier like Fischl. Aggravate 4TF Kazuha performs better in AoE scenarios since an Aggravated Swirl deals damage to multiple enemies at the same time. His increased particle generation also lowers ER requirements significantly.
Notable 4TF Kazuha (Aggravate) Teammates


Example 4TF Kazuha (Aggravate) Teams
Sample Rotation
Venti Q > Fischl E/Q > Collei Q > Kazuha tEP Q N1 tEP N1 tEP > Venti E > Collei E > Kazuha N2 tEP > repeat
Freeze

Kazuha is a premier pick for Freeze teams due to his buffs and grouping. However, his Plunging Attack limits Freeze uptime with certain Hydro teammates like Mona. This issue is mitigated by using a sufficient Hydro applier or opting out of his Plunging Attack after using his Skill. Nonetheless, Kazuha’s priority to build EM allows his incidental Shatter reactions to provide additional team damage.
Notable Freeze Teammates


Example Freeze Teams
Sample Rotation
Ayaka D (1st Rotation) > Kazuha tEP Q > Shenhe tE Q > Kokomi E > Ayaka D N1 E Q > Kazuha tEP > Shenhe tE N1 > Ayaka D N2C N2 E N2C > repeat
Kazuha is uniquely strong with Ayaka given his short-cooldown grouping and A4 buff. He also allows Ayaka to take on both AoE and single-target scenarios.
Sample Rotation
Ganyu CS > Kazuha tEP Q > Diona hE > Ganyu E Q > Kazuha hEP > Mona EQ > Ganyu 2[C] > Kazuha tEP > repeat
Ganyu appreciates Kazuha’s buffing and grouping, given that her damage in Freeze teams increases heavily when enemies are grouped, and the buffs which Kazuha offers make him one of the strongest support options for her. However, since Venti has stronger grouping, you can use him as a potentially stronger substitute for Kazuha in these teams.
Sample Rotation
Ayato Q > Rosaria E > Kazuha N1 hEP Q > Rosaria Q E > Kaeya E Q > Ayato E N15 > Kaeya E > Rosaria E > Kazuha N1 tEP > Ayato E N15 > repeat
This rotation is quite flexible due to their low cooldowns and other rotations may be better based on wave content. It is possible to skip Ayato’s Burst every other rotation to accommodate a 15s rotation, which also helps alleviate his ER requirements.
Rosaria and Kaeya can both be used as quickswap DPS units for a Freeze team to great effectiveness, especially if you have their Constellations.
Reverse Vape

Kazuha is a top choice for Reverse Vape teams, competing directly with Sucrose for damage potential. He trades her raw EM share for the powerful DMG buffs he provides to both Pyro and Hydro characters while offering comfortable grouping and significant personal damage.
Kazuha’s unique Elemental Skill and Burst allow him to shred Hydro and Pyro RES with Double Swirl setups, which buffs both the Hydro and Pyro DPS unit. The setups for these teams can be difficult, and it’s recommended to practice them a bit before performing them in hard content.
Notable Reverse Vape Teammates


Example Reverse Vape
First Rotation
Tartaglia E > Bennett Q > Kazuha Q tEP (N1) > Xiangling Q E > Tartaglia Q E 5[N2CD] N2CJ > Downtime
For Double Swirl in multi-target, Tartaglia’s Skill cast must make contact with at least one enemy, and Bennett’s Burst must hit at least one different enemy.
Downtime
Bennett E > Xiangling (N2 / E) > Kazuha tEP / Tartaglia C > Second Rotation
Repeat this sequence until Xiangling’s Burst is almost full (usually 2–3 times).
Second Rotation
Tartaglia C > Xiangling E > Kazuha hEP Q (N1) > Bennett Q E > Xiangling Q > Tartaglia Q E 5[N2CD] N2CJ > Downtime
Tartaglia’s Charged Shot must hit an enemy marked with Riptide or without a pre-existing Pyro aura. This rotation is also used for subsequent rotations if necessary.
Single-Target Setup
Xingqiu E Q (E) > Kazuha Q > Bennett E Q > Kazuha hEP > Xiangling Q E
In single-target scenarios, the Double Swirl is inconsistent.
Multi-Target Setup
Bennett E Q > Kazuha tEP > Xiangling Q E > Xingqiu E (E) Q > Kazuha Q (outside of Bennett’s Burst)
Sample Rotation
Xingqiu E Q (E) > Thoma E Q > Kazuha N1 tEP (N1) Q > Hu Tao / Yoimiya E Normal Combo (Q) > repeat
Kazuha needs to animation cancel his first N1 with his Skill. The second (N1) can be used if additional Hydro application is necessary to absorb Hydro into his Burst. Xingqiu needs to be at C6 in order to apply enough Hydro for Hu Tao to consistently trigger Vaporize (since Thoma’s Burst can steal Vapes).
Sample Rotation
Arlecchino (EQ) E > Yelan EQ N1 > Bennett EQ > Kazuha N1 hEP > Arlecchino C 6[N3D]
Kazuha does not use his Burst in this Arlecchino team, since it extends the rotation duration at a DPS loss. This team also lacks a shielder, so it does not have any defensive utility for Arlecchino (because Bennett cannot heal her in combat).
Electro-Charged
Electro-Charged teams use Hydro and Electro units to let Kazuha trigger high-damage Swirls and Electro-Charged reactions. Kazuha’s ability to apply AoE Hydro and Electro through Elemental Absorption and Swirls allows him to act as the trigger for Electro-Charged reactions.
Occasionally, Kazuha can Swirl both Hydro and Electro with a single Anemo application, which further increases his Elemental application. However, his consistency in being the trigger for reactions can vary greatly depending on his teammates.
Notable Electro-Charged Teammates


Example Electro-Charged
Sample Rotation
Xingqiu E Q N1 > Beidou E > Kazuha hEP Q N1 > Fischl E/Q N1 > Beidou Q E > Kazuha 12[N2D] tEP > repeat
With consistent inputs and dash cancels, Kazuha can proc Beidou’s Burst 12 times with 12 consecutive N2D combos. With slower inputs, only 11 procs occur.
Sample Rotation
Neuvillette E > Furina E(D) > Kazuha tEP Q > Yae Miko 3[E] > Furina Q > Neuvillette C Q C E > Kazuha tEP > Yae Miko 3[E] > Neuvillette 2[C]
A highly potent 5-star team. Neuvillette’s HP fluctuation gains a sufficient amount of Fanfare stacks to make Furina worthwhile without a healer. Neuvillette’s C1 increases his interruption resistance and gives him an additional stack of his passive.
Sample Rotation
Raiden E > Shinobu Q > Yelan E > Kazuha hEP Q > Yelan Q > Shinobu E > Raiden Q 3[N3C] N1C > Kazuha tEP > repeat
Sample Rotation
Ayato Q > Fischl E/Q > Kazuha hEP Q > Beidou E Q > Ayato E N15 E N15 > Beidou E > Kazuha tEP > repeat
This rotation assumes Ayato is 4pc Thundering Fury. On another set, the rotation is extended by a few seconds to accommodate Ayato’s downtime.
4TF Kazuha (Electro-Charged)
4TF Kazuha is a Electro-Charged team archetype that excels against multi-target content and can clear mobbing content with ease. The 4pc set effect of Thundering Fury (which triggers off Electro-Charged) reduces the Skill cooldown of the holder. Kazuha should be used with another 4VV Anemo and a highly consistent Electro applier like Fischl.
Notable 4TF Kazuha (Electro-Charged) Teammates


Example 4TF Kazuha (Electro-Charged) Teams
Sample Rotation
Fischl Q > Kokomi E > Venti Q > Kazuha tEP Q N1 tEP N1 tEP > Fischl E > Kokomi Q > Venti E > Kazuha N2 tEP N1 tEP > repeat
Anemo Overvape

Anemo Overvape is like an Electro-Charged Kazuha team with Bennett added for additional Elemental Reactions from Pyro reacting with Hydro and Electro aura from Electro-Charged. Kazuha can provide multiple Elemental DMG buffs and almost always absorbs Pyro into his Burst, which lets him proc Overloaded, Reverse Vape, and Electro-Charged Swirls. The Hydro or Electro unit can serve as the on-field DPS unit, or they can both be off-field units with Bennett or Kazuha serving as an on-field driver.
Notable Anemo Overvape Teammates
Example Anemo Overvape Teams
Sample Rotation
Ayato Q > Fischl E > Kazuha N1 tEP > Ayato E N15 > Bennett E Q > Fischl Q > Kazuha N1 tEP Q > Ayato E N15 > repeat
Initial Rotation
Tartaglia E > Bennett Q > Kazuha N1 hEP Q > Tartaglia Q > Fischl E > Tartaglia E 5[N2CD] > Subsequent Rotation
Subsequent Rotation
Bennett E N2 > Kazuha N1 tEP > Bennett E Q > Tartaglia CS > Kazuha Q hEP > Tartaglia Q > Fischl Q/E > Tartaglia E 5[N2CD] > repeat
Sample Rotation
Raiden E > Yelan E Q > Kazuha hEP > Bennett Q > Kazuha Q > Raiden Q 3[N3C] N1C > Bennett E > repeat
Mono Element & Hypercarry

Mono Element (Pyro | Cryo | Hydro | Electro) teams use synergies between characters of the same Element, as well as Anemo and Geo buffers. Kazuha is uniquely poised to buff these teams through his Ascension 4 Passive’s Elemental DMG% buff. Additionally, because these teams use units of the same Element, characters enjoy lower ER requirements than usual. Generally, Kazuha’s Mono Element teams have an on-field Elemental DPS, off-field Elemental unit, and an off-field unit that is of the same Element, Geo, or Anemo.
Hypercarry teams are a related archetype that opt for multiple supports to funnel a single Elemental DPS unit. While not technically a Mono Element team depending on the Element of the supports, they are mentioned in this section due to their similarities in units and teambuilding.
Mono Pyro
Mono Pyro teams are highly competitive with their reaction-based counterparts due to the availability of artifact sets like Lavawalker and Emblem of Severed Fate combined with Bennett’s incredible Flat ATK buff. Bennett is irreplaceable in this archetype — his buffs, healing, and particle generation cannot be replicated by any other unit.
Notable Mono Pyro Teammates


Example Mono Pyro Teams
Sample Rotation
Bennett E > Kazuha tEP Q > Bennett Q E > Xiangling Q E > Kazuha hEP > Klee N1 E Q 4[N1C] N1 > repeat
This is just one of several possible rotations.
Sample Rotation
Zhongli hE > Bennett EQ > Kazuha tEP / Q > Lyney 5[C] (Q / C) E > repeat
Lyney should use his Burst every other rotation. When his Burst is down, he can use a sixth Charged Shot before casting his Skill.
In this team specifically, using Kazuha’s Burst every rotation is a DPS loss in single-target scenarios; alternating using his Burst and Skill every other rotation allows Lyney to fit one more Charged Shot in the rotation.
Sample Rotation
Bennett E > Kazuha tEP Q > Bennett Q E > Xiangling Q E > Kazuha hEP > Gaming combo
This Gaming Mono Pyro team performs well in AoE content. It has very straightforward gameplay without worrying about Vape or Melt timings.
Mono Cryo

Mono Cryo becomes a potent team archetype with Shenhe. A shift from Freeze to Mono Cryo can allow such teams to increase their DPS against enemies that cannot be Frozen (such as Bosses). Nonetheless, Freeze tends to outperform Mono Cryo in AoE.
Notable Mono Cryo Teammates


Example Mono Cryo Teams
Sample Rotation
Ayaka D (first rotation) > Kazuha tEP Q > Shenhe tE N1 Q > Layla Q N1 E > Ayaka D E N 1Q > Kazuha tE > Shenhe E > Ayaka D N2CD E N2C > repeat
Sample Rotation
Ganyu E > Zhongli hE > Shenhe tE Q > Kazuha tEP Q > Ganyu CA E Q > Shenhe E N1 > Ganyu C > Kazuha tEP > Ganyu 2[C] > repeat
Mono Hydro

While formerly difficult to justify, the introduction of multiple new Hydro units has given Mono Hydro teams a chance to shine, particularly due to the highly Energy-hungry nature of these units being resolved by running them together. However, these teams tend to be highly single-target oriented due to the nature of Yelan, Xingqiu, and Hydro Swirls.
Notable Mono Hydro Teammates


Example Mono Hydro Teams
Sample Rotation
Neuvillette E > Furina ED > Kazuha tEPQ > Zhongli hED > Furina Q > Neuvillette C E C Q > Kazuha tEP > Neuvillette 2[C]
Neuvillette and Furina form an exceptional pairing that is amplified by Kazuha’s Hydro DMG% buff. Zhongli provides a valuable shield for C0 Neuvillette and for the team as a whole. Although this team lacks a healer, Neuvillette’s personal HP fluctuation is enough to stack Furina’s Fanfare.
Sample Rotation
Yelan E > Kazuha tEP > Kokomi E > Xingqiu E N1 Q > Yelan Q N1 > Kazuha tEP Q N1 > Yelan N1 E N1 > Kokomi Q 5[N3D] > repeat
The Double Hydro core of Xingqiu and Yelan provides incredibly strong single-target, off-field damage. Their combined particle generation also lowers their ER requirements, which are typically quite high alone. Kokomi is a great on-field driver who also heals the team.
Electro Hypercarry
Mono Electro teams do not deal as much damage as Aggravate, Electro-Charged, or Hypercarry alternatives. This section focuses on the Electro Hypercarry variation.
Kazuha can enable some Electro units to play a hypercarry playstyle where all the team’s buffs increase that Electro character’s damage. His A4 Electro DMG buff, 4VV Electro RES Shred, and grouping make him a vital support for Electro hypercarries.
Raiden and Keqing hypercarry teams are the most popular of this archetype. If Kazuha absorbs Pyro into his Burst (which happens in preferred rotations), the team also procs significant amounts of Overload, which can become a nuisance in mob content.
Example Electro Hypercarry Team

Sample Rotation
Raiden E > Kazuha hEP > Bennett Q > (Kazuha Q) > Lisa Q > Raiden Q 3[N3C] N1C > repeat
This rotation lets Lisa use TTDS to further buff Raiden.
Credits
Contributors: irokei, Nociii, Leah, idkanonymized, reens, ayzel, cuzimori, vladutsu, previsible, koko, caxia, kb, caramielle., lostguide, nikatosaurus, emiliabyss, redd, .athene., polomo, frankdgaf, baloopy
Team images made with the KQM portrait generator.