Updated for Version 4.0
Jean is a 5-star Anemo Sword character in Genshin Impact who provides strong healing and respectable damage.
Note that the information given may change if new discoveries are made. More extensive testing is in progress.
Join our Discord to check on and participate in the theorycrafting process.
The extended guide is available here.
Table of Contents
New Content
 Fleuve Cendre Ferryman | A fishing weapon that provides plentiful ER and some Elemental Skill CRIT Rate. A solid choice if Favonius Sword is unavailable. |
 Finale of the Deep | Provides a lot of ATK, but not recommended due to the lack of utility. |
 Wolf-Fang | Benefits Jean’s personal damage, although she usually only has 2 stacks on the weapon’s passive. Not recommended over other options that bring more utility. |
Infographic
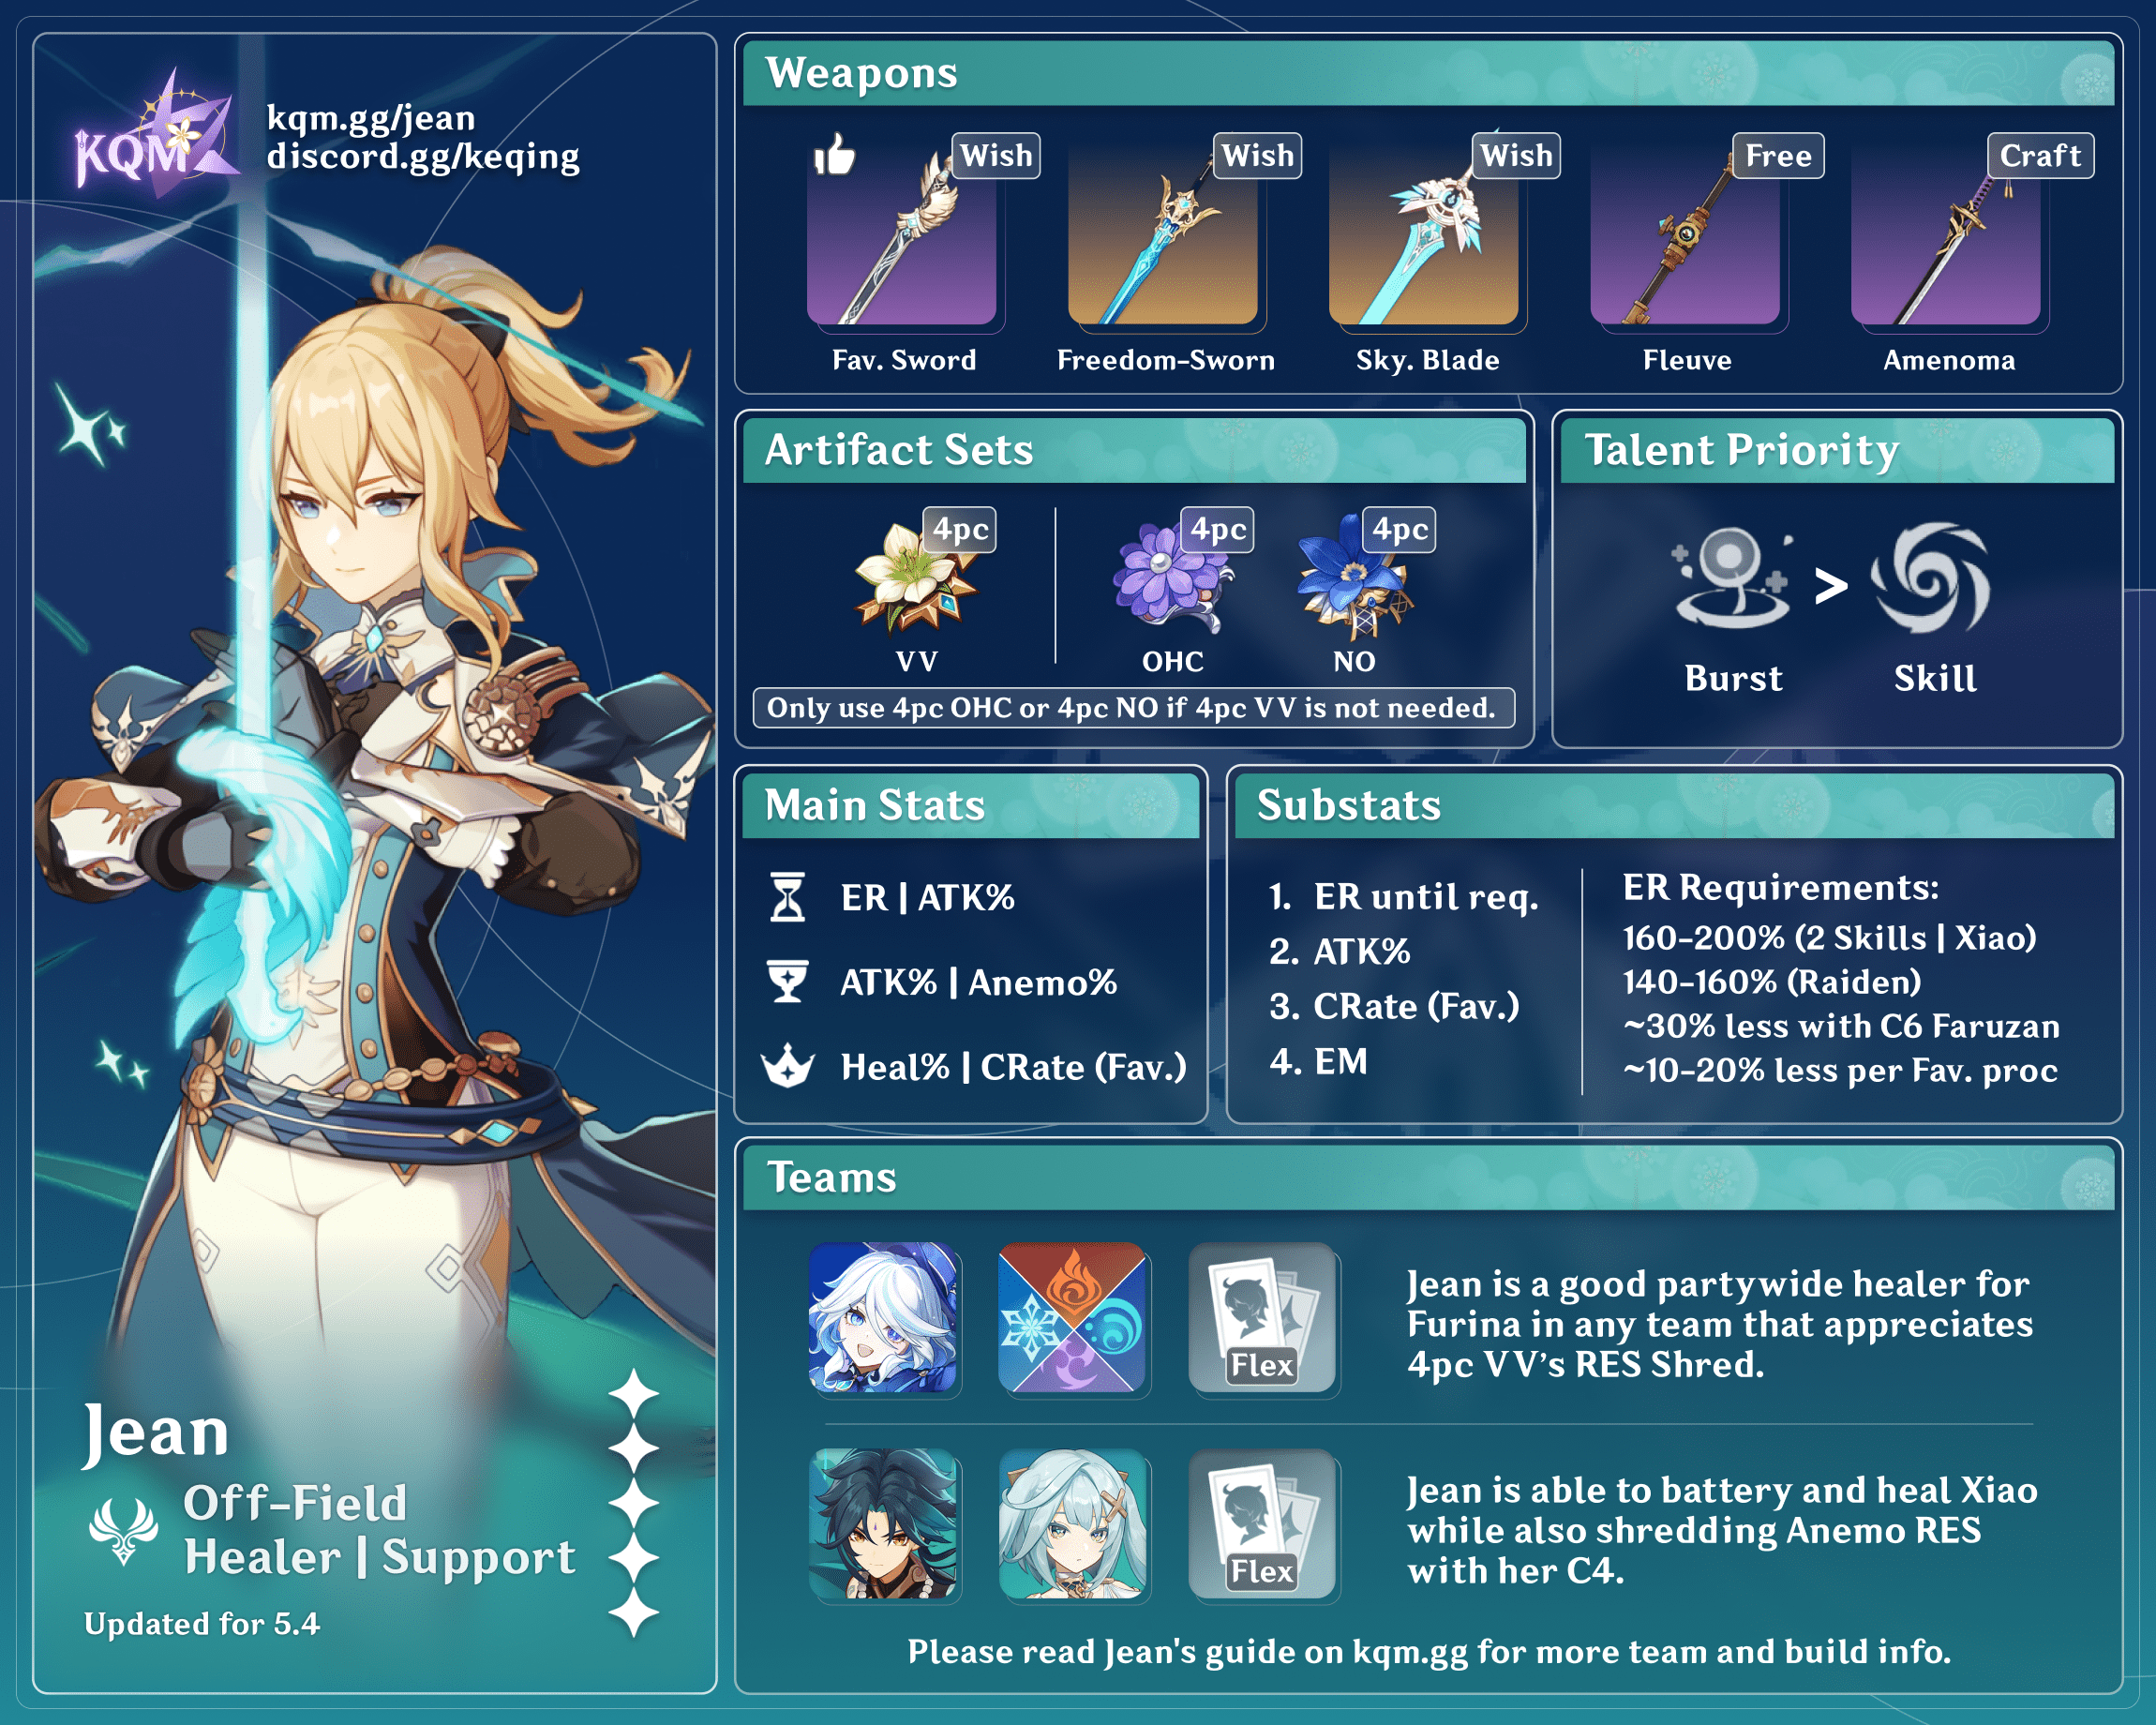
Credits to: kol, cuppacote, baloopy, & KQM TC Staff
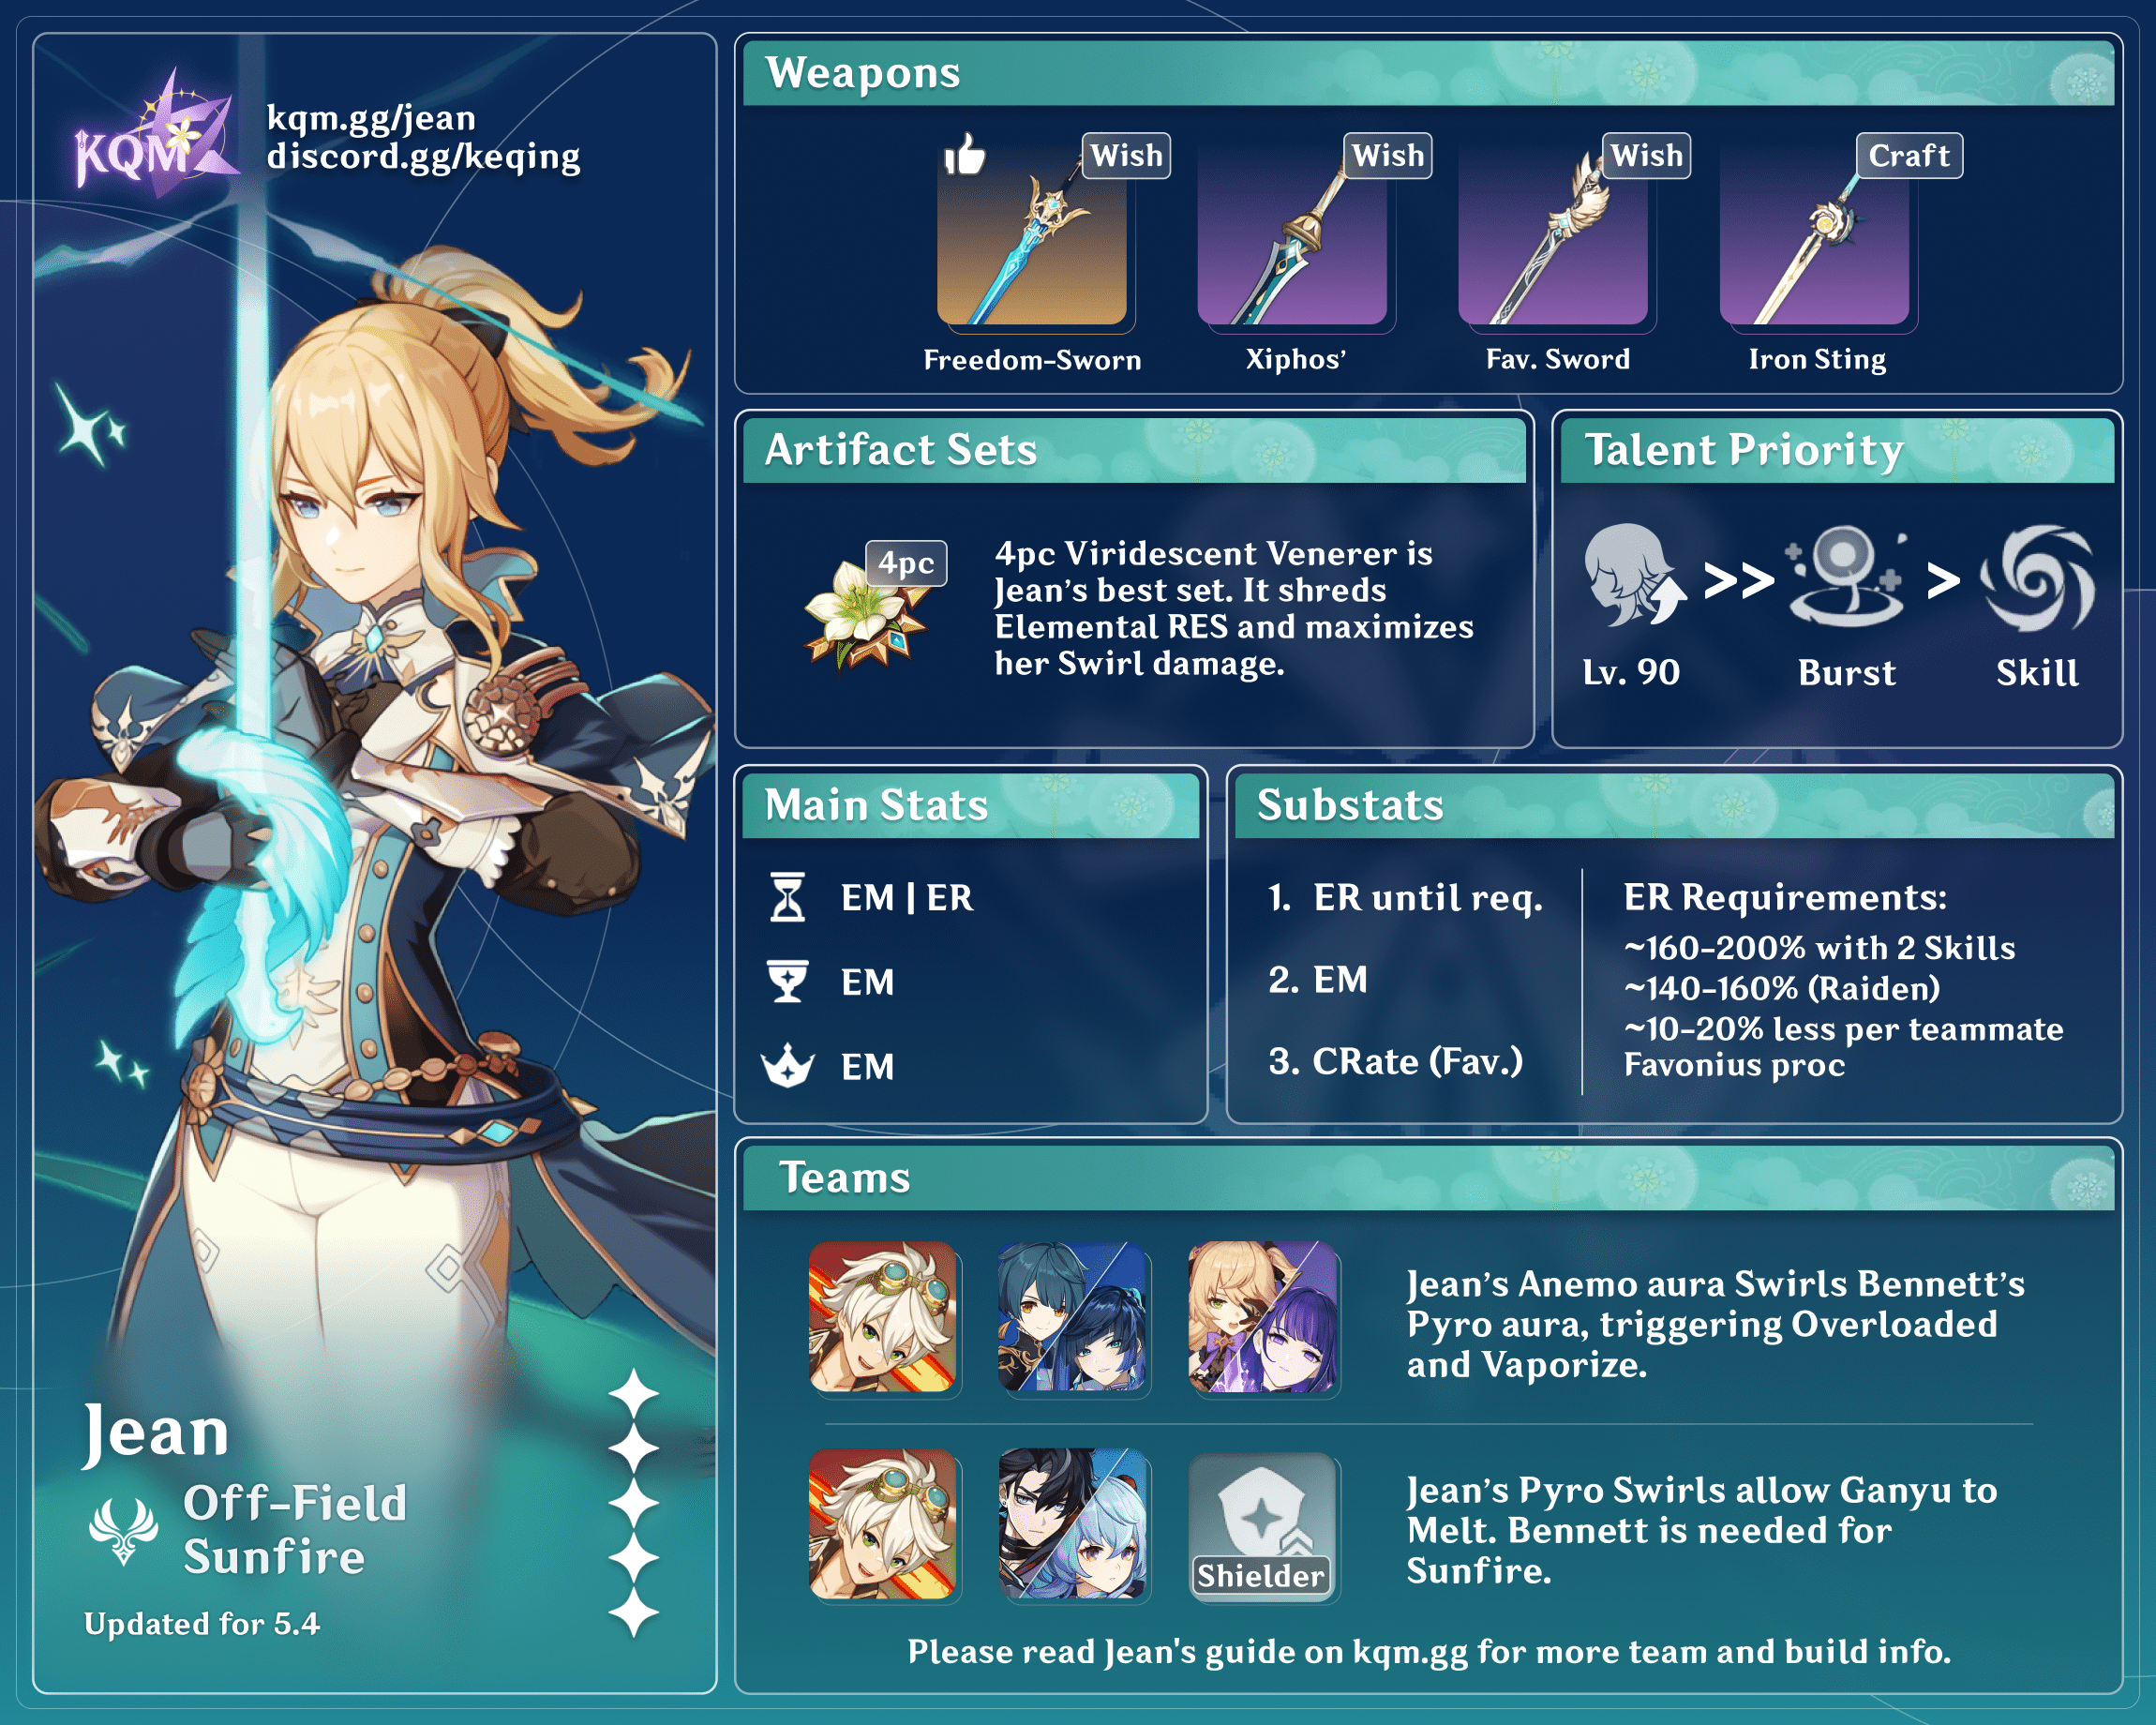
Credits to: mafan404, icedsquid, baloopy, and KQM TC Staff
Character Overview
Playstyles
General Support
Jean is a versatile support who takes little field time to use her abilities. She provides healing, grouping, respectable personal damage, and various buffs through the artifact sets she can hold.
Sunfire
Sunfire abuses the Pyro self-application from Bennett’s Burst, which is Swirled by the Anemo self-application from Jean’s Burst. As a result, this pairing is very good at applying Pyro onto enemies.
On-field DPS
Jean is a bit more niche in an on-field role, but she can still deal respectable damage. On-field Jean will not be covered in this quick guide.
Talents
Level and Talent Priority
Regardless of Jean’s playstyle, it is recommended to at least level her to 80 so that her Elemental Skill can group enemies up to level 100.
Support
Burst ≥ Skill
Sunfire
Level 90 > Burst ≥ Skill
Jean’s Skill and Burst are generally leveled together. For Sunfire, leveling Jean to 90 greatly increases her Swirl damage. It is not recommended to level Jean’s Normal Attacks for either playstyle.
Talent Overview
 Normal Attack | Favonius Bladework
Talent Description
Normal Attack
Performs up to 5 consecutive strikes.
Charged Attack
Consumes a certain amount of stamina to launch an opponent using the power of wind.
Launched opponents will slowly fall to the ground.
Plunging Attack
Plunges from mid-air to strike the ground below, damaging opponents along the path and dealing AoE DMG upon impact.
Jean’s Normal Attacks can be used in a more on-field playstyle, although that will not be covered in this quick guide. N3C and N2D are her two most recommended combos.
 Elemental Skill | Gale Blade
Talent Description
Focusing the might of the formless wind around her blade, Jean releases a miniature storm, launching opponents in the direction she aims at, dealing massive Anemo DMG.
Hold
At the cost of continued stamina consumption, Jean can command the whirlwind to pull surrounding opponents and objects towards her front.
Direction can be adjusted.
Character is immobile during skill duration.
Jean’s Tap Skill has a fast cast and a short cooldown, allowing her to swap in for nice bursts of damage.
Jean’s Hold Skill has grouping capabilities, although it only works on light enemies at most 20 levels above her. In other words, a Level 70 Jean can pick up a Level 90 Hilichurl, but not a Level 91 Hilichurl.
Both Tap and Hold variants generate 2–3 Anemo Particles. Jean’s Hold Skill can also cause fall damage against thrown enemies. See the Jean Extended Guide for more.
 Elemental Burst | Dandelion Breeze
Talent Description
Calling upon the wind’s protection, Jean creates a swirling Dandelion Field, launching surrounding opponents and dealing Anemo DMG.
At the same time, she instantly regenerates a large amount of HP for all party members. The amount of HP restored scales off Jean’s ATK.
Dandelion Field
• Continuously regenerates HP of characters within the AoE and continuously imbues them with Anemo.
• Deals Anemo DMG to opponents entering or exiting the Dandelion Field.
Provides an immediate teamwide heal along with periodic healing to the on-field character, all scaling with ATK.
To receive the periodic healing, the on-field character must be within the Dandelion Field, which lasts 10s. Enemies only receive damage when they enter or exit this field.
The Dandelion Field heals and applies Anemo once every second to characters within range. The self-Anemo application is vital for Sunfire.
 Ascension 1 Passive | Wind Companion
Talent Description
Hits by Jean’s Normal Attacks have a 50% chance to regenerate HP equal to 15% of Jean’s ATK for all party members.
Not used much in an off-field role, but nice to have.
 Ascension 4 Passive | Let the Wind Lead
Talent Description
Using Dandelion Breeze will regenerate 20% of its Energy.
Artificially reduces Jean’s Burst cost from 80 to 64, saving her about 40% ER.
Constellations
 Constellation 1 | Spiraling Tempest
Increases the pulling speed of Gale Blade after holding for more than 1s, and increases the DMG dealt by 40%.
A little niche but can be nice for fall damage setups. Only works with Jean’s Hold Skill.
 Constellation 2 | People’s Aegis
When Jean picks up an Elemental Orb/Particle, all party members have their Movement SPD and ATK SPD increased by 15% for 15s.
The value of this Constellation varies depending on the team, but it is an overall comfort increase. The Attack SPD buff is particularly notable for characters who utilize Normal Attack combos (such as Raiden).
 Constellation 3 | When the West Wind Arises
Increases the Level of Dandelion Breeze by 3.
Maximum upgrade level is 15.
A nice and simple +3 Talent levels to Jean’s Burst.
 Constellation 4 | Lands of Dandelion
Within the Field created by Dandelion Breeze, all opponents have their Anemo RES decreased by 40%.
One of the few sources of Anemo RES Shred in the game and can be quite nice in Xiao teams, for example.
 Constellation 5 | Outbursting Gust
Increases the Level of Gale Blade by 3.
Maximum upgrade level is 15.
A nice and simple +3 Talent levels to Jean’s Skill.
 Constellation 6 | Lion’s Fang, Fair Protector of Mondstadt
Incoming DMG is decreased by 35% within the Field created by Dandelion Breeze. Upon leaving the Dandelion Field, this effect lasts for 3 attacks or 10s.
Does not significantly change Jean’s kit, but when paired with interruption resistance and other sources of damage reduction, this Constellation is a large comfort boost.
Artifacts
ER Requirements
The table below assumes Jean uses her Burst once and her Skill twice per rotation. Use the Energy Recharge Calculator to determine exact requirements for your team and rotation.
| Solo Anemo | ~160–200% |
| Double Anemo or with Raiden | ~140–160% |
If Jean uses Amenoma Kageuchi, Bursting every rotation with two stacks drops her ER requirements by about 20–40%. Favonius Sword makes Jean’s ER requirements practically negligible.
Artifact Stats
Support
 Sands |  Goblet |  Circlet |
| ATK% or Energy Recharge | Anemo DMG Bonus | CRIT Rate or CRIT DMG |
Substats: ER (until requirement) > CRIT Rate ≥ CRIT DMG > ATK% > EM
Despite being a healer, Jean deals a respectable amount of personal damage and thus appreciates stats like CRIT Rate and CRIT DMG. ATK stats boost both her healing and her damage.
Sunfire
Sands | Goblet | Circlet |
| Elemental Mastery or Energy Recharge | Elemental Mastery | Elemental Mastery |
Substats: ER (until requirement) ≥ EM > CRIT Rate ≥ CRIT DMG > ATK%
Sunfire Jean deals most of her damage through Swirls, so EM is of high importance.
Artifact Sets
 4pc Viridescent Venerer (4VV) | Indisputable BiS for Sunfire Jean and a universally solid option for support Jean. Improves Jean’s personal damage while shredding enemy RES for the rest of the team. |
 4pc Noblesse Oblige (4NO) | If no one else in the team has 4NO and 4VV is redundant or unnecessary, Jean is a viable holder of 4NO. |
 4pc Ocean-Hued Clam (4OHC) | If a 4NO holder is already in the team and 4VV is redundant or unnecessary, Jean can hold 4OHC — notably in Xiao teams. Her Burst’s initial teamwide heal easily caps Foam damage. |
 2pc combinations of ATK%, ER%, Anemo DMG%, Burst DMG% | Flexible and potentially Resin-efficient options if 4VV is redundant or unnecessary. |
Weapons
Support
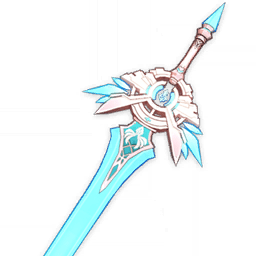
 Primordial Jade Cutter | Provides plentiful CRIT Rate, and the conversion of HP to ATK is nice as well. |
 Freedom-Sworn | A strong choice for its team buffs. |
 Favonius Sword | Favonius practically meets all of Jean’s ER requirements while lowering the ER requirements for the rest of the team. |
 Amenoma Kageuchi | Jean’s primary craftable option for its ATK% secondary stat and Flat Energy refund. How much ER Jean needs depends on refinements and stacks. See the Jean Extended Guide for more. |
 Skyward Blade | A fine 5-star option that provides ER% and a little bit of CRIT Rate. |
| Mistsplitter Reforged / Haran Geppaku Futsu | Stat sticks for their Base ATK, CRIT secondary stats, and Elemental DMG Bonus. Jean cannot make full use of their passives. |
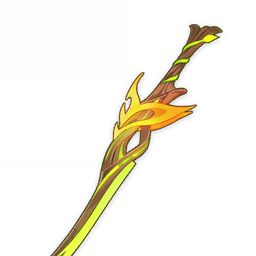
| Festering Desire / Fleuve Cendre Ferryman | Two free and good options that benefit Jean’s Skill and provide plentiful amounts of ER%. |
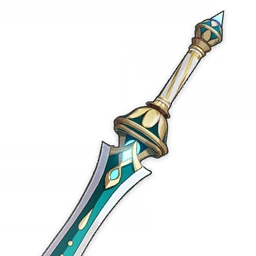
 Sapwood Blade | A craftable option for its high Base ATK and ER% secondary stat. Jean does not make much use of its passive. |
Sunfire
Freedom-Sworn | Sunfire Jean’s best option. Freedom-Sworn provides the most EM out of any Sword and a strong team buff. |
 Xiphos’ Moonlight | One of Sunfire Jean’s best 4-star options, providing the two stats she needs most: ER% and EM. |
| Iron Sting / Toukabou Shigure | F2P options with an EM secondary stat. Their passives increase Jean’s personal damage. |
Favonius Sword | Lower personal damage compared to the other options but helps the team’s ER needs. |
Teams
General Support

Jean is a very flexible unit who can slot into most teams that are looking for a healer.
Example Teams
This is not a comprehensive list of teams. The inclusion or exclusion of any given team does not necessarily reflect its power level.
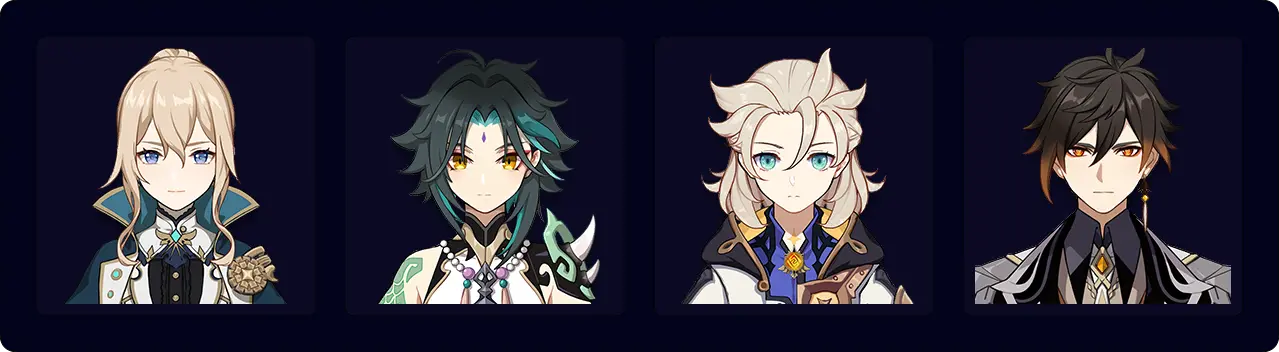
Jean — Xiao — Albedo — Zhongli
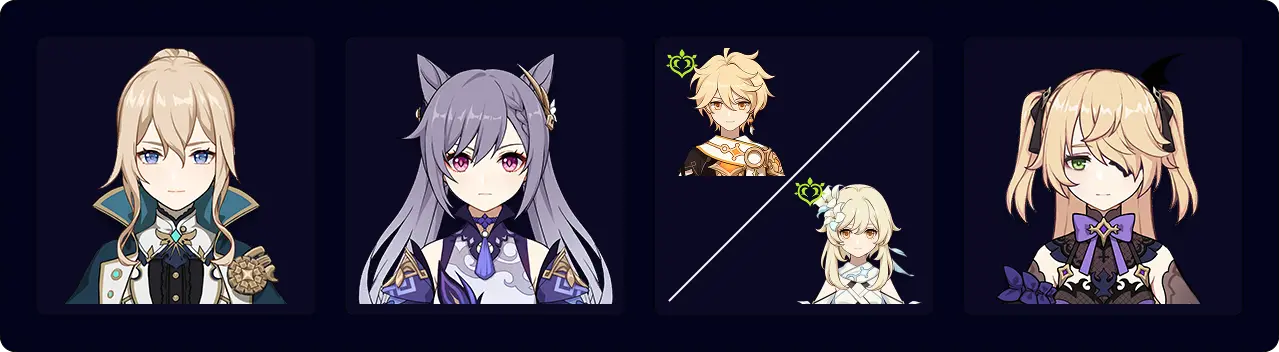
Jean — Keqing — Dendro Traveler — Fischl
Sunfire

The Sunfire duo provides high Pyro application for the teams that want it. It’s also hard to die with two healers.
Example Teams
This is not a comprehensive list of teams. The inclusion or exclusion of any given team does not necessarily reflect its power level.
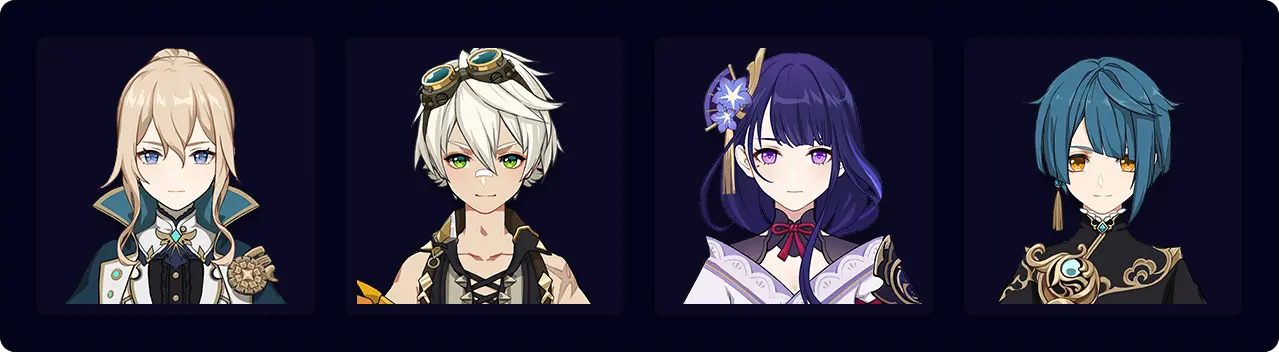
Jean — Bennett — Raiden — Xingqiu
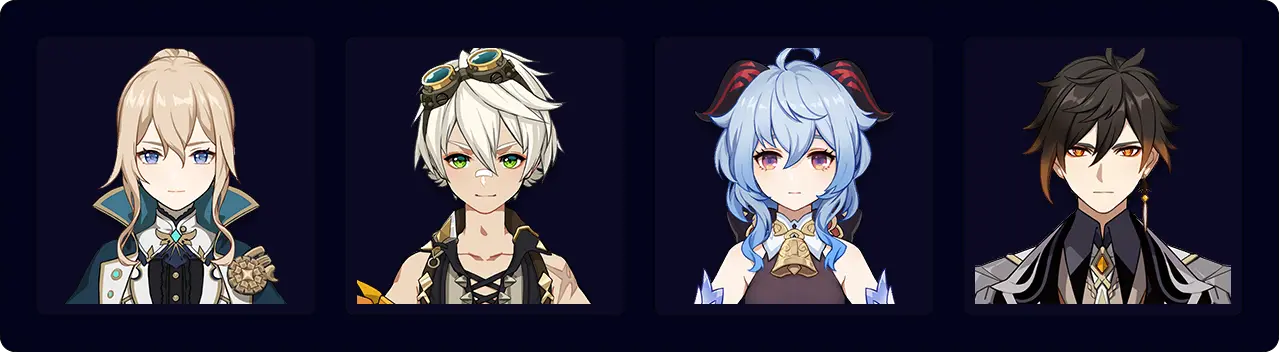
Jean — Bennett — Ganyu — Zhongli
Credits
chasing_haze, xf3, idkanonymized, nikatosaurus, lostguide, yukiyafuyu, cozen., irokei, polomo, dejaroo, cinders_pear
Team images courtesy of the KQM portrait generator.