Updated for Version 4.0

Mika is a 4-star Cryo Polearm character in Genshin Impact who buffs Physical damage, increases Attack SPD, and provides healing. Learn about Mika’s best builds, Talent priority, best weapons, best artifacts, and best teams in this quick guide.
Note that the information given may change if new discoveries are made. More extensive testing is in progress.
Join our Discord to participate in the theorycrafting process.
The full-length guide is available here.
Table of Contents
New Content
 Freminet | Freminet appreciates Mika’s Physical DMG% buffs and healing. Mika’s Attack SPD buff helps Freminet reach Level 4 Shattering Pressure slightly faster; more extensive testing is being done in this area. |
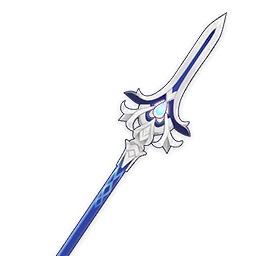 Rightful Reward | A craftable Polearm from Fontaine with an HP% secondary stat for healing and a passive that provides Flat Energy. A viable option if Favonius Lance is not available. |
Infographic
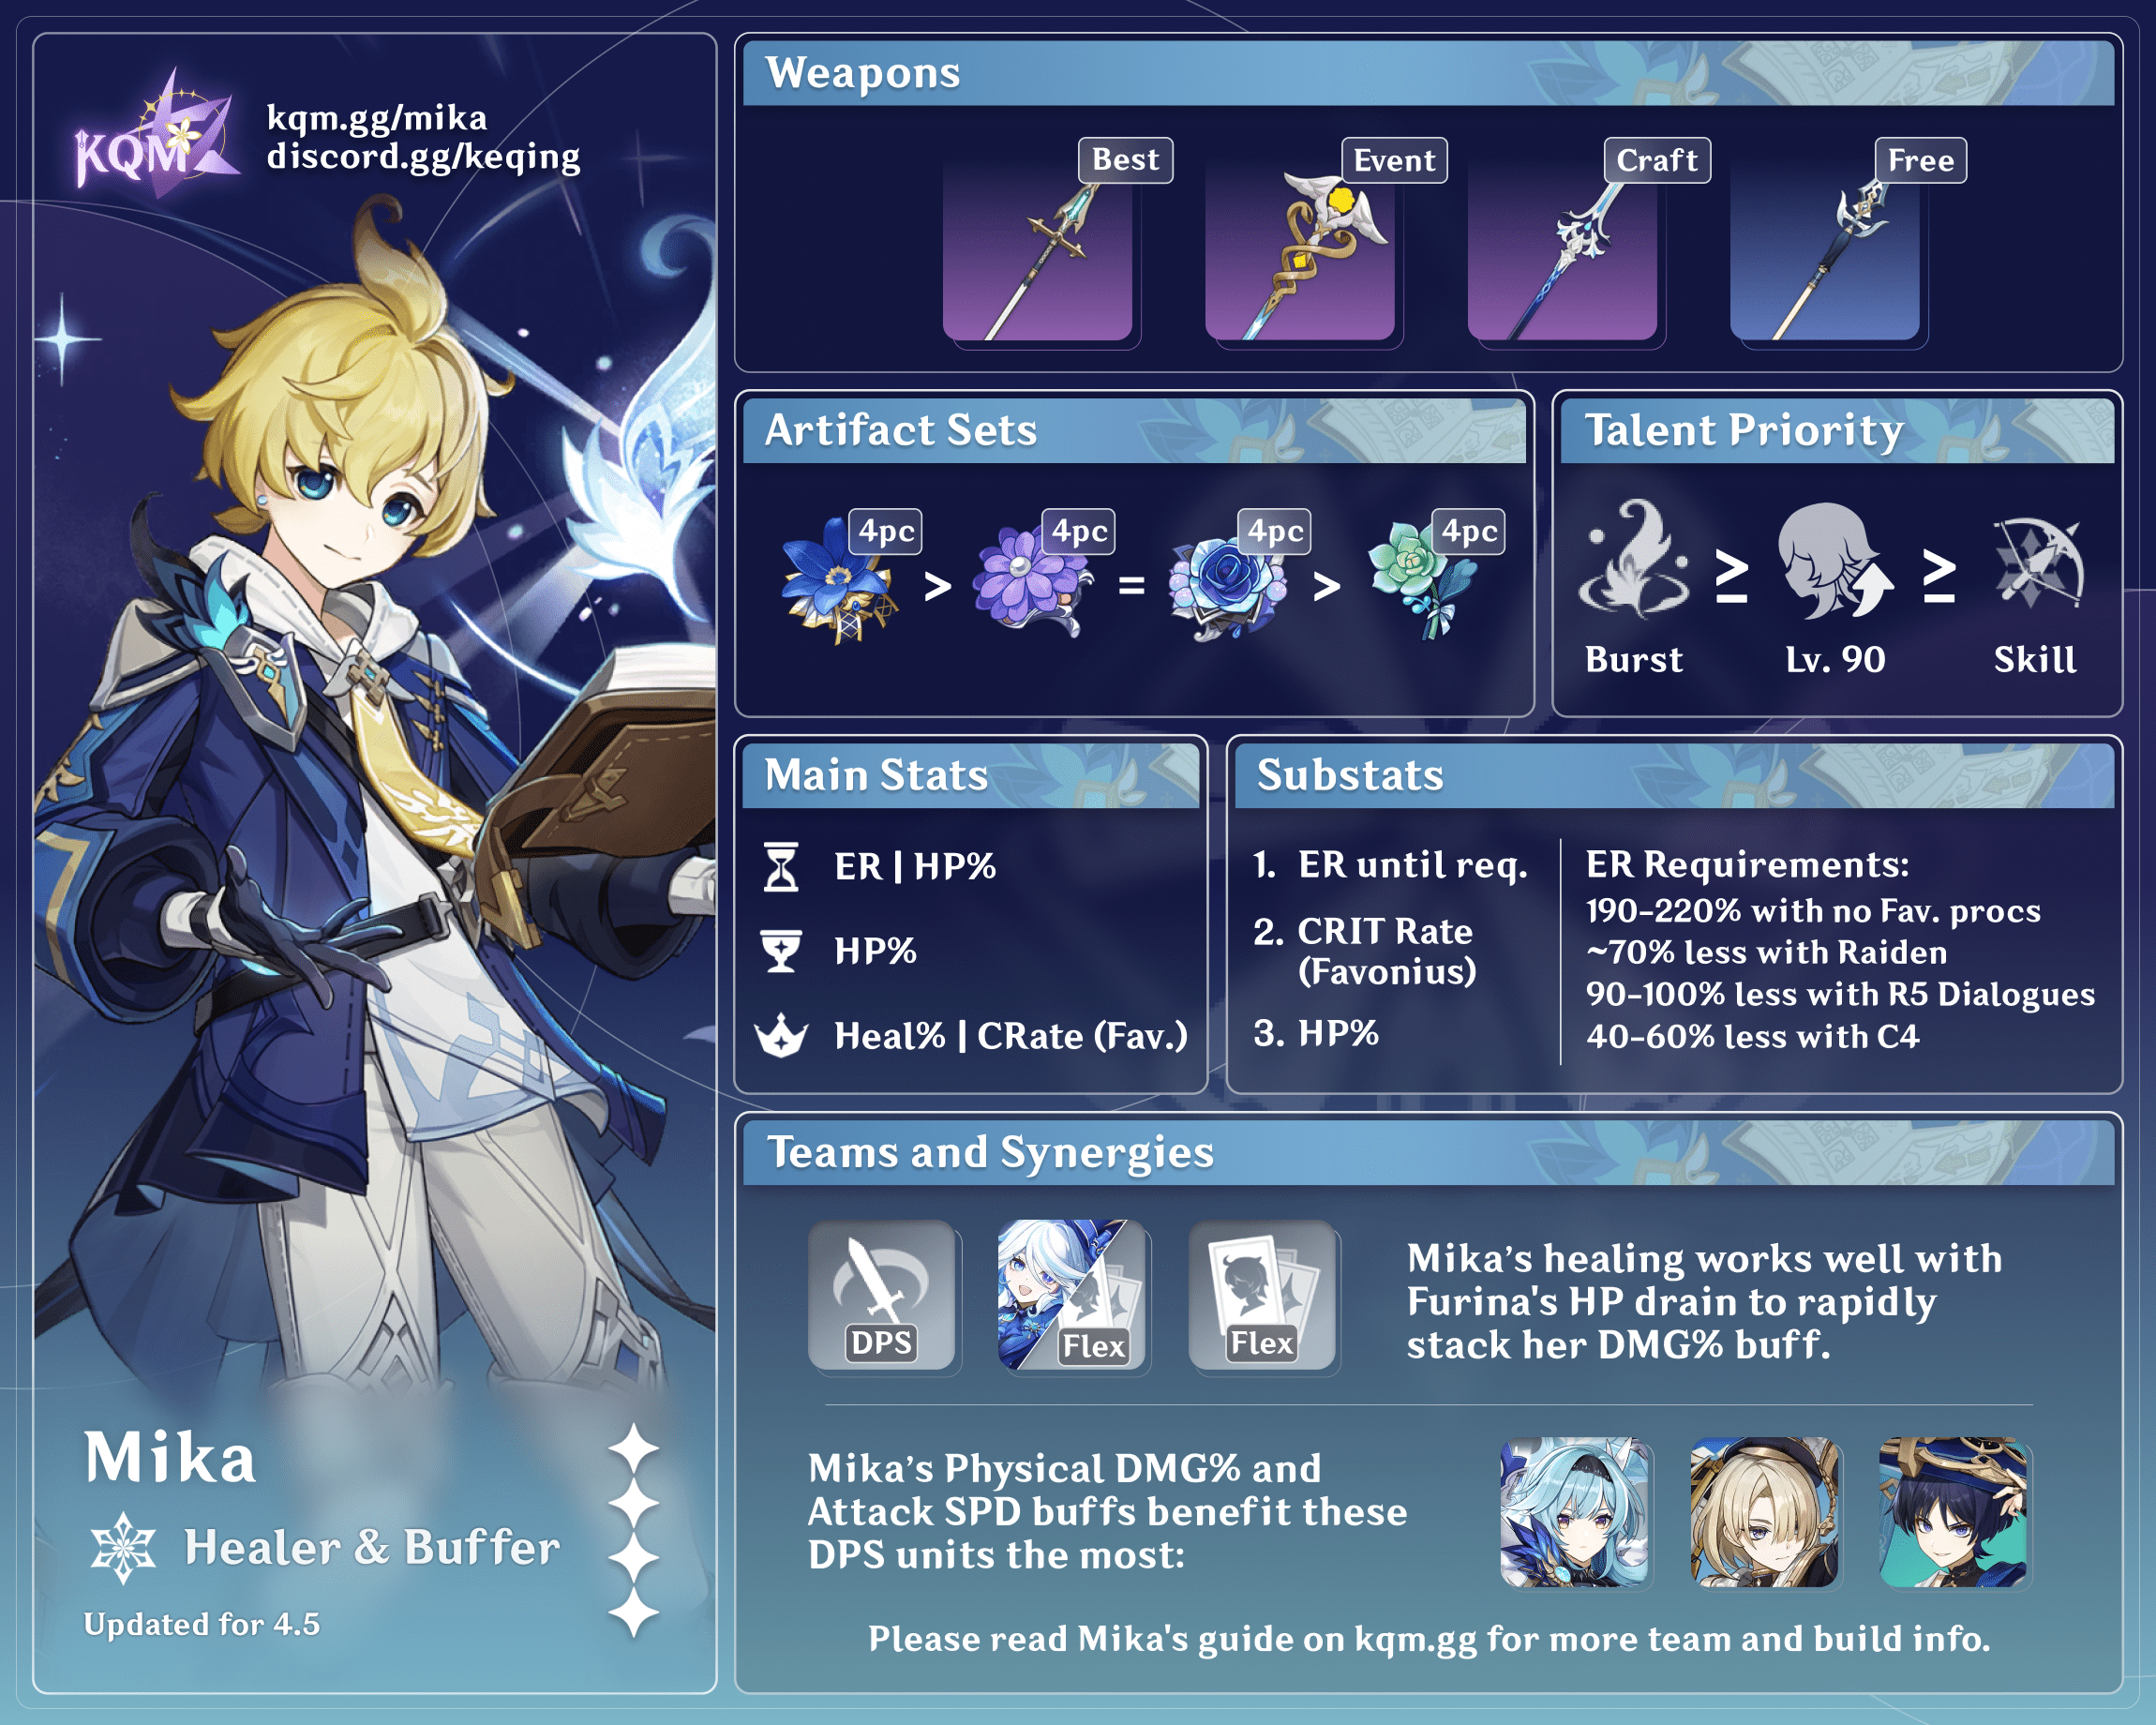
Content: alphaflyte
Design: cuppacote
Character Overview
Level and Talent Priority
Mika’s healing is the only part of his kit that scales with his HP; players can raise him to Level 90 if they want to maximize his healing capabilities, but this is rarely necessary.
Talent Priority
Skill ≥ Burst
Mika’s Skill provides the majority of his buffs — both Physical DMG% and Attack SPD. Note that leveling his Skill does not affect his Physical DMG% buff, only his Attack SPD buff. Mika’s Burst is used to heal the team and provide an additional stack of his Physical DMG% buff.
Mika’s Normal Attacks are not an important part of his kit and not recommended to level.
Talents
![]() Normal Attack | Spear of Favonius – Arrow’s Passage
Normal Attack | Spear of Favonius – Arrow’s Passage
Talent Description
Normal Attack
Combos up to five strikes, alternating between the crossbow and polearm.
Charged Attack
Consumes a certain amount of Stamina to lunge forward, dealing damage to enemies along the way.
Mika’s Normal Attacks are lackluster and have little use apart from proccing Favonius Lance. It is not recommended to level Mika’s Normal Attack Talent.
![]() Elemental Skill | Starfrost Swirl
Elemental Skill | Starfrost Swirl
Talent Description
Mika uses his crossbow to attack, granting all characters in your party Soulwind. When characters in the Soulwind state are on the field, their ATK SPD will be increased. Will take effect in different ways if Tapped or Held.
Press
Fires a Flowfrost Arrow that can pierce though opponents, dealing Cryo DMG to enemies it comes into contact with.
Hold
Enters Aiming Mode, locking on to an opponent and firing a Rimestar Flare at them, dealing Cryo DMG. When the Rimestar Flare hits, it will rise before exploding, launching Rimestar Shards into a maximum of 3 other opponents, dealing Cryo DMG.
Mika’s Tap Skill pierces through enemies with his arrow. His Hold Skill allows him to aim and fire a Rimestar Flare at one enemy. After the Rimestar Flare hits, it will spread and launch Rimestar Shards to hit a maximum of three additional enemies. Mika’s Hold Skill is more consistent at hitting multiple enemies, which is important for his A1 Passive. Note that the same enemy cannot be hit more than once.
Both Tap and Hold Skill have a 15s cooldown, deal Cryo damage, generate 4 Cryo Particles, and increase the on-field character’s Attack SPD for 12s. The Attack SPD buff only affects Normal Attacks and is based on Talent level.
With Mika’s A1 and A4 Passives, Mika’s Skill is also able to buff Physical damage under certain circumstances.
![]() Elemental Burst | Skyfeather Song
Elemental Burst | Skyfeather Song
Talent Description
Derives the ability to spur his teammates on from the recited prayers of the knightly order, regenerating HP for all nearby party members. This healing is based on Mika’s Max HP and will grant them the Eagleplume state.
Eagleplume
When the Normal Attacks of active characters affected by Eagleplume hit an opponent, Mika will help them regenerate HP based on his Max HP.
Characters affected by this state can only regenerate HP in this way once per short interval of time.
The initial cast of Mika’s Burst provides teamwide healing. For the next 15s, the on-field character will be healed every 2.5s when their Normal Attacks hit the enemy. Mika’s Burst does not deal damage or apply Cryo to the enemy.
With his A4 Passive, Mika’s Burst is able to buff Physical damage under certain circumstances.
![]() Ascension 1 Passive | Suppressive Barrage
Ascension 1 Passive | Suppressive Barrage
Talent Description
Per the following circumstances, the Soulwind state caused by Starfrost Swirl will grant characters the Detector effect, increasing their Physical DMG by 10% when they are on the field.
- If the Flowfrost Arrow hits more than one opponent, each additional opponent hit will generate 1 Detector stack.
- When a Rimestar Shard hits an opponent, it will generate 1 Detector stack. Each Rimestar Shard can trigger the effect 1 time.
The Soulwind state can have a maximum of 3 Detector stacks, and if Starfrost Swirl is cast again during this duration, the pre-existing Soulwind state and all its Detector stacks will be cleared.
For every additional enemy — not including the initial target — hit by Mika’s Skill (both Tap and Hold), the active character will gain one Detector stack. Each Detector stack buffs the on-field character’s Physical DMG by 10%. The maximum number of Detector stacks is 3 (or 5 with Mika’s A4 and C6), and they expire when Mika’s Skill expires.
Without his A4 Passive and before his C2, Mika’s A1 Passive cannot generate any Detector stacks in single-target.
![]() Ascension 4 Passive | Topographical Mapping
Ascension 4 Passive | Topographical Mapping
Talent Description
When an active character affected by both Skyfeather Song‘s Eagleplume and Starfrost Swirl‘s Soulwind at once scores a CRIT Hit with their attacks, Soulwind will grant them 1 stack of Detector from Suppressive Barrage. During a single instance of Soulwind, 1 Detector stack can be gained in this manner.
Additionally, the maximum number of stacks that can be gained through Soulwind alone is increased by 1.
Requires Suppressive Barrage to be unlocked first.
Increases the maximum number of Detector stacks from 3 to 4 and allows for one additional Detector stack if the on-field character crits while under the effects of both Mika’s Skill and Burst simultaneously. In single-target, Mika’s A4 is the only source of Detector stacks (prior to C2).
Constellations
![]() Constellation 1 | Factor Confluence
Constellation 1 | Factor Confluence
The Soulwind state of Starfrost Swirl can decrease the healing interval between instances caused by Skyfeather Song’s Eagleplume state. This decrease percentage is equal to the ATK SPD increase provided by Soulwind.
Improves Mika’s healing by shortening the time interval between heals, although this only affects the on-field character.
![]() Constellation 2 | Companion’s Ingress
Constellation 2 | Companion’s Ingress
When Starfrost Swirl’s Flowfrost Arrow first hits an opponent, or its Rimestar Flare hits an opponent, 1 Detector stack from Passive Talent “Suppressive Barrage” will be generated.
You must have unlocked the Passive Talent “Suppressive Barrage” first.
Helps gain Detector stacks when there are 3 or less enemies. In single-target, up to 2 stacks can now be gained.
![]() Constellation 3 | Reconnaissance Experience
Constellation 3 | Reconnaissance Experience
Increases the Level of Skyfeather Song by 3.
Maximum upgrade level is 15.
A simple +3 Talent levels to Mika’s Burst, increasing his healing capabilities.
![]() Constellation 4 | Sunfrost Encomium
Constellation 4 | Sunfrost Encomium
When Mika’s own Skyfeather Song’s Eagleplume state heals party members, this will restore 3 Energy to Mika. This form of Energy restoration can occur 5 times during the Eagleplume state created by 1 use of Skyfeather Song.
Artificially reduces Mika’s Burst cost from 70 to 55, significantly lowering his ER requirements. Notable since Mika generally funnels his particles to another character, such as Eula.
![]() Constellation 5 | Signal Arrow
Constellation 5 | Signal Arrow
Increases the Level of Starfrost Swirl by 3.
Maximum upgrade level is 15.
A simple +3 Talent levels to Mika’s Skill, increasing Mika’s Attack SPD buff by 3% — noticeable for comfort but generally negligible.
![]() Constellation 6 | Companion’s Counsel
Constellation 6 | Companion’s Counsel
The maximum number of Detector stacks that Starfrost Swirl’s Soulwind can gain is increased by 1. You need to have unlocked the Passive Talent “Suppressive Barrage” first.
Additionally, active characters affected by Soulwind will deal 60% more Physical CRIT DMG.
Mika’s best Constellation provides valuable buffs to Physical damage. Increases the maximum number of Detector stacks (now 5) and provides an additional 60% CRIT DMG to Physical attacks.
Artifacts
ER Requirements
Note that, as an Attack SPD buffer, Mika may not need to use his Burst every rotation. In these cases, players can opt to forgo ER on him.
| Favonius Procs (per Rotation) | C0-C3 | C4+ |
| 1 | ~200% | ~160% |
| 2 | ~180% | ~140% |
| None | ~220% | ~180% |
Mika’s Favonius procs can be inconsistent in single-target, making other Favonius users in the team valuable. Raiden can lower Mika’s ER requirements by roughly ~60-80%.
The above table assumes Mika uses one Burst and one Skill per rotation and that he funnels his particles to another character. Use the Energy Recharge Calculator to determine exact requirements for your team and rotation.
Artifact Stats
 Sands |  Goblet |  Circlet |
| ER / HP% | HP% | CRIT Rate (if using Favonius) HB > HP% |
Stat Priority: ER (until requirements) > CRIT Rate (if using Favonius) > HP%
Mika requires low investment since his personal damage is generally negligible. He only requires ER to Burst, HP/Healing Bonus (HB) to keep the team alive, and CRIT Rate to proc Favonius (if using Favonius). A HB Circlet provides more healing than an HP% Circlet. Building damage-oriented stats such as CRIT DMG and ATK% is neither necessary nor recommended.
Artifact Sets
 4pc Noblesse Oblige (4NO) | Mika’s best option due to its strong supporting capabilities. The 4pc effect’s 12s duration perfectly matches the 12s duration of Mika’s Skill buffs. |
 4pc Ocean-Hued Clam (4OHC) | Aside from his initial Burst cast, Mika does not provide teamwide healing, which prevents him from maximizing 4OHC’s damage potential. While Mika’s own Physical damage buffs do not affect 4OHC’s damage, Physical RES Shred (e.g., Superconduct, Eula’s Hold Skill) does. A viable option if there is already a 4NO holder on the team. |
 4pc The Exile | The Exile does not refund Energy for Mika, but it helps the rest of the team. As a 4-star set, it gives fewer stats compared to a 5-star set. However, this is generally not an issue since Mika is not a stat-hungry unit. If necessary, a 5-star ER Sands or CRIT Rate Circlet as an off-piece will suffice. |
 Mixed Sets | Rainbow Set or Mixed 2pc Sets of ER / HP% / HB Lackluster compared to other options, but can provide flexibility with stats. Use whichever combination best helps Mika reach his ER requirements and heal enough to keep the team alive. |
Weapons
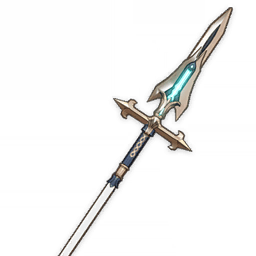 Favonius Lance | Although Mika may struggle to proc its passive, especially in single-target and/or without enough CRIT Rate, it is still one of his best options. Also helps the rest of the team’s Energy needs. |
 Rightful Reward | A craftable Polearm that provides HP% and Flat Energy. Mika usually receives the Flat Energy from the passive only once per rotation, although the amount of Flat Energy gained increases with refinements. |
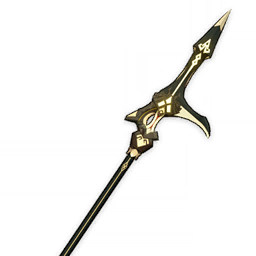 Prototype Starglitter | A craftable ER stat stick if Favonius Lance is not an available option. |
 Other ER Polearms | Viable ER stat sticks include Engulfing Lightning, Skyward Spine, and “The Catch.” However, other characters generally make better use of these weapons. |
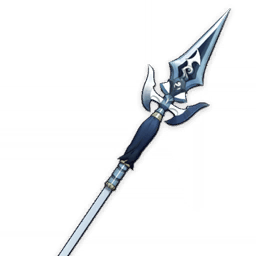 Black Tassel | Its HP% secondary stat benefits Mika’s healing, but Black Tassel should only be used if Mika’s ER requirements have already been met. |
Teams
Physical DPS Support

Mika’s Physical damage buff makes him a viable option in Physical teams. He does not provide Physical RES Shred, so an Electro character to trigger Superconduct is still valuable. Mika also does not have great Cryo application, so another Cryo unit is recommended for Cryo Resonance and consistent Superconducts.
Notable Teammates
 Eula | The premier Physical carry. Mika’s Skill buffs last for Eula’s entire Burst combo. At Talent Level 6, his Attack SPD buff allows Eula to comfortably gain 14 stacks on her Burst, instead of the usual 13. Note that Eula must be on-field to receive Mika’s buffs. In other words, the buffs will not apply if Eula swaps off her Burst early. This can be troubling since Eula often swaps off early to defeat enemies before they ungroup or go into an invincibility phase, receive buffs before they expire, avoid “overkilling” and shorten rotations, etc. Overall, Mika’s personal damage contribution is so little that, in terms of team damage, he is generally a sidegrade to existing Eula teams. However, despite his caveats, Mika does allow Eula herself to deal more damage. |
 Freminet | Freminet’s Physical playstyle appreciates Mika’s buffs for both Physical DMG% and Attack SPD. Attack SPD allows Freminet to more quickly reach Level 4 Shattering Pressure, although the extent of this significance still needs testing. Mika’s healing is also valuable, and Freminet is fully capable of keeping Cryo Resonance uptime. Because of Freminet’s unique synergy with Shatter, a Hydro teammate such as Xingqiu is recommended. |
 Zhongli | The infamous Crescent Pike Zhongli (Pikeli) is able to utilize Mika’s Physical damage and Attack SPD buffs quite comfortably. Unfortunately, Mika competes with other support units such as Yun Jin or Bennett. |
  Rosaria, Shenhe | While there are other viable Cryo units for off-field Superconduct triggers (e.g., Kaeya), Rosaria and Shenhe are particularly notable for their buffs and Physical RES Shred. |
 Off-field Electro Units | Includes Fischl, Yae Miko, Raiden, Lisa, and others. These units provide Electro application for Superconduct and some personal damage when built. Kuki Shinobu sacrifices damage for comfort with her healing, although this may be unnecessary with Mika. |
Other Physical DPS Units | Apart from Eula, there are very few units where building them for Physical damage is favorable over Elemental damage. Additionally, Mika is generally replaceable by another unit who enables reactions and/or brings their own personal damage. Niche but potential Physical DPS units include Razor, Fischl, Rosaria, and Keqing. |
Example Teams
This is not a comprehensive list of teams. The inclusion or exclusion of any given team does not necessarily reflect its power level.


Attack SPD Buffer

Characters with less hitlag (mainly Bow and Catalyst users) take better advantage of Mika’s Attack SPD buff. Oftentimes, there is another healer and 4pc Noblesse Oblige holder in the team (e.g., Bennett). In these cases, Mika can forgo all stats since his Attack SPD buff only comes from his Skill’s Talent level.
Notable Teammates
 Wanderer | Catalyst users have no hitlag on their attacks, so Wanderer’s Normal Attack combos benefit greatly from Mika’s Attack SPD buff. If Wanderer comes into contact with Cryo when he casts his Skill, he will gain 20% CRIT Rate (via his A4 Passive). However, this can be difficult to achieve since Mika applies very little Cryo. Rosaria and Layla contest Mika for his spot in Wanderer teams. Rosaria provides her own CRIT Rate buff and more personal damage, whereas Layla provides Interruption Resistance and defensive utility. Both have better Cryo application than Mika. |
  Yoimiya, Ayato | While these characters would benefit from Mika’s Attack SPD buff, they generally prefer characters who can enable consistent reactions, contribute their own personal damage, or provide other utility (such as Interruption Resistance for Yoimiya). As such, it can be hard to justify using Mika in these teams. |
Example Teams
This is not a comprehensive list of teams. The inclusion or exclusion of any given team does not necessarily reflect its power level.

Credits
chasing_haze, KB, lunaflaw, nikatosaurus, idkanonymized, polomo, Kuro_kami91#6652, dejaroo, irokei
Team images made with the KQM portrait generator.
