Updated for Version 4.6

Layla is a 4-star Cryo Sword character in Genshin Impact; the Sleepy Scholar provides good shielding while applying consistent Cryo from off-field. Learn about Layla’s best builds, Talent priority, best weapons, best artifacts, and best teams in this quick guide.
Note that the information given may change if new discoveries are made. More extensive testing is in progress.
The full-length guide is available here. It is currently being updated.
Table of Contents
New Content
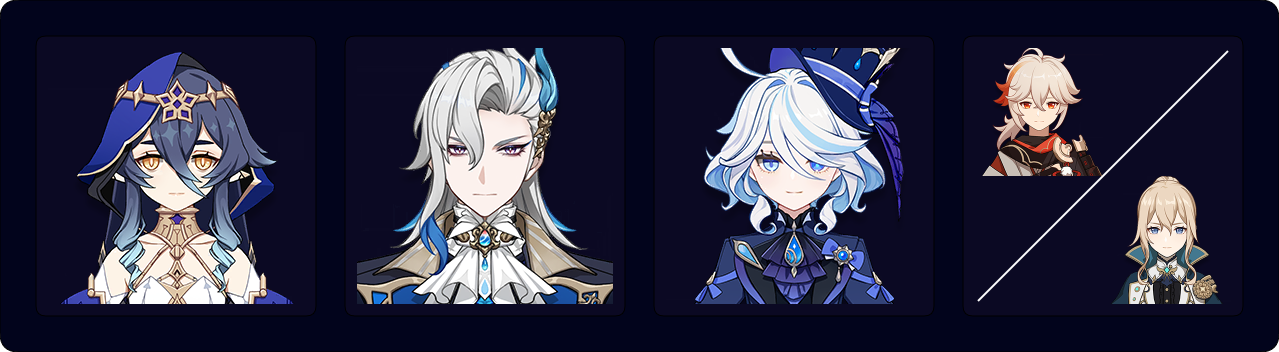
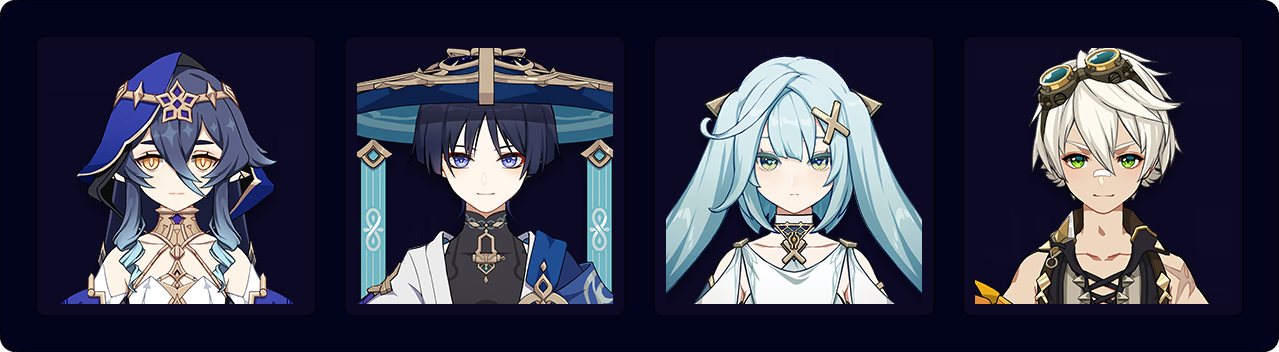
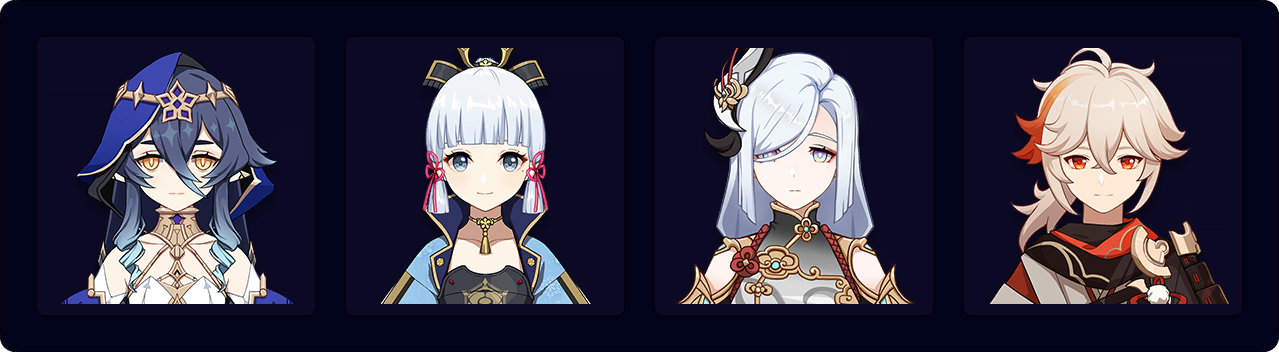
 Neuvillette | Neuvillette deals immense damage with his enhanced Charged Attacks, but is vulnerable to interruption at C0. His long team rotations allow Layla to recast her shield for better uptime. |
 Arlecchino | Arlecchino deals tremendous on-field damage, but is unable to receive healing from her teammates. As such, shielders like Layla are her preferred defensive teammates. |
 Wriothesley | Wriothesley is an on-field Cryo DPS who can benefit from a shield to prevent his combos getting interrupted. |
 Lyney | Lyney uses special Charged Attacks that are vulnerable to interruption; while he prefers running Pyro teammates, Layla is still a viable shielder for him. |
 Freminet | Freminet can act as Physical or Cryo DPS, with his frequent Skill uses triggering Layla’s Night Star mechanic consistently. |
 Furina | Furina teams often prefer healers over shielders, so Layla’s use with her is more dependent on the on-field unit wanting interruption resistance. |
 Lynette | Lynette offers off-field damage, a Taunt, and a teamwide ATK% buff, in addition to holding 4pc Viridescent Venerer. She can also be an on-field DPS with her C6. |
 Gaming | Gaming can utilize Layla for additional Cryo application in his Melt teams. He also benefits from a shield to tank hits while he is in midair. |
 Xianyun | Xianyun’s Plunge-oriented teams don’t have much synergy with Layla. However, she does enable devoted and adventurous players to turn Layla into an on-field Pyro DPS when used alongside C6 Bennett. |
 The Dockhand’s Assistant | An Event Wish–limited 4-star Sword with a rare HP% secondary stat. It is currently the second-best option for Layla’s shield durability. |
 Uraku Misugiri | A strong option due to its high CRIT DMG secondary stat and unconditional Skill DMG%, even in teams without Geo units. |
 Wolf-Fang | A Battle Pass–exclusive weapon that provides useful CRIT Rate along with Skill and Burst DMG Bonuses. |
 Splendor of Tranquil Waters | A decent CRIT stat stick for Layla, as she cannot effectively use this weapon’s passive in practical scenarios. |
 Sword of Narzissenkreuz | This weapon has niche use in dealing Pneuma or Ousia damage to exploit certain Fontaine enemy mechanics. |
Infographic
Credits to: cuppacote, chiston
Character Overview
Playstyles
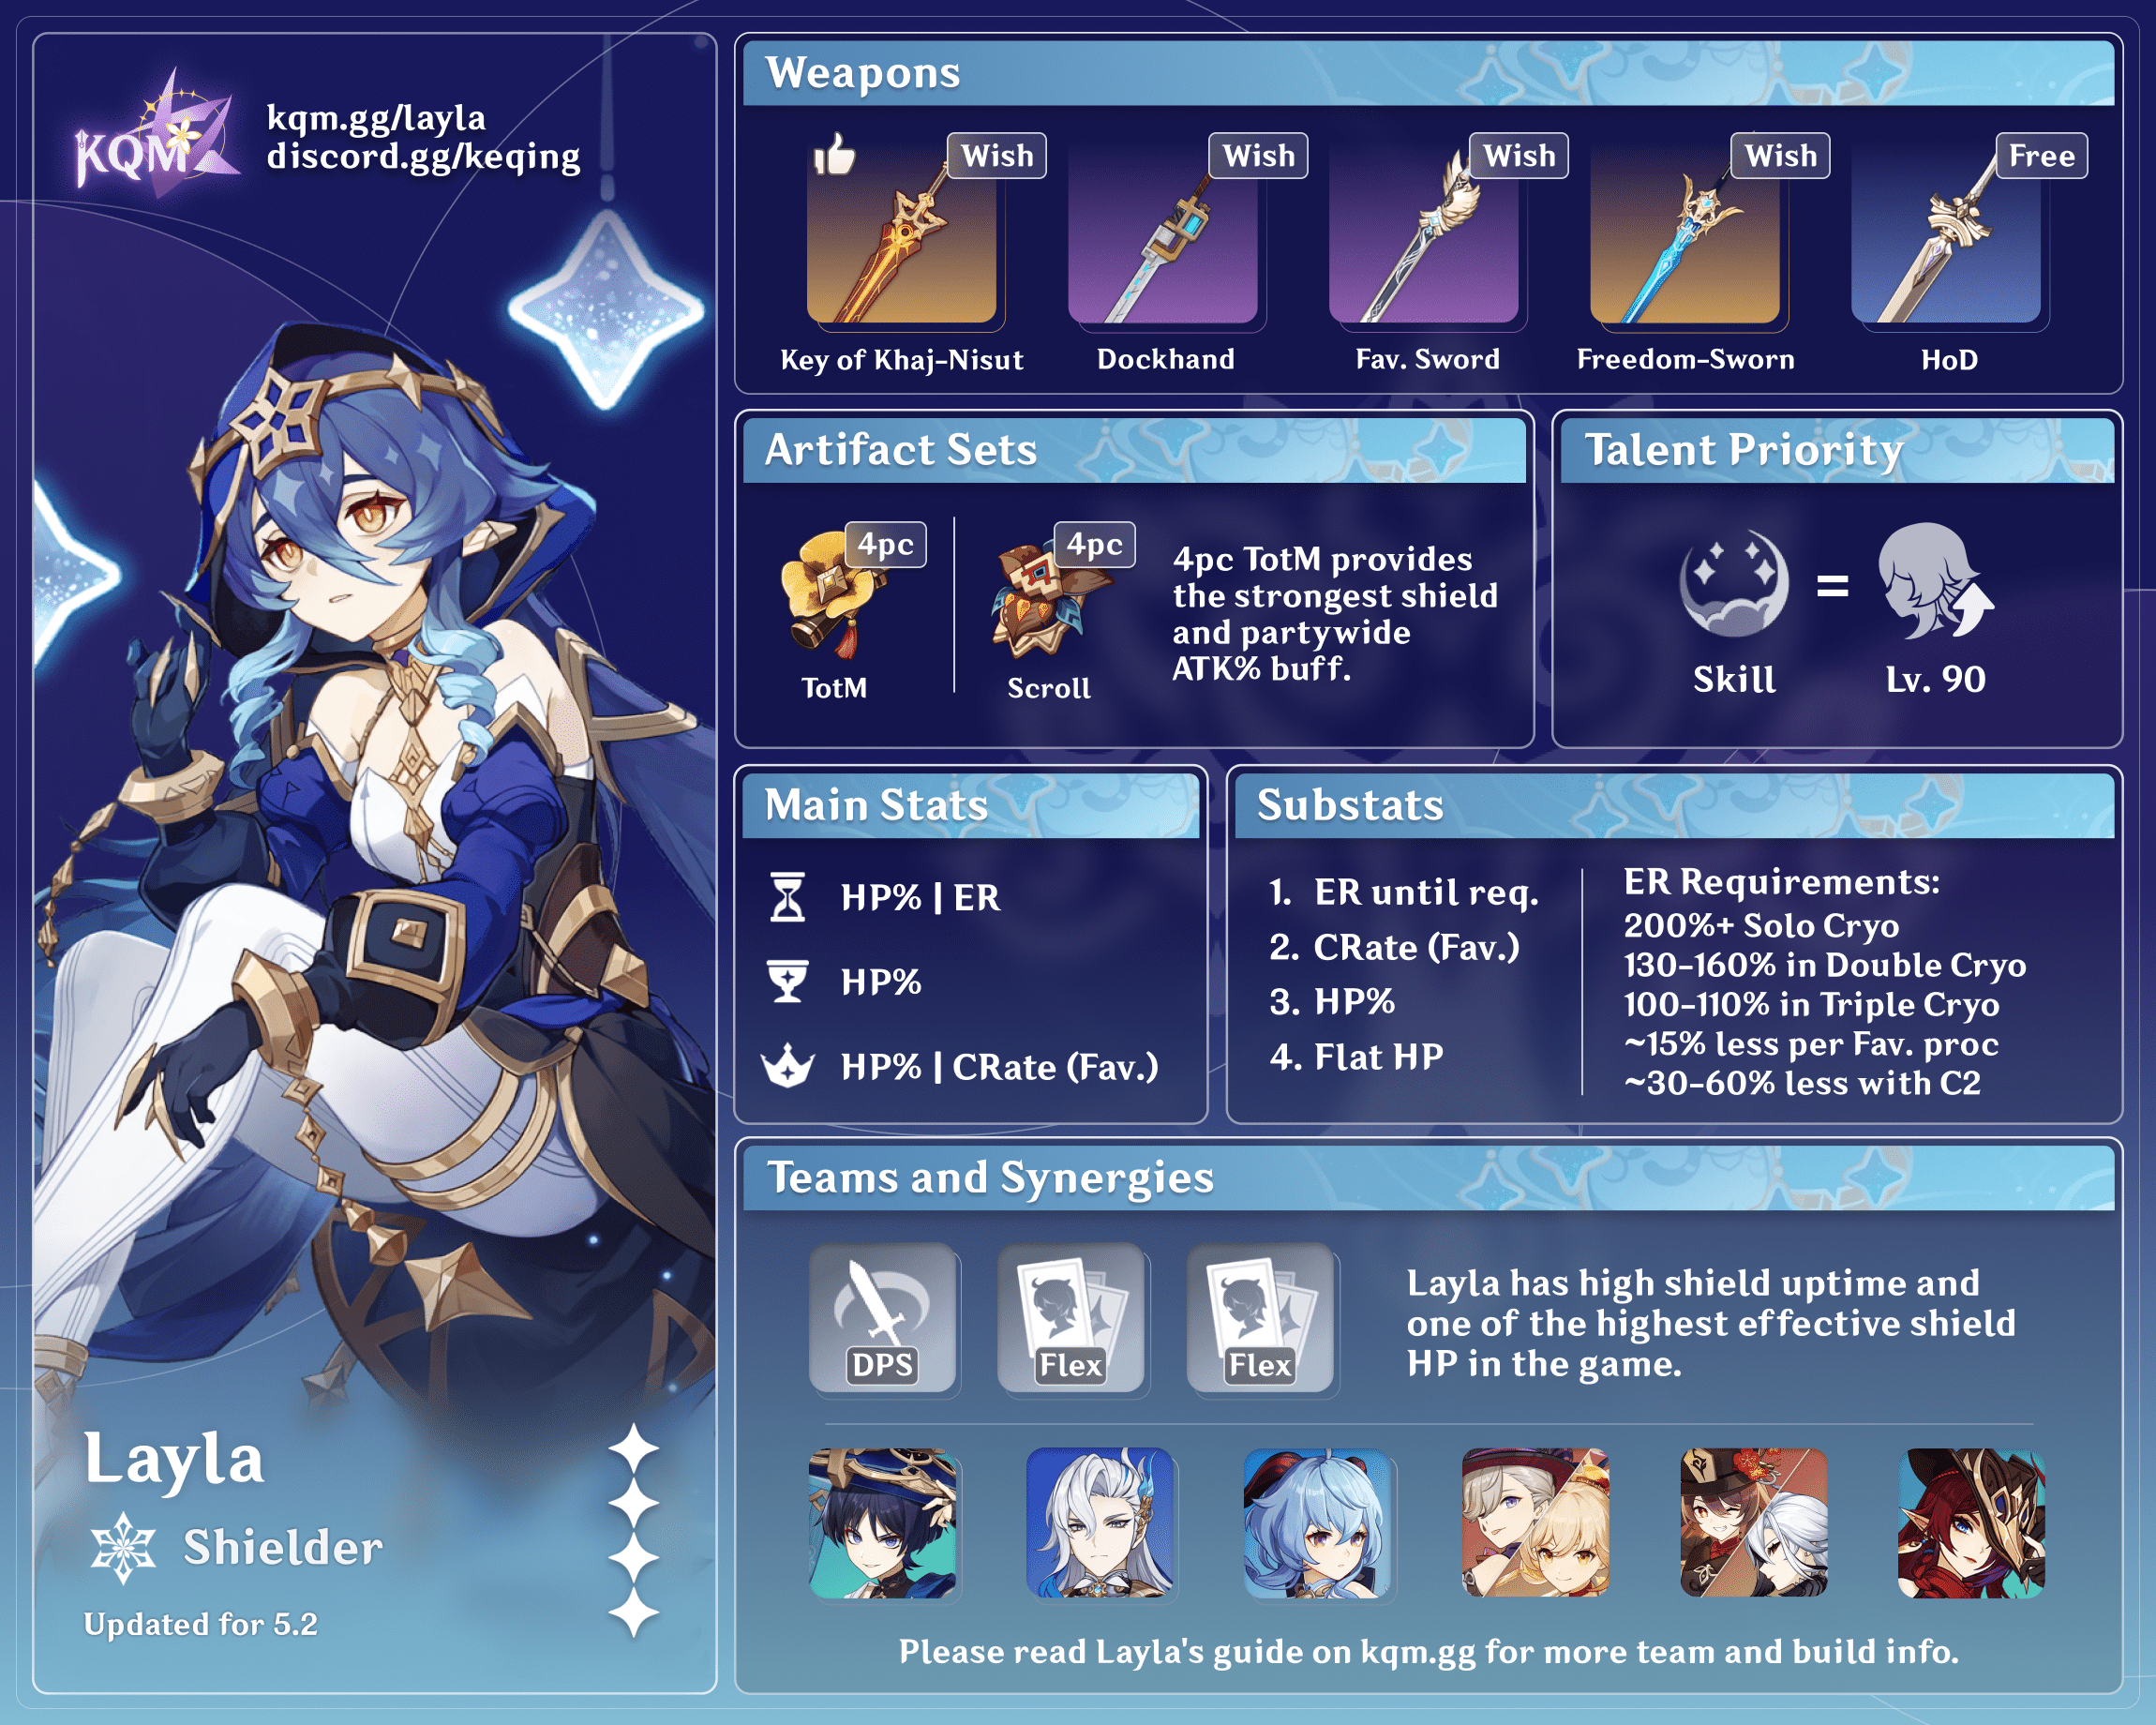
Shielder
Layla’s typical playstyle, in which she stacks HP% to maximize her Shield Absorption, potentially allowing her to replace a dedicated healer. She also offers off-field Cryo application, particle generation, and high uptime on 4pc Tenacity of the Millelith’s ATK% buff.
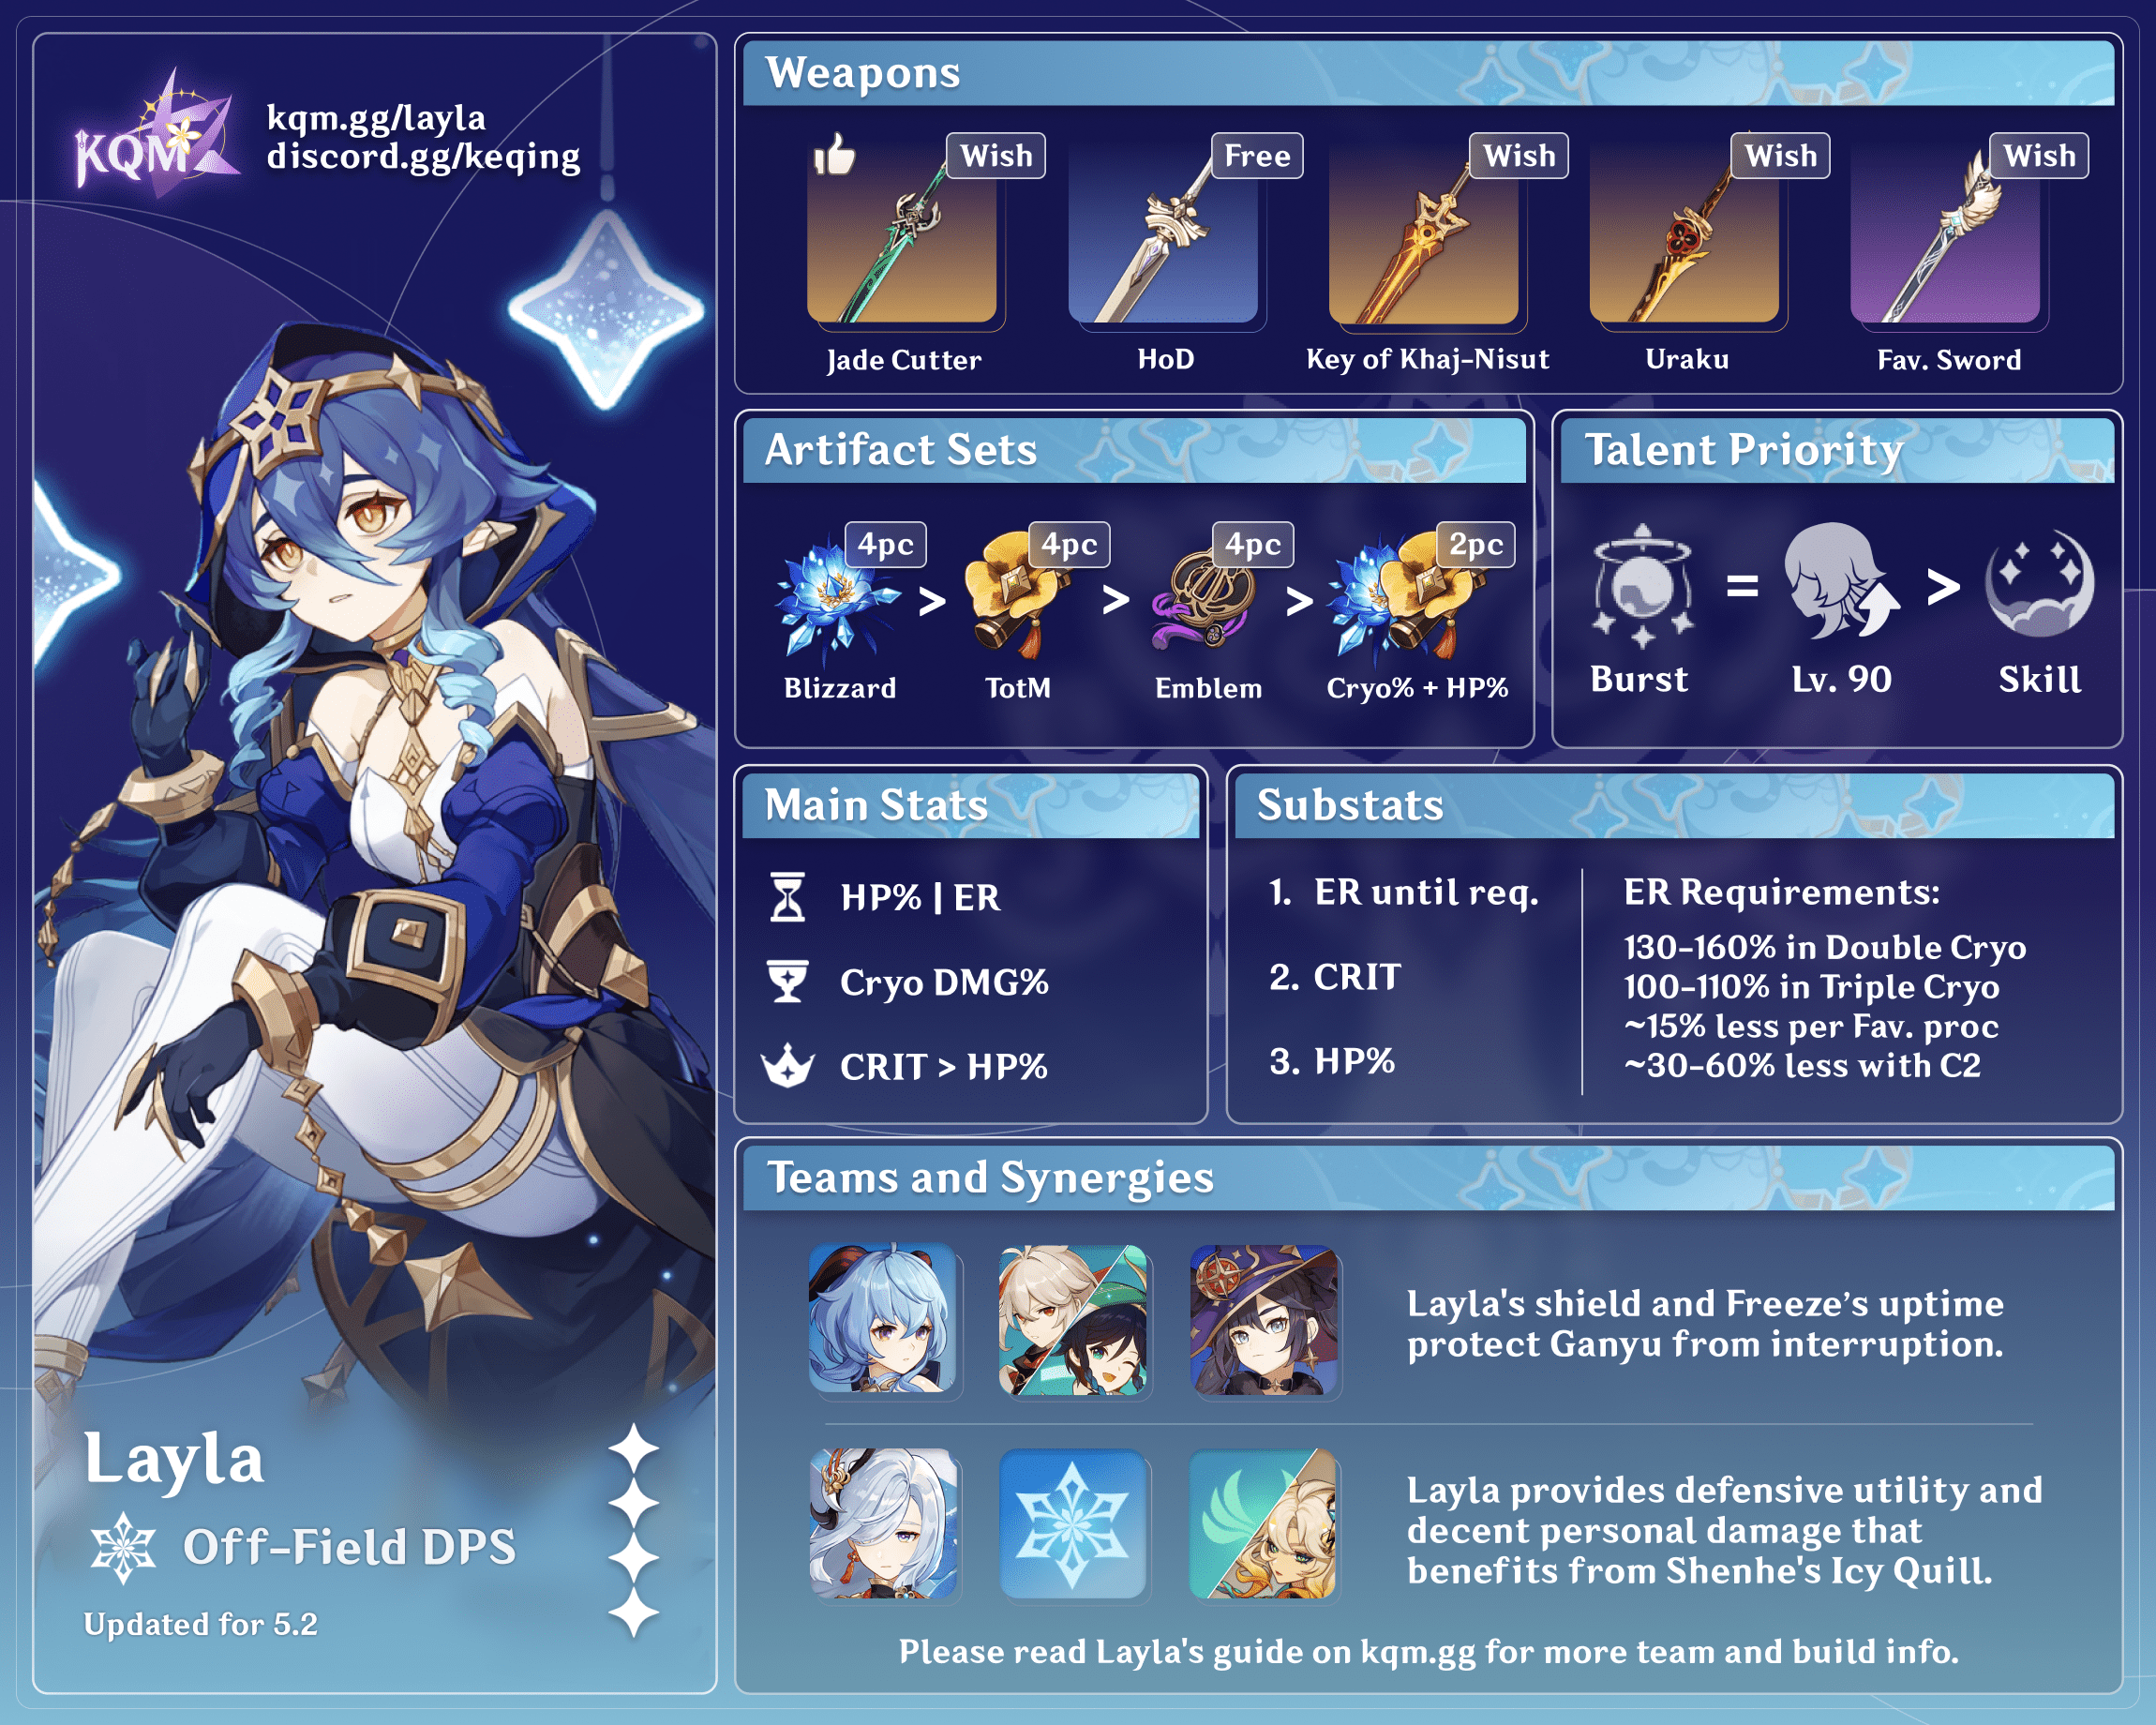
Off-Field DPS
In this playstyle, Layla is built for her off-field damage while still providing a decent shield and interruption resistance. She acts as a middle ground between Cryo healers like Diona and Cryo damage dealers like Rosaria; this does mean that her defensive utility is not as comfortable as that of a healer, and her off-field damage and AoE potential are noticeably lower than dedicated damage dealers.
This playstyle is most effective at high investment (ideally at C6) and in teams centered around Cryo damage, or if you just like the idea of Layla dealing non-negligible damage. Regardless, equipment that provides team buffs or extra utility over solely improving Layla’s personal damage remains optimal for team damage.
Talents
Level and Talent Priority
Skill ≥ Character Level > Burst
Layla’s Skill is prioritized since it directly affects her shield. Afterwards, raise her character level as high as possible, as her shield and personal damage scale with her Max HP. Her Burst can be leveled afterwards to increase her personal damage, primarily for well-invested DPS builds.
Talent Overview
 Normal Attack | Sword of the Radiant Path
Talent Description
Normal Attack
Performs up to 3 rapid strikes.
Charged Attack
Consumes a certain amount of Stamina to unleash 2 rapid sword strikes.
Plunging Attack
Plunges from mid-air to strike the ground below, damaging opponents along the path and dealing AoE DMG upon impact.
Physical Normal Attacks with no unique mechanics.
 Elemental Skill | Nights of Formal Focus
Talent Description
Puts forth a shield known as the Curtain of Slumber, dealing AoE Cryo DMG.
The Curtain of Slumber’s DMG Absorption is based on Layla’s Max HP and absorbs Cryo DMG with 250% effectiveness. When the shield is deployed, Layla will have Cryo applied to her briefly.
Night Stars and Shooting Stars
While the Curtain of Slumber is active, it will create 1 Night Star that will be attached to it every 1.5s. When a character protected by this shield uses an Elemental Skill, 2 Night Stars will be created. Night Stars can be created once every 0.3s in this way. A maximum of 4 Night Stars can be accumulated at any one time.
Once the Curtain of Slumber has accumulated 4 Night Stars and there are opponents nearby, these Night Stars will transform into homing Shooting Stars that will be fired off in sequence, dealing Cryo DMG to any opponents hit.
If the Curtain of Slumber’s duration ends or it is destroyed, the Night Stars will disappear. If they are already being fired off as Shooting Stars, these Shooting Stars will last until this wave of shots ends.
New Night Stars cannot be created until the previous wave of Shooting Stars has been fired completely.
Layla’s Skill cast applies Cryo onto herself, deals damage (but does not generate particles), and creates a Cryo shield. While the shield exists, Night Stars are generated:
- automatically every 1.5s (1.2s at C6).
- whenever her Burst hits enemies.
- when teammates use their Skill (generates 2 Night Stars).
- Certain units can “use” their Skill repeatedly to generate additional Stars (e.g., Yelan holding then releasing her Skill), though this is not worth building teams or rotations around.
When Layla has 4 Night Stars, they are fired in a volley as Shooting Stars over ~1.5s, homing in on the nearest target. You can expect at least 2 Shooting Star volleys per Skill, though it is possible to generate more volleys depending on her teammates. Each volley applies Cryo once and generates 1–2 Cryo Particles (weighted towards 1 particle).
Night Stars cannot be generated while a Shooting Star volley is being fired. If Layla’s shield expires or is destroyed, it loses any Night Stars not yet fired. This means that her Skill’s particle generation is dependent on her shield remaining active.
 Elemental Burst | Dream of the Star-Stream Shaker
Talent Description
Unleashes a Celestial Dreamsphere that constantly fires Starlight Slugs at opponents within its AoE, dealing Cryo DMG.
When a Starlight Slug hits, it will generate 1 Night Star for nearby Curtains of Slumber. Each Curtain of Slumber can gain 1 Night Star this way every 0.5s.
Layla’s Burst snapshots buffs on cast and shoots projectiles called Starlight Slugs. Slugs are fired once every 1.5s at the nearest enemy in range and each Slug deals damage in a very small AoE. Layla’s Starlight Slugs make up the majority of her personal damage, apply Cryo at standard ICD (3 hits/2.5s), and can each generate a Night Star on hit.
Even in shield-focused builds that result in lower damage output, Layla’s Burst can still be worth using for its added Cryo application, Night Star generation, and potential to trigger weapon or artifact passives. However, it is best to forgo her Burst if it would interfere with reactions, such as in Vapemelt teams fighting Freeze-immune enemies.
In most cases, it is better to use Layla’s Burst before her Skill. Doing so maximizes her shield uptime for teammates and gets a slight boost to Night Star generation with an early Starlight Slug hit.
 Ascension 1 Passive | Like Nascent Light
Talent Description
While the Curtain of Slumber is active, the Deep Sleep effect will activate each time the Curtain gains 1 Night Star:
- The Shield Strength of a character under the effect of the Curtain of Slumber increases by 6%.
- This effect can have a maximum of 4 stacks and persists until the Curtain of Slumber disappears.
A simple but effective buff to Layla’s shield, providing 24% Shield Strength after gaining 4 Night Stars. This effect is not removed until the shield expires or is destroyed, and it persists through character swaps.
 Ascension 4 Passive | Sweet Slumber Undisturbed
Talent Description
The DMG dealt by the Shooting Stars fired by Nights of Formal Focus is increased by 1.5% of Layla’s Max HP.
Adds a small amount of HP scaling to the damage of Layla’s Shooting Stars, though the vast majority of her damage will still come from her Burst.
Constellations
 Constellation 1 | Fortress of Fantasy
The Shield Absorption of the Curtain of Slumber generated by Nights of Formal Focus is increased by 20%.
Additionally, when unleashing Nights of Formal Focus, she will generate a shield for any nearby party members who are not being protected by a Curtain of Slumber. This shield will have 35% of the absorption of a Curtain of Slumber, will last for 12s, and will absorb Cryo DMG with 250% effectiveness.
A good Constellation that directly increases Layla’s Shield DMG Absorption; this durability increase is multiplicative with Shield Strength buffs such as her A1 Passive and 4pc Tenacity. Layla’s C1 also generates weaker shields for other players in Co-Op Mode, similarly to Diona’s C2. However, these shields do not fire Shooting Stars, nor do they speed up the generation of Night Stars by Layla’s own shield.
 Constellation 2 | Light’s Remit
When Shooting Stars from Nights of Formal Focus strike opponents, they will each restore 1 Energy to Layla. Each Shooting Star can restore Energy to her in this manner once.
This Constellation eliminates a huge chunk of Layla’s ER needs, as it restores 8–12 Energy in a typical rotation. It allows her to build additional stats for her shield and damage while still having access to her Burst.
 Constellation 3 | Secrets of the Night
Increases the Level of Nights of Formal Focus by 3.
Maximum upgrade level is 15.
This Constellation provides another sizable buff to Layla’s Shield DMG Absorption, though its effect on her damage output is marginal.
 Constellation 4 | Starry Illumination
When Nights of Formal Focus starts to fire off Shooting Stars, it will grant all nearby party members the Dawn Star effect, causing their Normal and Charged Attack DMG to increase based on 5% of Layla’s Max HP.
Dawn Star can last up to 3s and will be removed 0.05s after dealing Normal or Charged Attack DMG.
Layla’s fourth Constellation provides a buff to her teammates’ Normal and Charged Attacks after her shield fires Shooting Stars. This buff is an Additive Base DMG Bonus (similar to that of Shenhe’s Icy Quill) that scales on her Max HP; the effect lasts 3s, but it is removed shortly after the attack hits. While the buff only lasts for one attack, it can benefit every instance of damage from an AoE or multi-hit attack.
However, note that this Constellation’s buff is only a minuscule increase to team damage.You should not adjust your rotation over it.
 Constellation 5 | Stream of Consciousness
Increases the Level of Dream of the Star-Stream Shaker by 3.
Maximum upgrade level is 15.
This Constellation offers a decent personal damage increase for off-field DPS builds.
 Constellation 6 | Radiant Soulfire
Shooting Stars from Nights of Formal Focus deal 40% increased DMG, and Starlight Slugs from Dream of the Star-Stream Shaker deal 40% increased DMG.
Additionally, the interval between the creation of Night Stars via Nights of Formal Focus is decreased by 20%.
Layla’s C6 grants an unconditional 40% DMG Bonus for both her Skill and Burst, resulting in a sizable DPS increase. The DMG Bonus is especially strong when combined with Shenhe’s Icy Quill buff, and the additional boost to Night Star generation improves the consistency of firing 3 Shooting Star volleys per Skill. However, firing more than 3 volleys per Skill is still highly impractical.
Artifacts
ER Requirements
| Pre-C2 | C2+ | |
| Solo Cryo, Burst Every 20s+ | 220%+ | 150–200% |
| Double Cryo, Burst Every 20s+ | 120–140% | 100% |
| Triple Cryo, Burst Every 12s | ~180%+ | ~130% |
| Triple Cryo, Burst Every 15–20s | 100–140% | 100% |
- The above table assumes 3 Shooting Star volleys per rotation; Layla’s ER requirements increase by 10–20% per missed volley.
- Each Favonius weapon proc reduces her ER requirements by around 20%.
- Her C2 massively reduces her ER requirements, often by 40% or more.
In most teams, Layla will use her Burst every 20s. She can use her Burst twice per rotation if the rotation is longer than 24s, but requires additional ER% investment to do so. Her ER requirements can be very high in Solo Cryo teams, possibly necessitating both an ER% Sands and ER% weapon. It is viable to forgo using Layla’s Burst every rotation or at all, reducing the need to build ER% and allowing more HP% for her shield.
Use the Energy Recharge Calculator to determine exact requirements for your team and rotation.
Artifact Stats
 Sands |  Goblet |  Circlet |
| HP% or Energy Recharge | HP% or Cryo DMG Bonus | HP% or CRIT |
Stat Priority: ER% (until requirement) > HP% ≥ CRIT
HP% is a valuable stat for all of Layla’s builds, as both her shield and damage scale with her HP. A Cryo DMG% Goblet, a CRIT Circlet, and CRIT substats are useful if pivoting Layla’s build more towards her personal damage, especially if she can use Shenhe’s Icy Quill buff. However, it is still vital to have enough HP% to make her shield reasonably sturdy, as this is her main benefit over other Cryo units and as its particle generation will cease if it is broken.
Artifact Sets
Recommended Set
 4pc Tenacity of the Millelith | Layla’s general Best-in-Slot set. It provides the strongest shield by a large margin alongside a high-uptime partywide ATK% buff. It is recommended to obtain this set via the Artifact Strongbox. |
Damage-Focused Sets
 4pc Blizzard Strayer | Layla’s strongest option for personal damage in Freeze and Mono Cryo teams. The added CRIT Rate allows for more HP% and CRIT DMG, improving both her shield and damage. Additionally, it helps her reliably proc Favonius Sword’s passive. |
 4pc Emblem of Severed Fate | 4pc Emblem packs a substantial Burst DMG Bonus while also accommodating Layla’s ER requirements, which can be fairly high. The set is also not reliant on specific teams. |
 2pc Mixed Sets | 2pc Bonuses: Cryo DMG%, HP%, ER%, Burst DMG% 2pc combinations can be used in the process of farming 4pc sets, but they lose out on potent bonuses from 4pc sets such as teamwide buffs or significant personal damage increases. |
Other Sets
 4pc Noblesse Oblige | 4pc Noblesse is essentially a worse 4pc Tenacity for Layla — it has less uptime on its ATK% buff, has a much weaker shield, and does not significantly improve her personal damage. Use this if you don’t have a 4pc Tenacity set available. |
 2pc Tenacity + 2pc Voroukasha | Stacking HP% is viable for Layla’s shield, but this set combination is still far worse than 4pc Tenacity and does not provide any team utility. |
 4pc Instructor | Instructor provides a sizable teamwide EM buff if Layla triggers a reaction while on-field (typically with her Skill cast). However, its 4-star stats will result in a significantly weaker shield. |
 4pc Deepwood Memories | Layla can hold this set in Dendro teams if there is no other user, since she can maintain its effect with her Skill and Burst. However, she can struggle to apply the RES Shred in AoE. |
Weapons
Support-Focused
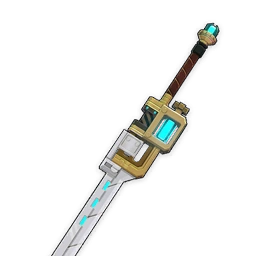
 Key of Khaj-Nisut | The best weapon for Layla’s Shield Absorption due to its massive HP% secondary stat. It also performs decently well damage-wise, making it still useful in off-field DPS builds. It is generally not worth trying to trigger Key’s passive, as it requires Layla to be on-field when her Shooting Stars hit; this lowers team DPS and shield uptime for her teammates. |
The Dockhand’s Assistant | The next best option for Layla’s shield. Refinements are not necessary as its passive is useless. |
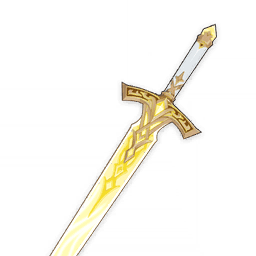
 Favonius Sword | A strong supportive option, as its passive provides valuable team Energy and helps fulfill Layla’s ER requirement. To maximize the chance of proccing the passive, perform a Normal Attack before using Layla’s Burst and Skill. The first Slug from Layla’s Burst will hit during her Skill animation, allowing for 3 hits in quick succession. |
 Freedom-Sworn | While Freedom-Sworn’s EM stat is useless for Layla, it can provide strong buffs in teams such as Vapemelt. However, Layla may struggle to trigger its buffs if she has a Cryo teammate, and she cannot trigger it at all in Mono Cryo teams. |
 ER% Swords | Sacrificial Sword, Skyward Blade, Festering Desire, Fleuve Cendre Ferryman These weapons easily fulfill Layla’s ER requirements and can be used if you do not have any better options. |
Sword of Narzissenkreuz | This weapon’s passive can deal Pneuma- or Ousia-aligned damage; Layla can notably use its Ousia form to deactivate Coppelius’ Cryo shield. It is otherwise useless for her. |
Damage-Focused
 Primordial Jade Cutter | Layla’s general Best-in-Slot for damage, with the added benefit of an HP% buff from its passive. However, this weapon can lead to an excess of CRIT Rate if used with 4pc Blizzard Strayer. |
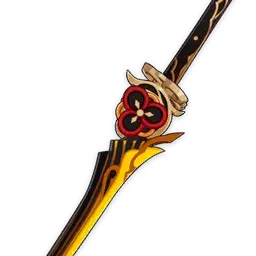
Uraku Misugiri | Second-best damage option, as even without its full passive it performs slightly ahead of Harbinger of Dawn. It is not necessary to run a Geo unit solely to activate the full passive effect. |
 Harbinger of Dawn | Easily obtainable 3-star weapon that performs similarly or even surpasses most of Layla’s 5-star options if its passive is maintained. Its HP requirement is relatively easy to fulfill due to Layla’s strong shield and low field time requirement. However, its performance drops significantly if she does take damage. |
 CRIT Swords | Mistsplitter Reforged, Haran Geppaku Futsu, Light of Foliar Incision, Wolf-Fang CRIT weapons have similar or slightly worse performance to Harbinger of Dawn. They do have the advantage of maintaining effectiveness if Layla takes damage. |
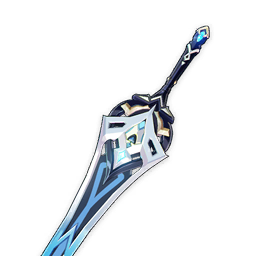
Splendor of Tranquil Waters | Splendor is usually comparable to other CRIT weapons since Layla cannot effectively use its passive by herself. If its passive can be activated (via Furina), Splendor’s performance will surpass even that of Jade Cutter; however, Furina may be a better user for this weapon. |
Teams
Rotation Notation
- N = Normal Attack
- C = Charged Attack
- A = Aimed Shot
- P = Plunging Attack
- E = Elemental Skill
- tE = Tap Skill
- hE = Hold Skill
- Q = Elemental Burst
- D = dash (cancel)
- J = jump (cancel)
- W = walk (cancel)
- > = switch character
- ( ) = these actions are optional; please refer to the notes below
- [ ] = repeat these actions the specified number of times
Teambuilding
- Layla currently has the second strongest shield available after Zhongli, making her a decent replacement for him as a shield flex. She is especially useful in teams that benefit from Cryo units such as Freeze, Mono Cryo, Physical, and Melt.
- Her shield is stronger than even Zhongli’s shield against Cryo damage.
- Compared to other Cryo defensive options, Layla provides interruption resistance, off-field particle generation, decent single-target damage and Cryo application, and 4pc Tenacity’s ATK% buff. However, she notably lacks healing.
- While Layla can act as a damage dealer, her damage and Cryo application are not as potent as other Cryo DPS units.
- Layla’s shield and off-field Cryo application only last 12s, making it impractical to achieve high uptime for 20s rotations. It is preferable to cast her Skill before the on-field unit to provide the most shield uptime. In rotations that last 24s or more, she can use her Burst and Skill twice per rotation for higher uptime.
Notable Teammates


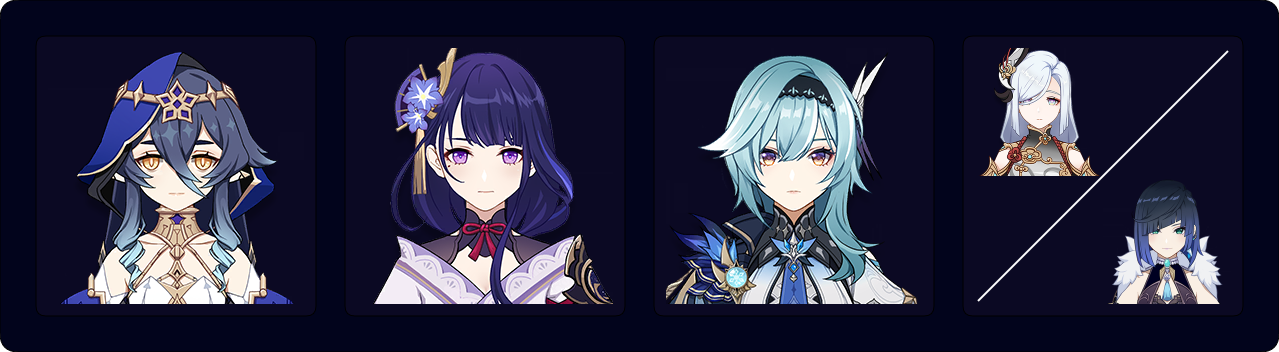
On-Field Cryo
Layla supports Cryo DPS units by enabling Cryo Resonance, generating Cryo Particles, providing buffs such as 4pc Tenacity’s ATK% buff, and contributing her own personal damage, which makes her an effective defensive option in Mono Cryo, Freeze, or Physical teams. She generates her Cryo Particles from off-field, which can alleviate Eula’s inability to pre-funnel particles.


Off-Field Cryo
These units act as a third Cryo unit in Mono Cryo or Physical teams, or as the second off-field Cryo unit in other teams. Shenhe is a notable option for Mono Cryo teams due to her buffs and Icy Quill mechanic, the latter of which significantly increases the damage output of all Cryo damage dealers in the team (including Layla).


Anemo Support
Anemo units generally buff team damage through 4pc Viridescent Venerer RES Shred, and they often bring other benefits like buffs or grouping. Kazuha is often the best option in Freeze and Mono Cryo teams thanks to his A4 Passive’s buff, reliable grouping, and good personal damage. Faruzan is best used alongside an Anemo DPS unit such as Wanderer.


Off-Field Hydro
Off-field Hydro units maintain Freeze or enable Reverse Vaporize for Pyro DPS units, while also providing buffs and/or off-field damage. Furina prefers healers to maximize her buffs, creating some anti-synergy with Layla; Layla is still viable with her if the on-field unit benefits from a shield to avoid interruption.


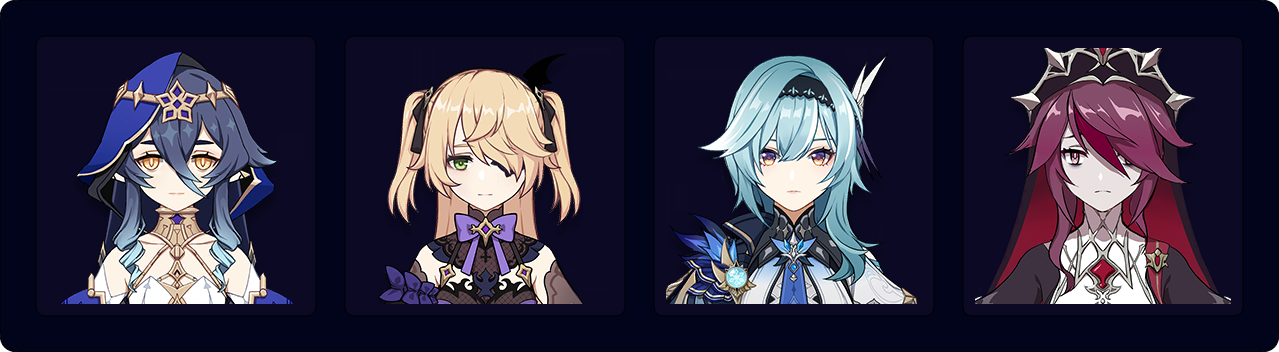
Pyro DPS
Pyro units can take advantage of Layla’s off-field Cryo application to occasionally trigger Melts against Frozen targets. Units like Yoimiya, Hu Tao, and Arlecchino also appreciate her sturdy shielding for survivability and interruption resistance. However, against enemies that cannot be Frozen, Layla’s Cryo application can actually result in less Vaporizes; this can be alleviated by using Double Hydro teams and/or skipping Layla’s Burst.
Pyro units with Blunt attacks, such as Diluc, Klee, and Yanfei, should not be used with Layla, as Blunt attacks cannot trigger Vaporize nor Melt against Frozen targets.


Other On-Field DPS
Many on-field units benefit from a sturdy shield to not get interrupted during their attacks, with some also taking advantage of Layla’s Cryo application for certain mechanics.
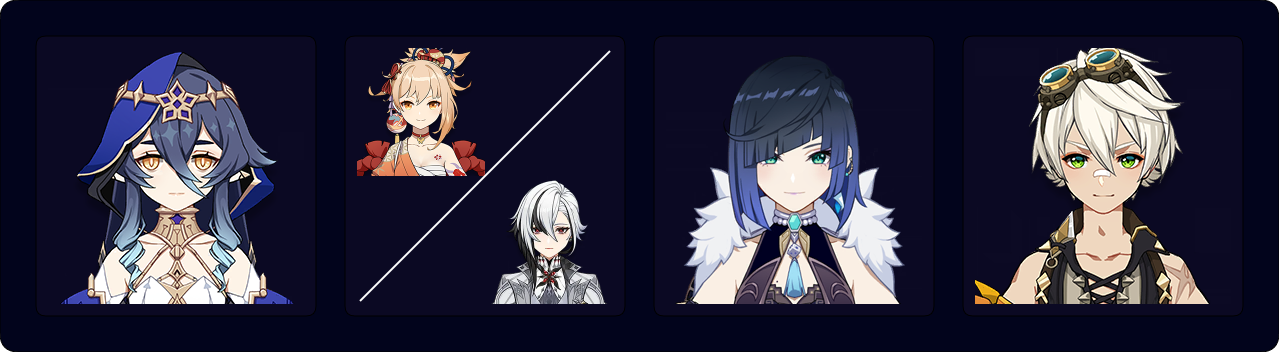
 Neuvillette | Neuvillette is vulnerable to interruption at C0, and he appreciates non-Hydro teammates to gain stacks on his A1 Passive, making Layla a good option. Given his teams’ very long rotations and frequent swapping, Layla can consistently recast her Skill for greater shield uptime. As Neuvillette’s damage scales with HP, 4pc Tenacity is unable to buff him, but it can still be used for its superior shield. |
 Wanderer | Wanderer lacks innate interruption resistance and risks losing Skill uptime if dodging too frequently, making shields very comfortable. He can also utilize Layla’s Cryo application to enable his A1 Passive’s CRIT Rate buff, though this can be inconsistent depending on the team. |
 Lyney | Lyney greatly benefits from Layla’s shield to not get interrupted during his Charged Shots, and 4pc Tenacity’s ATK% buff is also helpful; apart from this, they have little synergy together. Layla’s Burst should be skipped in teams without Xiangling to avoid removing Pyro aura. |
Flex Shielder

Since Layla has a decently strong shield that doesn’t rely on Energy, she is an easy comfort option, even if the team doesn’t make use of her Cryo application. Her shield is especially useful for on-field DPS units that are vulnerable to interruption.
Note that it is often not possible to use Layla’s Skill twice per rotation, and her shield only has 12s of uptime. Shield uptime is ideally reserved for the team’s on-field DPS, but this leaves other team members vulnerable.
Example Teams
This is not a comprehensive list of teams. The inclusion or exclusion of any given team does not necessarily reflect its power level.
Neuvillette is able to gain significant Fanfare from his own HP manipulation; this frees up a slot for a buffer like Kazuha. Jean is still a viable alternative, as she can also hold 4pc VV, and her team healing does allow for faster Fanfare generation, which can compensate slightly for the loss of Kazuha’s A4 buff.
Sample Rotation (Kazuha)
Neuvillette E > Furina N1 ED > Kazuha tEPQ > Layla N1 Q E > Furina Q > Neuvillette C E C Q N1 > Kazuha tEP > Layla N1 E > Neuvillette 2[C]
Sample Rotation (Jean)
Neuvillette E > Furina ED Q > Jean EQ > Layla N1 E > Neuvillette C Q E C > Jean N1 E > Layla Q E > Neuvillette 2[C]
Wanderer can potentially gain his CRIT Rate buff if his Skill contacts Cryo, though this may be inconsistent due to Bennett’s Pyro application.
Sample Rotation
Faruzan (E C)Q > Layla Q E > Bennett EQ > Wanderer E combo > Bennett E
Vapemelt / Forward Melt

Layla adds Cryo application in Vaporize teams to Freeze enemies and occasionally allow a Pyro DPS to trigger Melt, resulting in “Vapemelt”. Vapemelt teams should not use Pyro units that have Blunt attacks, as these attacks trigger Shatter without triggering either Melt or Vaporize when used on Frozen enemies.
Bennett is a natural choice for the flex slot due to his massive Flat ATK buff and particle generation. Alternatively, a second Hydro unit provides additional Hydro application and damage, and allows for Hydro Resonance to strengthen Layla’s shield.
Note that the Freeze reaction removes Cryo and Hydro auras against enemies immune to Freeze; this can lead to missed Vaporizes. Double Hydro teams can circumvent this through their high Hydro application, though it is still best to not use Layla’s Burst in these scenarios to ensure that Hydro aura is maintained.
An alternative team composition uses a second off-field Cryo unit instead of a Hydro unit, so that the Pyro unit can repeatedly trigger Forward Melt and benefit from Cryo Resonance; this requires the Pyro unit to have slow, controlled Pyro application to avoid overtaking the Cryo aura. Unlike Vapemelt teams, Forward Melt teams can still use Pyro units with Blunt attacks, as this has no effect on normal Cryo auras.
Example Teams
This is not a comprehensive list of teams. The inclusion or exclusion of any given team does not necessarily reflect its power level.

Layla’s shield protects Hu Tao for the duration of her field time. This rotation uses two Yelan Skills to greatly reduce her and Xingqiu’s ER requirements.
Sample Rotation
Xingqiu N1 EDQ N1 > Yelan Q N1 > Layla Q N1 E > Yelan N2 E > Hu Tao combo > Yelan E N2
Yoimiya’s damage suffers if her Normal Attack string is interrupted by enemy attacks or dodging, whereas Arlecchino cannot receive healing from teammates and is vulnerable to interruption at C0. Layla’s Cryo application is notable in allowing Arlecchnio to further front-load her damage through early Melts.
Sample Rotation (Yoimiya)
Yelan EQ N1 > Bennett EQ N1 > Layla Q N1 E > Yoimiya E 3[N5D] N1 (Q)
Sample Rotation (Arlecchino)
Arlecchino (EQ) E > Yelan EQ N1 > Bennett EQ N1 > Layla Q N1 E > Arlecchino C 5[N3D] N2

Layla and Rosaria can apply enough Cryo to enable Gaming to consistently Melt his Plunging Attacks, with Layla protecting Gaming from interruption while he is airborne. If Bennett is C6, Gaming must avoid using his Normal Attacks to not remove Cryo aura.
Sample Rotation
Bennett EQ > Rosaria EQ > Layla Q E > Gaming combo
Mono Cryo
Mono Cryo teams focus on dealing raw Cryo damage and cater more towards content where Freeze is ineffective, such as against Bosses. These teams are the best use case for Layla’s off-field DPS builds — Layla’s damage can benefit from team buffs, Cryo VV Shred, low ER requirements, and Shenhe’s Icy Quill, while her shield still provides decent defensive utility.
The rest of the team should be composed of damage dealers and offensive supports, ideally with an Anemo unit to provide grouping and VV Shred, though a fourth Cryo unit is still viable. Kazuha is the most notable Anemo option due to his A4 Passive’s buff and ability to trigger Icy Quill.
Some teams can use longer rotations to allow Layla to recast her Skill, providing much better shield uptime.
Example Teams
This is not a comprehensive list of teams. The inclusion or exclusion of any given team does not necessarily reflect its power level.
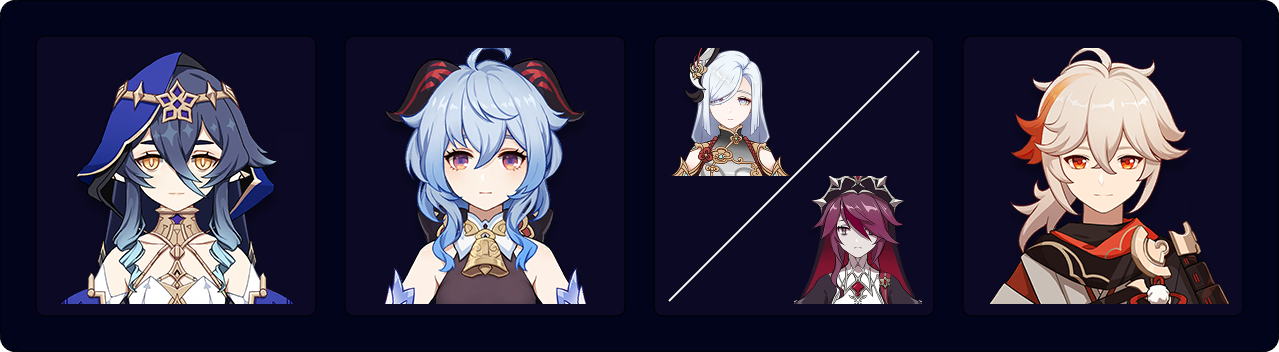
Layla’s shield can protect Ganyu from being interrupted during her Charged Shots. The Shenhe variant runs a ~25s rotation, allowing for very high shield uptime. The Rosaria variant uses a ~15s rotation, with Layla’s 12s shield providing decent coverage.
Sample Rotation (Shenhe)
(Ganyu E)¹> Kazuha tEPQ > Layla E Q > Shenhe tEQ > Ganyu C Q E C > Kazuha tEP > Layla EQ > Shenhe tE N1 > Ganyu 2[C] E C
¹First rotation only.
Sample Rotation (Rosaria)
Ganyu C > Kazuha Q/tEP > Layla Q E > Rosaria EQ > Ganyu E Q > Kazuha tEP > Ganyu C > Rosaria E
This Ayaka team can use either a typical 20s rotation, with Layla’s shield active for much of Ayaka’s field time, or a 25s rotation to provide higher shield uptime for the whole team (at the cost of lower DPS).
Sample Rotation (20s)
(Ayaka D)¹> Kazuha tEPQ > Shenhe tEQ > Layla Q E > Ayaka D N1 E N1 Q N2C > Shenhe N1 tE > Kazuha tEP > Ayaka D N2CD N1 E N1C
¹First rotation only.
Sample Rotation (25s)
(Ayaka D)¹ > Kazuha tEPQ > Layla Q E > Shenhe N1 tEQ > Ayaka D N1 E N1 Q N2C > Kazuha N1 tEP > Layla Q E > Shenhe tE N1 > Ayaka D N2CD N1 E N1C N2C
¹First rotation only.
Physical

Layla enables Cryo Resonance and generates particles for Cryo teammates, or (together with an Electro unit) trigger Superconduct for Physical DPS units of other Elements. Eula is the most noteworthy Physical DPS, although Razor and Freminet can also function in this role.
In Eula teams, it is recommended to run a shield-focused build along with Favonius Sword, since Layla’s shield and particle generation become especially important. Rotations longer than 24s (such as those with Raiden) let her use her Skill and trigger Favonius Sword’s passive twice per rotation to further improve her particle generation.
Example Teams
This is not a comprehensive list of teams. The inclusion or exclusion of any given team does not necessarily reflect its power level.
Layla provides a shield and 4pc Tenacity’s ATK% buff to both Eula and Raiden. Since Layla Bursts twice per rotation, she contributes additional Resolve stacks for Raiden.
Sample Rotation (Shenhe)
(Raiden E)¹ > Eula tE N1 > Layla Q E > Shenhe N1 tEQ > Eula Q N4 hE N4 > Shenhe tE N1 > Layla Q E > Raiden Q N4E 2[N4D]
¹First rotation only.
Sample Rotation (Yelan)
(Raiden E)1 > Eula tE N1 > Layla Q N1 E > Yelan Q N1 E N1 > Eula tE Q N4 hE N4 > Layla Q E > Yelan E N1 > Raiden Q N4E 2[N4D]
¹First rotation only.
Sample Rotation
Fischl E/Q > Rosaria E > Eula tE N1 > Layla N1 Q E > Rosaria Q > Eula Q N4 hE N4 > Rosaria E > Eula N4
Freeze
In a typical Freeze team, Layla brings survivability, enables Cryo Resonance, and generates Energy for a Cryo DPS. However, while these teams are a powerful archetype for most Cryo units, they usually work against Layla’s strengths. Freeze teams by design prevent enemies from attacking often, lessening the need for her shield. Additionally, many compositions include a healer such as Kokomi for her AoE Hydro application or Charlotte to provide Fanfare for Furina; in such cases, Layla’s shield becomes even more redundant.
Since Freeze teams often don’t need the extra survivability, Layla isn’t highly recommended over Cryo units such as Rosaria and Shenhe, who can provide stronger buffs and higher personal damage. Her best use case tends to be in teams with Mona, whose low Hydro application results in short Freeze uptime.
While teams with Neuvillette technically fall under this archetype, Freeze is more a useful side effect of Layla’s shield than a reaction the team specifically builds around.
Example Teams
This is not a comprehensive list of teams. The inclusion or exclusion of any given team does not necessarily reflect its power level.
Sample Rotation
(Ayaka D)¹ > Kazuha Q > Layla Q E > Kazuha tEP > Mona Q E > Ayaka D N1 EQ > Kazuha tE² > Ayaka D 2[N2C] E N2C
¹First rotation only.
²Kazuha’s Plunge is not used to avoid triggering Shatter.

Layla’s shield is active for most of this team’s ~15s rotation. Furthermore, during Layla’s shield downtime, units are protected by Freeze, Burst i-frames, and Taunts from Ganyu’s and Mona’s Skills.
Sample Rotation
Ganyu EQ > Venti EQ > Layla Q E > Mona E Q > Ganyu C > Venti E > Ganyu 2[C]
Credits
nikatosaurus, nocii, reens, seima, .athene. twce_, ilkuni, miannes, rarepossum, chronopolize, basilissaofnuts, polomo, clevernt, nebbles_, chasing_haze
Team images courtesy of the KQM portrait generator.