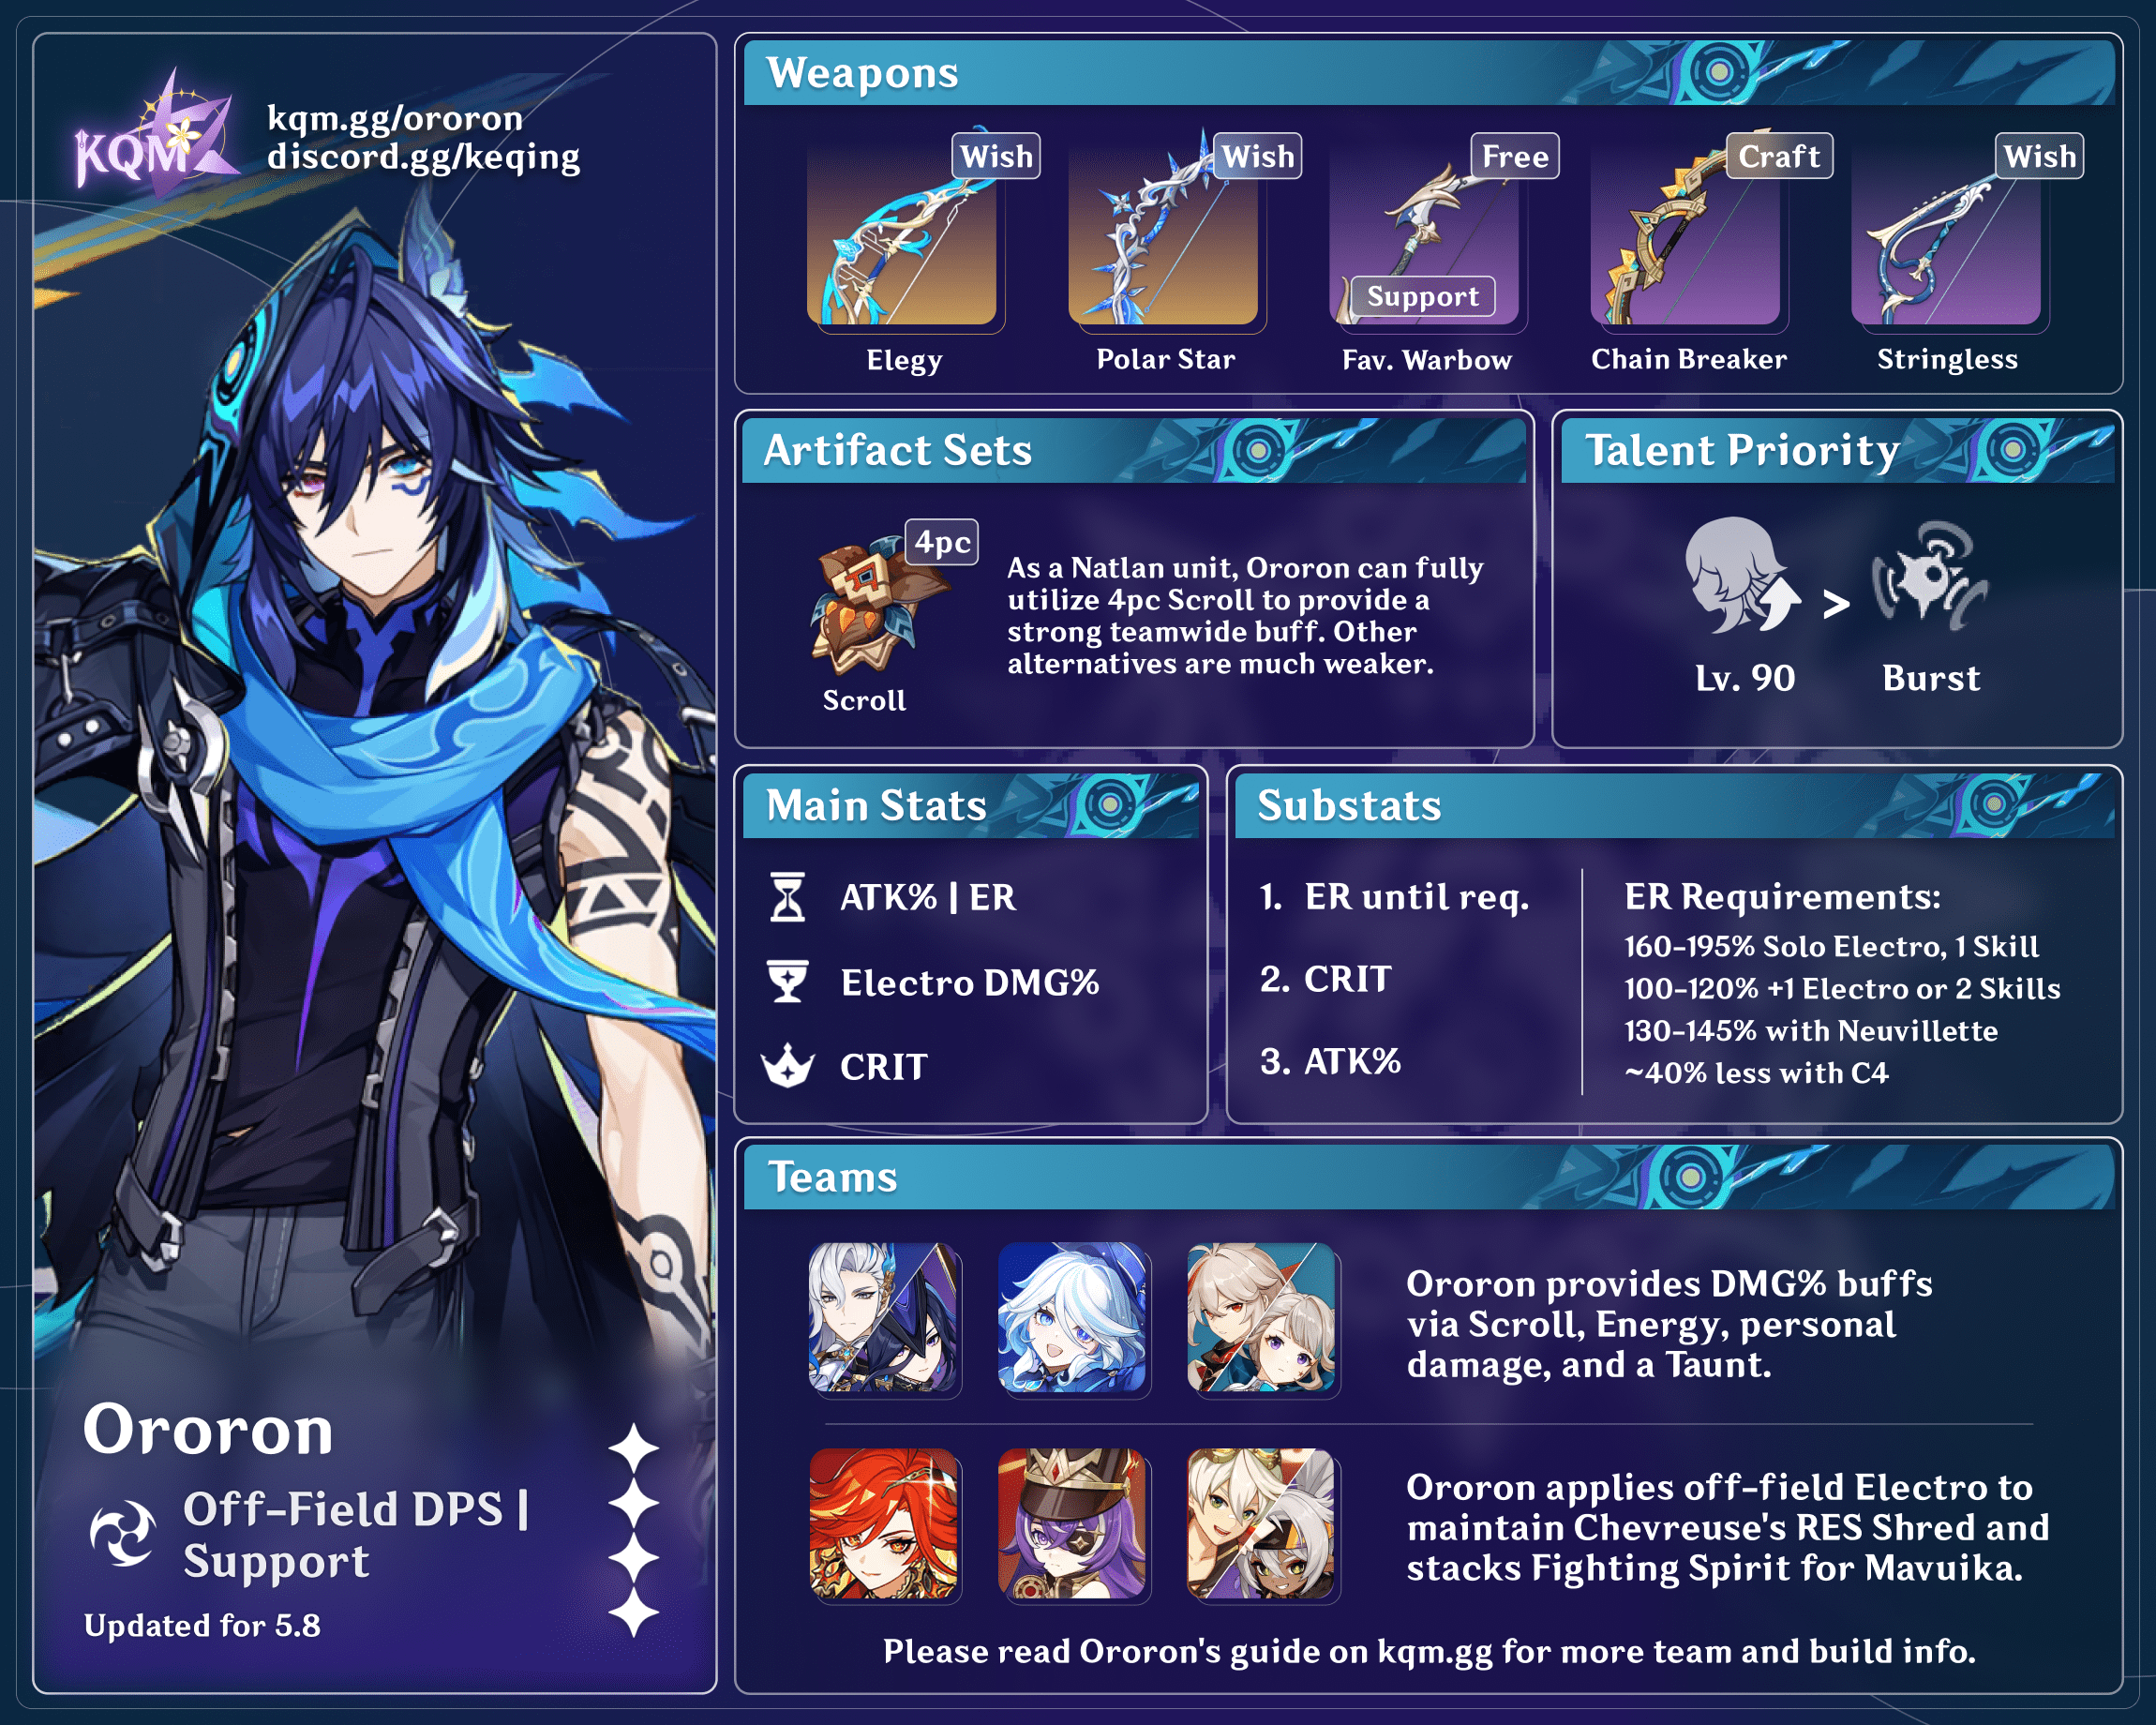
Updated for Version 5.8

Ororon is a 4★ Electro Bow character in Genshin Impact who deals off-field damage and utilizes Electro-Charged and Nightsoul-aligned damage from other party members to enable his Ascension 1 Passive and his Nightsoul’s Blessing state. Learn about Ororon’s best builds, best weapons, best artifacts, and best teams in this quick guide.
Note that the information given may change if new discoveries are made. More extensive testing is in progress.
The full-length guide is currently being written. Join our Discord to participate in the theorycrafting process.
Table of Contents
New Content
Varesa | An Electro on-field damage dealer who can use Ororon for 4pc Scroll buff and his C6 ATK% buff. |
Iansan | Iansan is a good support for Pyro DPS units in Chevreuse Overloaded teams. |
Ifa | An on-field character who synergizes well with Ororon’s Electro-Charged teams thanks to his Swirl and Electro-Charged DMG Bonus. |
 Ineffa | An off-field damage dealer who specializes in Electro-Hydro setups and can be used together with Ororon. |
Infographic
Credits to: cegewinne, plumetra, pjeljr, baloopy, and KQM Staff
Character Overview
Pros
- Provides respectable personal damage and Electro application, especially in multi-target
- Can trigger the 4pc Scroll effect from off-field
- Refunds a decent amount of Energy to the active character
- Able to taunt enemies with his Burst
- Has high hit counts of Nightsoul-aligned damage, making him effective at breaking Nightsoul wards
- Gifts you homegrown cabbages
Cons
- Team options are limited due to requiring either Electro-Charged or Nightsoul-aligned damage
- Elemental Burst cannot Taunt boss enemies
- Enemies can easily move away from his Burst
- His 15s Skill and Burst cooldown can be difficult to line up with other characters
He’s probably been scammed a lot
Playstyles
Off-Field DPS
Ororon finds use in teams involving Electro-Charged and/or Nightsoul-aligned damage. He uses the typical Skill > Burst > Swap combo and deals all of his damage from off-field.
Talents
Level and Talent Priority
Character Level >= Burst > Skill
Increasing Ororon’s character level takes priority as most of his damage comes from his Ascension 1 Passive rather than his Burst. Character level also benefits his reaction damage (Electro-Charged and Overloaded). Ororon’s Skill is only a single instance of damage per target, so leveling his Burst should be prioritized.
Ororon’s Normal Attacks do not need to be leveled.
Talent Overview
 Normal Attack | Spiritvessel Snapshot
Talent Description
Normal Attack
Performs up to 3 consecutive shots with a bow.
Charged Attack
Performs a more precise Aimed Shot with increased DMG. While aiming, Electro energy will accumulate on the arrowhead. A fully charged arrow will deal immense Electro DMG.
Plunging Attack
Fires off a shower of arrows in mid-air before falling and striking the ground, dealing AoE DMG upon impact.
Ororon’s Normal Attack Talent is not noteworthy and is practically never used.
 Elemental Skill | Night’s Sling
Talent Description
Ororon manifests an ancient mystical technique from the Masters of the Night-Wind as a Spirit Orb of midnight shade and throws it at his foe, dealing Nightsoul-aligned Electro DMG.
When other opponents are nearby, the Spirit Orb will bounce between them, dealing Nightsoul-aligned Electro DMG. Each time Night’s Sling is used, each opponent can only be selected as a target once.
After 3 bounces, or if there are no eligible targets left, the Orb will disappear.
Ororon’s Skill fires an orb that bounces between enemies. Each enemy can be hit by the orb once, leading to a linear increase in damage per number of targets.
 Elemental Burst | Dark Voices Echo
Talent Description
Ororon works an ancient ritual, dealing Nightsoul-aligned AoE Electro DMG, summoning forth a Supersonic Oculus.
Supersonic Oculus
- Continuously taunts nearby opponents and attracts attacks from them.
- Continuously rotates and fires off sonic waves that deal Nightsoul-aligned Electro DMG.
Ororon’s Burst summons a Supersonic Oculus that rotates and hits enemies inside it periodically.
In addition, it taunts enemies within an 8m radius (around 3 Spiral Abyss tiles), which is larger than most other Taunts barring Lynette’s Elemental Burst.
 Ascension 1 Passive | Nightshade Synesthesia
Talent Description
After a nearby party member triggers Nightsoul Burst, Ororon will gain 40 Nightsoul points. Within 15s after using his Elemental Skill, when other party members’ Hydro or Electro attacks hit opponents, Ororon will gain 5 Nightsoul points, an effect that can occur every 0.3s for a maximum of 10 times during this 15s duration.
Ororon can have a maximum of 80 Nightsoul points.
Also, when nearby opponents take Electro-Charged or Lunar-Charged reaction DMG or Nightsoul-aligned DMG dealt by other nearby characters, Ororon will consume 10 Nightsoul points (provided he has at least that amount), entering the Nightsoul’s Blessing state and triggering the Hypersense effect: Deal Nightsoul-aligned Electro DMG based on 160% of Ororon’s ATK to at most 4 nearby opponents. The aforementioned effect can trigger once every 1.8s.
Nightsoul’s Blessing: Ororon
Ororon’s Nightsoul’s Blessing state lasts 6s.
Unlike all Natlan characters that preceded him, Ororon enters his Nightsoul’s Blessing state through his A1 Passive rather than his Skill. He gains Nightsoul points via the following methods:
- After a Nightsoul Burst is triggered, he gains 40 Nightsoul points.
- For 15s after using his Skill, he gains 5 Nightsoul points when an enemy is hit by a Hydro or Electro attack from characters other than Ororon. This can trigger once every 0.3s for a maximum of 10 times, totalling 50 Nightsoul points.
Notably, the second method requires Hydro or Electro attacks rather than characters, meaning Anemo characters Swirling Hydro or Electro will also grant him 5 Nightsoul points.
After an enemy takes Electro-Charged, Lunar-Charged, or Nightsoul-aligned damage from party members other than Ororon himself, Ororon consumes 10 Nightsoul points to enter the Nightsoul’s Blessing state. This triggers Hypersense, dealing Electro damage to nearby opponents.
This passive is the majority of Ororon’s damage, but since it does not have a damage tag, it is hard to buff its damage outside of generic DMG Bonuses or Electro DMG Bonus.
 Ascension 4 Passive | Aspect Catalyst
Talent Description
After the Elemental Skill Night’s Sling’s Spirit Orb hits an opponent, Ororon will gain the Aspect Sigil effect for 15s.
Aspect Sigil
When a nearby active party member hits an opponent with Normal, Charged, or Plunging Attacks, that character will restore 3 Energy. If Ororon is off-field, Ororon will also restore 3 Energy. This effect can trigger once every 1s, and can trigger 3 times per duration.
Ororon’s A4 Passive provides a nice amount of Energy to himself and an on-field character. Note that Ororon’s Normal, Charged, Plunging Attacks can trigger this passive while he is on-field, so avoid doing these attacks after casting Ororon’s Skill lest you waste some Energy refund.
 Night Realm’s Gift Passive | Flowing Fog, Spritely Shadows
Talent Description
While in an area with Phlogiston Mechanics within Natlan, he can use Nightsoul Transmission: Ororon. When the active character is currently in the air, the following will trigger when switching to Ororon: Ororon will leap up high. Nightsoul Transmission can be triggered once every 10s by your party.
Holding Aiming Mode will cause Ororon to enter the “Spiritspeaker” state, which will allow him to interact with “Nightspirit Graffiti” and “Nightspirit Sigils,” extracting information and power from them. The rules for interacting with these objects follow the same rules as those governing Iktomisaurus interactions.
Additionally, holding the jump button will cause Ororon to consume 75 Stamina and leap. In areas within Natlan where Phlogiston mechanics are present, Ororon will prioritize consuming 5 Phlogiston to leap to a height higher still.
When in the air, Ororon can Hold his Normal Attack to consume Phlogiston or Stamina and enter Aiming Mode.
This exploration passive allows Ororon to perform the same mechanics as an Iktomisaurus, without having to indwell one. Being able to perform the high jumps without indwelling a Saurian can be particularly helpful to get to high spots. Ororon can even do this outside of Natlan by consuming Stamina instead of Phlogiston, though he won’t jump as high.
With this jump, Ororon can perform an Aimed Shot in midair, and he cannot be interrupted while doing so. However, his Aimed Shot does not have a great multiplier, so it is not particularly useful in combat.
One thing to note is that Ororon shortly enters the Nightsoul’s Blessing state during the special jump, without even having to trigger his A1 Passive! This allows him to trigger the effect of 4pc Scroll of the Hero of Cinder City in teams with no Electro-Charged or Nightsoul damage from other party members. However, this is not enough to make him a recommendable option in teams that cannot trigger his A1 Passive — his main source of damage.
 Utility Passive | The Art of Skinchanging
Talent Description
Increases gliding SPD for your own party members by 15%.
Not stackable with Passive Talents that provide the exact same effects.
An additional 15% Gliding SPD is not super impactful, but it can help with exploration, even if only slightly.
Constellations
 Constellation 1 | Trails Amidst the Forest Fog
The Elemental Skill Night’s Sling’s Spirit Orb can bounce 2 additional times.
Additionally, after the Spirit Orb hits an opponent, it will apply the Nighttide effect to them for 12s. Opponents affected by Nighttide take 50% increased DMG from Hypersense triggered by the Passive Talent, “Nightshade Synesthesia.” Unlock the aforementioned Passive Talent to trigger this effect.
Ororon’s Skill can now hit up to 5 targets instead of 3. This by itself will not increase the damage he deals to each target since his Skill still hits each enemy only once, but it now also applies a debuff to the hit enemies, effectively giving Ororon’s Hypersense an additional 50% DMG Bonus. However, since this is a debuff applied to enemies, if a new wave of enemies spawns, they will not take this increased damage.
 Constellation 2 | King Bee of the Hidden Honeyed Wine
After using his Elemental Burst, Dark Voices Echo, Ororon will obtain the Spiritual Supersense effect for 9s.
Spiritual Supersense
Gain 8% Electro DMG Bonus.
Additionally, during this time, every additional opponent hit by the Elemental Burst Dark Voices Echo or Supersonic Oculus will grant Ororon a further 8% Electro DMG Bonus. The maximum that can be gained this way is 32% Electro DMG Bonus.
This Constellation is a decent increase to Ororon’s personal damage by allowing his Burst to increase his Electro DMG%. The amount will range from 16% against a single target to 32% against 3 enemies.
 Constellation 3 | Roosting Bat’s Spiritcage
Increases the Level of Dark Voices Echo by 3.
Maximum upgrade level is 15.
Ororon’s Burst is not a particularly large portion of his damage, so increasing the Burst level is not very significant.
 Constellation 4 | As the Mysteries of the Night Wind
The Supersonic Oculus summoned by the Elemental Burst Dark Voices Echo rotates 25% faster.
Additionally, Ororon will restore 8 Energy to himself after using Dark Voices Echo.
This Constellation increases the frequency of Ororon’s Burst hits, totalling ~12 hits instead of ~9. This increases the damage of his Burst by a good amount; however, because of its special 3s ICD, it does not increase the Electro application.
The Energy refund can also be a good increase to Ororon’s damage by allowing him to build less Energy Recharge and focus on more CRIT% and ATK% stats. This is especially impactful in teams where Ororon is the only Electro unit.
 Constellation 5 | A Gift For the Soul
Increases the Level of Night’s Sling by 3.
Maximum upgrade level is 15.
Ororon’s Elemental Skill is a very small portion of his damage, so increasing its level by 3 is not very significant.
 Constellation 6 | Ode to Deep Springs
After triggering Hypersense through the Passive Talent, Nightshade Synesthesia, your current active character’s ATK is increased by 10% for 9s. Max 3 stacks, each stack is counted independently.
Additionally, when you use the Elemental Burst Dark Voices Echo, you will trigger one instance of an effect equivalent to Hypersense, dealing 200% of its original DMG.
You must unlock the Passive Talent “Nightshade Synesthesia” first.
Ororon’s C6 gives his Burst an additional hit on cast, which is treated as Hypersense but with a 200% higher damage multiplier. This is just one instance of damage, so it isn’t a huge increase. The real value of this Constellation lies in its (up to) 30% ATK buff to the active character.
Artifacts
ER Requirements
Calcs for ER requirements can be found here (last updated for Version 5.2).
| 1 Skill per Burst | 2 Skills per Burst | |
| Solo Electro | 160–195% | 100–120% |
| Double Electro | 100–120% | 100% |
| With Neuvillette | 130–145% | – |
- The above requirements assume 1 proc of 2pc Scroll per rotation.
- Ororon’s C4 reduces his ER requirements by ~30–40%.
Use the Energy Recharge Calculator to determine exact requirements for your team and rotation. For more details on how Favonius weapons will affect your team, please use Ac1d’s Favonius Mastersheet.
Artifact Stats
 Sands |  Goblet |  Circlet |
| ATK% / ER | Electro DMG% / ATK% | CRIT Rate / CRIT DMG |
Stat Priority: ER until requirement > CRIT > ATK% > EM
Although Ororon’s Burst is not the majority of his damage, it is still worth using for the additional Electro application in most teams. As such, meeting his ER requirements is important. ATK% Sands can be used if Ororon’s Energy needs are fulfilled via his weapon or substats alone.
ATK% Goblets with better substats are competitive to Electro DMG% ones since Ororon can gain a lot of DMG Bonuses from his C1, his C4, 4pc Scroll, and external sources such as Furina’s Burst. Since Ororon doesn’t benefit from his C1’s 50% DMG Bonus against new enemy waves, Electro DMG% is most recommended, but ATK% is still a viable alternative.
Since Electro-Charged’s base damage increased in Version 5.2 and Ororon can have decent Electro-Charged ownership, EM is quite a nice stat to have, though not one to specifically seek after. Additionally, in a team with Ineffa, EM becomes more valuable on Ororon; regardless, he should still prioritize meeting ER requirements and building CRIT stats as CRIT benefits both his Talent and Lunar-Charged damage. To know further on how Lunar-Charged works, check out Ineffa Quick Guide.
Ororon can build full EM in Overloaded teams where he has good reaction ownership. EM main stats and substats are preferred over other offensive stats in these scenarios.
Artifact Sets
 Scroll of the Hero of Cinder City | As a Natlan character, 4pc Scroll is a naturally great option for Ororon; it offers a 40% DMG Bonus to the Elements he reacts with. Since his Nightsoul’s Blessing state activates and stays active while he is off-field, he can proc the full set effect and refresh its duration while off-field. |
 Noblesse Oblige | An alternative option for when there is already another 4pc Scroll user in the team. |
 Instructor | Similar to 4pc Noblesse Oblige, Ororon can use 4pc Instructor if there is another viable 4pc Scroll holder in the team. Due to Instructor’s 4-star artifact stats, Ororon’s damage will be lower than if he’s holding 4pc Noblesse. |
Weapons
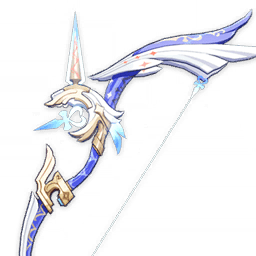
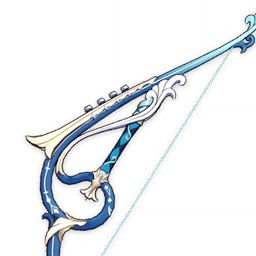
 5★ Elegy for the End | Generally Best-in-Slot (BiS) for overall team damage and can be BiS for Ororon’s personal damage if its ER secondary stat lets him meet ER requirements. |
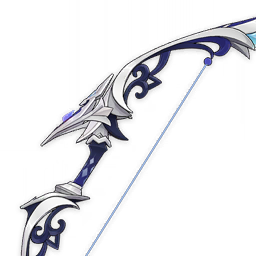
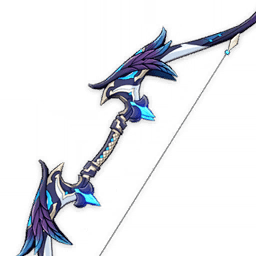
 5★ Stat Sticks | Polar Star, The First Great Magic, Thundering Pulse, Aqua Simulacra, Skyward Harp, Hunter’s Path, Astral Vulture’s Crimson Plumage Good generalist options that increase all of Ororon’s damage. |
 4★ Favonius Warbow | Favonius Warbow reduces Ororon’s and his teammates’ ER requirements. Typically worse for personal damage than the below options, but can be optimal for overall team damage if Ororon is not a large share of the team’s damage (e.g., in single-target). |
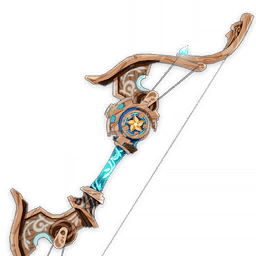
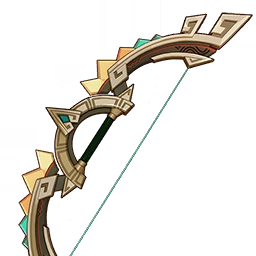 4★ Chain Breaker | Natlan’s craftable Bow is a great option for Ororon even in Double Electro teams. The EM it offers at max stacks is appreciated in teams where Ororon triggers more reactions. |
 5★ Amos’ Bow | A 5-star ATK stat stick that performs similarly to Chain Breaker. Its passive is mostly useless. |
 4★ Song of Stillness | Song of Stillness is another good craftable option. However, it requires Ororon to be healed, so triggering and maintaining the passive may be difficult in some teams and rotations. |
 4★ Fading Twilight | Fading Twilight’s stat combination of ER and DMG Bonus makes it a balanced choice for Ororon’s damage and Energy needs. |
 4★ Alley Hunter | Alley Hunter provides a good amount of ATK% and DMG Bonus, making it a strong generalist 4-star weapon if players do not have billets to craft Chain Breaker. At R5, Alley Hunter performs similarly to Chain Breaker and can outperform it in some teams. |
 4★ The Stringless | Stringless increases the damage of Ororon’s Burst and Skill but not his A1 Passive. Its EM secondary stat is more relevant the more Electro-Charged/Lunar-Charged or Overloaded ownership Ororon has. |
 4★ Windblume Ode | An event weapon from Version 1.4. Similar to Stringless, Windblume Ode’s value increases the more Electro-Charged/Lunar-Charged or Overloaded ownership Ororon has, as this makes its EM secondary stat more useful. |
Teams
Rotation Notation
- N = Normal Attack
- N# = Corresponding number of consecutive Normal Attacks. Example: N4: 4 consecutive Normal Attacks
- C = Charged Attack
- F = Mavuika’s Final Cyclic Charged Attack
- P = Plunging Attack
- A = Aimed Shot
- E = Elemental Skill
- tE = Tap Skill
- hE = Hold Skill
- Q = Elemental Burst
- D = dash (cancel)
- J = jump (cancel)
- W = walk (cancel)
- > = switch character
- ( ) = these actions are optional; please refer to the notes below
- [ ] = repeat these actions the specified number of times
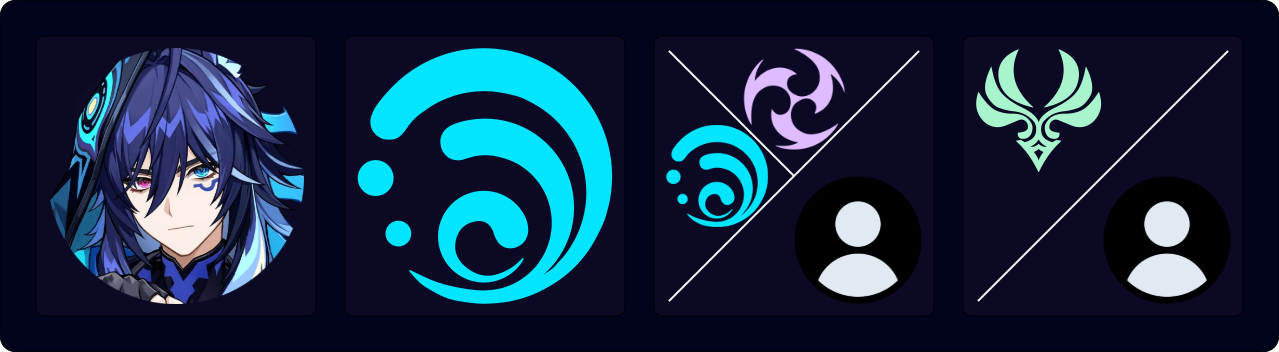
Teambuilding
- Due to Ororon’s A1 Passive requiring Electro-Charged, Lunar-Charged or Nightsoul-aligned damage, he generally wants to be played in teams that have either decent Electro-Charged / Lunar-Charged uptime or Nightsoul-aligned damage to maximize his personal damage.
Electro-Charged
These teams are primarily focused on dealing Hydro or Electro damage, with Ororon providing support and damage from off-field. The Electro-Charged reaction provides some free supplementary damage.
Notable Teammates
Hydro
A Hydro unit is mandatory to enable Electro-Charged.


Electro
A second Electro unit can reduce Ororon’s ER requirements and enable his A1 Passive.
 Fischl | Fischl has great synergy with Ororon, providing great personal damage and plenty of Electro particles to help Ororon Burst every rotation. |
Ineffa | Ineffa turns Electro-Charged into Lunar-Charged, a special reaction that allows all Electro/Hydro appliers to take part in dealing damage. As Ororon’s A4 is also triggered by Lunar-Charged, he can be used in Ineffa teams to deal both Talent and Lunar-Charged damage. Note that 4pc Scroll does not buff Lunar-Charged damage, so most of Ineffa’s damage does not benefit from it. As such, Ororon can use 4pc NO to buff Ineffa in these teams. |


Anemo
Anemo characters can hold 4pc Viridescent Venerer to shred both Electro and Hydro RES. The presence of the Electro-Charged status also enables Anemo units to deal extra damage via Double Swirl.
 Ifa | Ifa has a good synergy with Ororon in his Electro-Charged teams. On top of being a driver with 4pc VV, Ifa also utilizes Ororon’s Nightsoul points to stack his A1 Passive, increasing the whole team’s Swirl and Electro-Charged damage. |
Chasca | Chasca is a unique “Anemo” DPS who both deals Nightsoul-aligned damage and enables consistent Electro-Charged uptime. Note that Chasca should still use 4pc Obsidian Codex for personal damage rather than 4pc Viridescent Venerer. |
 Wanderer | Wanderer can act as a good driver for characters such as Xingqiu or Yelan in an Electro-Charged team. |


Example Teams
This is not a comprehensive list of teams. The inclusion or exclusion of any given team does not necessarily reflect its power level.
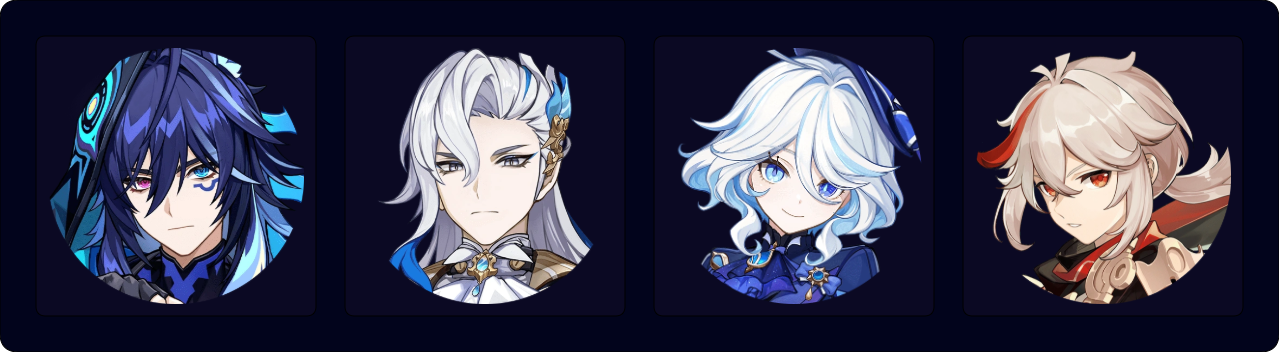
Ororon’s ability to activate a Draconic stack for Neuvillette as well as provide a 40% Hydro DMG Bonus from 4pc Scroll makes him a valuable teammate. Ororon also benefits from the DMG% buff and RES Shred Kazuha provides.
Sample Rotation
Neuvillette E > Furina ED > Kazuha tEPQ > Furina Q > Ororon EQ > Neuvillette C Q E C > Kazuha tEP > Neuvillette 2[C]

Another Electro-Charged team with the classic Double Hydro duo Yelan & Xingqiu, who excels in dealing single-target damage. Lan Yan provides a strong shield and RES Shred via 4pc Viridescent Venerer while also acting as a driver to dish out some Swirl damage.
Sample Rotation
Xingqiu EDQ N1 > Yelan Q N1 E N2 > Ororon EQ N1 > Lan Yan E N1 Q N3D N3 > Yelan E N2 > Lan Yan N3D N3

Ororon’s excellent performance in multi-target pairs well with Beidou and Venti. Together, they make a good team for heavy AoE fights, especially ones that involve groupable enemies. Kokomi keeps the team alive and well on top of her decent damage and Hydro application.
Sample Rotation
Kokomi E > Ororon EQ¹ > Beidou tEQ N1 > Venti tEQ N1 > Kokomi Q 5[N2D] > Beidou tE N2 > Venti tE N2
¹Can use Skill after Burst to ensure Beidou catches Ororon’s particles

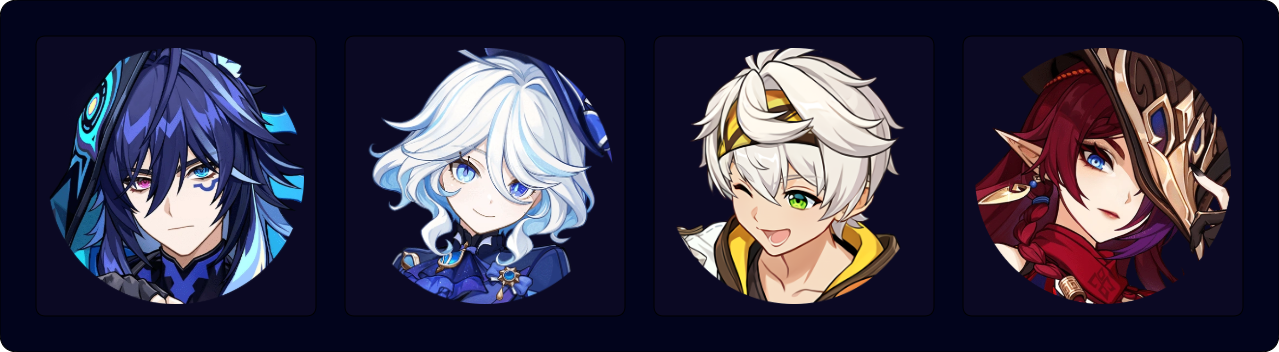
Ororon’s ER requirements are low in this team thanks to Electro Resonance and Fischl’s high particle generation. Ororon, in turn, lessens Ayato’s ER needs with his A4 Passive, allowing for more investment into offensive stats.
The rotation below is loopable, but players can choose to use a more flexible one where characters swap in whenever their abilities are off-cooldown.
Sample Rotation
Ayato Q > Bennett EQ > Fischl N2 E > Ororon EQ > Ayato E N15 > Fischl N2 Q > Bennett E N2 > Ayato N3¹ E N15
¹To wait for Ayato’s 2nd Skill cooldown

A simple yet effective Ineffa team with only 4-star teammates. With the help of Ororon, Ifa can stack his A1 Passive for a considerable partywide Lunar-Charged DMG% buff. CRIT stats become more important on Ororon in this team as it increases both his Talent and Lunar-Charged damage.
Sample Rotation
Ineffa E Q > Xingqiu EDQ N1 > Ororon EN1Q > Ifa combo¹
¹Stay on-field with Ifa for around 3s after his Skill state ends

Mizuki is an on-field character who floats around and deals damage through Swirl reactions. Her unique playstyle requires teammates who have off-field damage and Elemental application to enable Swirl for her. Since Mizuki cannot drive some coordinated attacks such as Xingqiu’s or Beidou’s Bursts, units like Furina or Yae are valuable teammates for her. Ororon completes the team with his 4pc Scroll buff and respectable personal damage in multi-target scenarios.
Sample Rotation
Furina ED Q > Ororon EQ¹ > Yae N1 3[E] > Mizuki N1 E (Q)² Floating State > Yae (Q)² 3[E] > Ororon EQ > Mizuki N1 E (Q)² Floating State
¹Can use Skill after Burst to ensure Yae catches Ororon’s particles
²Burst when available

A decent Clorinde Electro-Charged team. Ororon’s Energy refund from his A4, DMG Bonus from 4pc Scroll and ATK% buff from his C6 are greatly appreciated by Clorinde. Furina provides universal DMG Bonus to the whole team with Fanfare stacking from Clorinde and Lynette.
Sample Rotation
Furina ED Q > Ororon EQ > Lynette E > Clorinde E combo Q > Furina Q > Ororon EQ > Lynette E N2 Q > Clorinde E combo Q
Overvape

“Overvape” refers to applying Pyro onto an enemy affected by Electro-Charged, triggering both Overload and Vaporize. This reaction chain is great for Ororon, as it allows him to be used with Pyro damage dealers without disrupting Electro-Charged for him — since the Pyro would need to go through both Hydro and Electro to become the aura. Overvape is particularly useful for slower Hydro appliers while still enabling the Pyro unit to trigger Vaporize.
Notable Teammates
Hydro
A Hydro unit is mandatory to enable Electro-Charged. On-field Hydro DPS enables Vaporize for off-field Pyro damage dealers, while off-field Hydro enablers are needed if using an on-field Pyro DPS.
Pyro
 Bennett | Bennett provides a considerable Flat ATK buff that many Pyro damage dealers love. |


Electro
A second Electro unit can reduce Ororon’s ER requirements and enable his A1 Passive.
Fischl | Fischl has great synergy with Ororon, providing great personal damage and plenty of Electro particles to help Ororon Burst every rotation. |

Anemo
Anemo characters can hold 4pc Viridescent Venerer to shred both Electro and Hydro RES, and Pyro RES in some cases as well. The presence of Electro-Charged also enables Anemo units to deal extra damage via Double Swirl.
Chasca | Chasca is a unique “Anemo” DPS. She acts as a multi-Element DPS who simultaneously deals Electro, Hydro, and Pyro damage while triggering Electro-Charged, Vaporize, and Overloaded reactions. Note that Chasca should still use 4pc Obsidian Codex for personal damage rather than 4pc Viridescent Venerer. |
  Kazuha, Lynette | Kazuha and Lynette can absorb their Bursts with Pyro when used in Bennett’s Burst. This allows them to deal Pyro damage and trigger chain reactions. |
 Jean | Jean can trigger off-field Pyro Swirls when paired with Bennett via an interaction called “Sunfire.” |
Example Teams
This is not a comprehensive list of teams. The inclusion or exclusion of any given team does not necessarily reflect its power level.
This team provides a lot of buffs for Chasca, with Bennett providing ATK, Furina providing a strong universal DMG% buff, and Ororon holding 4pc Scroll to further buff Hydro and Electro DMG%.
Triggering Overloaded for 4pc Scroll’s Pyro DMG% buff requires specific rotations that may be inconsistent due to high ping or Furina’s application RNG.
Sample Rotation
Furina ED Q > Ororon Q > Bennett EQ > Ororon E > Chasca E 4[C] (Q/C)¹ (> Bennett E)²
¹Burst when available, otherwise hold Chasca’s Charged Attack until she falls to the ground
²Can use another Bennett’s Skill to meet his ER requirements

Ororon raises the value of EM stats on Arlecchino, as it benefits both her Vaporize and Overloaded damage.
Sample Rotation
Arlecchino E > Yelan EQ N1 > Ororon Q N1 > Bennett Q E > Ororon E N2 > Arlecchino C 5[N3D] N3
Chevreuse Overloaded

Since Ororon’s A1 Passive can also trigger on Nightsoul Burst and Nightsoul-aligned damage, he can be used in Chevreuse Overloaded teams, as long as there is a Pyro or Electro teammate from Natlan.
Notable Teammates
Natlan Teammates
Ororon needs Nightsoul-aligned damage from his teammates to enable his A1 Passive for both dealing damage and entering the Nightsoul’s Blessing state to trigger the 4pc Scroll buff.
 Mavuika | Just as Mavuika enables Ororon’s kit, Ororon also helps Mavuika stack Fighting Spirit for her Burst. She can be played either on-field or off-field. |
Iansan | Iansan can also be helpful to enable Ororon’s A1. However, she is an ATK buffer who requires the on-field DPS to move constantly to maintain her buff, so naturally her team options with Ororon are limited. |
Varesa | Varesa can use Ororon in her Overloaded teams as a buffer with his 4pc Scroll and ATK% buff (at C6). However, Ororon is rarely used over Iansan in this slot. |
 Pyro Traveler | Pyro Traveler is an accessible option for Ororon’s Overloaded teams. |
Pyro
 Chevreuse | A core unit of Overloaded teams, Chevreuse provides excellent damage buffs that have high uptime and require little setup. She also has some healing and grouping capabilities. |


Example Teams
This is not a comprehensive list of teams. The inclusion or exclusion of any given team does not necessarily reflect its power level.

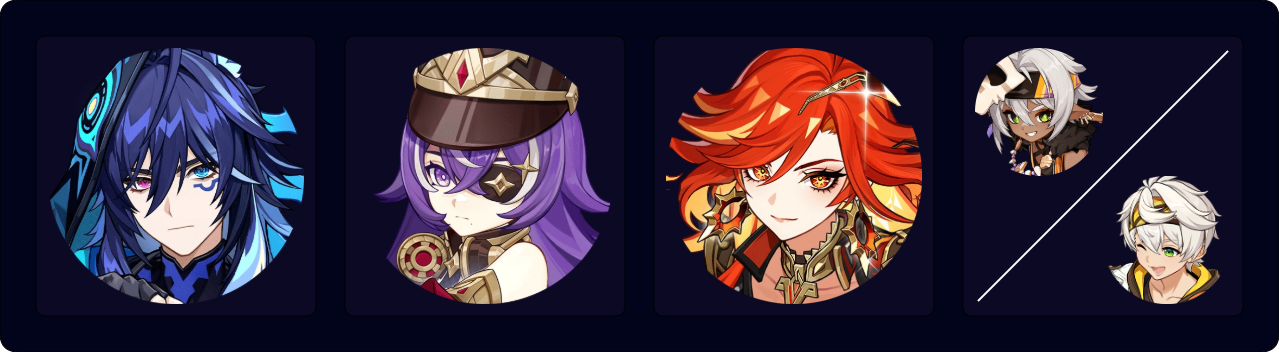
Ororon and Mavuika make a good duo that can slot into many Overloaded teams. Cyno receives buffs from Chevreuse, Ororon, and Mavuika, allowing him to deal remarkable damage while not being constricted in multi-wave scenarios.
Sample Rotation
(Cyno E)¹ > Chevreuse Q² hE > Mavuika tE Q > Ororon EQ > Cyno E (N1) Q N2E 3[N5 N2E]
¹First rotation only
²Can be skipped from the 2nd rotation onwards
A 4-star only team for Mavuika. Mavuika’s performance improves greatly with all her teammates’ C6, but she still outputs impressive damage regardless. A full EM build is optimal for Ororon in this team.
Sample Rotation (Iansan)
Mavuika tE > Ororon EQ > Chevreuse hE(Q) > Iansan E (N1) Q > Mavuika Q 7[C2D]
Sample Rotation (Bennett)
Mavuika tE > Ororon EQ > Chevreuse hE(Q) > Bennett EQ > Mavuika Q 7[C2D]
Other Teams
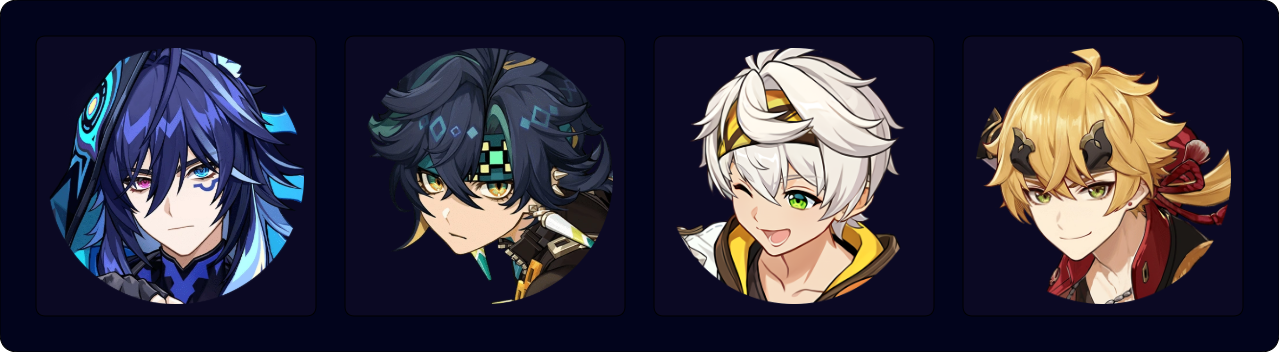
Kinich’s Nightsoul-aligned damage enables Ororon’s A1 Passive and Nightsoul’s Blessing state, allowing Ororon to provide the full effect of 4pc Scroll. Off-field Pyro appliers, such as Thoma, are needed to maintain Burning aura for Kinich.
Sample Rotation
Thoma EQ > Bennett EQ > Ororon EQ N2 > Kinich shE(Q) combo
Credits
plumetra, genshinnoir, acerbus114, baloopy, colaspores, lesterberne, chasing_haze, pjeljr, idkanonymized
Team images made with the KQM portrait generator.