Updated for Version 4.7
Beidou is a 4-star Electro Claymore character in Genshin Impact who provides consistent off-field Electro damage with her Burst. Learn about Beidou’s best builds, best weapons, best artifacts, and best teams in this quick guide.
Note that the information given may change if new discoveries are made. More extensive testing is in progress.
Join our Discord to check on and participate in the theorycrafting process.
Table of Contents
New Content
 Chevreuse | Chevreuse brings valuable buffs in teams consisting of only Pyro and Electro characters, which Beidou can fit well in. |
   Yaoyao, Baizhu, Kirara | Dendro defensive options that enable Quicken for Aggravate teams. |
 Nahida | Nahida is the premier off-field Dendro applier and on-field driver. She can be used in a Hyperbloom team with Beidou, who provides extra damage without stealing Hyperbloom triggers, or in an Aggravate team with her. |
 Wanderer, Arlecchino, Alhaitham, Cyno, Neuvillette, Clorinde | On-field DPS characters who can slot Beidou into their teams. |
  Lynette, Xianyun | New Anemo flex units that can support Beidou with 4pc Viridescent Venerer. |
 Furina | Furina brings a large amount of teamwide DMG Bonus along with good off-field damage. She works best with a healer in the team, preferably a teamwide one. |
 4-Star Claymores | Mailed Flower, Talking Stick, Tidal Shadow, “Ultimate Overlord’s Mega Magic Sword”, Makhaira Aquamarine New 4-star Claymore options. |
 Beacon of the Reed Sea, Verdict | New 5-star Claymore options. |
Infographic
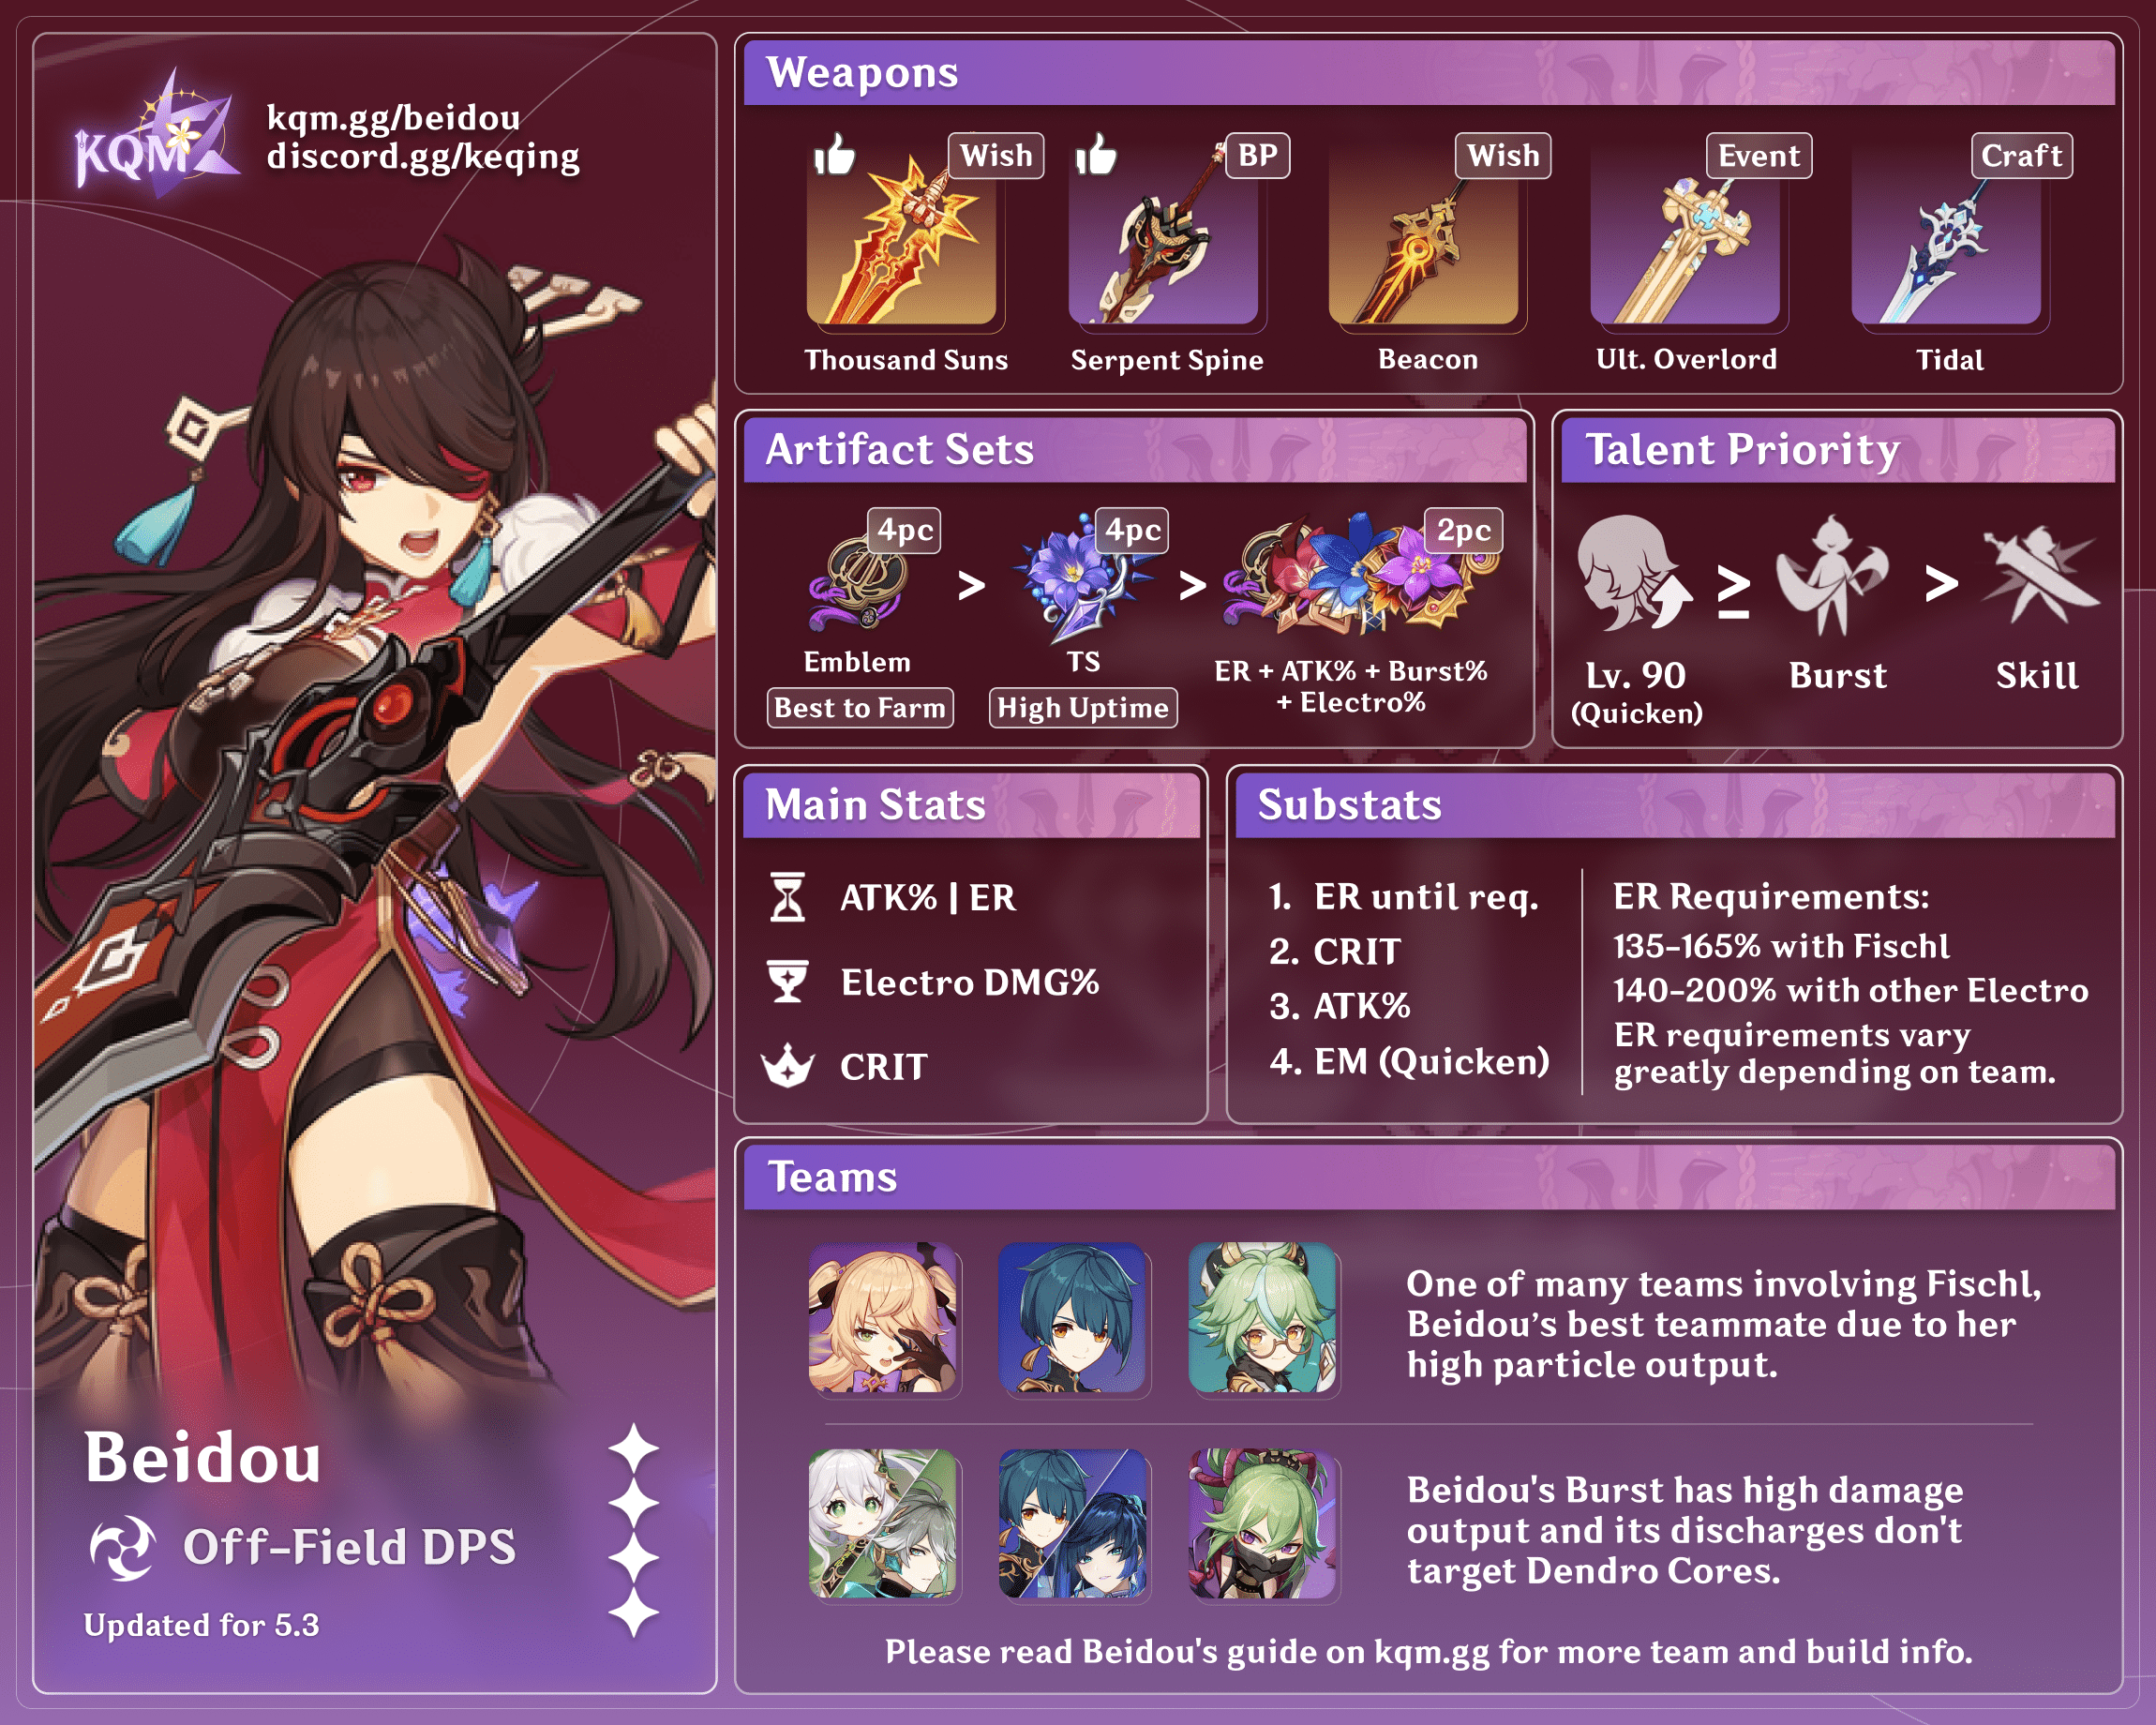
Credits to: kolvii, snowwwwww., and KQM Staff
Character Overview
Pros
- Reliable pseudo-AoE damage from her Burst
- Provides great survivability with her Burst
- Only needs C2 to reach most of her potential
- Her Burst procs do not trigger Dendro Cores, preventing her from stealing a substantial amount of Hyperblooms from the main Hyperbloom trigger while she is off-field
- Synergizes well with other off-field units
Cons
- Noticeably weaker damage in single-target
- Her Burst costs 80 Energy, so she often requires a dedicated battery
- Particle generation and a portion of her damage (perfect counters) are reliant on enemy behavior
Playstyles
Off-Field DPS
Beidou’s premier playstyle focuses on dealing pseudo-AoE Electro damage through her Elemental Burst, which launches coordinated attacks called “discharges” when the active character deals damage through Normal and Charged Attacks.
On-Field DPS
Beidou can stay on-field to drive her own Burst, enjoying reduced ER requirements due to more frequent parries. However, her Normal Attacks do little damage and are generally poor at triggering her Burst’s discharges; as such, there is little practical advantage to using her as the on-field unit outside of personal enjoyment.
Talents
Level and Talent Priority
Burst >> Skill
Beidou’s Burst is her primary source of damage, and leveling it also increases the damage reduction it provides. Her Skill should be leveled afterwards, as it can deal sizable damage with perfect parries; leveling her Skill also increases the amount of damage she can block with it. Leveling Beidou’s Normal Attacks is not recommended as they are often unused.
Talent Overview
 Normal Attack | Oceanborne
Talent Description
Normal Attack
Performs up to 5 consecutive strikes.
Charged Attack
Drains Stamina over time to perform continuous slashes.
At the end of the sequence, perform a more powerful slash.
Plunging Attack
Plunges from mid-air to strike the ground, damaging opponents along the path and dealing AoE DMG upon impact.
Beidou’s Normal Attacks are unremarkable. While they can be used in an on-field playstyle, they do negligible damage even when invested.
 Elemental Skill | Tidecaller
Talent Description
Press
Accumulating the power of lightning, Beidou swings her blade forward fiercely, dealing Electro DMG.
Hold
Lifts her weapon up as a shield. Max DMG absorbed scales off Beidou’s Max HP.
Attacks using the energy stored within the greatsword upon release or once this ability’s duration expires, dealing Electro DMG. DMG dealt scales with the number of times Beidou is attacked in the skill’s duration. The greatest DMG Bonus will be attained once this effect is triggered twice.
The shield possesses the following properties:
- Has 250% Electro DMG Absorption Efficiency.
- Applies the Electro element to Beidou upon activation.
Beidou’s Tap Skill simply deals AoE damage and generates 2 Electro Particles. Her Hold Skill is more notable, applying Electro onto Beidou and creating a shield that lasts up to 3s while her Skill is held. When the shield receives damage, it gains stacks, up to 2 times. Each stack significantly increases her Skill’s damage and generates an additional particle. There is also a “perfect counter” mechanic with her Skill (see her A1 Passive for more).
 Elemental Burst | Stormbreaker
Talent Description
Recalling her slaying of the great beast Haishan, Beidou calls upon that monstrous strength and the lightning to create a Thunderbeast’s Targe around herself, dealing Electro DMG to nearby opponents.
Thunderbeast’s Targe
- When Normal and Charged Attacks hit, they create a lightning discharge that can jump between opponents, dealing Electro DMG.
- Increases the character’s resistance to interruption, and decreases DMG taken.
A maximum of 1 lightning discharge can be triggered per second.
Beidou’s Burst is the core of her kit. It deals an initial hit of AoE Electro damage and deploys a revolving dragon that:
- snapshots Beidou’s stats on cast
- releases a lightning discharge when Normal and Charged Attacks of any party member hit an enemy, dealing significant Electro damage
- increases the active character’s interruption resistance and reduces damage taken
- generates an Electro shield with her C1.
Lightning discharges will “jump” between enemies if there are at least two enemies present. At C0, discharges jump 2 times, resulting in 3 total damage instances; this increases to 4 jumps (5 hits) with her C2. This mechanic causes Beidou’s damage to increase dramatically in AoE compared to single-target.
Lightning discharges require that the triggering attack deals Normal or Charged Attack DMG; this notably prevents Raiden from triggering them with her Burst-converted attacks, as these attacks are considered Burst DMG instead. Conversely, attacks such as Ayato’s Shinsuiken can trigger her discharges.
 Ascension 1 Passive | Retribution
Talent Description
Counterattacking with Tidecaller at the precise moment when the character is hit grants the maximum DMG Bonus.
Beidou’s Skill now deals maximum damage when used to parry attacks — this is done by tapping her Skill as an attack hits. The timing of a “perfect parry” (or “perfect counter”) is fairly lenient, being comparable to that needed to dash through an attack.
Performing a perfect counter allows Beidou to benefit from her Hold Skill’s increased damage, particle generation, and defensive utility while minimizing her field time.
 Ascension 4 Passive | Lightning Storm
Talent Description
Gain the following effects for 10s after unleashing Tidecaller with its maximum DMG Bonus:
- DMG dealt by Normal and Charged Attacks is increased by 15%. ATK SPD of Normal and Charged Attacks is increased by 15%.
- Greatly reduced delay before unleashing Charged Attacks.
This passive is fairly negligible as Beidou’s Normal and Charged Attacks are not the focus in the majority of her teams, even in her on-field playstyle.
Constellations
 Constellation 1 | Sea Beast’s Scourge
When Stormbreaker is used:
Creates a shield that absorbs up to 16% of Beidou’s Max HP for 15s.
This shield absorbs Electro DMG 250% more effectively.
Beidou’s Burst now creates a shield that lasts for 15s. The shield is not particularly strong and scales with HP, so she should not be primarily used as a shielder. However, the shield does noticeably improve survivability, as it benefits from damage reduction buffs such as those from Beidou’s and Xingqiu’s Bursts.
 Constellation 2 | Upon the Turbulent Sea, the Thunder Arises
Stormbreaker’s arc lightning can jump to 2 additional targets.
Beidou’s best Constellation. Her Burst discharges now jump up to 4 times after the initial hit; against 2 targets, each discharge hits the initial target 3 times and the second target 2 times, resulting in a significant DPS increase in multi-target scenarios.
 Constellation 3 | Summoner of Storm
Increases the Level of Tidecaller by 3.
Maximum upgrade level is 15.
A welcome but insignificant increase to Beidou’s Skill Talent level.
 Constellation 4 | Stunning Revenge
Upon being attacked, Beidou’s Normal Attacks gain an additional instance of 20% Electro DMG for 10s.
This Constellation can situationally give Beidou slightly more Electro application to trigger reaction-based effects like Fischl’s A4. While these additional attacks can trigger Aggravate, they share ICD with her Burst.
 Constellation 5 | Crimson Tidewalker
Increases the Level of Stormbreaker by 3.
Maximum upgrade level is 15.
Additional levels to Beidou’s Burst result in a solid damage increase.
 Constellation 6 | Bane of Evil
During the duration of Stormbreaker, the Electro RES of surrounding opponents is decreased by 15%.
AoE Electro RES Shred is useful for not only Beidou but also for Electro teammates who are often paired with her. Note that the radius for applying the effect is rather small (around 1 Abyss tile).
Artifacts
ER Requirements
Calcs for ER requirements can be found here (last updated for Version 4.6). Please see the calcs for detailed assumptions.
| 1 Perfect Counter + 1 Tap Skill | 2 Tap Skills | |
| Solo Electro | 185–250% | 220%+ |
| With C6 Fischl (1 Oz) | 140–160% | 155–185% |
| With C6 Fischl (2 Oz) | 110–130% | 120–145% |
| With Yae | 130–140% | 145–160% |
| With C4+ Shinobu | 150–165% | 170–190% |
| With Off-Field Raiden | 130–165% | 140–185% |
| With Sara (2 Funnels) | 125% | 140% |
One Favonius holder on the team can decrease ER requirements by about 5–15% in Double Electro teams, and 25–30% in Solo Electro teams. Note that Fischl and Shinobu generate reduced Electro Particles at lower Constellations.
It is important for Beidou to have enough ER% for her Burst since it is the majority of her damage and utility. Even though performing a perfect counter can significantly decrease Beidou’s ER requirements, it is recommended for players to build higher ER% (closer to the 2 Tap Skills scenario) if their perfect counters are inconsistent. In flexible rotations, it is possible to swap into Beidou between teammate abilities if it allows her to perform a perfect counter.
Use the Energy Recharge Calculator to determine exact requirements for your team and rotation.
Artifact Stats
 Sands |  Goblet |  Circlet |
| ATK% or Energy Recharge | Electro DMG Bonus | CRIT Rate or CRIT DMG |
Stat Priority: ER% (until requirement) > CRIT > ATK% > EM (Aggravate)
Even in Aggravate teams, EM is not as valuable on Beidou compared to many other Electro characters. This is due to Beidou’s balance of high Talent scalings and low percentage of Aggravated hits, making it more worthwhile to boost her raw damage through an ATK% Sands and ATK% substats.
An ATK% Goblet is viable in scenarios without Quicken (i.e., non-Dendro teams) and ample DMG% buffs (e.g., with Kazuha, Furina, and Serpent Spine).
Artifact Sets
 4pc Emblem of Severed Fate | As Beidou has relatively high ER requirements and deals most of her damage through her Burst, 4pc Emblem of Severed Fate is her general Best-in-Slot set. It is recommended to farm or strongbox this set. |
 2pc Mixed Sets | Any combination of 2pc sets that boost Beidou’s damage is appreciated. This includes 2pc sets that provide ATK%, ER%, EM (in Aggravate) as well as 2pc Noblesse Oblige and 2pc Thundering Fury. |
 4pc Thundersoother | While 4pc Thundersoother is a strong option for Beidou, it is situational due to its conditional 4pc effect and can only be utilized effectively in Electro-Charged or Aggravate teams (with low Dendro application). Nonetheless, it can be a good alternative to 4pc Emblem or 2pc combinations in those scenarios. |
Weapons
Calcs for weapon comparisons can be found here (last updated for Version 3.1).
Weapons that provide CRIT and/or DMG% tend to be more universally effective across Beidou’s teams. Weapons that provide ATK% are still good, but they tend to be less competitive for Aggravate or teams with Bennett. EM weapons are only useful for Aggravate. ER% weapons ideally have high Base ATK or passives that contribute to damage.
 Serpent Spine | Serpent Spine is generally Beidou’s best weapon, especially at high refinements, with Bennett, or in Aggravate. In the Spiral Abyss, it is best to put Beidou in the first slot to pre-stack its passive before starting combat. |
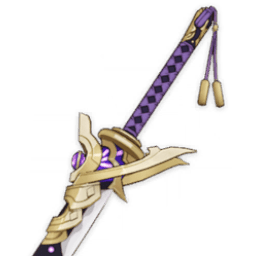
 5-Star CRIT Claymores | Beacon of the Reed Sea, Verdict, Redhorn Stonethresher Solid options for Beidou due to the CRIT and Base ATK they provide. Beacon of the Reed Sea and Verdict are preferable since Beidou can reliably gain some ATK% from their passives. |
 Wolf’s Gravestone | A consistently good option that is best when paired with DMG% buffs (e.g., Kazuha). However, its passive is often inconsistent, making it difficult to snapshot onto Beidou’s Burst. |
 Akuoumaru | The Burst DMG% this weapon provides makes it a solid choice, considering a majority of Beidou’s damage comes from her Burst. It can outperform most other weapons at high refinements. |
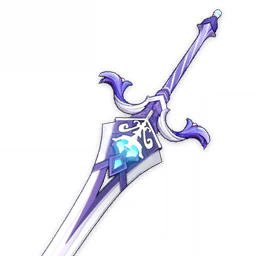
  Skyward Pride, “Ultimate Overlord’s Mega Magic Sword” | Options with high Base ATK and ER% secondary stats, which can be helpful in covering her ER requirements. Skyward Pride additionally provides a small DMG% buff, while the Magic Sword increases ATK%. |
 Luxurious Sea-Lord | This weapon was obtainable from the Version 2.1 Event. The fish provides valuable Burst DMG% and ATK%. It’s also a funny weapon to use on a sailor. |
   Tidal Shadow, The Unforged, Lithic Blade | Options that provide a lot of ATK%. Beidou needs a shielder to utilize the Unforged’s passive, since her C1 cannot activate it. Tidal Shadow requires a healer to trigger its passive; this is inconsistent with Bennett, as he does not heal units above 70% HP. Beidou teams usually have no more than two Liyue units (including herself), which limits the effectiveness of Lithic Blade even at high refinements. |
  Rainslasher, Mailed Flower | These weapons’ EM stats limit their use to Quicken teams. Rainslasher’s extra DMG% against enemies affected by Electro pairs well with Beidou being an Electro unit. Mailed Flower provides some ATK% and was available during the Version 3.5 Event. |
   Other ER% Claymores | Favonius Greatsword, Sacrificial Greatsword, Katsuragikiri Nagamasa These weapons are only used to meet Beidou’s enormous ER requirements if played as a solo Electro. However, running Beidou as the only Electro unit is not recommended, as it severely reduces her damage output. |
Teams
Teambuilding
- Beidou relies on an on-field driver to trigger her Burst’s lightning discharges frequently. See the Driving Beidou section.
- Beidou is ideally paired with another Electro unit to drastically lower her ER requirements.
- Beidou’s damage reduction increases survivability, especially when combined with shields or other damage reduction buffs.
- Beidou’s Burst can snapshot, giving her great synergy with buffers like Bennett, Kazuha, and units holding Thrilling Tales of Dragon Slayers (TTDS).
Driving Beidou
A good Beidou driver can frequently trigger the lightning discharges from Beidou’s Burst. Ideally, the driver should have some of the following capabilities:
- Fast attacks
- Large AoE or range
- Good Elemental application
- Considerable damage output
- Team utility that requires them to be on-field
- Role consolidation.
If the team does not have a dedicated on-field unit, players should choose the best character to drive Beidou according to the points mentioned above (e.g., a Bow character with ranged attacks).
In some teams, the on-field unit is not actually the best Beidou driver (e.g., they have long animations, they use Bursts/Skills frequently, etc.). However, they may have a more significant reason to be on-field that outweighs the fewer discharges they trigger from Beidou’s Burst (e.g., they deal a lot of damage on-field).
For specific Beidou procs for some characters and combos, check out this spreadsheet (last updated for Version 3.3).
Notable Teammates
★ Recommended On-Field Units
Note that a recommended on-field unit does not necessarily have to be the ideal Beidou driver. Conversely, units without a star may still be good drivers if there is no dedicated on-field unit.
See Driving Beidou for more information.
Fischl

Fischl is arguably Beidou’s best teammate, as she provides significant battery potential and even more off-field Electro damage with minimal field time. Fischl’s single-target damage also complements Beidou’s multi-target damage.
Fischl is generally a good pick for any team that desires Electro application, but she is particularly notable with an on-field unit who can trigger Electro Reactions, as they can frequently trigger her A4 Passive for even more damage. Quicken teams benefit from both Fischl and Beidou’s damage.
Note that neither Fischl nor Beidou reliably trigger Hyperbloom.
Electro 
Electro units generate additional Electro Particles and enable Electro Resonance, greatly decreasing Beidou’s ER requirements. They work best in Quicken, Hyperbloom, or Chevreuse Overloaded teams.
Beidou’s lightning discharges do not target Dendro Cores, meaning that she does not “steal” Hyperblooms from the team’s dedicated trigger, regardless if they are on- or off-field.
You should not use Raiden’s Burst while Beidou’s Burst is active, as the former is unable to trigger discharges with her Burst-converted attacks. Instead, she works best with Beidou as an off-field Hyperbloom trigger.
 ★ Clorinde |  ★ Cyno |  ★ Lisa |  ★ Yae Miko |
 ★ Keqing |  Kuki Shinobu |  Electro Traveler |  Kujou Sara |
 (★ C6) Dori |  ★ Razor |  Raiden |
Dendro 
Dendro units enable Quicken and/or generate Blooms for Hyperbloom. They can also deal significant damage through Spread.


Anemo 
Anemo units shred enemy RES using 4pc Viridescent Venerer and often provide other buffs, grouping, and/or healing. They can also take advantage of Electro-Charged and Aggravate via Swirls to deal AoE damage.


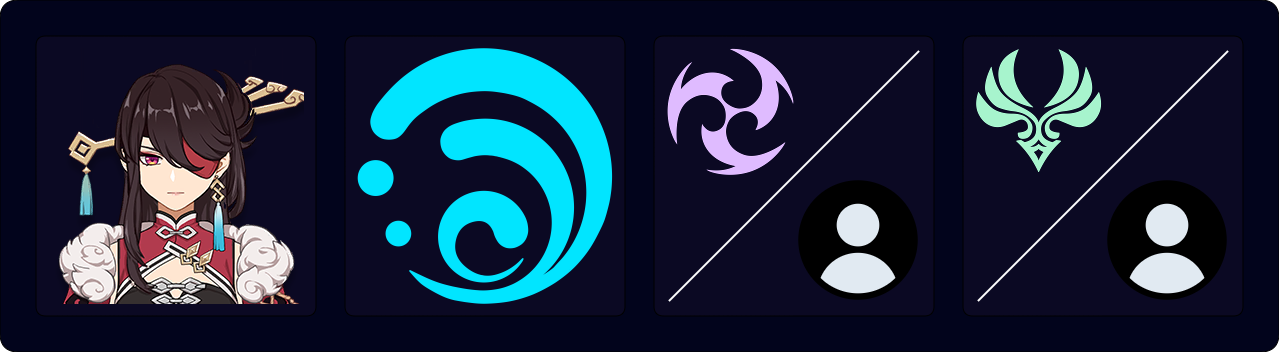
Hydro 
Hydro units can generate Dendro Cores for Hyperbloom teams or enable Electro-Charged. Xingqiu notably brings additional damage reduction with his Burst, greatly improving survivability in conjunction with Beidou’s Burst.
Teams with Furina should include either Neuvillette or a healer to effectively use her Burst buff.


Pyro 
Pyro units act as drivers in Overloaded teams and can enable Pyro Resonance for an appreciable teamwide ATK% buff. While Overloaded can be troublesome due to enemies getting knocked back, Pyro units like Yoimiya and Yanfei have decent range on their attacks to offset this issue.
Bennett and Chevreuse are notable for providing both strong buffs and healing.


Example Teams
This is not a comprehensive list of teams. The inclusion or exclusion of any given team does not necessarily reflect its power level.
Note that it is always optimal to perform a perfect counter with Beidou’s Skill when possible. Additionally, you can weave Normal Attacks between teammate abilities for more procs of Beidou’s Burst.
Rotation Notation
- N = Normal Attack
- C = Charged Attack
- A = Aimed Shot
- P = Plunging Attack
- E = Elemental Skill
- tE = Tap Skill
- hE = Hold Skill
- Q = Elemental Burst
- D = dash (cancel)
- J = jump (cancel)
- W = walk (cancel)
- > = switch character
- ( ) = these actions are optional; please refer to the notes below
- [ ] = repeat these actions the specified number of times
Quicken and Quickbloom
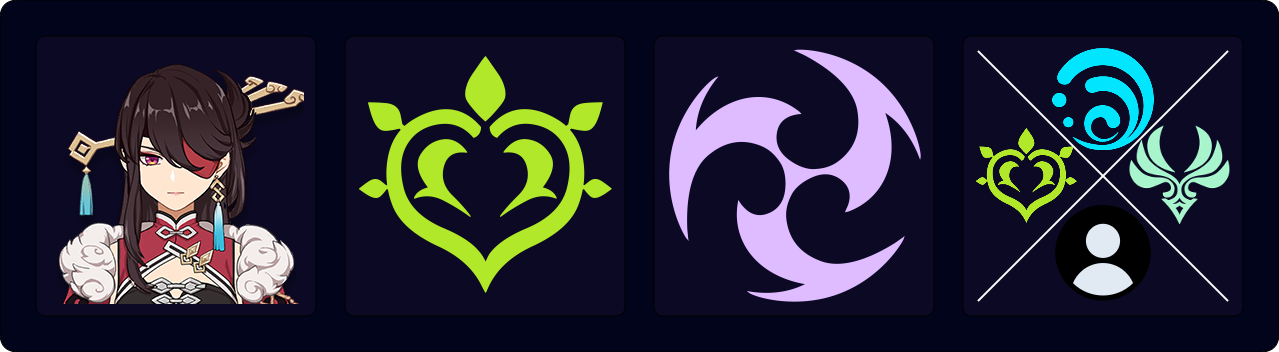
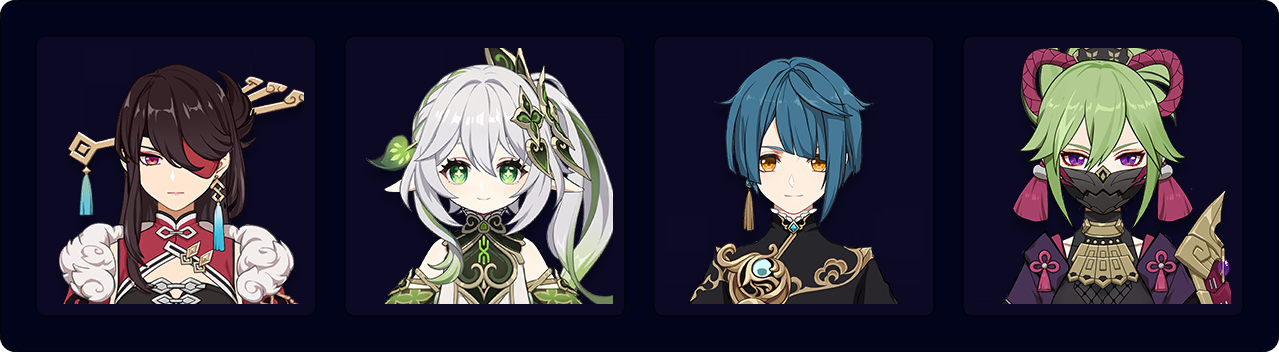
Beidou’s strong off-field damage benefits from Aggravate. A second Electro unit, notably Fischl, is recommended to help with Beidou’s ER requirements. With a slow Hydro applier, some Blooms (and therefore Hyperblooms) can be triggered between the Quicken reactions (for teams with a fast Hydro applier, see the Hyperbloom section). An Anemo flex unit is also notable for grouping and providing 4pc Viridescent Venerer’s Electro RES Shred.
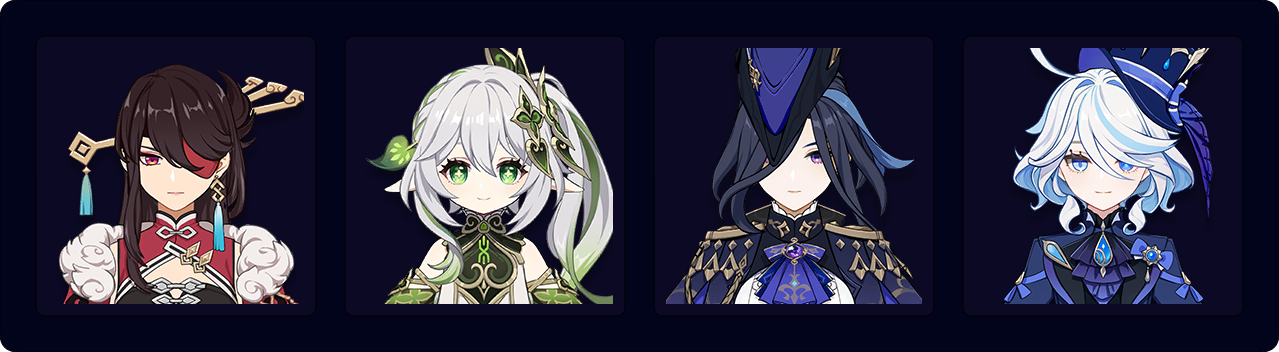
Clorinde’s rapid-fire ranged attacks are great for driving Beidou’s Burst, and she benefits from interruption resistance to avoid being staggered during her short Skill uptime. Nahida and Furina provide off-field damage, Dendro and Hydro application, and buffs. Furina can gain plenty of Fanfare for her teamwide DMG Bonus via Clorinde’s frequent self-healing; Nahida can equip Prototype Amber to gain even more stacks.
Clorinde should equip 4pc Thundering Fury to allow for a 2 Skill rotation, allowing her to deal damage and drive Beidou’s Burst for longer. She should avoid using her Burst while Beidou’s Burst is also active.
Sample Rotation
Nahida E Q > Furina ED Q > Beidou E(D)Q > Clorinde combo > Nahida E > Beidou E N1 > Clorinde combo
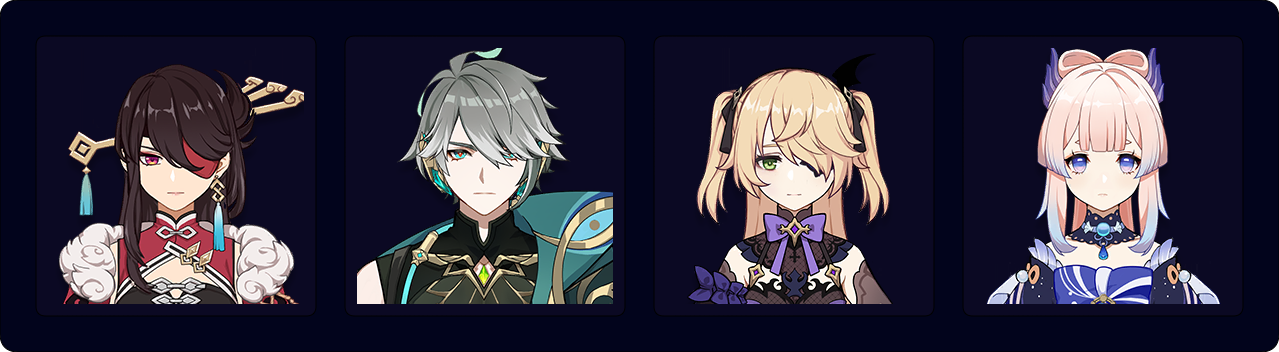
Alhaitham is a good driver for Beidou’s Burst due to his frequent use of Normal Attacks. Kokomi’s slow Hydro application results in some Quicken uptime and potentially Hyperblooms. Fischl helps lower Beidou’s ER requirements, and the combination of Beidou and Kokomi provides ample survivability.
Sample Rotation
Beidou E(D)Q > Fischl (N1) E > Kokomi (N1) E > Alhaitham hEP N-spam¹ > Beidou E N2 > Fischl Q > Kokomi Q² > Alhaitham Q N-spam¹
¹Use Normal Attacks with Alhaitham for ~6s.
²Kokomi uses her Burst to refresh her jellyfish. She can also use on-field combos for some healing.
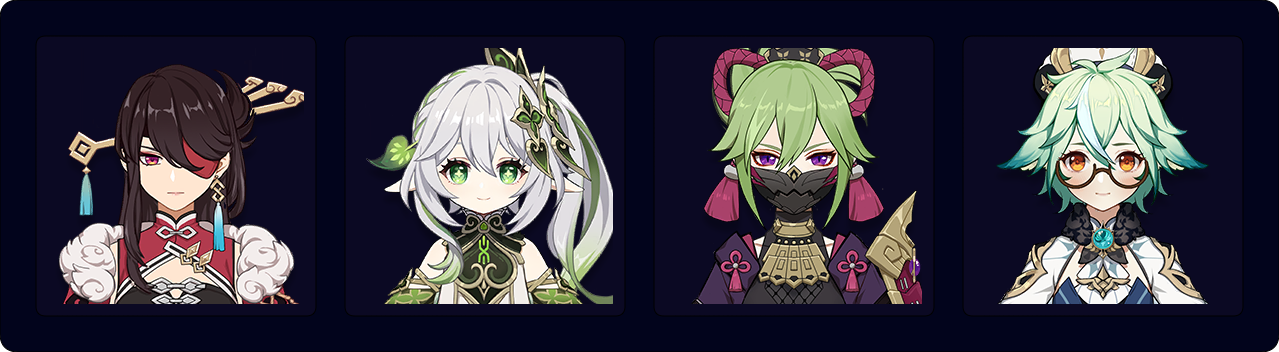
Shinobu and Beidou apply Electro to allow Sucrose to trigger Aggravated Swirls. Sucrose acts as an excellent on-field driver, applying VV Shred and grouping enemies with her Skill or Burst; she can also hold Catalysts such as TTDS or Hakushin Ring to provide team buffs.
Sample Rotation
Shinobu Q > Sucrose Q > Nahida E (Q) > Shinobu E > Beidou E(D)Q > Sucrose E N-spam > Beidou E N2 > Sucrose E N-spam¹
¹Use Sucrose’s Normal Attacks until Shinobu’s Skill expires.
Hyperbloom
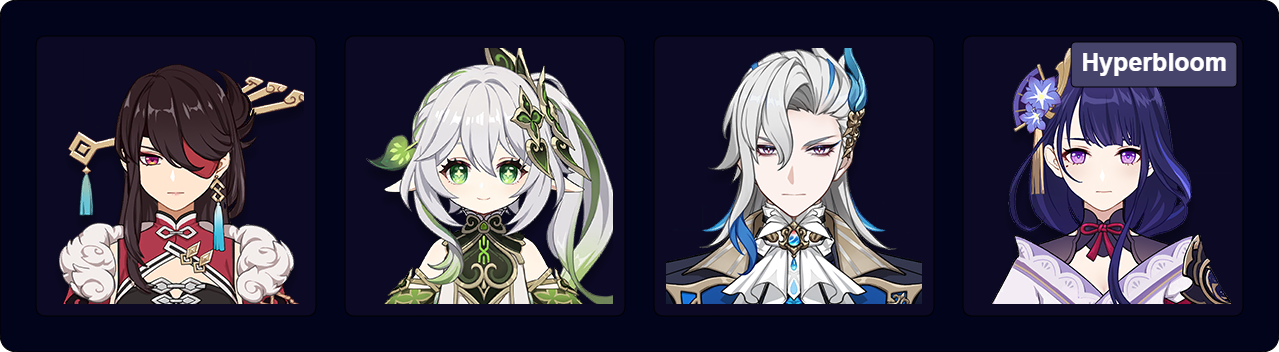
A fast Hydro applier results in more Blooms and Hyperblooms than Quicken reactions (for teams with a slow Hydro applier, see the Quicken and Quickbloom section). Because of how Beidou’s Burst procs bounce between enemies, they will not target Dendro cores. This allows a dedicated Hyperbloom trigger (e.g., Raiden, Kuki Shinobu) to have the majority of Hyperbloom ownership.
On-field Nahida’s Normal Attacks proc Beidou’s Burst and provide supplemental Dendro application. The combination of Beidou, Xingqiu, and Shinobu provides ample survivability.
Sample Rotation
Nahida E (Q) > Xingqiu E(D)Q (N1) > Beidou (N1) E(D)Q > Shinobu (N1) E > Nahida N-spam¹ > Beidou E N2 > Nahida N-spam² > (Shinobu N1 Q)
¹Use Nahida’s Normal Attacks until Beidou’s Skill is up.
²Use Nahida’s Normal Attacks until Shinobu’s Skill expires.
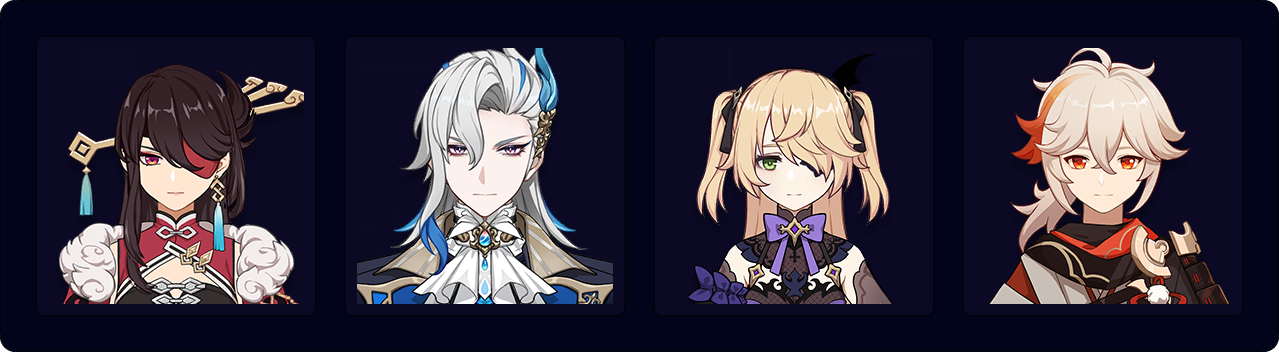
Neuvillette’s Charged Attack has long range and mobility, while Beidou provides him with valuable interruption resistance and defensive utility. Nahida’s and Raiden’s abilities can also be triggered far away from the enemy, making the team comfortable to play.
Sample Rotation
Raiden E > Nahida E (Q) > Beidou E(D)Q > Neuvillette E C Q C > Beidou E(D) N2 > Neuvillette E 2[C]
Electro-Charged
A second Electro unit is highly recommended to help lower Beidou’s ER requirements. An Anemo unit is also recommended for grouping and 4pc Viridescent Venerer’s Electro and Hydro RES Shred. Anemo units also tend to build EM to trigger significant Swirl and Electro-Charged damage.

Xingqiu and Fischl provide good single-target damage, while Beidou and Sucrose’s Swirls provide good multi-target damage. Fischl helps lower Beidou’s ER requirements, and the combination of Xingqiu and Beidou’s defensive utility can make this team comfortable to play.
Sample Rotation
Xingqiu E(D)Q (N1) > Beidou E(D)Q > Fischl (N1) E > Sucrose EQ N-spam¹ > Beidou E N2 > Fischl Q > Sucrose E N-spam¹
¹Sucrose should use her Normal Attacks until roughly when Oz disappears.
Kazuha can Swirl both Hydro and Electro to greatly increase team damage with his A4 Passive and VV Shred, while dealing decent damage himself through Swirls and Electro-Charged. His grouping can also set up enemies to be easily dispatched with Neuvillette and Beidou’s AoE damage.
Sample Rotation
Neuvillette Q > Kazuha Q > Beidou EQ > Kazuha tEP > Fischl N1 E > Neuvillette E N1 2[C] N1 > Kazuha tEP > Fischl N1 Q > Beidou E N1 > Neuvillette E C
Overloaded
Due to Overloaded’s low multipliers compared to other reactions, these teams tend to focus more on individual teammates’ personal damage. Chevreuse is a recommended teammate due to her buffs, but she requires the team to only be composed of Electro and Pyro units. If not using Chevreuse, an Anemo unit is highly recommended for 4pc Viridescent Venerer’s Electro and Pyro RES Shred and for grouping staggered enemies.
Note that the stagger due to Overloaded reactions may make it difficult for Beidou to achieve perfect parries against certain enemies. Overloaded teams are most recommended against bosses or heavy enemies.
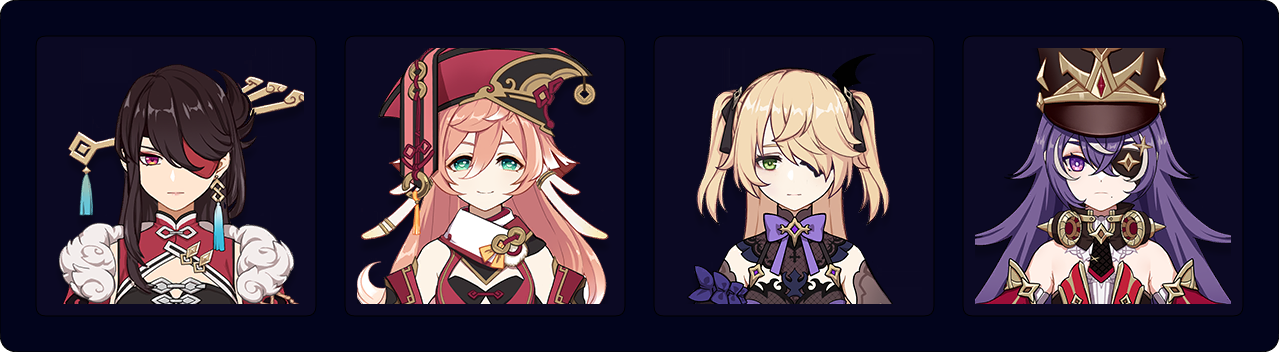
Fischl’s and Yanfei’s consistent Elemental application and Overloaded triggers maintain uptime on Chevreuse’s buffs. Yanfei’s range helps mitigate Overloaded’s stagger, and the combination of Chevreuse’s and Beidou’s defensive utility can make this team comfortable to play.
Sample Rotation
(Yanfei N1)¹ > Fischl E > Chevreuse hEQ > Beidou EQ > Yanfei E N2C Q 3[N2C] > Fischl Q > Beidou E > Yanfei E 3[N2C]
¹First rotation only.

Bennett uses the 4pc Thundering Fury (TF) set to unleash a barrage of Elemental Skills while driving Beidou’s Burst. Lisa’s Burst provides valuable DEF Shred and helps maintain Electro aura to ensure that Bennett procs 4pc Thundering Fury’s passive.
Sample Rotation
Lisa Q > Chevreuse hE N1 Q > Bennett EQ > Beidou EQ > Bennett N3E 4[N1E N2E] > Lisa hE > Beidou E N1 > Bennett E
Credits
clevernt, nikatosaurus, chasing_haze, zvnto, jamberry, baloopy, rosenlie, au_rio, haafr, polomo
Team images made with the KQM portrait generator.
