Updated for Version 3.8

Eula is a 5-star Cryo Claymore character who focuses on dealing large amounts of Physical damage, mostly through her Elemental Burst.
Note that the information given may change if new discoveries are made. More extensive testing is in progress.
The full-length guide (currently being updated) is available here.
Table of Contents
New Content
 Dori | A 4-star character compressing healing and off-field Electro application. While Dori can provide Flat Energy for Eula, she is mostly a sidegrade to other Electro units in her teams. |
 Layla | A 4-star character providing strong shields, off-field Cryo application and particle generation. Layla is an alternative to other defensive options, and her shorter cooldowns allow her to cast her abilities twice in longer rotations. |
 Nahida | At C2, Nahida can serve as a potent buffer in Eula’s teams, especially when holding Thrilling Tales of Dragon Slayers (TTDS) and 4pc Tenacity of the Millelith (ToTM). |
 Mika | A 4-star character whose kit is focused on buffing Physical DMG and Attack SPD. Mika’s performance in Eula’s teams is roughly equal to her other supports. |
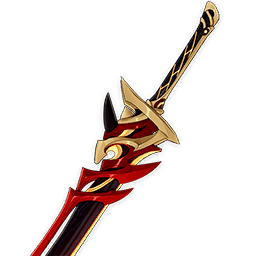
Beacon of the Reed Sea | Can be Eula’s Best-in-Slot (BiS) Claymore under certain conditions with its CRIT Rate substat and ATK% passive. |
Infographic
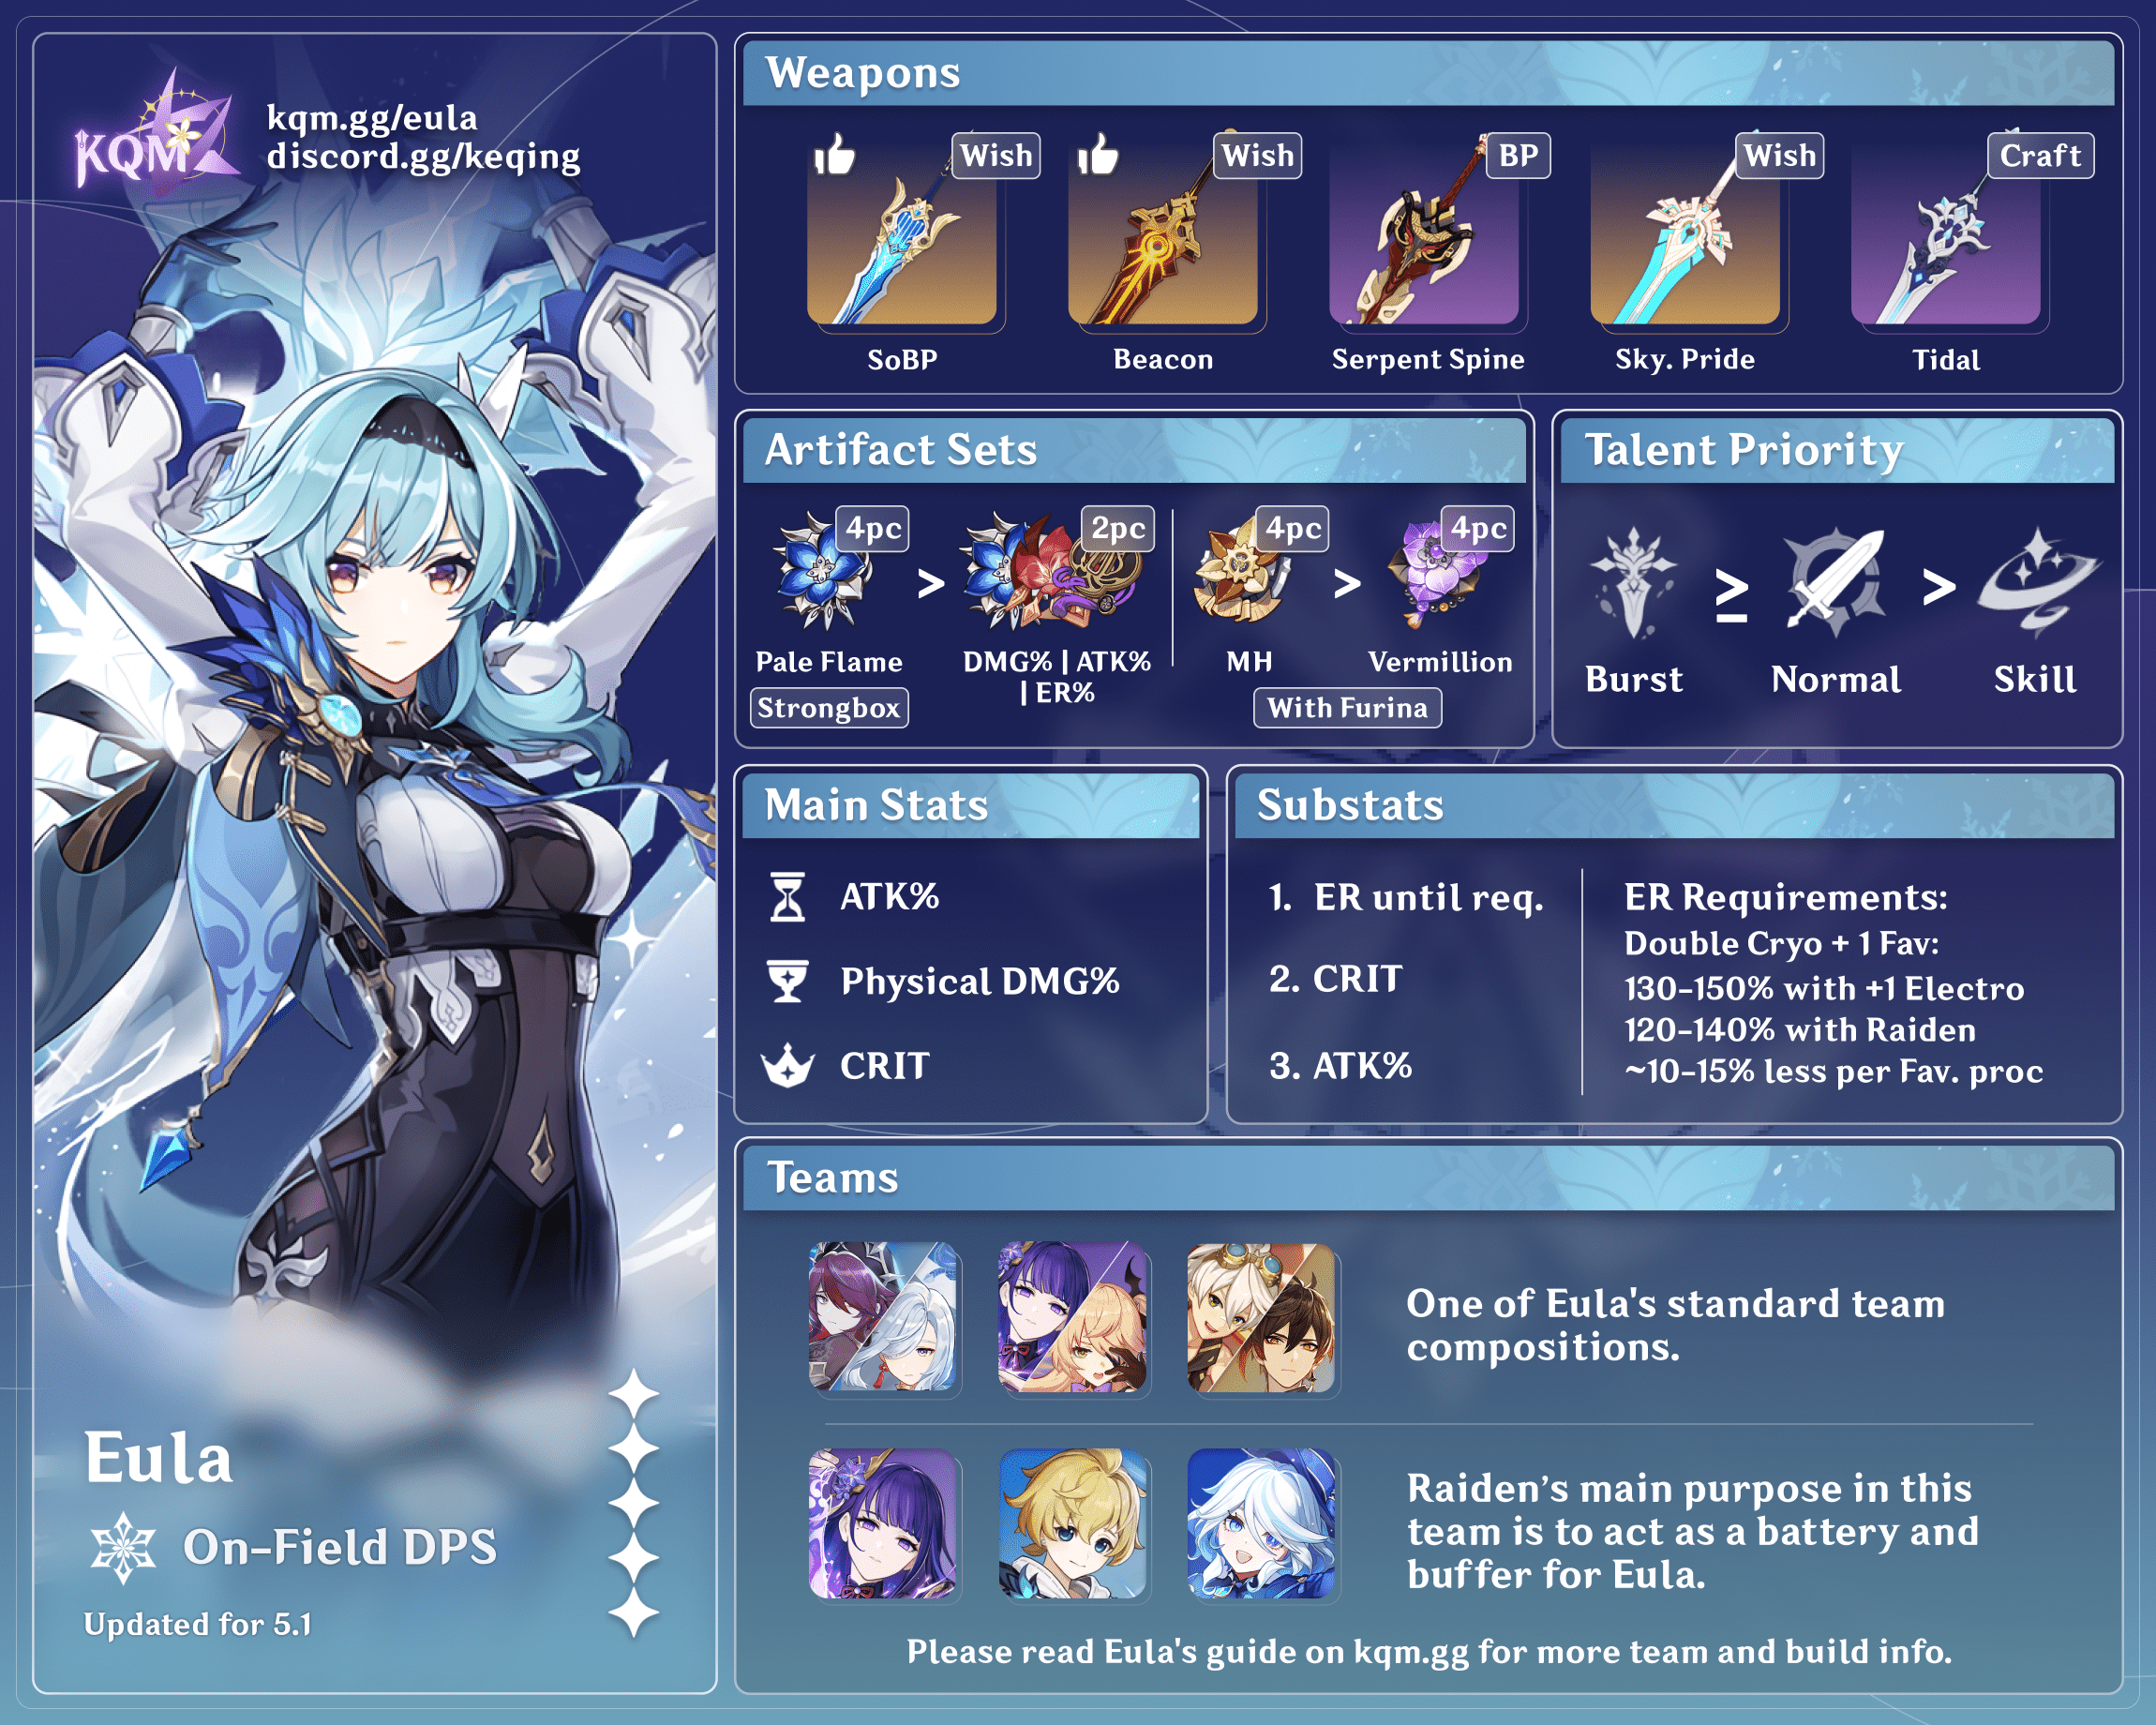
Credits to: icedsquid, mocha_biscuit, and KQM Staff
Character Overview
Playstyles
Physical DPS
Eula’s primary playstyle revolves around her dealing Physical damage in the form of her Normal Attacks and a backloaded Elemental Burst.
Other Playstyles
Eula can serve as a decent fourth slot in teams she does not necessarily synergize well with, but work regardless. Keep in mind that other units will often be better, but Eula can be slotted in as a sidegrade to her traditional Physical hypercarry playstyles. Examples include Hyperbloom and Reverse Melt, but these playstyles will not be covered in the Quick Guide.
Talents
Level and Talent Priority
Talent Priority
Elemental Burst ≥ Normal Attack > Elemental Skill
Eula’s Burst contributes over half her personal damage and should be given the most focus. However, her Normal Attacks should not be neglected due to their high multipliers and take second priority. Levels in her Skill provide little benefit aside from improving its RES Shred.
Talent Overview
 Normal Attack | Favonius Bladework – Edel
Talent Description
Normal Attack
Performs up to 5 consecutive strikes.
Charged Attack
Drains Stamina over time to perform continuous slashes.
At the end of the sequence, performs a more powerful slash.
Plunging Attack
Plunges from mid-air to strike the ground, damaging opponents along the path and dealing AoE DMG upon impact.
A 5-hit combo dealing respectable Physical damage, with faster animations compared to many other Claymore users. Various parts of Eula’s attack string can be animation canceled to improve DPS, which will be elaborated upon in the Combos section.
 Elemental Skill | Icetide Vortex
Talent Description
Sharp frost, swift blade.
Press
Slashes swiftly, dealing Cryo DMG.
When it hits an opponent, Eula gains a stack of Grimheart that stacks up to 2 times. These stacks can only be gained once every 0.3s.
Grimheart
Increases Eula’s resistance to interruption and DEF.
Hold
Wielding her sword, Eula consumes all the stacks of Grimheart and lashes forward, dealing AoE Cryo DMG to opponents in front of her.
If Grimheart stacks are consumed, surrounding opponents will have their Physical RES and Cryo RES decreased.
Each consumed stack of Grimheart will be converted into an Icewhirl Brand that deals Cryo DMG to nearby opponents.
While this Talent contributes little damage, it brings a source of RES Shred to Eula’s kit with her Hold Skill. However, its particle generation is subpar in comparison to her Energy Cost, at 1.5 and 2.5 particles per Tap and Hold Skill respectively. Always use her Hold Skill when two Grimheart stacks are active to trigger her A1 Passive.
 Elemental Burst | Glacial Illumination
Talent Description
Brandishes her greatsword, dealing Cryo DMG to nearby opponents and creating a Lightfall Sword that follows her around for a duration of up to 7s.
While present, the Lightfall Sword increases Eula’s resistance to interruption. When Eula’s own Normal Attack, Elemental Skill, and Elemental Burst deal DMG to opponents, they will charge the Lightfall Sword, which can gain an energy stack once every 0.1s.
Once its duration ends, the Lightfall Sword will descend and explode violently, dealing Physical DMG to nearby opponents.
This DMG scales on the number of energy stacks the Lightfall Sword has accumulated.
If Eula leaves the field, the Lightfall Sword will explode immediately.
Eula’s Burst summons a Lightfall Sword that follows her around for 7s, then detonates once its duration is over or she swaps off the field. Hitting enemies with her Normal Attacks, Skill and Burst during this period grant stacks, each of which increases the final detonation damage.
This Talent is Eula’s primary source of damage, with both its own advantages and caveats. Even though its ‘per-screenshot’ damage is high, it requires Eula to remain on-field for about 10s uninterrupted to achieve maximum damage. Furthermore, due to her Burst’s backloaded nature, it is susceptible to missing entirely because of enemy behavior, such as movement or invulnerable phases, which can plummet her damage potential. However, she can preemptively detonate her Burst by swapping early or withhold it entirely to get around these issues. Finally, it is one of the few Bursts that cannot be prefunneled, which increases her ER requirements.
 Ascension 1 Passive | Roiling Rime
Talent Description
If 2 stacks of Grimheart are consumed upon unleashing the Holding Mode of Icetide Vortex, a Shattered Lightfall Sword will be created that will explode immediately, dealing 50% of the basic Physical DMG dealt by a Lightfall Sword created by Glacial Illumination.
The Shattered Lightfall Sword deals considerable damage and scales with Eula’s Burst Talent level, further incentivizing using her Hold Skill whenever two Grimheart stacks are present. It is treated as Elemental Burst DMG and is affected by Burst DMG% buffs.
 Ascension 4 Passive | Wellspring of War-Lust
Talent Description
When Glacial Illumination is cast, the CD of Icetide Vortex is reset and Eula gains 1 stack of Grimheart.
Enables many of Eula’s Burst combos, providing some flexibility and allowing you to use a fully-stacked Hold Skill more quickly.
Constellations
 Constellation 1 | Tidal Illusion
Every time Icetide Vortex’s Grimheart stacks are consumed, Eula’s Physical DMG is increased by 30% for 6s.
Each stack consumed will increase the duration of this effect by 6s up to a maximum of 18s.
A simple and straightforward 30% Physical DMG buff that Eula’s on-field combos can fully take advantage of.
 Constellation 2 | Lady of Seafoam
Decreases the CD of Icetide Vortex’s Holding Mode, rendering it identical to Tapping CD.
Generally niche and not worth modifying combos for outside of scenarios that warrant spamming Hold Skill off cooldown.
 Constellation 3 | Lawrence Pedigree
Increases the Level of Glacial Illumination by 3.
Maximum upgrade level is 15.
+3 Talent levels to Eula’s Burst, a significant increase to her biggest source of damage.
 Constellation 4 | The Obstinacy of One’s Inferiors
Lightfall Swords deal 25% increased DMG against opponents with less than 50% HP.
Its DMG is additive with other DMG% bonuses such as 4pc Pale Flame, and the <50% HP threshold lowers its practicality. Not worth specifically rolling for.
 Constellation 5 | Chivalric Quality
Increases the Level of Icetide Vortex by 3.
Maximum upgrade level is 15.
The damage gained from this Constellation is extremely negligible, even when accounting for the RES Shred increase.
 Constellation 6 | Noble Obligation
Lightfall Swords created by Glacial Illumination start with 5 stacks of energy. Normal Attacks, Elemental Skills, and Elemental Bursts have a 50% chance to grant the Lightfall Sword an additional stack of energy.
Eula’s strongest Constellation, and one of the most impactful C6s in the game. It increases rotation flexibility by allowing you to swap earlier while retaining similar amounts of damage and lets you achieve some of the highest damage numbers in the game.
Combos
N# = Corresponding number of consecutive Normal Attacks
E = Elemental Skill
tE = Tap Elemental Skill
hE = Hold Elemental Skill
Q = Elemental Burst
D = Dash
| tE Q N4 hE N4 | Eula’s default Burst combo, granting her the highest number of Lightfall stacks (~13 without Attack SPD) while being very easy to execute, as all hits can be mashed and/or buffered. Due to the 0.1s ICD on stack gain, it is recommended to space out her Hold Skill’s A1 proc and the next N1 to avoid letting the two hits overlap. If Eula is played with Attack SPD buffs, an extra stack can be gained consistently, totaling 14 by the end of her Burst. |
| tE N1 Q N3 (wait) N4 hE N3 (wait) N4 | This combo should be chosen if Eula is played with Beidou. It grants the maximum Stormbreaker discharges during Eula’s field time (7), and is relatively easy to perform. It is essential to briefly wait between your N3 and N4 inputs to account for the 1s internal cooldown on Stormbreaker procs. |
| tE Q N3 hE N4 D N2 / tE Q N4 hE N5 | The first combo should only be used if Eula is buffed by at least 27% Attack SPD (i.e., Pines, Mika, C2 Jean). With 42% Attack SPD, the second combo becomes possible, both of which provide 15 and 16 stacks respectively. |
Artifacts
ER Requirements
| ER Requirement | |
| Double Cryo | 140–160% |
| Triple Cryo | 110–125% |
Raiden lowers Eula’s Energy requirements by 30–50%. Favonius procs lower Energy requirements by ~10%.
As Eula’s Energy Recharge requirements heavily depend on teammates and their gearing, use the Energy Recharge Calculator for a more definite answer.
Artifact Stats
 Sands |  Goblet |  Circlet |
| ATK% / ER% | Physical DMG% Bonus | CRIT Rate / CRIT DMG |
Substats: ER until requirement > CRIT > ATK% > Flat ATK
An ER Sands should only be used when ER requirements cannot be met otherwise.
Eula’s high Burst damage opens up a playstyle colloquially known as CRIT fishing — heavily focusing on CRIT DMG and resetting Abyss chambers until a CRIT Hit is dealt, thus oneshotting enemies. Although feasible, it is not recommended as a general playstyle and sticking to a 1:2 CRIT ratio is recommended.
Artifact Sets
 4pc Pale Flame (PF) | Eula’s Best-in-Slot artifact set, developed with her kit in mind. She can easily maintain two stacks and the 18% ATK until her Burst detonation. Her C2 is not necessary for the set to function well. |
 2pc + 2pc combinations +20% ER, +18% ATK, 25% Physical DMG | These 2pc combinations can outperform 4pc PF with better substats. |
 4pc Emblem of Severed Fate (EoSF) | Eula’s relatively high ER needs and emphasis on Elemental Burst damage make this a serviceable set for her. Just like the 2pc combinations, use whichever has better substats. |
Weapons
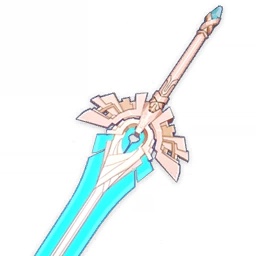
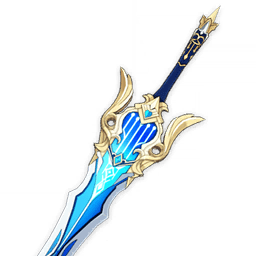 Song of Broken Pines | Eula’s signature weapon. Boasts the highest Base ATK in the game as well as a Physical DMG% substat, with an additional team buff to top it off. Its ATK% buff is helpful while the Attack SPD less so; however, with certain teammates or higher refinements, it can help Eula achieve more Lightfall stacks. |
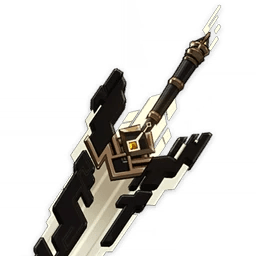
Beacon of the Reed Sea | Provides high Base ATK, a large amount of CRIT Rate, and ATK% through its passive. It can be Eula’s best weapon for consistent damage, assuming you are able to proc both parts of the passive. In turn, the second part makes shielders less synergistic in her teams. Song of Broken Pines can still be better in Raiden teams and damage per screenshot showcases. |
 Wolf’s Gravestone | A massive ATK stat stick, situationally outperforming the above weapons with its passive active. |
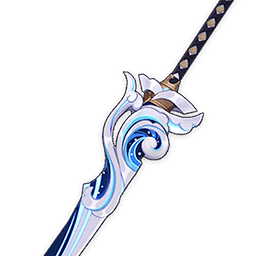
 The Unforged | Similar to Wolf’s Gravestone, but with a more consistent passive. Its passive synergizes well with a shielder, though changing teams purposely to utilize it is not recommended. |
 Skyward Pride | Offers a high Base ATK and a respectable amount of ER. Its passive deals non-negligible damage, scaling off the stats Eula builds. Can make artifact farming more difficult since Energy Recharge substats lose value with this weapon. |
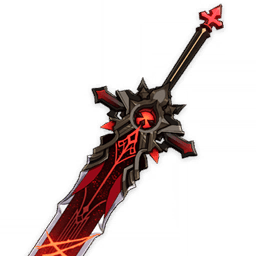
 Redhorn Stonethresher | Mostly a CRIT DMG stat stick. While Eula does have innate DEF% buffs in her kit, it is not worth maximizing DEF for this passive. Ultimately held back by its low Base ATK unless Bennett is used. |
 Serpent Spine | The quintessential 4-star Claymore, offering CRIT Rate and additional DMG% to top it off. A shielder may be necessary to maintain stacks on its passive. |
 Akuoumaru | Akuoumaru’s high ATK stats and Burst DMG% in its passive allow it to compete with other 4-star weapons. Its overall performance depends on refinements and teammates. |
 Luxurious Sea-Lord | A free event weapon and Eula’s strongest F2P (Free-to-Play) option, also providing ATK% and Burst DMG%. |
 Prototype Archaic | A craftable Claymore that can be used if the above weapons are not available. |
Teams
Physical DPS

Eula — Electro — Cryo — Flex
These teams are focused around maximizing Eula’s damage by providing her with much-needed Cryo particles, Superconduct, and potential buffs. Outside of very specific teams, at least one Electro character is necessary to trigger Superconduct, and a second Cryo character is needed to battery Eula. The last slot is largely flexible and can be filled with a healer or shielder, a third Cryo unit, or an off-field DPS.
Notable Teammates
Electro
 Raiden | Offers long-lasting Electro application, a teamwide Burst DMG% buff, and large amounts of Flat Energy for Eula and her team. Eula allocates field time for Raiden to use her Elemental Burst, making it one of Raiden’s few true “dual carry” teams. That said, her comparative lack of buffs in a Eula team lowers her damage relative to Raiden-centric teams, and Eula often still needs a Cryo battery even with her Energy refund. |
 Fischl | Fischl’s consistent, off-field Electro application maintains Superconduct uptime with little effort, despite being single-target oriented. She is also very accessible due to being a 4-star. |
  Kuki Shinobu / Dori | Both consolidate healing and Electro application into one role, freeing up slots for offensively-oriented units. Kuki’s multi-hit Elemental Burst allows you to proc Favonius reliably with lower CRIT Rate, and she can hold 4pc ToTM. Dori offers Flat Energy instead — although still useful, it is generally worse than Kuki in the slot. |
 Beidou | Beidou’s high-damage Burst shines in 2–3 target scenarios; while it is powerful, it requires modifying your Burst combo to achieve the most Stormbreaker discharges, sacrificing some of Eula’s damage in the process. She needs to be paired with a second Electro unit to battery her Burst. |
 Lisa | Lisa grants the team access to DEF Shred, TTDS, and 4pc Noblesse Oblige (NO) while not needing high investment to provide her utility. Her Energy issues are heavily alleviated with Raiden, and it is not recommended to run Lisa without her outside of Damage per Screenshot setups. |
Cryo
Mika | Mika provides Physical DMG%, healing, Attack SPD, as well as a Physical CRIT DMG% buff at C6. His Attack SPD can enable new combos on Eula, resulting in more Lightfall stacks. Despite these benefits, Mika is usually a side grade to other buffers (i.e., Bennett) at best, and his Energy generation is poor, requiring a third Cryo to help Eula Burst off cooldown. Furthermore, Mika’s buffs do not apply off-field, preventing Eula from swapping out early to forcefully detonate her Lightfall Sword. |
  Shenhe / Rosaria | Both provide Cryo Particles to Eula and offer their own utility. Shenhe supplies a large amount of buffs to Eula, who can still proc Icy Quill for decent damage despite Cryo not being the majority of her damage share. She also shreds Physical and Cryo RES with her Burst, and her A4 is teamwide, buffing all damage dealers. Rosaria offers CRIT Rate share (albeit inconsistent) and Physical RES Shred at C6. |
  Layla / Diona | Both units condense the shielder and Cryo battery roles. Diona brings healing and upfront particle generation via Sacrificial Bow, while Layla’s shield is stronger and can generate Cryo particles off-field during Eula’s field time. Her personal damage is higher (especially with C6), and her cooldowns synergize with longer rotations such as Eula Raiden teams, where she can use two Skills and Bursts per rotation. Layla can also hold 4pc ToTM to buff team ATK. |
Other
 Zhongli | Zhongli’s strong shield and Universal RES Shred allow him to slot neatly into Eula teams. He can carry 4pc ToTM for an ATK% buff. |
 Bennett | While Bennett is not necessary for Eula teams, his massive Flat ATK buff and defensive utility still provide value for Eula, making him worth considering if he is available. His C6 infuses Eula’s attacks with Pyro and may interfere with Cryo Resonance, but in rotations with fewer Normal Attacks and teammates that benefit from his Flat ATK buff (e.g Raiden teams), he can still be worth slotting in. |
 Yelan | Yelan deals high single-target damage and has a Burst that is adept at shieldbreaking, something that Eula’s teams often lack. Additionally, Eula’s backloaded damage nature means she can take advantage of Yelan’s ramping A4 buff well. Her ER requirements are noticeably lower than in other on-field DPS teams due to her ability to cast her Skill twice. |
 C2 Nahida | Despite being a subpar option before Constellation 2, Nahida’s C2 DEF Shred as well as her ability to provide buffs via TTDS and 4pc ToTM justify her slot in Eula teams. She also allows Electro characters like Raiden and Fischl to trigger Aggravate, increasing their damage. |
Example Teams
This is not a comprehensive list of teams. The inclusion or exclusion of any given team does not necessarily reflect its power level.


Eula must run an Energy Recharge Sands in Raiden-Bennett teams if the fourth slot is not a Cryo unit.
Credits
Leah, kbphan, twce_, idkanonymized, nikatosaurus, irokei, uhinf1999
Team images courtesy of the KQM portrait generator.