Updated for Version 5.4

Yelan is a 5★ Hydro Bow character in Genshin Impact who specializes in off-field single-target damage and Elemental application. Learn about Yelan’s best builds, best weapons, best artifacts, and best teams in this quick guide.
Note that the information given may change if new discoveries are made. More extensive testing is in progress.
The full-length guide is available here. It is currently being updated.
Table of Contents
Infographic
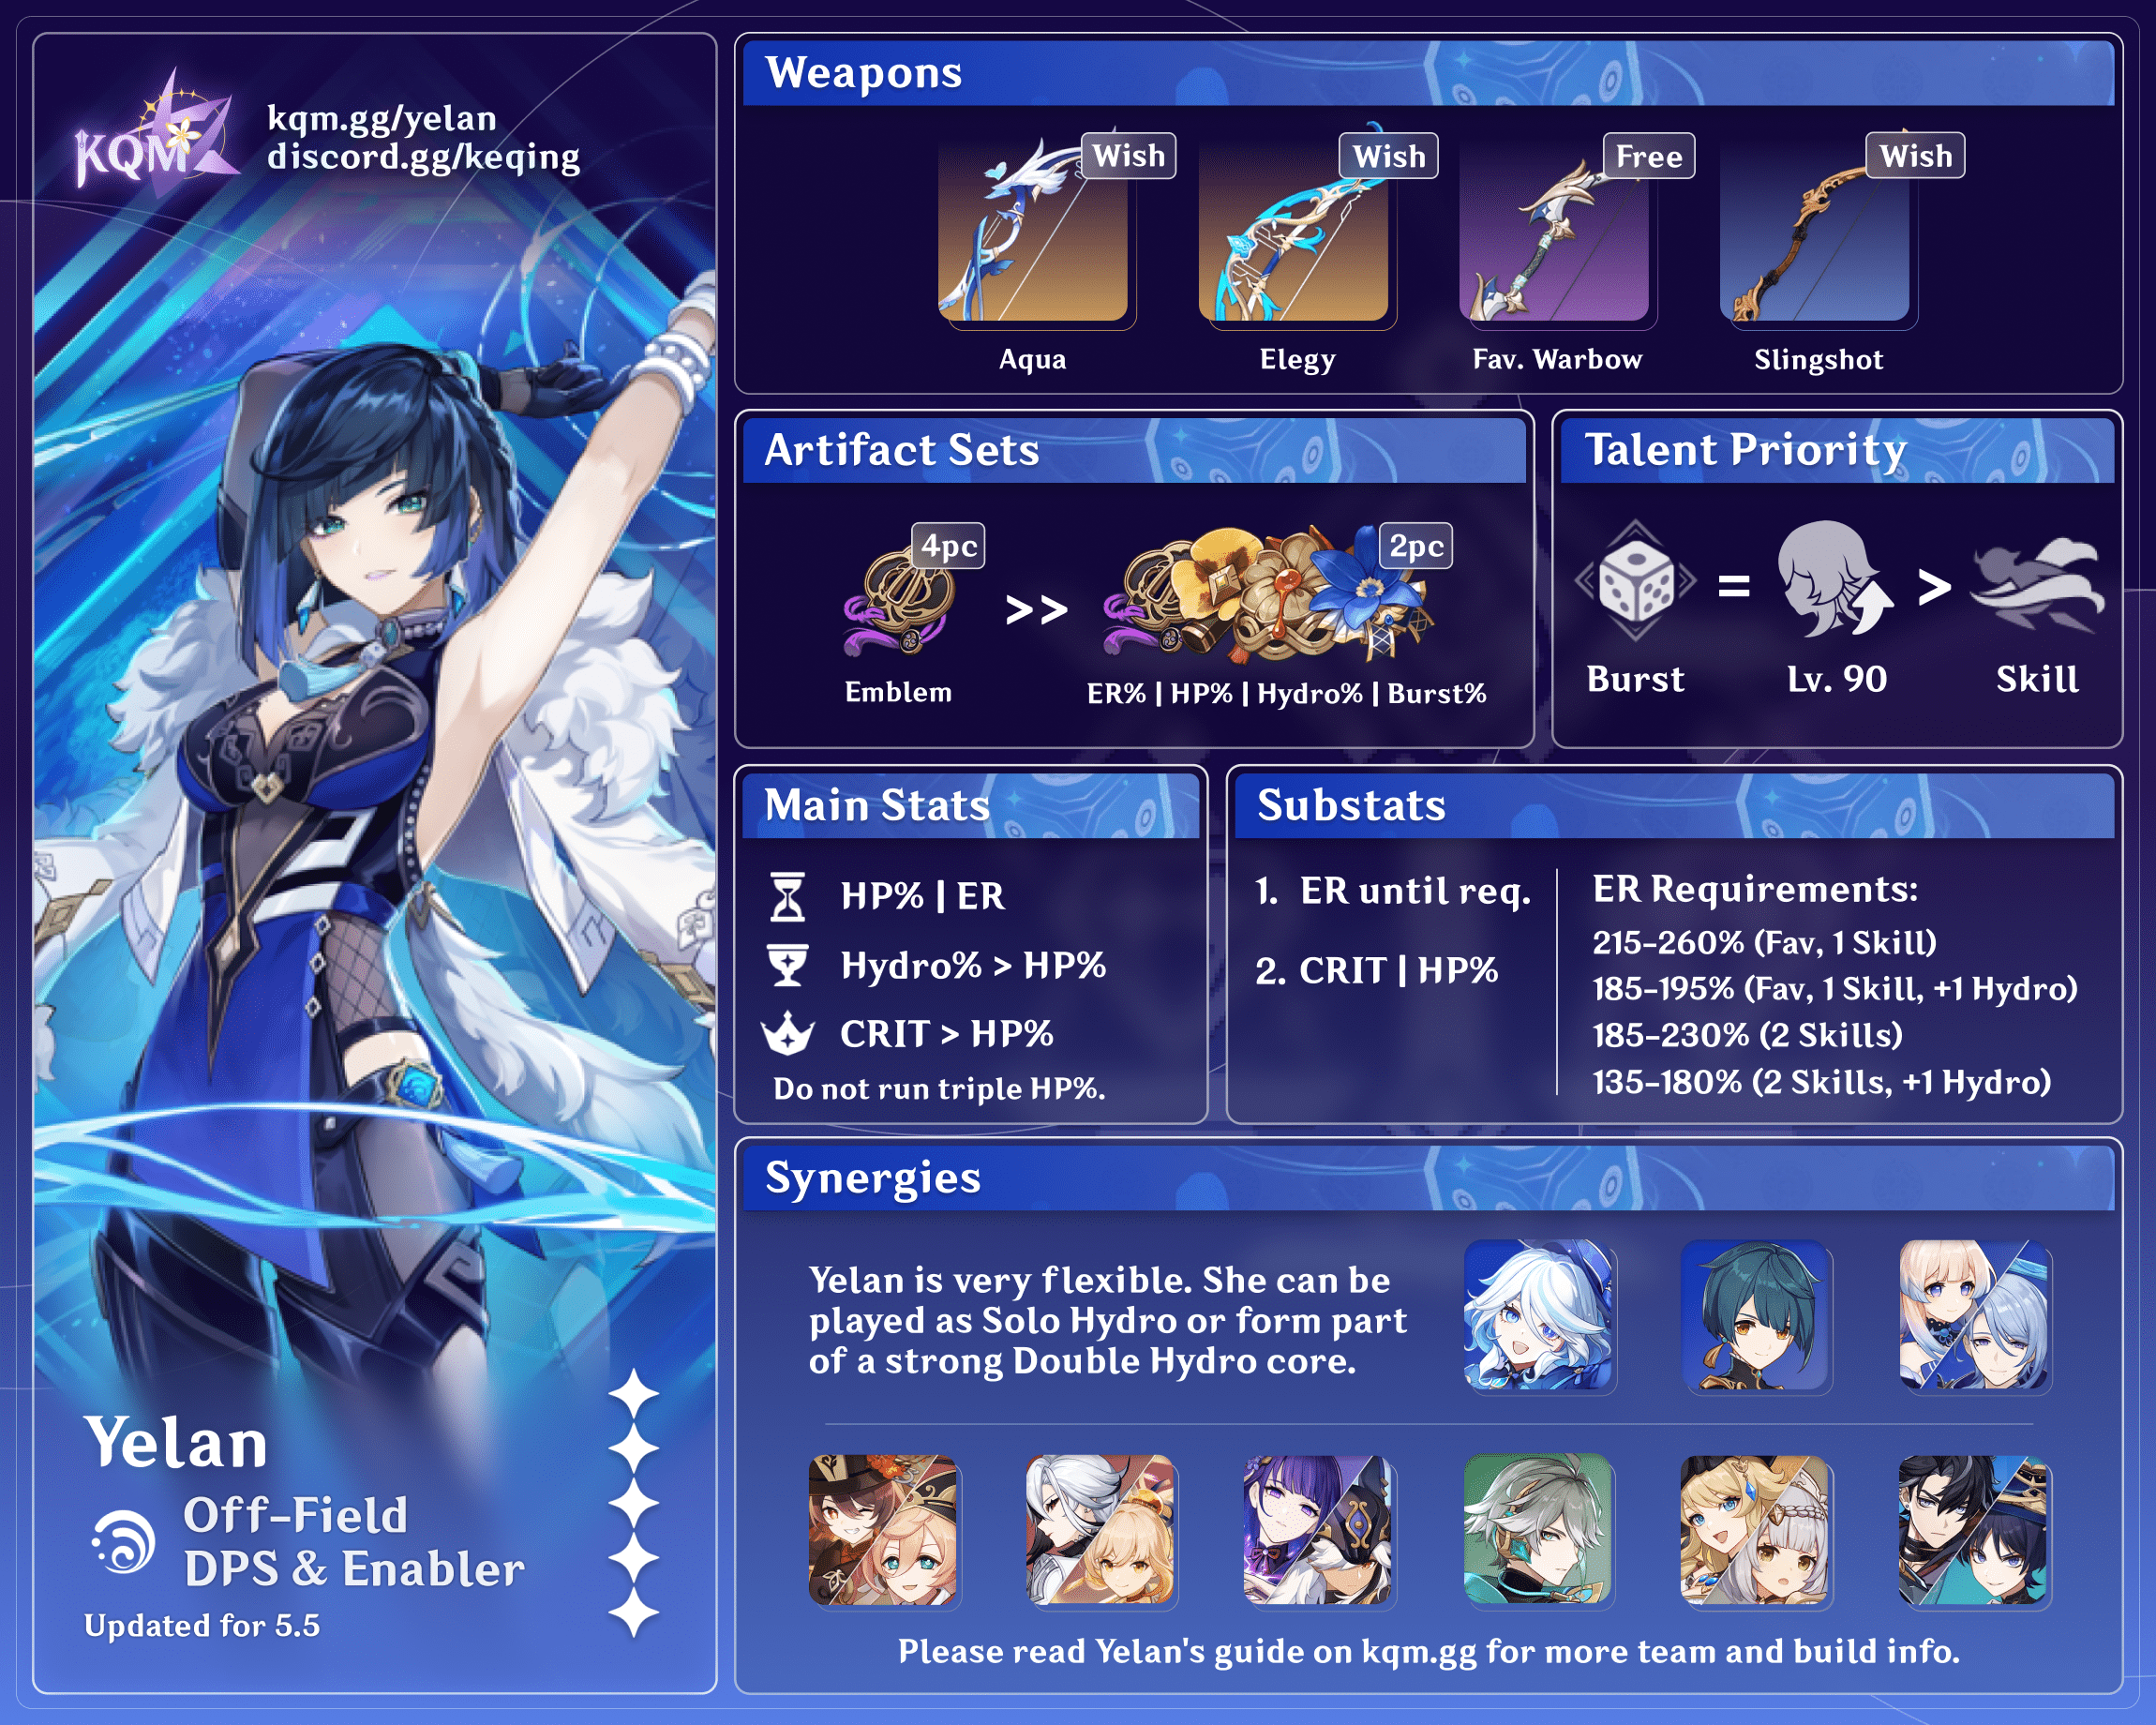
Credits to: euphorysm, snowwwwww., and KQM Staff
Character Overview
Pros
- Has off-field Hydro damage and application
- Enables a shorter team rotation than the Xingqiu variant
- Drives her own coordinated attacks well
Cons
- Damage and application is mainly single-target
- High Energy needs as a solo Hydro unit
- Lower Hydro application and shorter Burst uptime than Xingqiu
- Requires Normal Attack input from the active characters to trigger her Burst
Playstyles
Off-Field DPS & Enabler
Yelan can be played as an off-field Elemental Burst damage dealer that excels in single-target fights. Her off-field Hydro application is good enough to enable reactions in most teams, and the DMG% buff from her A4 Passive benefits the active characters.
On-Field DPS
Yelan can play the role of an on-field unit in teams where there is no dedicated on-fielder. This allows her to take advantage of her own A4 Passive buff and to use more Skills per rotation, decreasing her ER requirements.
Talents
Level and Talent Priority
Burst > Skill
Yelan’s main source of damage is her Elemental Burst, so it takes priority in terms of leveling, followed by her Skill.
Essentially all of Yelan’s damage scales from her HP. As such, she benefits significantly from being leveled to 90/90, which provides a sizable boost to her Base HP. Moreover, in Nilou teams where a fair share of her own damage comes from Bloom reactions, leveling Yelan to Lv. 90 is exceptionally important.
Unless Yelan is C6, it is not advised to level up her Normal Attack Talent. In all other cases, Yelan can only realistically use a Breakthrough Barb once per combat; thus, leveling this Talent has negligible impact on her performance.
Talent Overview
 Normal Attack | Stealthy Bowshot
Talent Description
Normal Attack
Performs up to 4 consecutive shots with a bow.
Charged Attack
Performs a more precise Aimed Shot with increased DMG.
While aiming, flowing water will accumulate on the arrowhead. A fully charged torrential arrow will deal Hydro DMG.
Breakthrough
Yelan will enter a “Breakthrough” state after spending 5s out of combat, which will cause her next Charged Aimed Shot to have 80% decreased charge time, and once charged, she can fire a “Breakthrough Barb” that will deal AoE Hydro DMG based on Yelan’s Max HP.
Plunging Attack
Fires off a shower of arrows in mid-air before falling and striking the ground, dealing AoE DMG upon impact.
At C0, Yelan’s Normal Attack Talent is easily the least notable aspect of her kit. Most parts of it scale off of ATK, which is a stat Yelan tends not to build as the rest of her kit scales off of HP. Her Breakthrough Barb mechanic can occasionally be useful for establishing Hydro aura on the enemy at the beginning of a fight, but it is mostly inconsequential since it requires Yelan to be out of combat to reenter the Breakthrough state and fire a Barb. However, it is worth noting that this Talent gains greater importance at C6.
 Elemental Skill | Lingering Lifeline
Talent Description
Fires off a Lifeline that allows her to move rapidly, entangling and marking opponents along its path.
When this rapid movement ends, the Lifeline will explode, dealing Hydro DMG to the marked opponents based on Yelan’s Max HP.
Tap
Moves a certain distance forward swiftly.
Hold
Engages in continuous, swift movement, during which Yelan’s resistance to interruption is increased.
During this time, Yelan can control this rapid movement and end it by using this Skill again.
Additionally, each opponent marked by the Lifeline when it explodes grants Yelan a 34% chance to reset her Breakthrough state.
Yelan’s Skill is a relatively high-damage ability which generates 4 particles upon damaging an entangled enemy. Holding her Skill also gives Yelan significant maneuverability in and out of combat. Her swift movement helps her reposition between different waves on an Abyss floor, get close to highly mobile enemies, and explore the overworld. When possible, Yelan can try to cast this Skill twice per rotation to reduce her Energy requirements.
 Elemental Burst | Depth-Clarion Dice
Talent Description
Deals AoE Hydro DMG and creates an “Exquisite Throw,” which aids her in battle.
Exquisite Throw
Follows the character around and will initiate a coordinated attack under the following circumstances, dealing Hydro DMG based on Yelan’s Max HP:
- Can occur once every second when your active character uses a Normal Attack.
- Will occur each time Yelan’s Lifeline explodes and hits opponents.
Yelan’s Burst is the focus of her kit. It consolidates a large share of her notable personal damage, offers consistent off-field Hydro application, and activates her Ascension 4 Passive. Her Burst is the main reason she is compared so often to Xingqiu. Yelan offers higher damage potential and a ramping buff in exchange for lacking Xingqiu’s defensive utility, additional Hydro application with his orbital Rain Swords, longer Burst duration at C2, and higher Hydro application on his Burst at C6. This makes the choice between them fairly nuanced when not exploiting their significant synergy together.
 Ascension 1 Passive | Turn Control
Talent Description
When the party has 1/2/3/4 Elemental Types, Yelan’s Max HP is increased by 6%/12%/18%/30%.
Yelan’s A1 provides her a helpful boost to Max HP, which all her damage scales off of. That said, it is not worth sacrificing team synergy by trying to maximize it.
 Ascension 4 Passive | Adapt With Ease
Talent Description
So long as an Exquisite Throw is in play, your own active character deals 1% more DMG. This increases by a further 3.5% DMG every second. The maximum increase to DMG dealt is 50%.
The pre-existing effect will be dispelled if Depth-Clarion Dice is recast during its duration.
Yelan’s A4 serves as a powerful contribution to team DPS in most cases, providing a powerful ramping buff for the on-field unit. While its value is sometimes not fully utilized in quickswap teams and teams with mostly front-loaded damage, the buff can be extremely potent when used by certain units.
Constellations
Calcs for Constellation DPS increases can be found here (last updated for Version 3.4).
 Constellation 1 | Enter the Plotters
Constellation Description
Lingering Lifeline gains 1 additional charge.
The value of her C1 varies. It can be extremely useful by allowing Yelan to get another Skill use every rotation, thereby lowering her ER requirements significantly. On the flip side, it can find itself wasted in either shorter rotations (<22s), which do not allow her to regain both charges, or rotations where she was already given enough leeway to cast two Skills without it. Even then, the extra flexibility and mobility it provides is still appreciable.
In the overworld, this Constellation enhances her value for exploration, as the cooldown for the first Skill usage continues to go down even during its second use.
 Constellation 2 | Taking All Comers
Constellation Description
When Exquisite Throw conducts a coordinated attack, it will fire an additional water arrow that will deal 14% of Yelan’s Max HP as Hydro DMG.
This effect can trigger once every 1.8s.
This Constellation adds an additional projectile to every other wave of her Burst. While this is a significant damage increase on its own, the extra Hydro application it provides expands the number of teams she can fit in and improves many of her existing ones. In particular, this Constellation allows Yelan to reliably serve as the sole Hydro applicator in a Hu Tao Vape team.
 Constellation 3 | Beware the Trickster’s Dice
Constellation Description
Increases the Level of Depth-Clarion Dice by 3.
Maximum upgrade level is 15.
An appreciable increase to her largest source of damage. While this Constellation does not affect her C2 projectile, it is still a notable damage boost.
 Constellation 4 | Bait-and-Switch
Constellation Description
Increases all party members’ Max HP by 10% for 25s for every opponent marked by Lifeline when the Lifeline explodes. A maximum increase of 40% Max HP can be attained in this manner.
Yelan’s C4 improves her own damage as well as that of any HP-scaling teammates such as Hu Tao and Furina. While occasionally underwhelming against low mob counts or in teams without characters that can take advantage of the buff, its value can increase dramatically in the right situations.
 Constellation 5 | Dealer’s Sleight
Constellation Description
Increases the Level of Lingering Lifeline by 3.
Maximum upgrade level is 15.
Levels on her Skill tend to not significantly improve Yelan’s overall damage. Still a DPS increase, however minor.
 Constellation 6 | Winner Takes All
Constellation Description
After using Depth-Clarion Dice, Yelan will enter the Mastermind state.
In this state, all of Yelan’s Normal Attacks will be special Breakthrough Barbs. These Breakthrough Barbs will have similar abilities to normal ones and the DMG dealt will be considered Charged Attack DMG, dealing 156% of a normal Breakthrough Barb’s DMG.
The Mastermind state lasts 20s and will be cleared after Yelan fires 5 arrows.
This is the Constellation that allows Yelan to spend more time on-field and to be effective at it, though her field time is still rather limited. At minimum, it provides a good boost by expending special Breakthrough Barbs with one or two Normal Attacks when Yelan swaps on-field. When given enough time in the rotation to fully utilize it, it provides a huge DPS boost with the advantage of being heavily front-loaded and capable of hitting multiple targets. It is worth noting that this Constellation makes it important to level Yelan’s Normal Attack Talent.
Combos
- N# = Corresponding number of consecutive Normal Attacks
- E = Elemental Skill
- Q = Elemental Burst
- ( ) = these actions are optional; please refer to the notes below
| EQ (N1) | Yelan’s default combo where she uses her Skill and quickly follows up with her Burst to catch the particles generated from the Skill. Yelan can use a Normal Attack to trigger a Burst coordinated attack before swapping out. |
| Q N1 E N1 | This combo allows Yelan to weave in 2 additional Exquisite Throw attacks before swapping off-field at the cost of not catching the particles from her Skill. This can be resolved by using the “booking” technique. |
Artifacts
ER Requirements
Calcs for ER requirements can be found here (last updated for Version 5.4).
Prioritize meeting Yelan’s ER requirements above everything else, as the majority of her kit is locked behind her Burst.
Assumptions:
- Yelan triggers 1 Favonius passive per Skill. However, if she uses 2 Skills next to each other with C1, only assume 1 Favonius proc.
Notes:
- Cyno further decreases her ER requirements by around 15–25%.
- Each additional Favonius trigger from teammate lowers Yelan’s ER requirements by as little as 10% and as much as 50% (the higher the base ER requirements are, the bigger the decrease is).
Favonius Warbow
| 1 Skill | 2 Skills | |
| Solo Hydro | ~215-260% | ~160-165% |
| Solo Hydro with Raiden | ~150% | ~115% |
| Double Hydro | ~185-195% | ~110-140% |
| Double Hydro with Raiden | ~120-130% | ~100-110% |
| Mono Hydro | (use 2 E) | ~105-125% |
Other Weapons
| 1 Skill | 2 Skills | |
| Solo Hydro | ~265-335% | ~185-230% |
| Solo Hydro with Raiden | ~185% | ~160% |
| Double Hydro | ~220-230% | ~135-180% |
| Double Hydro with Raiden | ~140-155% | ~115-125% |
| Mono Hydro | (use 2 E) | ~125-160% |
Use the Energy Recharge Calculator to determine exact requirements for your team and rotation. For more details on how Favonius weapons will affect your team, please use Ac1d’s Favonius Mastersheet.
Artifact Stats
 Sands |  Goblet |  Circlet |
| HP% / ER% | Hydro DMG Bonus / HP% | CRIT / HP% |
Stat Priority: ER (until requirement) > HP% (until 30,000 HP) > CRIT Rate / CRIT DMG > HP%
Yelan’s ER takes priority as her performance is reliant on casting her Burst every rotation.
A balanced ratio between CRIT Rate and CRIT DMG is 1:2 as it maximizes the average damage output. However, CRIT Rate can gain a bit more value if Yelan is holding Favonius Warbow.
HP% has considerable value on Yelan. While 30,000 is a good value to strive for, it can still benefit her significantly beyond that, sometimes even overtaking CRIT (particularly when Yelan does not benefit from HP% buffs). Players who struggle to reach a good HP threshold can opt for an HP% Goblet or Circlet (but not both) — the latter option is a worthy consideration as the difference between an HP% and CRIT Circlet is generally only 5% with equivalent substats.
Artifact Sets
 4pc Emblem of Severed Fate (EoSF) | Hands-down her best set, providing her with much-needed ER as well as allowing her to capitalize on the significant ER that she builds. While its value decreases at lower ER requirements, it is rarely ever low enough to knock its value down. Note that it is not worth stacking your ER to maximize the 4pc effect, as it is always better to invest into other offensive stats after reaching the ER requirements. |
 4pc Marechaussee Hunter | Yelan’s preferred set when she is the on-fielder in teams with Furina. |
 4pc Nymph’s Dream | While it is not particularly outstanding for Yelan, 4pc Nymph’s Dream can still be used on her in low–ER requirement scenarios if players happen to have a good set around. Its 2pc effect can also be used in a mixed combination with other 2pc sets. |
 2pc + 2pc Mixed Sets | 2pc Set Bonuses: EoSF, Scroll, Noblesse Oblige, Hydro DMG%, HP% 2pc combinations of the listed sets can be used, with the difference between them generally coming down to substats. 2pc Scroll can only be used with at least one Natlan character in the team. |
 Support Sets | 4pc Noblesse Oblige, 4pc Scroll of the Hero of Cinder City, 4pc Archaic Petra, 4pc Deepwood Memories Support sets in teams where Yelan’s personal damage is not as important as the buffs these sets provide to her teammates. |
Weapons
 Aqua Simulacra (5★) | Yelan’s strongest option for personal damage. However, it relies on her artifacts having sufficient ER substats for her Burst. The disparity in personal damage compared to other options increases as ER requirements fall. |
 Elegy for the End (5★) | This weapon trades Yelan’s personal damage for an EM and ATK% buff, and the trade-off is usually worth it when her teammates can use the stats well. Elegy’s ER secondary stat also helps as Yelan is usually the solo Hydro unit in those teams where her ER needs are high. |
 Favonius Warbow (4★) | Yelan’s general strongest free option (players can get one copy of it by progressing through Mondstadt’s Archon Quest), covering most of her ER requirements as well as lessening the Energy needs of the whole team. Its value increases if she can get more than one proc per rotation. |
 5-Star CRIT Bows & Silvershower Heartstrings | 5-Star CRIT Bows: Hunter’s Path (5★), Astral Vulture’s Crimson Plumage (5★), Polar Star (5★), Skyward Harp (5★), Thundering Pulse (5★), The First Great Magic (5★) 5-star CRIT stat sticks that all perform similarly in low–Energy need scenarios; their passives are useful to varied degrees. Silvershower Heartstrings also belongs to this group with its decent statline despite providing HP% to Yelan instead of CRIT. |
 Slingshot (3★) | A strong free option for Yelan’s personal damage that can compete with the non-Aqua 5-star weapons. It is recommended at low ER requirements. |
 Mouun’s Moon (4★) | This weapon competes with Slingshot at R3 and surpasses it at R5. Weapon level does nothing for Yelan, so you can keep it at Lv. 1. |
 The Stringless (4★) | At R5, Stringless is a sidegrade to Slingshot. The main advantage of using this weapon over the other is that you do not have to level Stringless as ATK does not increase Yelan’s damage. |
 Recurve Bow (3★) | Another good free option at low ER requirements. It is usually comparable to Slingshot and can be better if Yelan has more CRIT than usual (when using 4pc Marechaussee Hunter). |
 Fading Twilight (4★) | Performs slightly better than Slingshot in high ER requirements. |
 Sacrificial Bow (4★) | An alternative to Favonius Warbow in terms of Energy but worse than it in terms of consistency and team utility. |
Teams
Combo Notation
- N = Normal Attack
- C = Charged Attack
- P = Plunging Attack
- A = Aimed Shot
- E = Elemental Skill
- tE = Tap Skill
- hE = Hold Skill
- Q = Elemental Burst
- D = dash (cancel)
- J = jump (cancel)
- W = walk (cancel)
- > = switch character
- ( ) = these actions are optional; please refer to the notes below
- [ ] = repeat these actions the specified number of times
Teambuilding
Yelan wants to be played in teams with a character (or many) who can drive her coordinated Burst attacks with their Normal Attacks. She benefits greatly from a second Hydro unit to lessen her ER needs. As such, even though she competes with Xingqiu for the off-field Hydro slot, Yelan and Xingqiu can be used together to form a powerful Double Hydro core.
Double Hydro
Yelan can be paired with another Hydro character, usually Xingqiu or Furina, to make a powerful, flexible Double Hydro core. Yelan and the other Hydro unit’s shared particle generation decreases both of their ER needs, allowing them to build for more offensive stats. The added Elemental application from a second Hydro unit also makes reactions more reliable in teams where it is inconsistent with Yelan alone.
Using a third Hydro character (which can be Furina or Xingqiu) turns the team into Mono Hydro, where the damage focus is on the pure damage of the Hydro teammates. Yelan’s ER requirements in those teams can be low enough to completely forgo building ER and invest purely in HP% or CRIT instead (especially when the team rotation allows her to use Skill twice per rotation).
Note that Furina requires some sort of healing in the team to offset her HP drain and to stack Fanfare for her DMG Bonus buff.
Notable Teammates
Hydro Teammates
Hydro characters generate Hydro particles, activate Hydro Resonance, provide various team utility, and deal solid damage on their own
 Xingqiu | Xingqiu is the original member of the “Double Hydro” core with Yelan. Not only can Xingqiu deal strong personal damage, but he also increases the other Hydro units’ damage via his Hydro RES Shred from C2. The Yelan–Xingqiu Double Hydro also boasts the most Hydro application in the game, ensuring Hydro aura to stay for most if not all of your needs. |
 Furina | Even though Furina’s application is less than that of Xingqiu, it is still enough to enable most reactions with Yelan. On the other hand, Furina’s personal damage in Double or Mono Hydro is higher than Xingqiu, and her DMG% buff for Yelan and the other two teammates is significantly bigger than Xingqiu’s C2, provided you have a decent healer in the team to stack Furina’s Fanfare. |
 Kokomi | Kokomi can be a good on-fielder to drive Yelan’s Burst attacks while also contributing considerable damage output by herself. In Mono Hydro teams with Furina, she can also play the team healer role, helping Furina stack her Fanfare for more DMG Bonus. |
 Ayato | Ayato can mindlessly drive Yelan’s coordinated attacks with his Normal Attack spam. His AoE-oriented performance also supplements Yelan’s single-target specialty. |
Nilou | Yelan can be used in Nilou’s Bloom teams as a Bloom trigger or Bloom enabler. The latter playstyle has Yelan owning a good amount of Bloom reactions, making an EM build viable on her. |
Mualani | Mualani’s most optimal playstyle is Forward Vaporize. Still, she can appreciate Yelan as a valuable teammate thanks to her DMG buff, Hydro Resonance, and ability to set up Hydro aura. As Yelan’s coordinated attacks go after Mualani’s Sharky’s Bites, Pyro aura can still be maintained throughout the rotation with a strong applier such as Xiangling or with the help of a Dendro unit. |
Sigewinne | Sigewinne is a flexible teamwide healer. Her most notable synergy is with Furina as she can provide an Additive Base DMG Bonus buff to Furina’s off-field Skill damage. As such, Sigewinne is mostly played in a Mono Hydro setup with Furina when it comes to her teams with Yelan. |
 Other Hydro Units | Other Hydro teammates have little to no synergy with Yelan. They can still be played alongside Yelan for Hydro Resonance, better Energy economy, or added damage and Elemental application. |
On-Fielders
Double Hydro / Mono Hydro is a flexible core that can be used for many on-field damage dealers, whether to enable reactions for them or just to add more off-field damage. Yelan can also act as the on-fielder for the team as well as the above-mentioned Hydro units.
Note that the on-fielder does not have to have the highest portion of the team’s damage: they can happen to be a support who has good driving capability.
 Hu Tao | Double Hydro is a great staple to Hu Tao teams as she wants consistent Hydro application to Vape all of her attacks. Hu Tao also benefits from the HP% buff that the Hydro Resonance provides. |
  Klee, Yanfei | These are two other Pyro on-field DPS characters that want the plentiful Hydro application from a Double Hydro core to reliably Vape all of their attacks. Even though Klee and Yanfei cannot take advantage of the Hydro Resonance like Hu Tao does, Double Hydro is still very good for their team DPS. |
 Raiden Shogun | Raiden is a good on-field DPS character who can drive Yelan’s coordinated attacks well. Her Energy refund and rich particle generation are also helpful, allowing the Hydro units to run even lower-ER builds. Moreover, Yelan (and Xingqiu) also benefits from Raiden’s Elemental Burst DMG% buff from her Skill. |
Navia | Navia wants at least two Pyro / Hydro / Electro / Cryo teammates to maximize her A4 Passive. What’s more, Double Hydro provides abundant Elemental application to enable Crystallize for Navia. |
Off-Field DPS
Various off-field damage dealers in Double / Mono Hydro teams. Some of them benefit from the ample Hydro application while others are used just for extra damage.
Xiangling | Double Hydro allows Xiangling to Vape most if not all of her attacks that would be not possible with Yelan alone. |
 Fischl | Similar to Raiden, Fischl’s good particle generation decreases the team’s ER needs. She also deals good damage, especially in single-target scenarios. Furthermore, Fischl’s fast Electro application can allow the Pyro DPS units to deal extra damage by enabling Overloaded while still maintaining Hydro aura for the Reverse Vaporize reactions. |
Supports
Characters who can keep the team healthy by providing shields or healing, or those who give buffs or enable reactions.
Most notable of them are the Anemo units, with their ability to use 4pc VV to shred Hydro RES (and other Elemental RES). Additionally, some units are used to support the other non-Hydro teammate only.
 Kazuha | Kazuha is one of the premier supports with 4pc VV and his A4 Passive. His grouping is also strong and reliable for multi-target battles. With an Electro character in the Double Hydro team, Kazuha can deal significant damage via Double Swirl and chain reactions. However, his Swirl damage output plummets in a Triple Hydro team as Hydro Swirl does not deal damage to surrounding enemies. |
Xilonen | Providing multiple RES Shred with simple setup, DMG% buff from 4pc Scroll, and good healing is what makes Xilonen stand out as a support for many teams, including Double Hydro / Mono Hydro ones. Xilonen is often compared to Kazuha as they both offer similar buffs. One advantage Xilonen has is that her RES Shred is very easy to trigger, lasts longer, and persists between waves without having to land Swirl on the enemy again for the VV effect. However, she often struggles to trigger multiple Crystallize reactions to give the Scroll set bonus to the whole team, unlike Kazuha with his easier setup. |
 Zhongli | Even though Zhongli cannot give a similar amount of DMG Bonus buff (4pc Archaic Petra) as easily as Kazuha (A4 Passive) or Xilonen (4pc Scroll), his strong shield and Universal RES Shred make him a flexible and comfy pick for many teams. |
Citlali | Citlali trades Zhongli’s stronger shield for the ability to hold a strong support set — Scroll of the Hero of Cinder City. The 20% Hydro RES Shred from her A1 Passive is also notable for her Hydro teammates. |
 Anemo | 4pc Viridescent Venerer is still a strong buffing set regardless. Anemo healers such as Jean or Xianyun also gain value in Furina teams. |
Example Teams
This is not a comprehensive list of teams. The inclusion or exclusion of any given team does not necessarily reflect its power level.

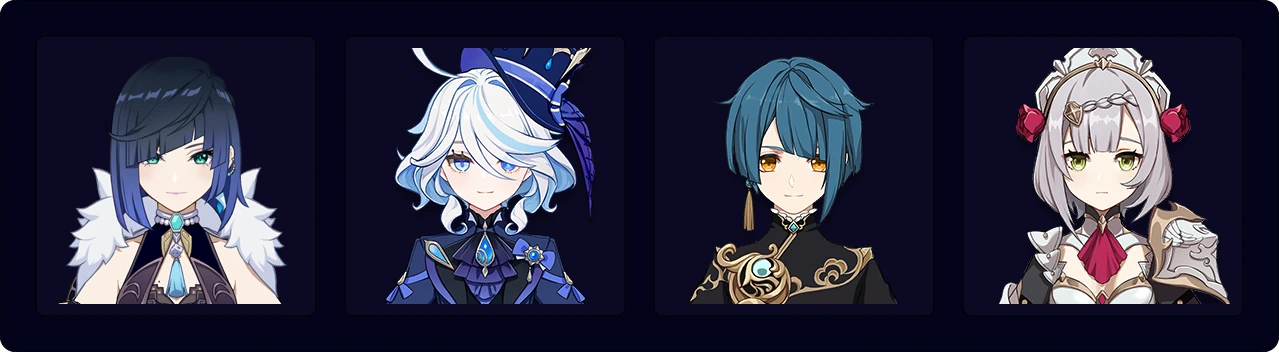
A strong yet straightforward team consisting of four Hydro units. Their shared Hydro Particle generation allows all of them to use a relatively low-ER build, resulting in more offensive stats for larger damage output. Even though this team is single-target focused, its single-target performance is so high that it can deal with most low-AoE fights with ease.
Sample Rotation
Furina ED > Kokomi E > Furina Q > Xingqiu Q N1 ED N1 > Yelan Q N2 E N1 > Kokomi Q combo > Yelan E N2

Another Mono Hydro team that is easy to play. Ayato’s good AoE complements the single-target nature of Yelan and Furina, making the team more well-rounded. Xilonen is the best support here with her strong, long-lasting Hydro RES Shred and Scroll buff as well as an ample amount of healing to keep up with Furina’s HP drain. Alternative supports include but are not limited to Jean, Sayu, and Bennett.
Sample Rotation
Furina ED > Xilonen EQ N2 > Furina Q > Yelan Q N1 E N1 > Ayato E N15 Q > Xilonen E N2 > Yelan E N2 > Ayato E N15
In this team Noelle consolidates two roles — healer and driver — into one slot, efficiently enabling the Hydro units to deal damage. Noelle should use 4pc Archaic Petra to buff her teammates, but a 4pc Marechaussee Hunter build focusing on her personal damage is also viable.
Sample Rotation
Furina ED Q > Xingqiu Q N1 ED N1 > Yelan EQ N2 > Noelle E N1 Q 3[N3D] > Yelan E N2 > Noelle N3
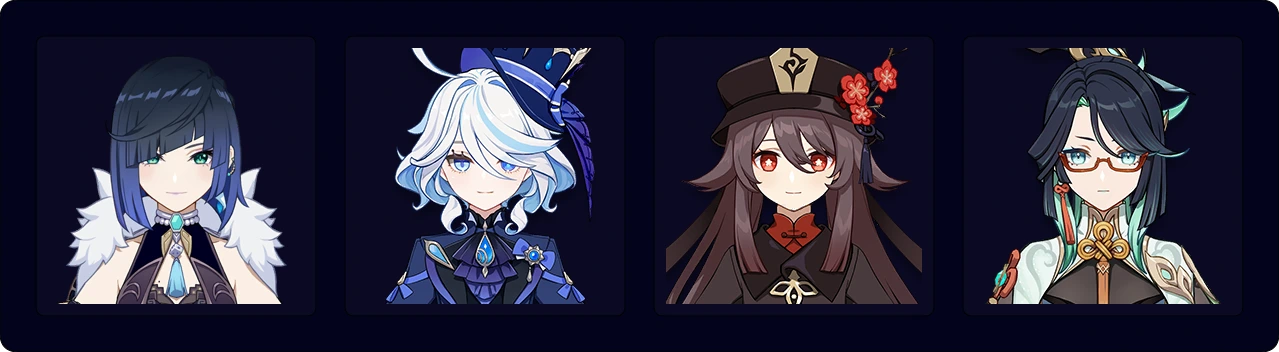
A variant of Double Hydro Hu Tao Reverse Vape, featuring Yelan, Furina, and Xianyun. Hu Tao can utilize Xianyun’s Plunge buff to cancel her Charged Attack using a Plunging Attack in this team.
Sample Rotation
Furina ED Q > Xianyun EPQ > Yelan Q N1 E N3-41 > Hu Tao E 5[N2CJP]
1To catch her own particles
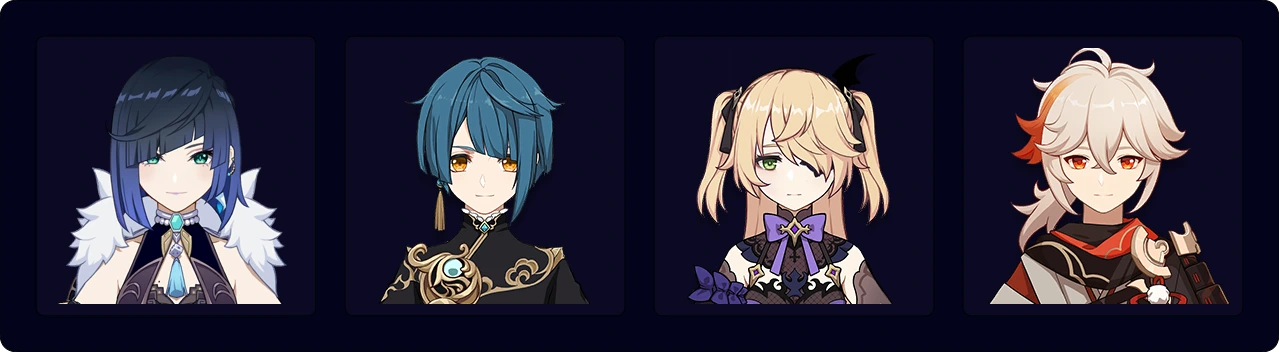
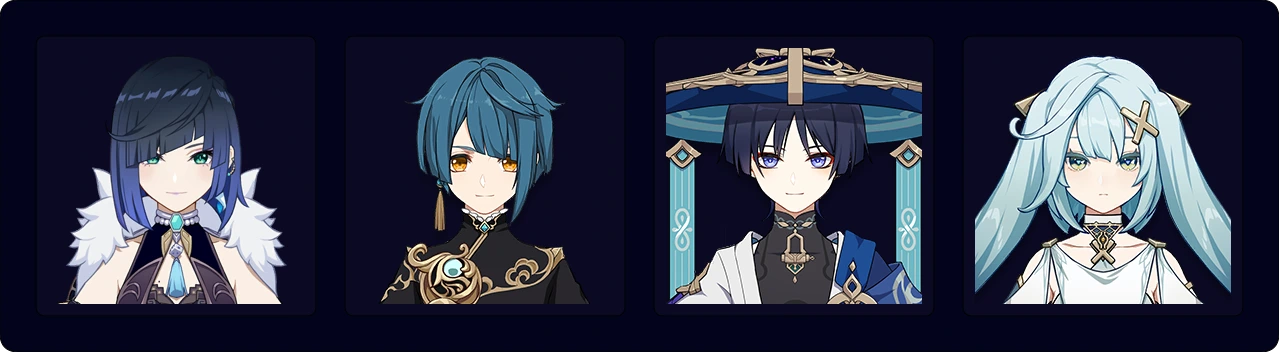
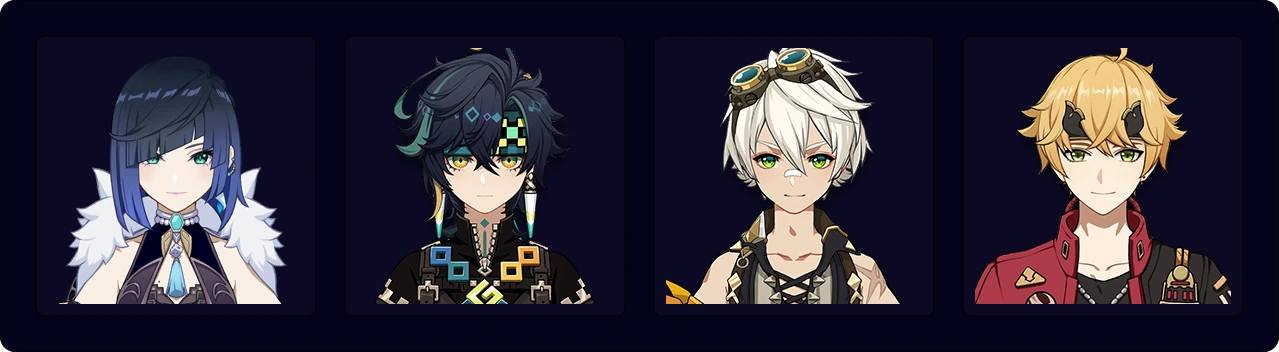
Yelan, Xingqiu, and Fischl are all single-target strongholds on their own. Kazuha completes the team with his buffing, grouping, and considerable multi-target damage.
This Electro-Charged team is flexible regarding its rotation and who the on-fielder is. Players can choose to use abilities as they come off cooldown without having to follow a rigid loopable rotation. Nevertheless, below is a sample fixed rotation with Yelan as the main on-field unit.
Sample Rotation
Fischl E > Xingqiu Q N1 > Kazuha tEP(N1)Q N1 > Yelan Q N1 E N4D N4 > Kazuha hEP N1 > Fischl N2 Q > Xingqiu N1 ED N1 > Yelan N2 E N4
Yelan and Xingqiu can make up for Wanderer’s loss of Bennett through their powerful off-field damage. Wanderer prefers combos with more Normal Attacks than Charged Attacks in this team, and Faruzan holds 4pc VV to buff the Hydro units.
Sample Rotation
Xingqiu ED Q N1 > Yelan E(N1)Q N1 > Faruzan (E C)1 Q > Wanderer C E combo
1Use to generate particles for pre-C6 Faruzan
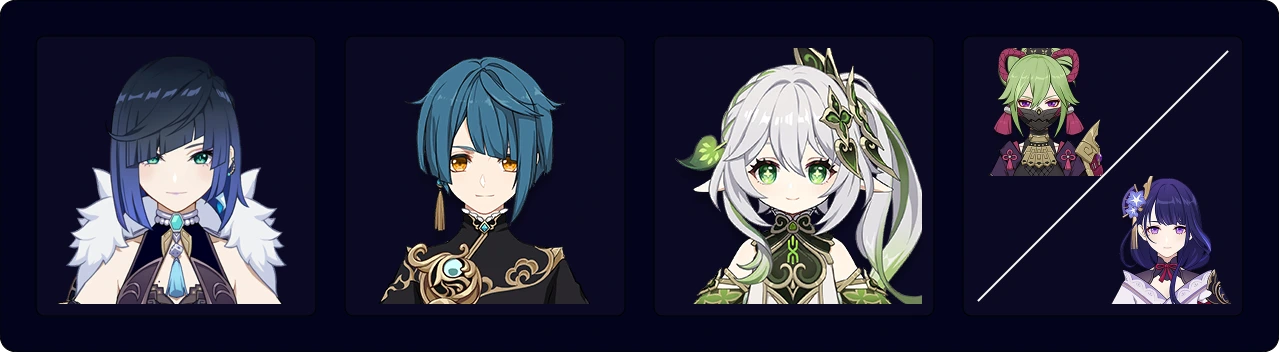
A team that excels in single-target with its strong Double Hydro core and formidable Hyperbloom damage. While Shinobu helps keep the team alive, players can get away with just Prototype Amber on Nahida and use Raiden instead, who is a faster Hyperbloom trigger.
Sample Rotation (Shinobu)
Nahida E Q > Xingqiu Q N1 > Shinobu E N1> Yelan E Q > Nahida N3 E N3D N3 > Xingqiu N1 ED N2 > Nahida E N3D N3 > Yelan E N2 > (Shinobu Q N1)1 > Nahida N3D N3
1Burst when available
Sample Rotation (Raiden)
Nahida E Q > Xingqiu Q N1 > Raiden E N1> Yelan E Q > Nahida N3 E N3D N3 > Xingqiu N1 ED N2 > Nahida E N3D N3 > Yelan E N4 > Nahida N3D N3
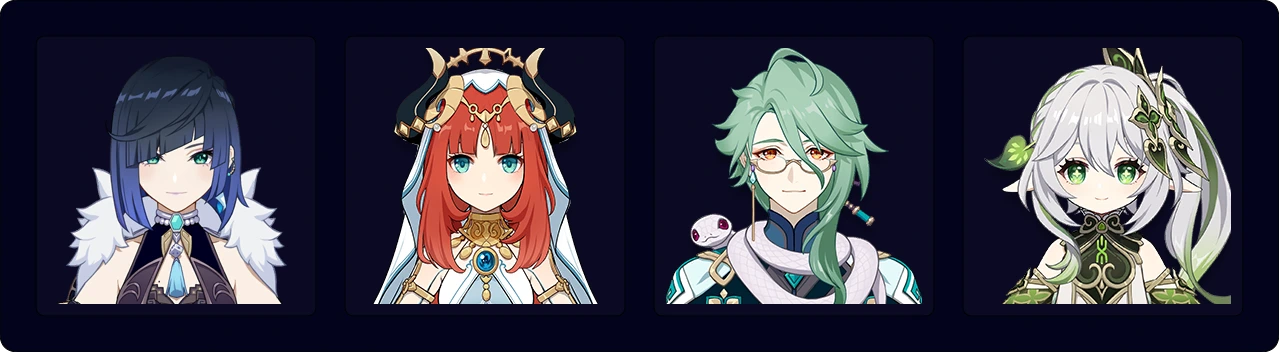
Yelan is the main Bloom trigger in this comfy Nilou Bloom team. As such, EM stats gain more value on her, even though a normal Burst DPS build is still viable. A high-refinement Stringless is very good for Yelan in this team since its EM secondary stat buffs her Bloom and its passive increases her Burst damage.
Sample Rotation
Nilou E N2 E > Nahida E Q > Baizhu EQ > Yelan Q N1 E 2[N4D] N4 > Baizhu N1 E N2 > Yelan N4D E N4
Solo Hydro

Yelan’s main role in a Solo Hydro setup is that of an enabler, so prioritize meeting her ER requirements to Burst as often as needed over investing in HP% and CRIT on her. Additionally, Elegy for the End and Favonius Warbow are often Yelan’s go-to weapons because of their team utility and ER stats.
Notable Teammates
Pyro DPS
Pyro damage dealers who can use Yelan in their Reverse Vape teams. These Pyro DPS units are usually the on-fielders who perform Normal Attacks to drive Yelan’s coordinated attacks. Even though Yelan’s Hydro application is fast enough for most Pyro characters (e.g., Arlecchino, Yoimiya, Mavuika), players might have to use an extra Hydro (see Double Hydro) or Electro unit (Fischl, Ororon) along with Yelan to secure the Reverse Vaporize reactions.


Dendro
Yelan’s off-field Hydro application is useful in many Bloom-related teams. Therefore, she has direct or indirect synergy with many Dendro units.


Example Teams
This is not a comprehensive list of teams. The inclusion or exclusion of any given team does not necessarily reflect its power level.

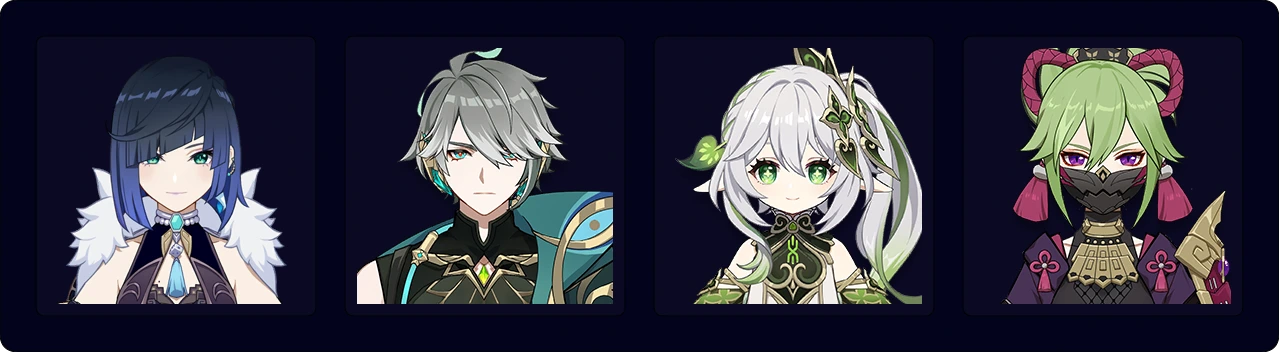
A high-risk, high-reward Reverse Vape team with excellent damage output but an intricate setup and no shield for Arlecchino.
Sample Rotation (Xilonen)
Arlecchino (EQ)1 E > Bennett ED > Xilonen E N2 > Yelan EQ N1 > Bennett Q > Arlecchino N3C 6[N3D]
1To heal if necessary
Sample Rotation (Kazuha)
Arlecchino (EQ)1 E > Yelan EQ N1 > Bennett EQ > Kazuha N1 hEP > Arlecchino N3C 5[N3D]
1To heal if necessary
Sample Rotation (Sucrose)
Yelan EQ N1 > Arlecchino (EQ)1 E > Bennett EQ > Sucrose N3 ED > Arlecchino N3C 6[N3D]
1To heal if necessary
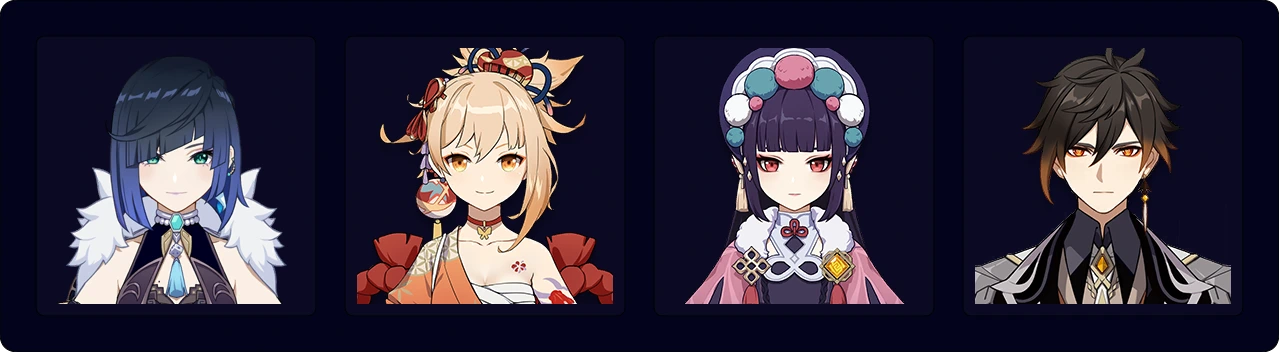
Yoimiya has access to many buffs in this team: Vaporize damage, Yelan’s ramping DMG%, Yun Jin’s various Normal Attack buffs, Zhongli’s RES Shred, and Geo Resonance. This is also a comfortable team to use thanks to Zhongli’s sturdy shield.
Sample Rotation
(Yoimiya Q)1 > Zhongli hED > Yelan EQ N1 > Yun Jin EQ > Yoimiya E 3[N5D] N1-3 > Yun Jin E
1Optional, can be skipped
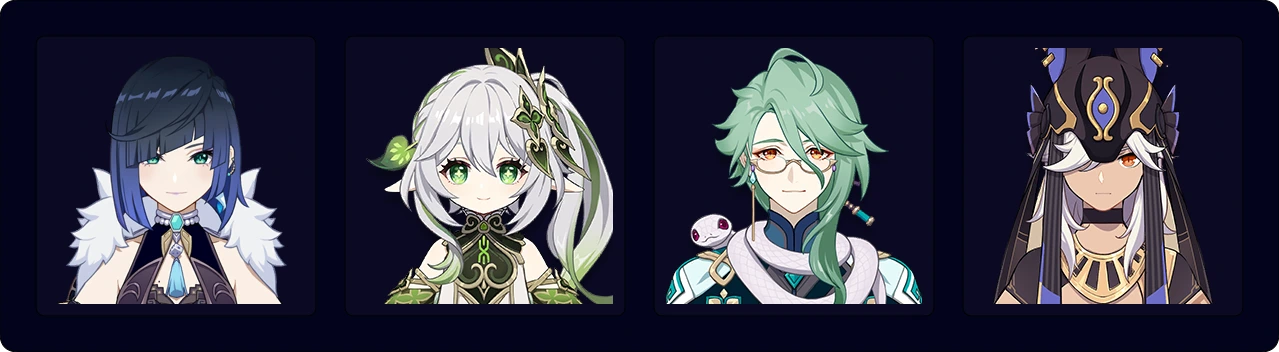
Yelan’s Hydro application is strong enough to enable Hyperbloom for Shinobu but also slow enough to maintain Quicken aura for Alhaitham and Nahida, resulting in a high amount of Spread damage for them. Yelan’s A4 Passive also increases Alhaitham’s personal damage as he contributes a large proportion of team DPS.
Sample Rotation (Simple)
Nahida E Q > Yelan EQ N1 > (Shinobu Q)1 > Alhaitham Q > Shinobu N1 E2 > 2[N3D] N1E 2[N3D N3CD]
1Burst when available
2Use Shinobu’s E before Alhaitham’s Q if the circumstances do not allow for a Burst quickswap
Sample Rotation (2 Yelan E’s)
Nahida E Q > Yelan Q N1 E N1 > (Shinobu Q)1 > Alhaitham Q > Shinobu N1 E2 > Alhaitham 3[N3D] N3 > Yelan N1 E N1 > Alhaitham hEP N2CD N3C
1Burst when available
2Use Shinobu’s E before Alhaitham’s Q if the circumstances do not allow for a Burst quickswap
Yelan’s not-so-fast, not-so-slow Hydro application also enables the Quickbloom playstyle for Cyno: he deals a good amount of Aggravate damage while triggering a fair share of Hyperbloom.
Sample Rotation
Nahida E Q > Yelan EQ N1 > Baizhu N1 EQ > Cyno combo
Kinich also benefits from the inclusion of Yelan in his team to enable Burgeon reactions. This increases his team’s AoE performance while still ensuring frequent Nightsoul point gain for his special Skill hits.
Sample Rotation
Thoma (EQ/Q E)2 N1 > Yelan EQ N1 > Bennett EQ > Kinich shE combo (Q)1 > Bennett E
1Burst when available
2Use Q E with Kitain, EQ otherwise
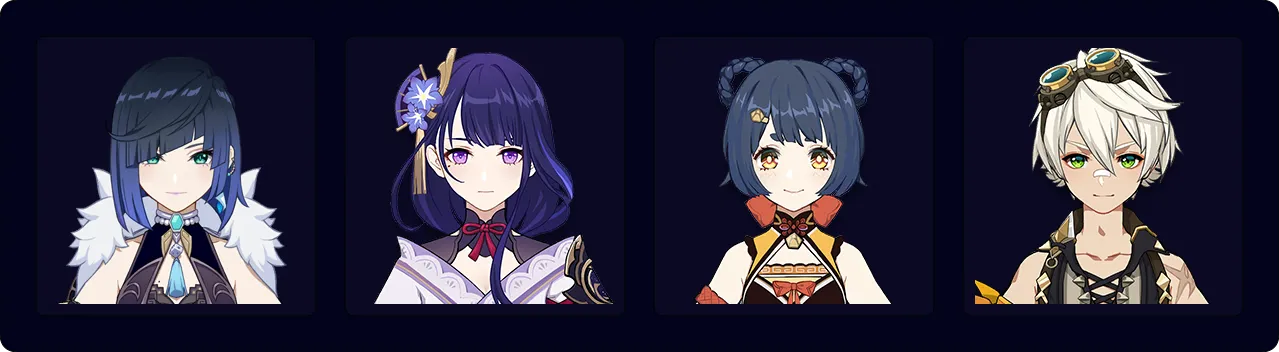
Yelan’s Hydro application alone is not enough to maintain Hydro aura for Xiangling to Vaporize, so she is usually an inferior enabler for the Liyue chef compared to Xingqiu. However, with the help of Raiden’s Electro application, Xiangling’s Pyro will have a hard time overtaking the Hydro aura, thus stabilizing the Reverse Vape reactions and giving Xiangling extra Overloaded damage. Raiden’s Energy refund and Elemental Burst DMG% buff also boost Xiangling and Yelan’s damage by a noticeable amount.
Sample Rotation
(Raiden E)1 > Yelan Q N1 > Bennett Q N1 E > Xiangling Q N1 ED N1 > Yelan E N2 > Raiden Q N4E 2[N4D] N42 > Yelan E N2 > Bennett E > Xiangling N2 > Bennett E
1Raiden uses her Skill at the start of the first rotation, then re-casts it during her Burst field time
2Raiden’s combos are flexible
Yelan can also be played in a traditional Electro-Charged team. She deals solid damage while enabling the Anemo unit to Double Swirl for multi-target damage.
Sample Rotation
Yelan EQ N1 > Ororon E(N1)Q > Fischl N2 (E/Q)1 > Lan Yan EN1 Q 4[N3D]
1Alternate every rotation
Credits
Contributors to previous edition of Yelan Quick Guide: reens, kolvii, vladutse, cuzimori, davjac123, monochrom9, xf3, emiliabyss, kbphan
Contributors to this update: acerbus114, caxia5, lostguide
Team images made with the KQM portrait generator.
