Updated for Version 4.5
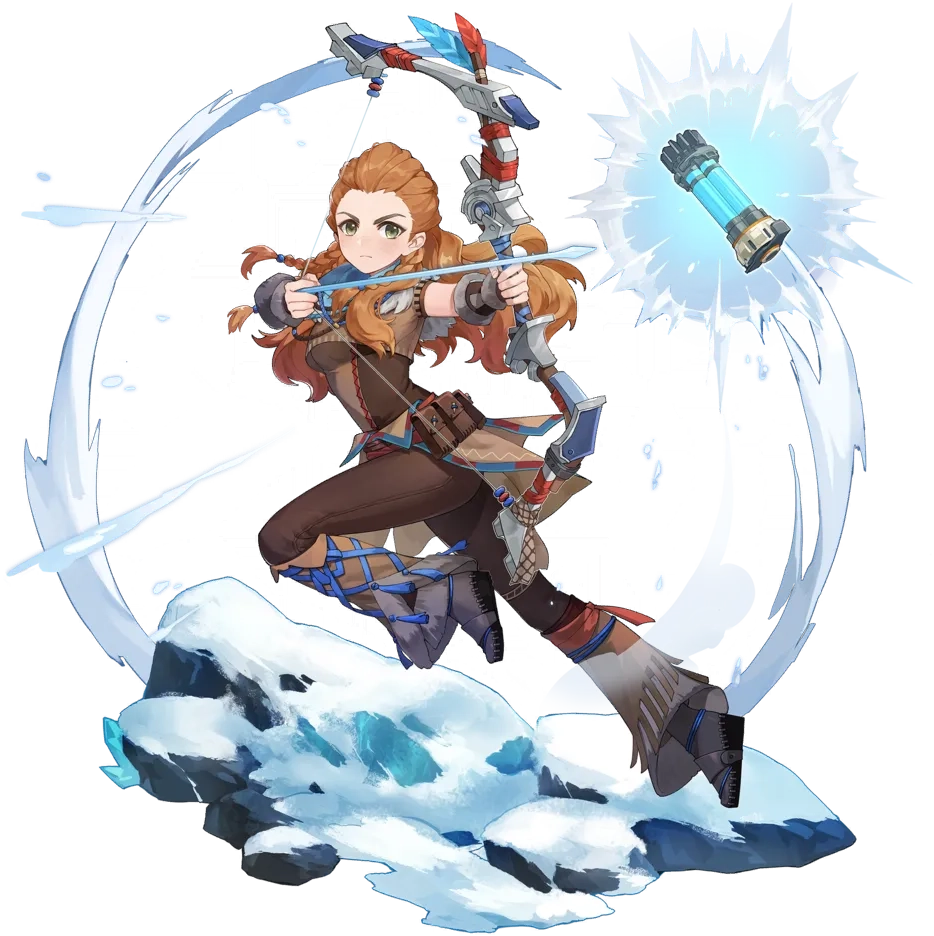
Aloy is a 5-star Cryo Bow character in Genshin Impact who can deal decent Cryo damage with her Skill and Burst. She is a crossover from Horizon Zero Dawn and was free to obtain in Version 2.2. Learn about Aloy’s best builds, Talent priority, best weapons, best artifacts, and best teams in this in-depth review.
Note that the information given may change if new discoveries are made. More extensive testing is in progress.
The full-length guide is available here. It is currently in the process of being updated.
Table of Contents
New Content
 Furina | Furina is a powerful off-field DPS and support who provides a ramping DMG% buff and some Hydro application. However, a strong healer is recommended since Furina drains team HP and her buff depends on HP changes. |
 Lynette | Lynette is a free Ousia-aligned Anemo support unit who acts as an alternative to characters like Kazuha. She provides RES Shred via 4pc Viridescent Venerer, an ATK% buff, and a Taunt for some survivability. |
 Xianyun | Xianyun is a support who heals and can turn any on-field DPS into a Plunging Attack DPS. Unfortunately, Aloy is not a great Plunging Attack DPS and does not make great use of Xianyun’s kit. Xianyun is still viable as a general healer who holds 4pc Viridescent Venerer, particularly in Furina teams. |
 Wriothesley | In Wriothesley teams, Aloy acts as a Cryo battery, buffer (4pc Noblesse Oblige), and quickswap DPS. She also enables Cryo Resonance. |
 Charlotte | Charlotte does not have any particular synergy with Aloy — considering that Aloy largely depends on teammates for DPS — but she does heal, provide buffs with TTDS, and enable Cryo Resonance. |
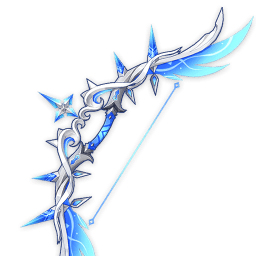
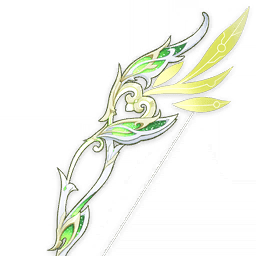
 The First Great Magic | Although most of Aloy’s damage comes from her Skill and Burst rather than her Charged Shots, the First Great Magic is still a strong weapon for the CRIT DMG and ATK% it provides. |
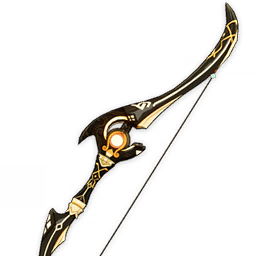
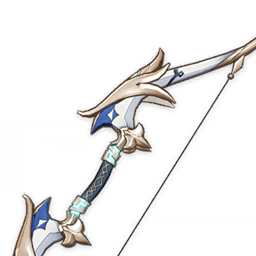
 Song of Stillness | A solid craftable option with an ATK% secondary stat and DMG% when its passive is up. |
 4pc Marechaussee Hunter | A strong artifact set when paired with Furina, as it effectively provides 36% CRIT Rate. |
Character Overview
Playstyles
It should be noted that Aloy is rarely the most optimal choice in any given team, but she can still be serviceable with smart gameplay and enough investment.
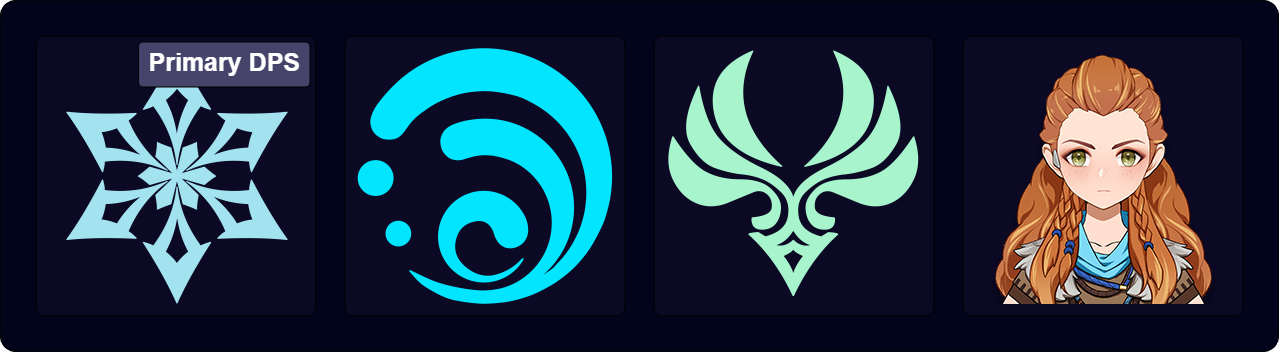
Reverse Melt DPS
This playstyle utilizes Pyro and Anemo teammates to enable Reverse Melts with Aloy’s Skill and Burst. Reverse Melt teams see the biggest damage numbers from Aloy, though much of the team’s overall DPS comes from her teammates too.
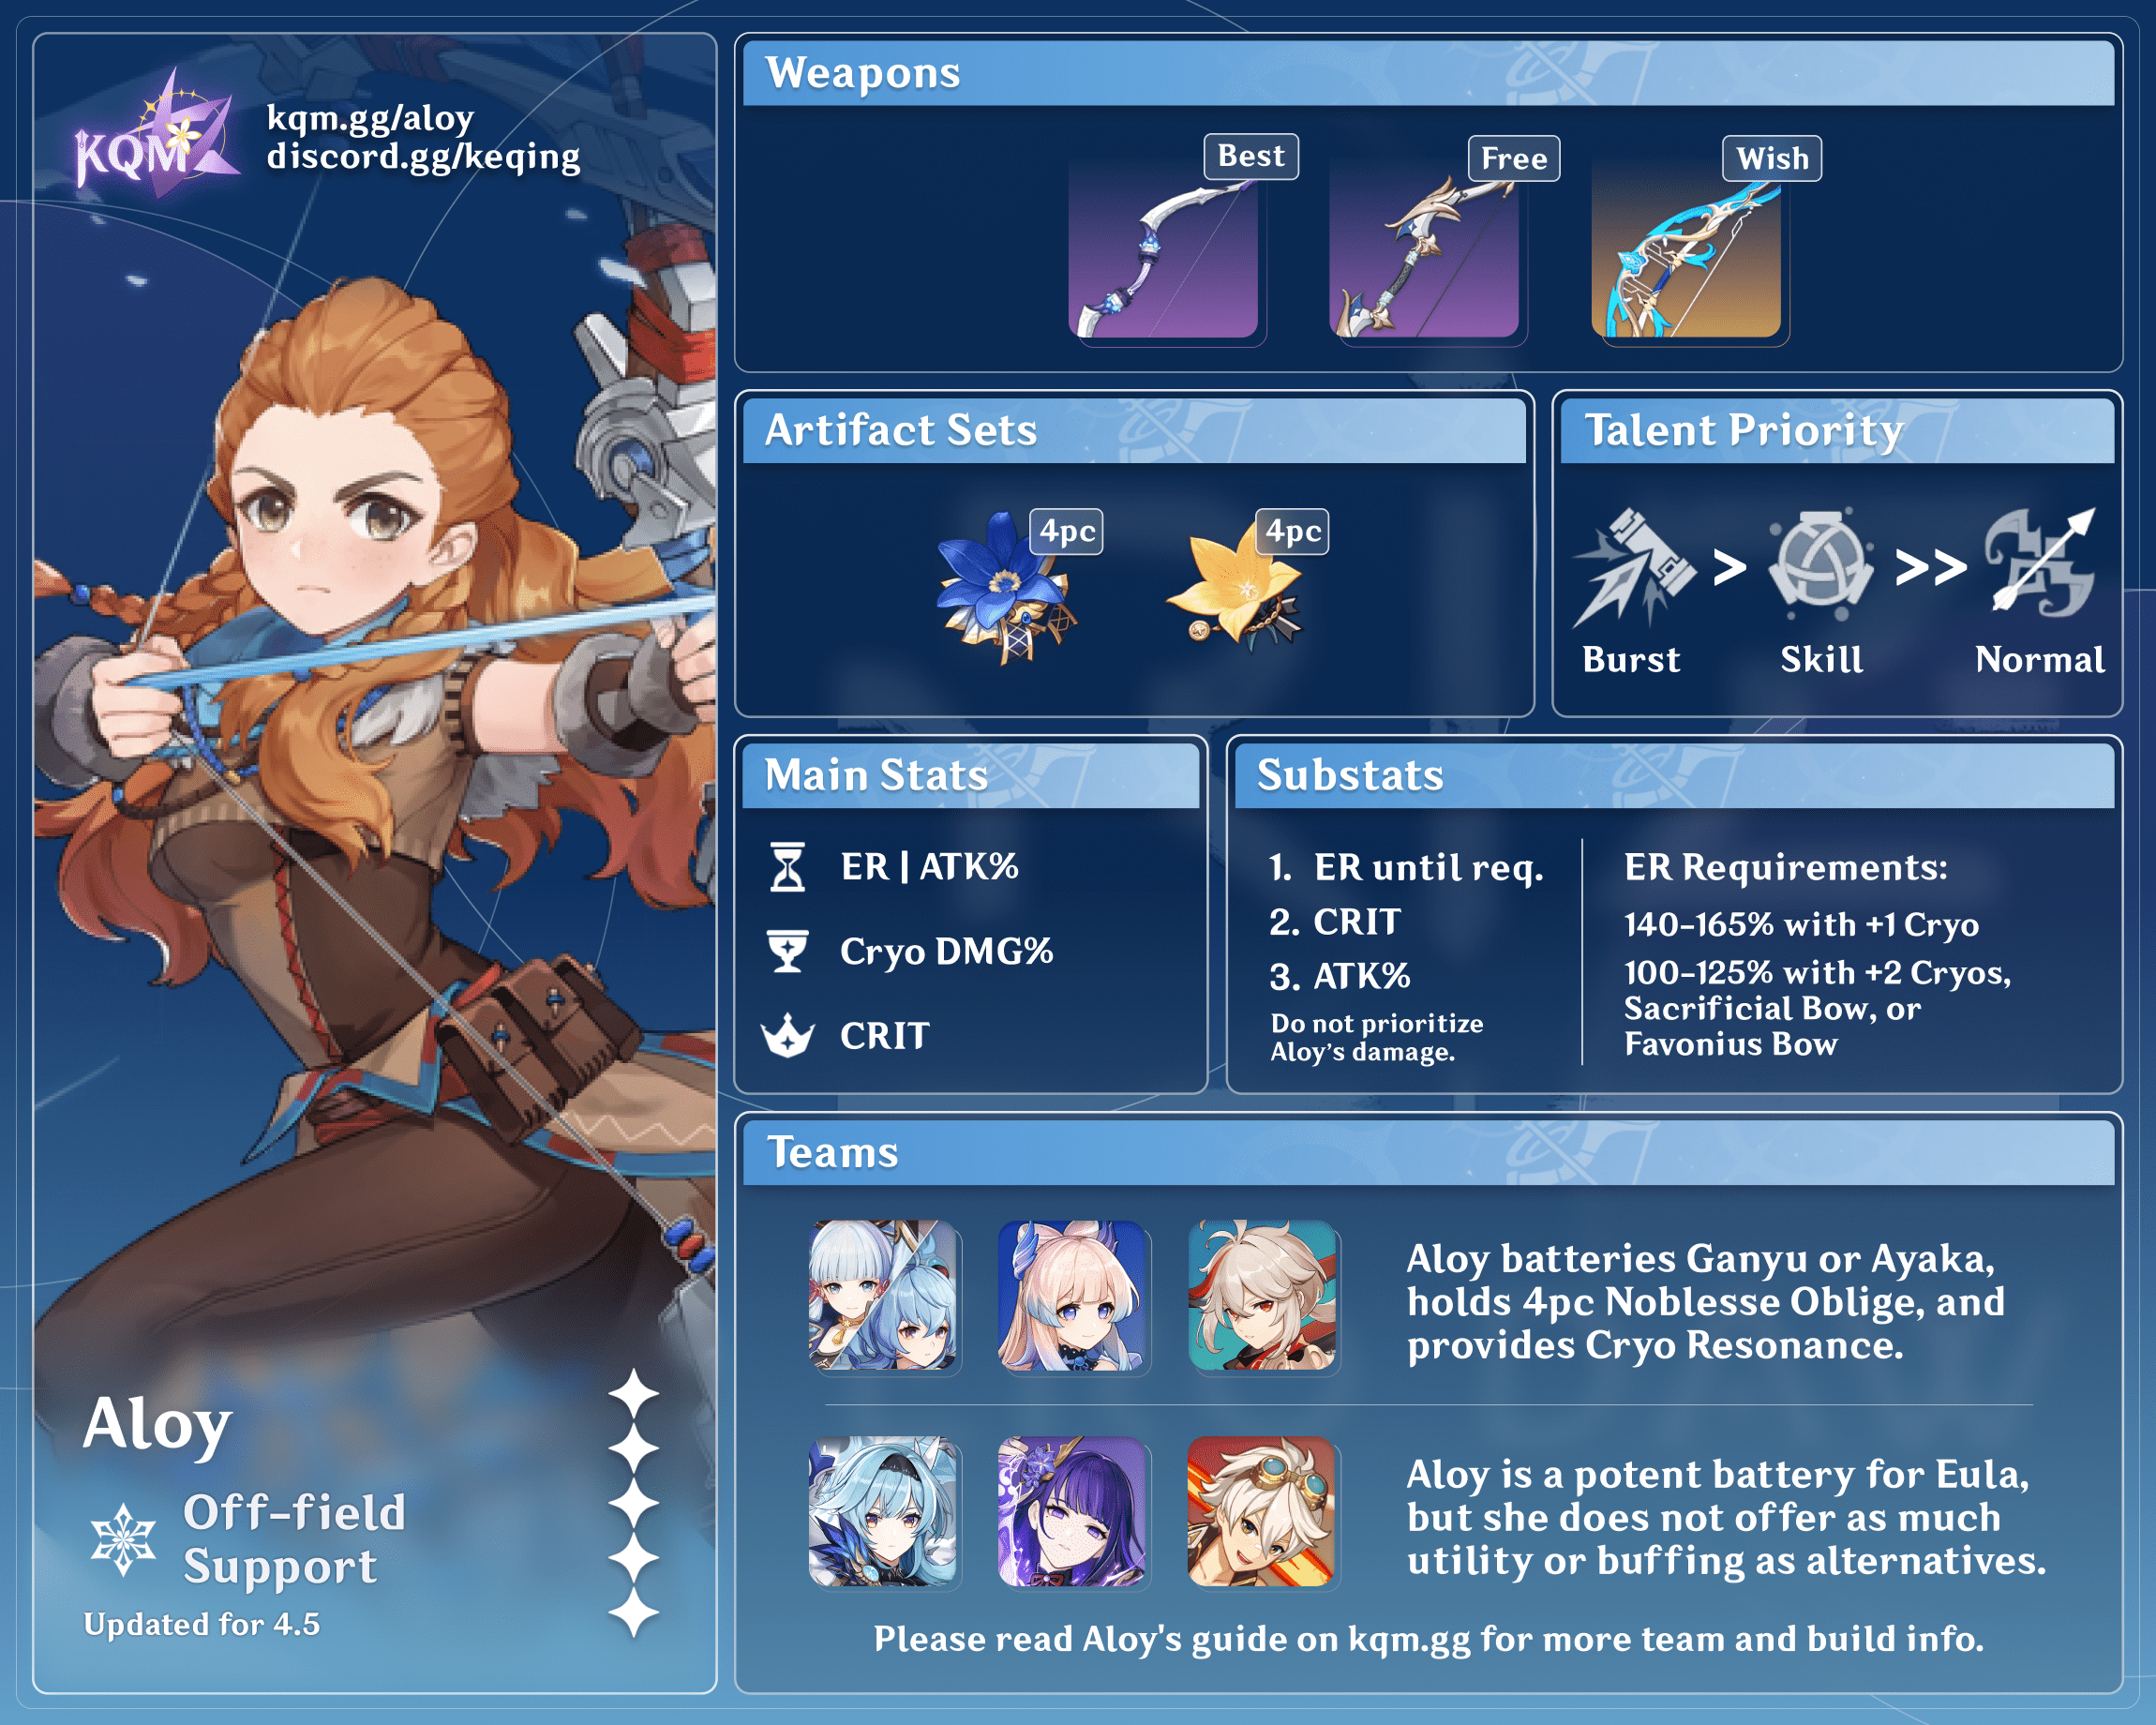
Freeze and Mono Cryo Support
In Freeze and Mono Cryo teams, Aloy can function as a Cryo battery, buffer, and quickswap DPS. She enables Cryo Resonance and serves as a more offensive battery option than Diona. In addition, Aloy’s short Burst cooldown and low Energy cost mean she is a good candidate for holding 4pc Noblesse Oblige.
Talents
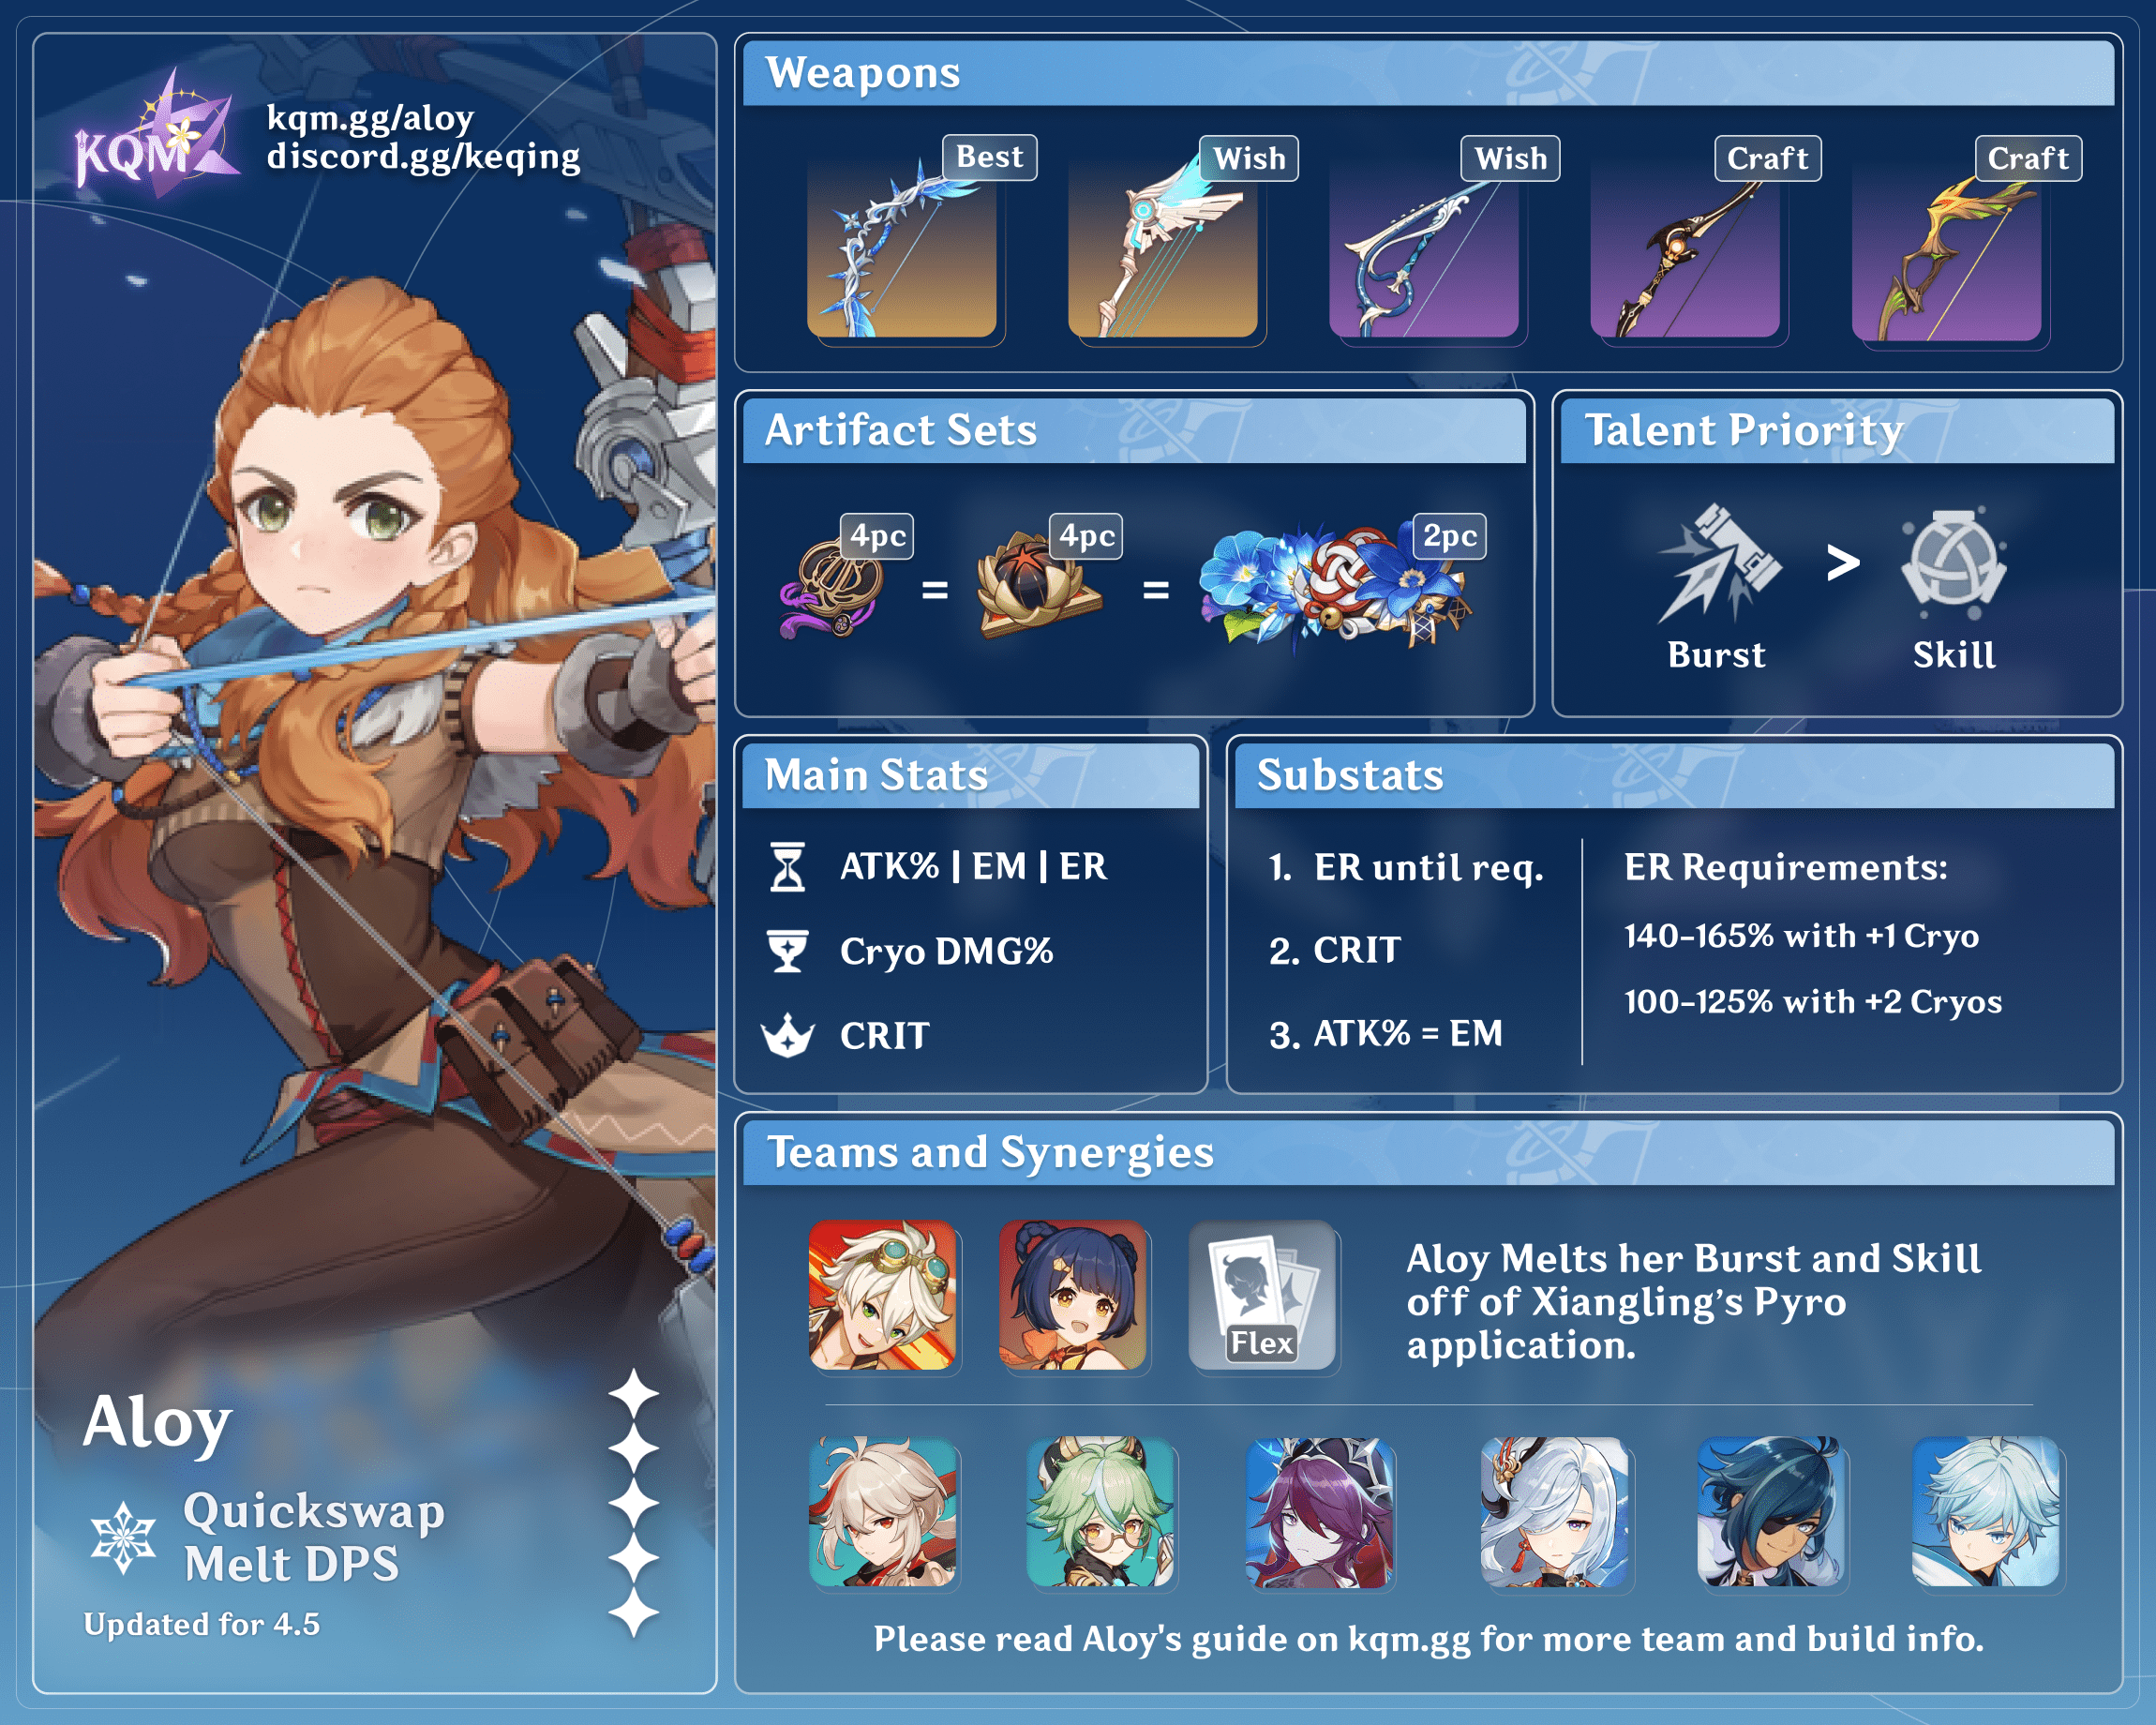
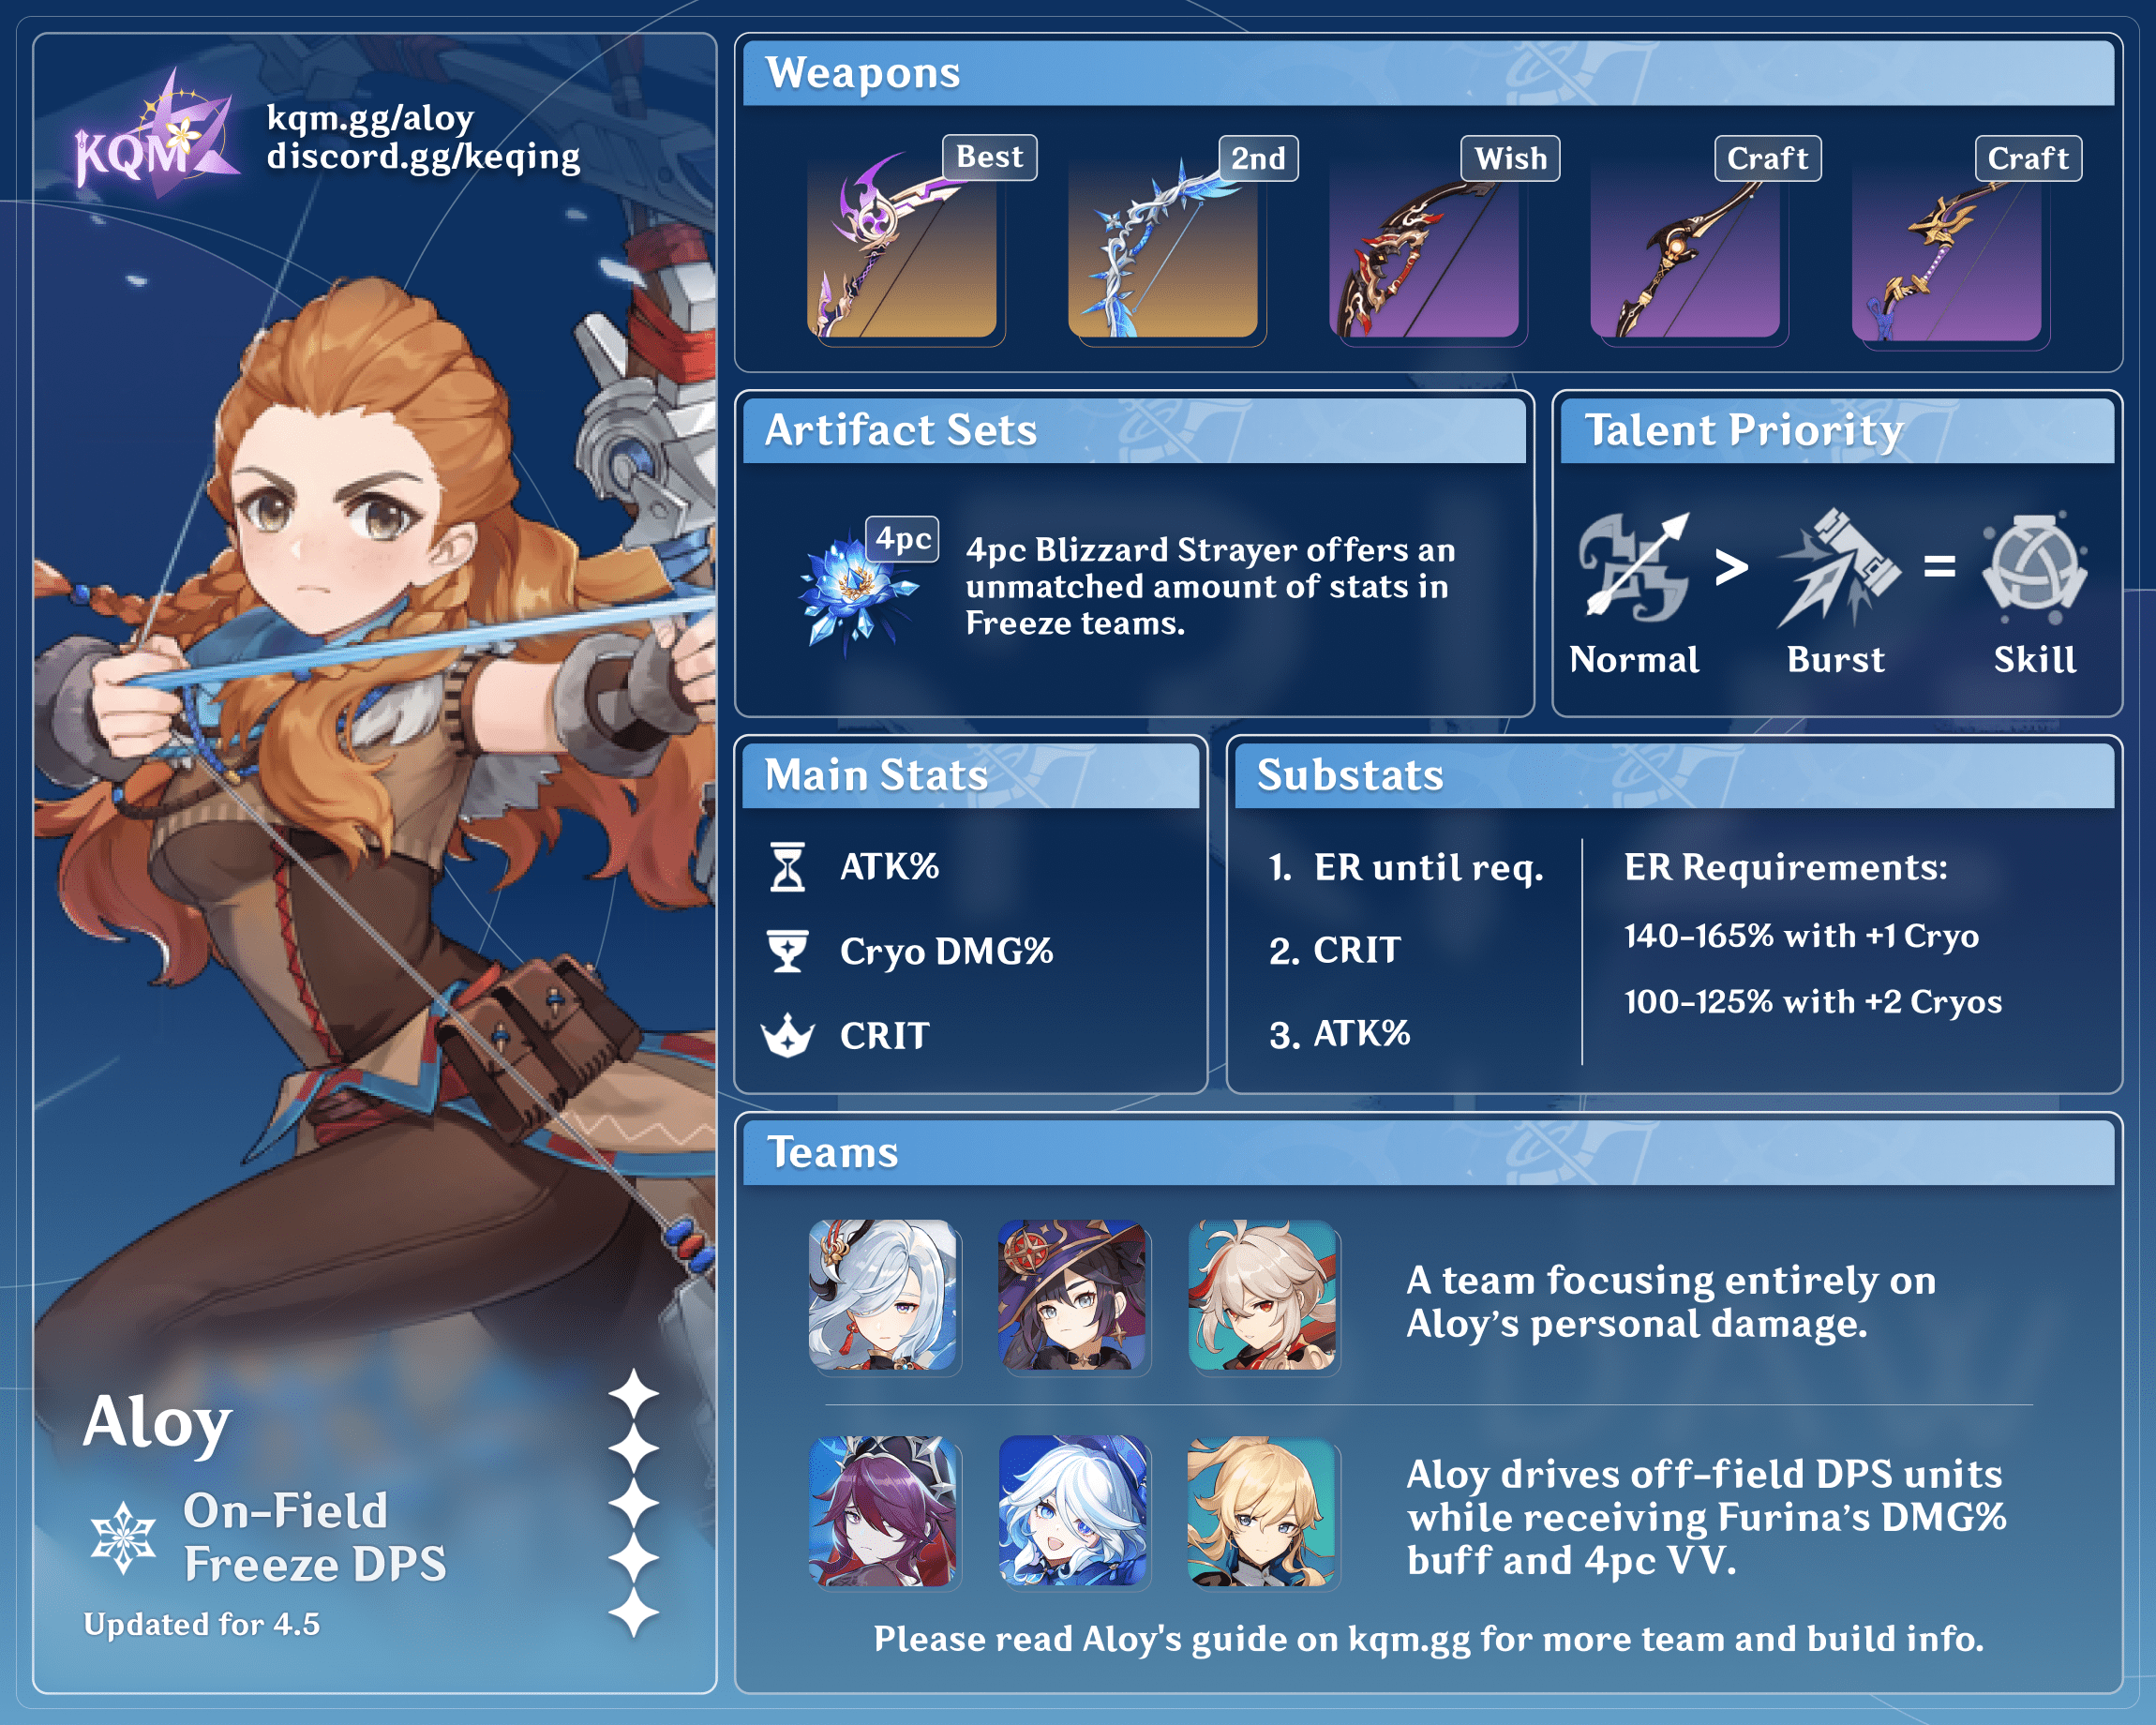
Talent Priority
Burst > Skill > Normal Attack
Aloy does use her Normal Attacks in some rotations, so you may not want to totally neglect leveling them.
Talent Overview
 Normal Attack | Rapid Fire
Talent Description
Normal Attack
Performs up to 4 consecutive shots with a bow.
Charged Attack
Perform a more precise Aimed Shot with increased DMG.
While aiming, biting frost will accumulate on the arrowhead. A fully charged frost arrow will deal Cryo DMG.
Plunging Attack
Fires off a shower of arrows in mid-air before falling and striking the ground, dealing AoE DMG upon impact.
Aloy is able to infuse her Normal Attacks with Cryo through the Rushing Ice state conferred by her Skill. However, achieving this Infusion is difficult and inconsistent, so many of her teams fail to make full use of this mechanic. Nonetheless, some rotations do use Aloy’s Normal Attacks, so you may want to level her Normal Attack Talent to some degree.
 Elemental Skill | Frozen Wilds
Talent Description
Aloy throws a Freeze Bomb in the targeted direction that explodes on impact, dealing Cryo DMG. After it explodes, the Freeze Bomb will split up into many Chillwater Bomblets that explode on contact with opponents or after a short delay, dealing Cryo DMG.
When a Freeze Bomb or Chillwater Bomblet hits an opponent, the opponent’s ATK is decreased and Aloy receives 1 Coil stack.
Aloy can gain up to 1 Coil stack every 0.1s.
Coil
- Each stack increases Aloy’s Normal Attack DMG.
- When Aloy has 4 Coil stacks, all stacks of Coil are cleared. She then enters the Rushing Ice state, which further increases the DMG dealt by her Normal Attacks and converts her Normal Attack DMG to Cryo DMG.
While in the Rushing Ice state, Aloy cannot obtain new Coil stacks.
Coil effects will be cleared 30s after Aloy leaves the field.
This Skill has two main parts: the initial Freeze Bomb and the 6 Chillwater Bomblets. The Freeze Bomb has decent multipliers and can deal respectable damage, especially if it Melts. Each Skill cast immediately generates 5 Cryo Particles.
The Chillwater Bomblets individually deal less damage than the Freeze Bomb, but there are 6 of them. Each Bomblet grants Aloy 1 Coil stack when it hits an enemy, with a 0.1s cooldown between gaining Coil stacks. Upon reaching 4 Coil stacks, Aloy enters the Rushing Ice state, in which her Normal Attacks are infused with Cryo and she gains a ramping Cryo DMG% buff from her Ascension 4 Passive.
The Bomblets can be grouped by some crowd control abilities, but not all (see the list below). However, even if you are able to push the Bomblets into an enemy (or vice versa), the 0.1s cooldown means that not all Bomblets will generate a Coil stack if detonated simultaneously, resulting in failure to achieve Rushing Ice. Combined with the punishing 20s cooldown on this Skill, the inconsistency of this mechanic makes it difficult to take advantage of.
Chillwater Bomblets can be moved by:
- Anemo Traveler’s Skill and Burst
- Kazuha’s Skill
- Jean’s Skill
- Sucrose’s Skill
- Lynette’s Skill, Constellation 1 (not recommended)
- Faruzan’s Pressurized Collapse vortices (not recommended)
- Heizou’s Burst (not recommended).
Chillwater Bomblets are unaffected by:
- Sucrose’s Burst
- Venti’s Burst
- The Viridescent Hunt’s passive.
 Elemental Burst | Prophecies of Dawn
Talent Description
Aloy throws a Power Cell filled with Cryo in the targeted direction, then detonates it with an arrow, dealing AoE Cryo DMG.
The bread and butter of Aloy’s kit. As of Version 4.5, this Talent multiplier is the highest single instance of Cryo damage in the game — and on a 12s cooldown to boot. It’s also very cheap with a cost of only 40 Energy. As a single hit of Cryo damage, it is easy to Melt for screenshot-worthy numbers.
Note that multipliers and motion value are not the only factors contributing to overall damage. Other factors include but are not limited to teammates, rotations, buffs, and reactions.
 Ascension 1 Passive | Combat Override
Talent Description
When Aloy receives the Coil effect from Frozen Wilds, her ATK is increased by 16%, while nearby party members’ ATK is increased by 8%. This effect lasts 10s.
Luckily, Aloy’s Ascension 1 Passive only requires 1 Coil stack, not the full 4. This is a modest buff to herself and a smaller buff to the rest of her team.
 Ascension 4 Passive | Strong Strike
Talent Description
When Aloy is in the Rushing Ice state conferred by Frozen Wilds, her Cryo DMG Bonus increases by 3.5% every 1s. A maximum Cryo DMG Bonus increase of 35% can be gained in this way.
It’s difficult to rely on this passive since it requires Aloy to gain 4 Coil stacks and achieve Rushing Ice. When it does trigger, you can delay casting Aloy’s Burst in order to maximize the Cryo DMG% buff on her Burst hit. How long you can delay depends on your rotation, but, in general, you should only delay by about 3–4s before you risk losing the buff altogether. You can fill this time with Normal Attacks if you decide to go this route.
Combos
N = Normal Attack
E = Elemental Skill
Q = Elemental Burst
| E (swap) Q | Aloy’s go-to combo. After casting her Skill, you should swap to your Anemo grouper to detonate as many Chillwater Bomblets as you can. |
| E (swap) N4 Q | If you achieve Rushing Ice and wish to maximize Aloy’s A4 buff on her Burst, you can fill time with Normal Attacks before you Burst. Depending on when Rushing Ice is triggered, you may not have time to do a full N4 combo, so you can do fewer Normal Attacks if unsure. |
ER Requirements
| Solo Cryo | ~140–165% |
| Double Cryo, With Venti, With a Favonius Proc, or With Sacrificial Bow | ~100–125% |
Use the Energy Recharge Calculator to determine exact requirements for your team and rotation.
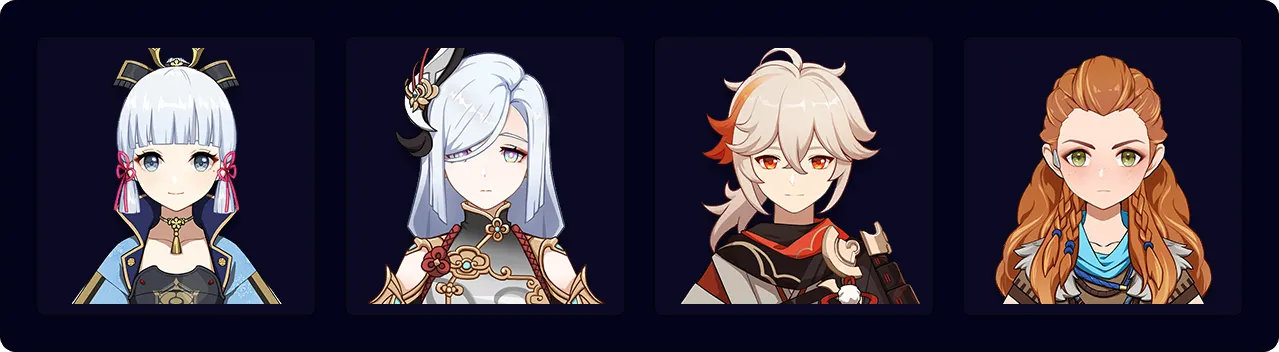
Reverse Melt DPS
Reverse Melt Infographic
Credits to: kol, baloopy
Reverse Melt Artifact Stats
 Sands |  Goblet |  Circlet |
| EM, ER%, or ATK% | Cryo DMG Bonus | CRIT Rate or CRIT DMG |
Stat Priority: ER% (until requirement) > CRIT > EM > ATK%
If you don’t use an ER% weapon and your ER needs are above about 150%, an ER% Sands with good substats can sometimes be optimal for damage. As Bennett is almost always used in Reverse Melt Aloy teams for his valuable Flat ATK buff, an EM Sands typically increases Aloy’s personal damage more than an ATK% Sands.
Choose a Circlet based on what brings you closest to a 1:2 ratio of CRIT Rate to CRIT DMG.
Reverse Melt Artifact Sets
 4pc Emblem of Severed Fate | About half of Aloy’s damage comes from her Burst, making 4pc Emblem a solid choice at higher ER requirements. |
 4pc Gilded Dreams | 4pc Gilded is also a good option due to the sheer amount of EM it provides. It grants less EM if there is a second Cryo unit in your team, but if you have enough EM from your weapon and artifact stats, the difference is small. |
 4pc Lavawalker | 4pc Lavawalker is a staple in Reverse Melt teams where the 4pc effect is almost always active. It provides good damage potential, but may be Resin-inefficient to farm for. |
2pc Mixed Sets | 2pc Bonuses: Cryo DMG%, ER%, Burst DMG%, ATK%, EM These 2pc effects are all helpful to Aloy, and all combinations perform similarly to each other. The 4pc options above are usually stronger, but the difference is easily overcome by substats. |
Reverse Melt Weapons
 Polar Star | Aloy’s Best-in-Slot weapon. Incorporate Normal Attacks and Aimed Shots into your rotation in order to benefit from Polar Star’s ATK% buffs. |
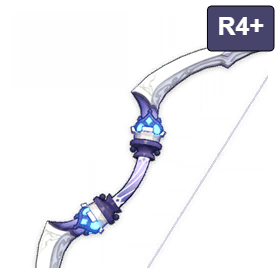 Sacrificial Bow (R4+) | At high refinements (R4+), Sacrificial Bow can allow for a second Skill cast, which means another big hit of Cryo damage as well as more consistency in achieving Rushing Ice. This weapon also single-handedly takes care of Aloy’s ER needs by generating more particles. |
 5-Star CRIT Bows | Options: Aqua Simulacra, Hunter’s Path, Thundering Pulse, The First Great Magic, Skyward Harp These are hefty 5-star CRIT stat sticks with passives that are marginally useful to Aloy. |
 Elegy for the End | Elegy’s passive usually only activates every other rotation. When it does, however, it gives an EM and ATK% buff to the entire team. Its ER secondary stat lets Aloy comfortably meet her ER requirements. |
 The Stringless | The Stringless has an EM secondary stat and a passive that grants Skill and Burst DMG Bonuses. Scales well with refinements. |
 Prototype Crescent | Prototype Crescent performs remarkably well as a craftable option. However, you will need to start your rotation with a quick headshot to activate its passive — something that’s not always possible. Scales well with refinements. |
Song of Stillness | Another solid craftable option if you can consistently gain the DMG% from its passive. |
Reverse Melt Teambuilding
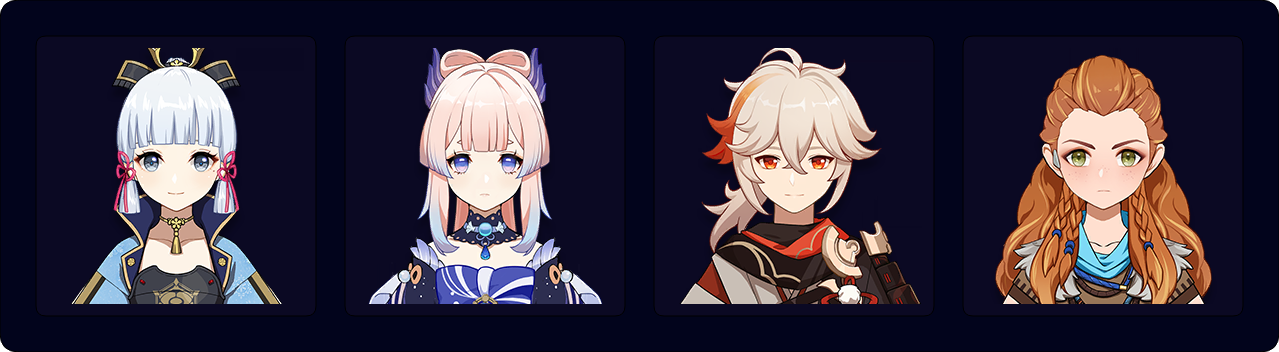
Reverse Melt teams usually consist of Aloy, Bennett, an Anemo grouper for Aloy’s Bomblets, and a flex slot. The last team member can be a Pyro off-field DPS (e.g., Xiangling) or another Cryo DPS. Xiangling, Kazuha, or Jean can provide enough Pyro application to sustain a second Cryo DPS, though using Xiangling as the sole Pyro applier means forgoing an Anemo grouper. All Anemo units should equip 4pc Viridescent Venerer (VV).
Notable Teammates
 Bennett | Indispensable in Reverse Melt teams. Bennett provides a massive Flat ATK buff and applies Pyro to the active character when standing inside his Burst circle. Kazuha and Jean can take advantage of this to apply Pyro to enemies. |
 Kazuha | Kazuha’s Hold Skill is recommended for grouping enemies and Bomblets alike. He can apply Pyro to enemies by absorbing it into his Burst. Depending on your teammates and rotation, it may be difficult to Swirl Cryo and receive the DMG Bonus from his Ascension 4 Passive. |
 Sucrose | Sucrose does a decent job at gathering Aloy’s Bomblets with her Skill. Her EM sharing is also useful for buffing Aloy and is not contingent on Swirling the correct Element. |
 Lynette | Lynette is a solid option players can obtain for free. She provides a useful ATK% buff, and her Burst provides a Taunt and mild Elemental application (usually Pyro). Her C1 can technically group Aloy’s Bomblets, but the small range makes it fairly negligible. |
 Jean | Jean can gather Aloy’s Bomblets with her Hold Skill and throw them at enemies. She can also push enemies into the Bomblets, which is often better for generating Coil stacks. Together with Bennett, Jean enables the “Sunfire” interaction, which provides rapid Pyro application and enables even more Melts from a second Cryo DPS. |
 Anemo Traveler | Anemo Traveler can gather Aloy’s Bomblets with their Hold Skill and Burst. Their Burst can be difficult to utilize; although it does group enemies, it also tends to carry them away from Bennett’s circle. |
 Xiangling | Xiangling contributes high personal damage and applies Pyro to enemies — enough to sustain Melts for another Cryo DPS, though doing so means forgoing an Anemo grouper. |
 Rosaria, Kaeya, Shenhe, Chongyun | These are options for a second Cryo DPS. Rosaria and Shenhe can also buff your team, whether through Rosaria’s CRIT Rate share or Shenhe’s Icy Quill effect. If you are able to Melt all or most of Chongyun’s Burst hits, he is also a viable quickswap DPS. |
Example Teams
This is not a comprehensive list of teams. The inclusion or exclusion of any given team does not necessarily reflect its power level.

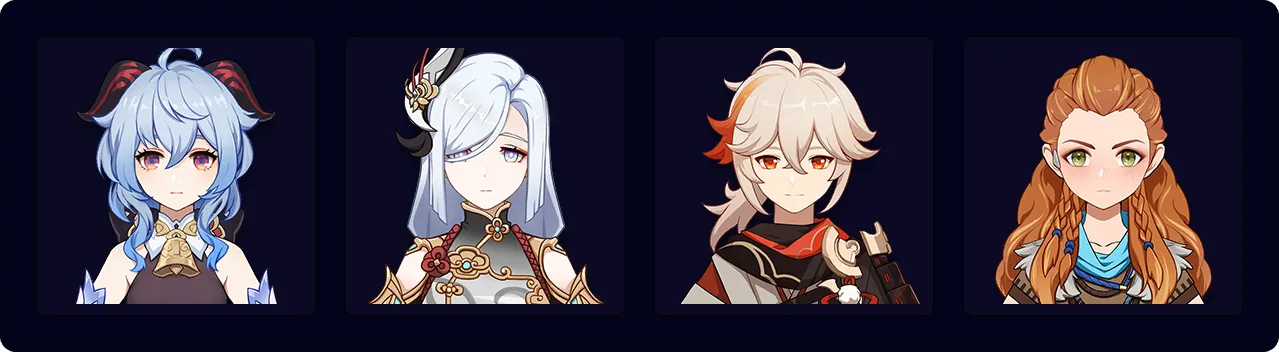
Freeze and Mono Cryo
Freeze and Mono Cryo Infographic
Credits to: kol, baloopy
Freeze and Mono Cryo Artifact Stats
Sands | Goblet | Circlet |
| ATK% | Cryo DMG Bonus | CRIT Rate or CRIT DMG |
Stat Priority: ER% (until requirement) > CRIT DMG ≥ CRIT Rate > ATK%
Cryo Resonance grants an additional 15% CRIT Rate against enemies that are Frozen or affected by Cryo. If Aloy equips 4pc Blizzard Strayer, she gains further CRIT Rate buffs (up to 40%) through the artifact set bonus. This makes CRIT DMG a more valuable stat whenever Aloy benefits from these buffs.
Choose a Circlet based on what brings you closest to a 1:2 ratio of CRIT Rate to CRIT DMG.
Freeze and Mono Cryo Artifact Sets
 4pc Noblesse Oblige | 4pc Noblesse is the go-to set for support Aloy. It provides a 20% ATK buff for the entire team when Aloy Bursts, and she has no problems with uptime because of her Burst’s short cooldown and low Energy cost. If no one else on your team is holding Noblesse, then Aloy is a solid candidate. |
 4pc Blizzard Strayer | 4pc Blizzard Strayer is one of the best artifact sets for Aloy’s personal damage. It grants a massive 40% CRIT Rate against Frozen enemies, allowing you to invest more into CRIT DMG with your artifacts. Aloy should equip this set if not holding 4pc Noblesse. |
4pc Marechaussee Hunter | When paired with Furina, 4pc Marechausse Hunter is also a strong option for personal damage since it effectively provides 36% CRIT Rate. |
 2pc Mixed Sets | 2pc Bonuses: Cryo DMG%, Burst DMG%, ATK% These 2pc set effects are still useful for Aloy’s personal damage, though the difference between them and 4pc Blizzard Strayer is quite significant. Choosing a 2pc combination also means giving up the team buff from 4pc Noblesse. |
Freeze and Mono Cryo Weapons
Polar Star, Skyward Harp, Aqua Simulacra, The First Great Magic, Thundering Pulse | These 5-star Bows are best for Aloy’s personal damage due to the raw stats they provide. Polar Star builds may overcap on CRIT Rate if equipping 4pc Blizzard Strayer. |
Prototype Crescent | Prototype Crescent performs remarkably well as a craftable option. However, you will need to start your rotation with a quick headshot to activate its passive — something that’s not always possible. Scales well with refinements. |
Song of Stillness | Another solid craftable option if you can consistently gain the DMG% from its passive. |
 Hunter’s Path | A CRIT Rate stat stick with a bit of Elemental DMG Bonus. If equipping 4pc Blizzard Strayer, you may end up overcapping on CRIT Rate. |
Sacrificial Bow (R4+) | At high refinements (R4+), Sacrificial Bow can allow for a second Skill cast, which means another big hit of Cryo damage as well as more consistency in achieving Rushing Ice. This also means Aloy can generate twice as many Cryo Particles in one rotation, doubling her effectiveness as a Cryo battery. |
 Amos’ Bow, Alley Hunter, The Viridescent Hunt | These Bows provide helpful stats for Aloy’s damage. You can pre-stack Alley Hunter’s passive by waiting for 10s before starting a Domain or Abyss floor, as long as Aloy is not in your first party slot. The Viridescent Hunt’s passive does not affect Aloy’s Bomblets, but it can pull enemies into them with a bit of luck. |
 Favonius Warbow | Favonius Warbow severely reduces Aloy’s personal damage, but it allows her to generate Clear Particles for the team. |
Freeze Teambuilding
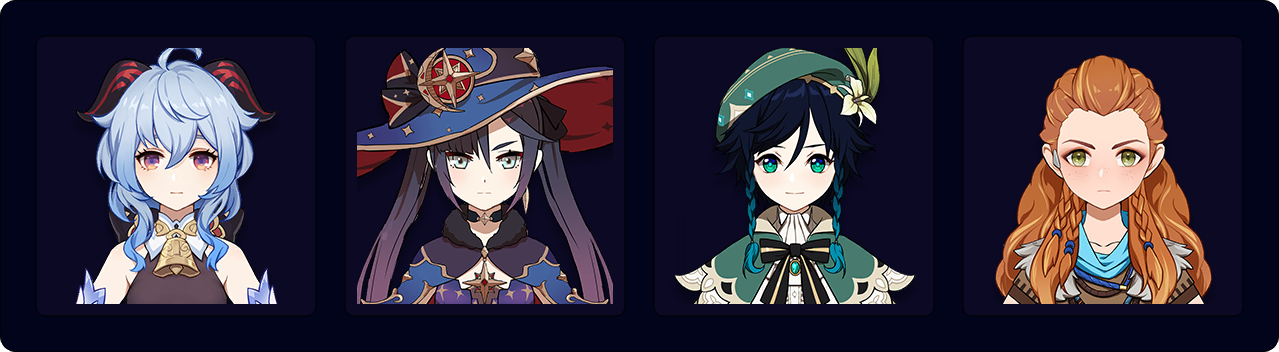
Freeze teams can use Aloy as a second Cryo unit to provide buffs and Energy for the primary Cryo DPS. These teams usually consist of Aloy, a Cryo DPS, an Anemo unit, and a Hydro unit. All Anemo units should equip 4pc Viridescent Venerer (4pc VV) in order to shred enemy RES.
Notable Teammates
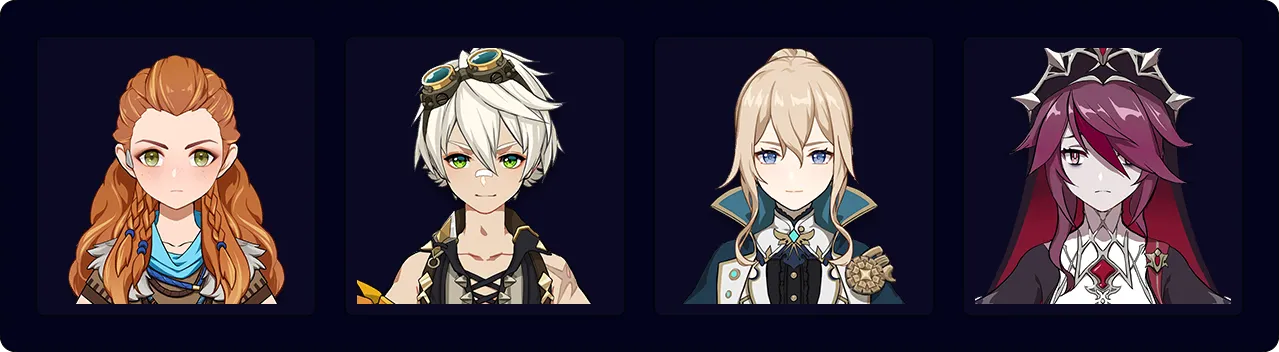
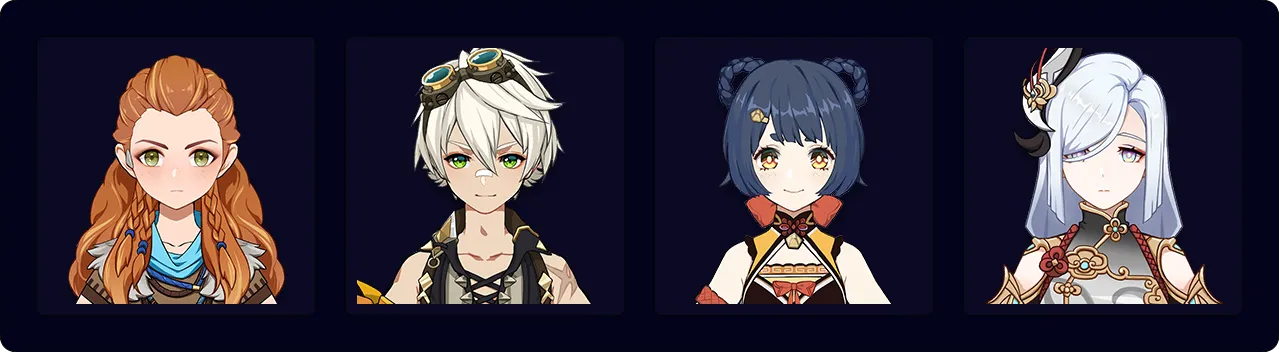
Ayaka, Ganyu, Wriothesley Rosaria, Kaeya | Your primary Cryo DPS. All of these units can work in this role, though Ayaka and Ganyu are the most conventional and most recommended. |
 Kazuha | Kazuha’s utility grows in Freeze teams, since it is easier for him to Swirl Cryo to buff both Aloy and your primary Cryo DPS. |
  Jean, Xianyun | Jean and Xianyun provide RES Shred with 4pc VV and valuable healing, particularly when paired with Furina. Xianyun can allow the Cryo DPS to deal damage through Plunging Attacks, while Jean can group Aloy’s Bomblets. |
Anemo Traveler | Anemo Traveler can group Aloy’s Bomblets and also shred enemy RES through their C6 and 4pc VV, though they may also push enemies away from you. |
 Sucrose | Sucrose’s EM share is less valuable in Freeze teams. Nonetheless, she can still hold 4pc VV for its RES Shred and help manipulate Aloy’s Bomblets if you have no other option. |
 Venti | Venti is unable to move Aloy’s Bomblets, but he excels in content with multiple smaller enemies. You may have trouble triggering Rushing Ice, but it hardly matters if Venti is single-handedly sweeping the floor. |
 Lynette | Lynette is a solid free option who provides a useful ATK% buff and a Taunt. Her C1 can technically group Aloy’s Bomblets, but the small range makes it fairly negligible. Lynette’s Taunt in addition to the Freeze reaction can be enough survivability to allow healerless teams. |
 Kokomi, Mona, Ayato | These off-field Hydro options enable Freeze. Note that Mona and Ayato’s ER requirements are very high in Freeze teams. Mona and Kokomi are able to hold Thrilling Tales of Dragon Slayers and/or 4pc Tenacity of the Millelith for additional buffs. |
  Xingqiu, Yelan | Xingqiu and Yelan also provide off-field Hydro application and considerable personal damage. However, they require Normal Attacks to proc their Burst effects, which is suboptimal if your Cryo DPS prefers not to use them (e.g., Ganyu). Their Hydro application and damage are generally also locked to single-target. |
 Furina | Furina provides a ramping DMG% buff that depends on HP changes. Thus, a strong healer (e.g., Jean) is recommended to maximize the buff and to offset Furina’s team HP drain. However, note that Furina’s Hydro application is not as consistent as Xingqiu’s / Yelan’s or that of a Hydro-absorbed Burst from Venti / Kazuha. |
Example Teams
This is not a comprehensive list of teams. The inclusion or exclusion of any given team does not necessarily reflect its power level.
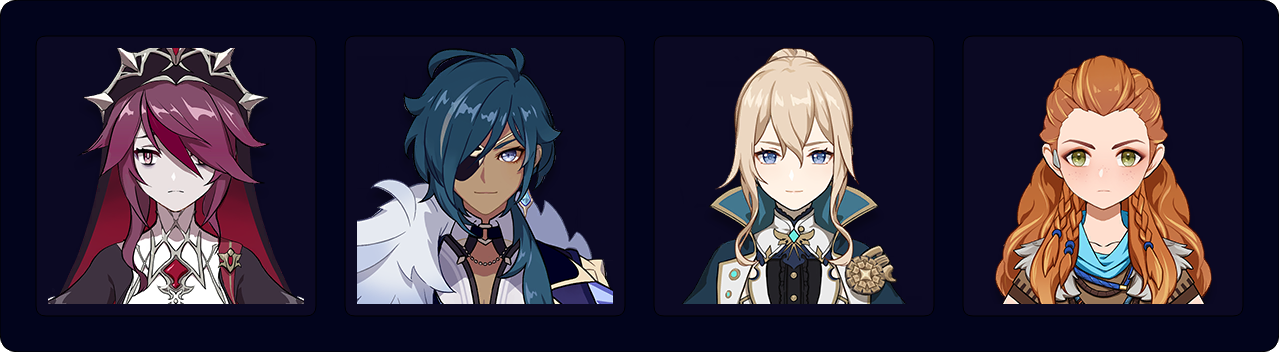
Mono Cryo Teambuilding
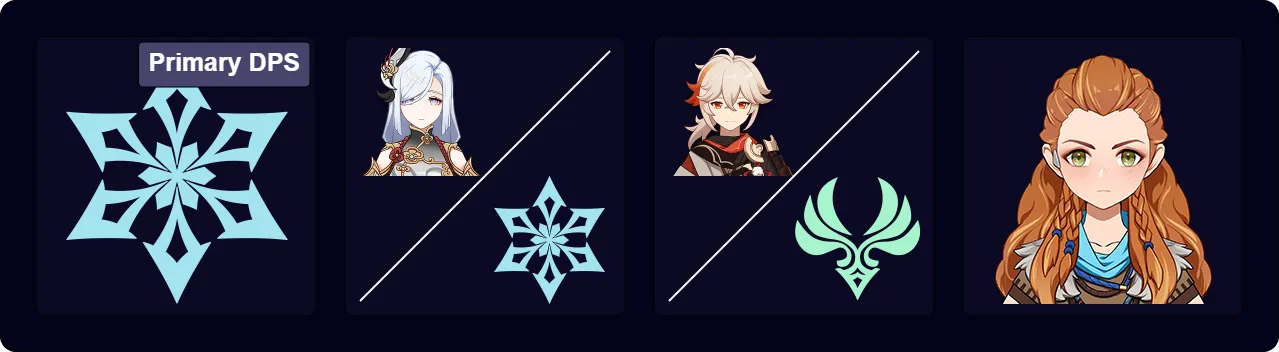
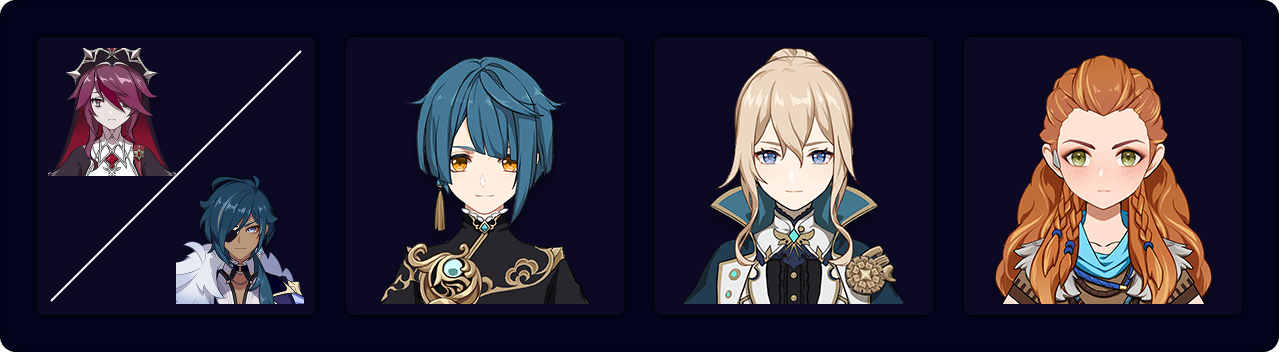
Mono Cryo teams are similar to Freeze teams, just without a Hydro unit; they perform better against enemies that are immune to Freeze, such as Bosses. Mono Cryo teams typically consist of Aloy, Shenhe, Kazuha, and another Cryo DPS. The Anemo unit should equip 4pc Viridescent Venerer (VV) to shred enemy Cryo RES.
Mono Cryo Aloy teams tend to be somewhat fragile since you need as much DPS as possible from your teammates, and running a healer means compromising your damage.
Notable Teammates
 Shenhe | While not strictly necessary for Mono Cryo teams, Shenhe is tailor-made for this archetype with her potent buffs to Cryo damage. |
 Kazuha | Kazuha’s buffing utility shines in Mono Element teams due to his A4 Passive easily buffing all of the team’s DPS units. He can also group Aloy’s Bomblets and shred enemy RES with 4pc VV. While not strictly necessary, Kazuha is highly recommended. |
 Jean, Lynette, Anemo Traveler, Sucrose | These are alternative Anemo units if Kazuha is not an option. They can still manipulate Aloy’s Bomblets and shred enemy RES with 4pc VV. Jean also has the added benefit of healing. |
Ayaka, Ganyu, Rosaria, Kaeya | Your primary Cryo DPS. All of these units work in this role, though Ayaka and Ganyu are the most conventional and most recommended. If you do not use Shenhe, you should choose two characters from this list. |
Example Teams
This is not a comprehensive list of teams. The inclusion or exclusion of any given team does not necessarily reflect its power level.
Credits
nociii, raven.9205, cuppacote, cuzimori, idkanonymized, chasing_haze, nikatosaurus, polomo
Team images courtesy of the KQM portrait generator.