Updated for Version 4.0

Dori is a 4-star Electro Claymore character who consolidates the roles of a healer, battery, and Electro applier. With Constellations, she can become a reaction driver as well. Learn about Dori’s best builds, Talent priority, best weapons, best artifacts, and best teams in this quick guide.
Note that the information given may change if new discoveries are made. More extensive testing is in progress.
Join our Discord to participate in the theorycrafting process.
Table of Contents
New Content
 Freminet | Freminet appreciates Dori’s healing, Electro application (for Superconduct), and minor Energy regeneration. In this role, Dori does not contribute much to team damage. |
 Talking Stick | The Electro self-application from Dori’s Burst is one of the most consistent ways to take advantage of Talking Stick’s unique DMG% passive. For C6 Aggravate Dori, however, Serpent Spine is generally recommended over Talking Stick. |
 Baizhu | In C6 Dori’s Aggravate teams, Baizhu can apply Dendro to enable Quicken. His defensive utility is also welcome since building Dori for damage will sacrifice her healing. |
 Kaveh | Dori’s healing can help supplement Kaveh’s self-healing, but she otherwise does not have much synergy with him. |
 Kirara | In C6 Dori’s Aggravate teams, Kirara can apply Dendro to enable Quicken. Otherwise, Kirara is simply a flex shield slot for added survivability. |
Infographic
Support
Credits to kolvii, cegewinne, haafr, nova_licious, madeofseaglass, and KQM Staff
Hyperbloom
Credits to kolvii, cegewinne, haafr, nova_licious, madeofseaglass, and KQM Staff
C6 Aggravate
Credits to kolvii, cegewinne, haafr, nova_licious, madeofseaglass, and KQM Staff
Playstyles
Hyperbloom/Aggravate Driver
Dori’s Electro application through her Burst alone tends to be tedious and lackluster. However, if paired with Jean’s Burst for Electro self-Swirls, Hyperbloom becomes a viable playstyle. At C6, Dori is able to infuse her Normal Attacks with Electro to become an Aggravate driver.
Electro Support
Dori as an off-field Electro support is a flexible unit who focuses on her Burst for Flat Energy generation and healing.
Talents
Talent Priority
Level 90 is highly recommended to maximize Dori’s Hyperbloom and Aggravate damage.
Talent Levels do not directly affect Dori’s reaction damage, but they will increase her healing potency, Flat Energy generation, and base damage multipliers for Aggravate teams.
C6 Driver: Burst > Normal Attack > Skill
Non-C6: Burst > Skill
Dori’s Burst should always be the highest priority. Her Normal Attacks should not be leveled unless she is C6 and built as a reaction driver.
Talents Overview
![]() Normal Attack | Marvelous Sword-Dance (Modified)
Normal Attack | Marvelous Sword-Dance (Modified)
Normal Attack
Performs up to 3 consecutive strikes.
Charged Attack
Drains Stamina over time to perform continuous spinning attacks against all nearby opponents. At the end of the sequence, performs a more powerful slash.
Plunging Attack
Plunges from mid-air to strike the ground below, damaging opponents along the path and dealing AoE DMG upon impact.
Until C6, Dori’s Normal Attacks are lackluster and should rarely be used outside of Favonius procs. At C6, Dori’s Normal Attacks will be infused with Electro after using her Skill, allowing her to drive Hyperbloom and Aggravate reactions.
![]() Elemental Skill | Spirit-Warding Lamp: Troubleshooter Cannon
Elemental Skill | Spirit-Warding Lamp: Troubleshooter Cannon
Directs a Spirit-Warding Lamp to fire off Troubleshooter Shots at opponents, dealing Electro DMG.
When Troubleshooter Shots hit opponents, they will create 2 After-Sales Service Rounds that will automatically track opponents and deal Electro DMG.
As a standalone Talent, Dori’s Skill seems unimpressive, lacking in both damage and Electro particle generation. But at C1, Dori’s Skill can apply Electro twice and therefore trigger Electro reactions twice. When paired with her A1 Passive and the 4p Thundering Fury set, Dori’s Skill cooldown can be lowered significantly—potentially lowering Dori’s ER needs if the team can fit more uses of her Skill (see Dori’s A4 Passive). Frequent uses of Dori’s Skill allows C6 Dori to be a consistent reaction driver.
![]() Elemental Burst | Alcazarzaray’s Exactitude
Elemental Burst | Alcazarzaray’s Exactitude
Summons forth the Jinni within the lamp to give the client various kinds of aid.
Jinni
Connects to a nearby character. The connected character will:
- Continuously restore HP based on Dori’s Max HP.
- Continuously regenerate Energy.
- Be affected by Electro.
When the connector between the Jinni and the character touches opponents, it will deal one instance of Electro DMG to them every 0.4s.
Only one Jinni can exist at one time.
Dori’s Burst contains the majority of her utility—Electro application, healing, and Energy generation—but is locked behind an expensive 80 Energy Cost and requires the on-field character to remain connected to the Jinni.
As a support, Dori’s Burst is slightly more favorable toward hypercarry teams since off-field characters will not benefit from the healing or Energy generation. Despite Dori’s Burst having a frequent hit rate, its Electro application is not the best since its ICD is every 3 seconds with no hit count. Fortunately, this non-standard ICD does not affect Hyperbloom triggers, though it may be tedious to run around and actively hit the Dendro Cores with the Jinni connection.
In some teams, the Electro self-application from Dori’s Burst can allow for more consistent Electro Absorption (e.g., Kazuha, Sayu) and a unique synergy with Jean’s Burst (similar to the “Sunfire” duo of Jean and Bennett).
![]() Ascension 1 Passive | An Eye for Gold
Ascension 1 Passive | An Eye for Gold
After a character connected to the Jinni triggers an Electro-Charged, Superconduct, Overloaded, Quicken, Aggravate, Hyperbloom, or an Electro Swirl or Crystallize reaction, the CD of Spirit-Warding Lamp: Troubleshooter Cannon is decreased by 1s.
This effect can be triggered once every 3s.
Through this Passive alone, the cooldown for Dori’s Skill can theoretically drop to as low as 6 seconds, though this is more feasible if Dori is C6. This Passive synergizes well with the 4p Thundering Fury set to decrease Dori’s Skill cooldown even further (more research is being done in this area).
![]() Ascension 4 Passive | Compound Interest
Ascension 4 Passive | Compound Interest
When the Troubleshooter Shots or After-Sales Service Rounds from Spirit-Warding Lamp: Troubleshooter Cannon hit opponents, Dori will restore 5 Elemental Energy for every 100% Energy Recharge possessed.
Per Spirit-Warding Lamp: Troubleshooter Cannon, only one instance of Energy restoration can be triggered and a maximum of 15 Energy can be restored this way.
Team rotations that have Dori use her Skill multiple times can make good use of this Passive to significantly decrease Dori’s ER requirements. Note that this Passive does not regenerate Flat Energy in strict intervals of 5. For example, 155% ER will restore 7.75 Energy if Dori fires her Skill once.
![]() Utility Passive | Unexpected Order
Utility Passive | Unexpected Order
Has a 25% chance to recover some of the materials used when crafting Character and Weapon Materials.
Saves Mora and resources—Dori would approve.
Constellations
![]() Constellation 1 | Additional Investment
Constellation 1 | Additional Investment
The number of After-Sales Service Rounds created by Troubleshooter Shots is increased by 1.
Extra damage and one extra Electro application through Dori’s Skill.
![]() Constellation 2 | Special Franchise
Constellation 2 | Special Franchise
When you are in combat and the Jinni heals the character it is connected to, it will fire a Jinni Toop from that character’s position that deals 50% of Dori’s ATK DMG.
Extra damage and three extra Electro applications through Dori’s Burst.
![]() Constellation 3 | Wonders Never Cease
Constellation 3 | Wonders Never Cease
Increases the Level of Alcazarzaray’s Exactitude by 3.
Maximum upgrade level is 15.
A straightforward but useful +3 Talent Levels to Dori’s Burst.
![]() Constellation 4 | Discretionary Supplement
Constellation 4 | Discretionary Supplement
The character connected to the Jinni will obtain the following buffs based on their current HP and Energy:
- When their HP is lower than 50%, they gain 50% Incoming Healing Bonus.
- When their Energy is less than 50%, they gain 30% Energy Recharge.
The Healing Bonus will come useful in some high-difficulty content while the ER will benefit practically any character. This Constellation mainly enhances Dori’s strengths as a support. Both the Healing Bonus and the ER buff can be obtained simultaneously.
![]() Constellation 5 | Value for Mora
Constellation 5 | Value for Mora
Increases the Level of Spirit-Warding Lamp: Troubleshooter Cannon by 3.
Maximum upgrade level is 15.
+3 Talent Levels to Dori’s Skill. Not as significant compared to her other Constellations.
![]() Constellation 6 | Sprinkling Weight
Constellation 6 | Sprinkling Weight
Dori gains the following effects for 3s after using Spirit-Warding Lamp: Troubleshooter Cannon:
- Electro Infusion.
- When Normal Attacks hit opponents, all nearby party members will heal HP equivalent to 4% of Dori’s Max HP. This type of healing can occur once every 0.1s.
Dori’s C6 is the heart of what allows her to be an Aggravate driver. It causes her Normal Attacks, which are lackluster pre-C6, to be infused with Electro for 3 seconds after using her Skill. When paired with her A1 Passive and the 4p Thundering Fury set, Dori can get practically permanent Electro Infusion. Outside of Aggravate teams, C6 Dori can fill team downtime with some extra healing and Electro application.
Combos (C6 Aggravate Driver)
N# = corresponding number of consecutive Normal Attacks
E = Skill
D = dash cancel
| E N2 D N2 | C6 Dori’s most effective combo that best makes use of her 3 seconds of Electro Infusion. Applies Electro twice for two 4p Thundering Fury procs. |
| E N3 | Technically less challenging, but can be inconsistent since Dori’s third Normal Attack swing may hit after her Electro Infusion disappears. |
Artifacts
ER Requirements
Dori’s ER requirements can vary depending on her field time, Favonius procs, the enemy, etc. C6 Dori as a driver will be on-field significantly more, generally lowering her ER needs by ~20%.
The following table assumes two Skills per rotation; use the Energy Recharge Calculator to determine exact requirements for your team and rotation.
| Situation | w/ Favonius | w/o Favonius |
| C6 Driver – Solo Electro | 160%-180% | 190%-220% |
| C6 Driver – Double Electro | 120%-140% | 140%-160% |
| Other – Solo Electro | 180%-220% | 210%-260% |
| Other – Double Electro | 140%-160% | 160%-180% |
Having Raiden or Fischl in the team shaves off a large chunk of Dori’s ER requirements:
- Raiden: 40%-60% less ER
- Fischl: 30%-40% less ER
Artifact Stats
Scalings
Dori has a multi-faceted kit and is dependent on her Burst. You should adjust your build according to how you use her. Dori’s Burst is incredibly important, so make sure you prioritize her ER requirements before building for damage in Aggravate and Hyperbloom playstyles.
- Energy Recharge (ER) ⇒ ER Requirement
- Elemental Mastery (EM) ⇒ Aggravate and Hyperbloom DMG
- CRIT Rate and CRIT DMG ⇒ Talent DMG and Aggravate DMG
- HP% / Healing Bonus ⇒ Healing
- ATK% ⇒ Talent DMG
Aggravate
 Sands |  Goblet |  Circlet |
| EM or ER | Electro DMG Bonus or EM | CRIT Rate or CRIT DMG |
Substats: ER (until requirements) > CRIT > EM > ATK% = HP%
Hyperbloom
Sands | Goblet | Circlet |
| EM or ER | EM | EM |
Substats: ER (until requirements) > EM > CRIT Rate (Favonius) > HP%
Pure Healer (Not Recommended)
Sands | Goblet | Circlet |
| HP% | HP% | Healing Bonus |
Substats: HP% > Flat HP
A pure healer build is almost never recommended since her healing is enough when built offensively.
Artifact Sets
[Aggravate]: Exclusively for Aggravate builds
[Hyperbloom]: Exclusively for Hyperbloom builds
[Flexible]: Applicable for all builds
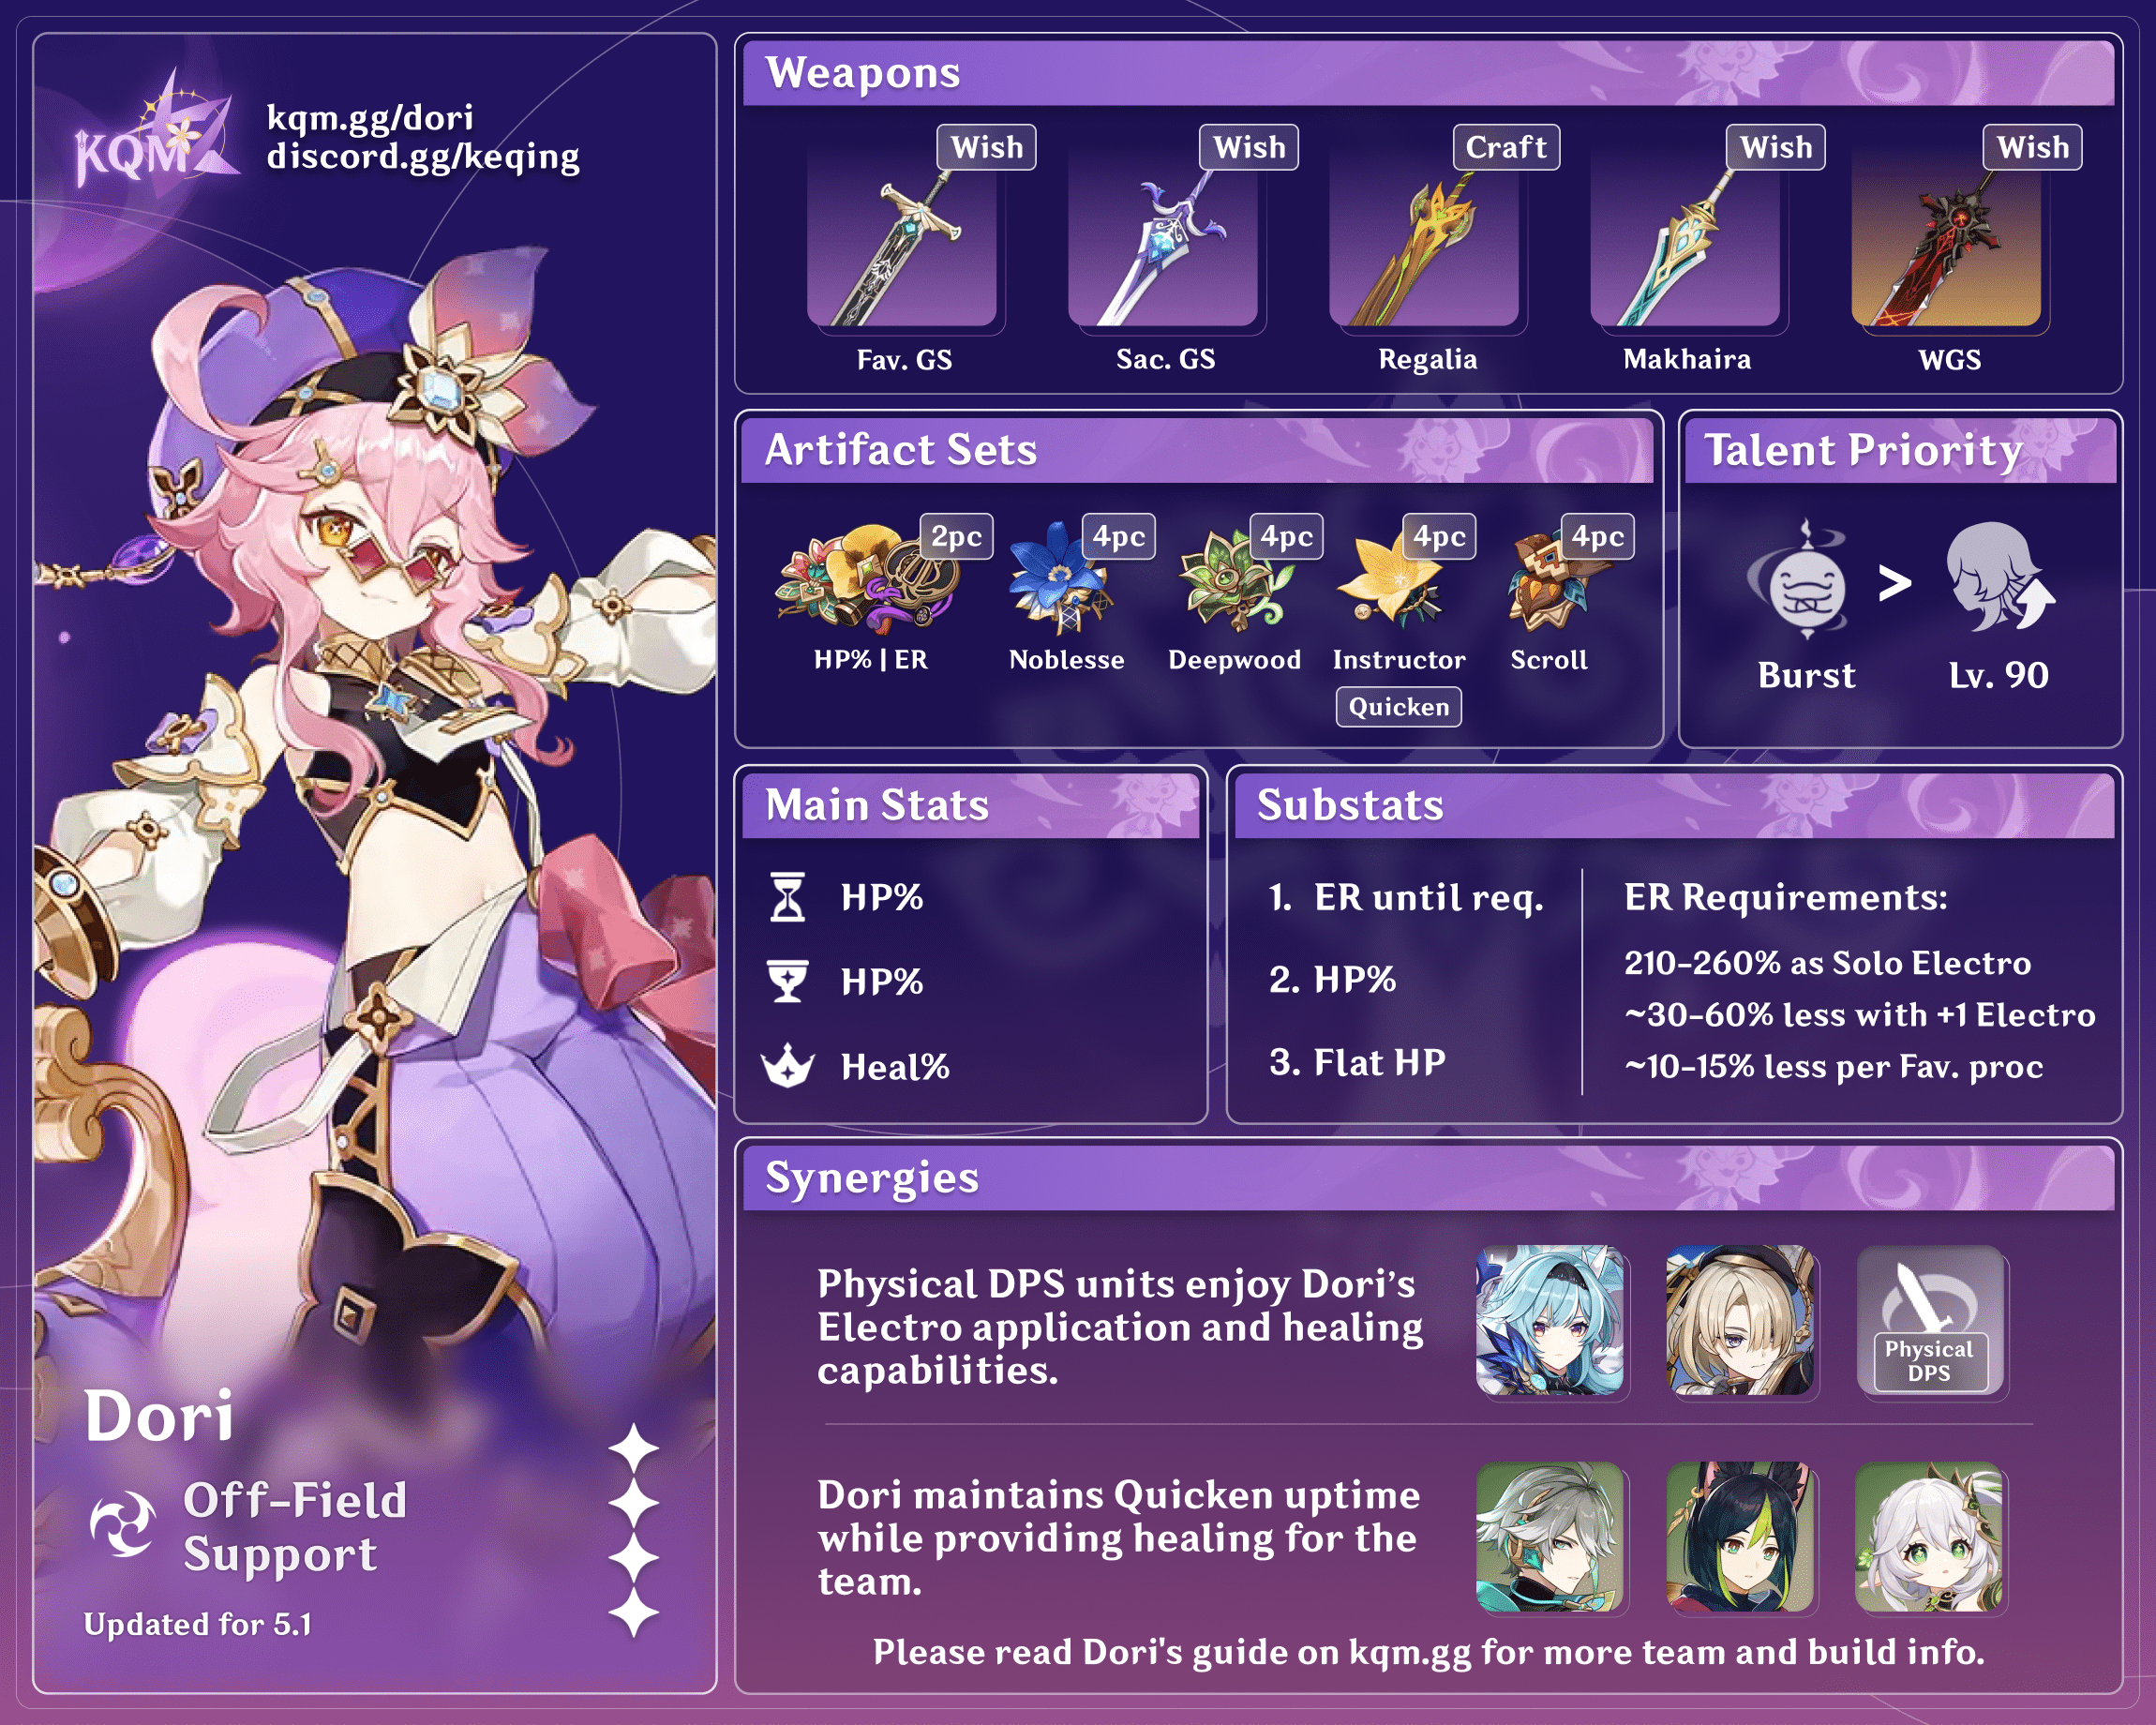
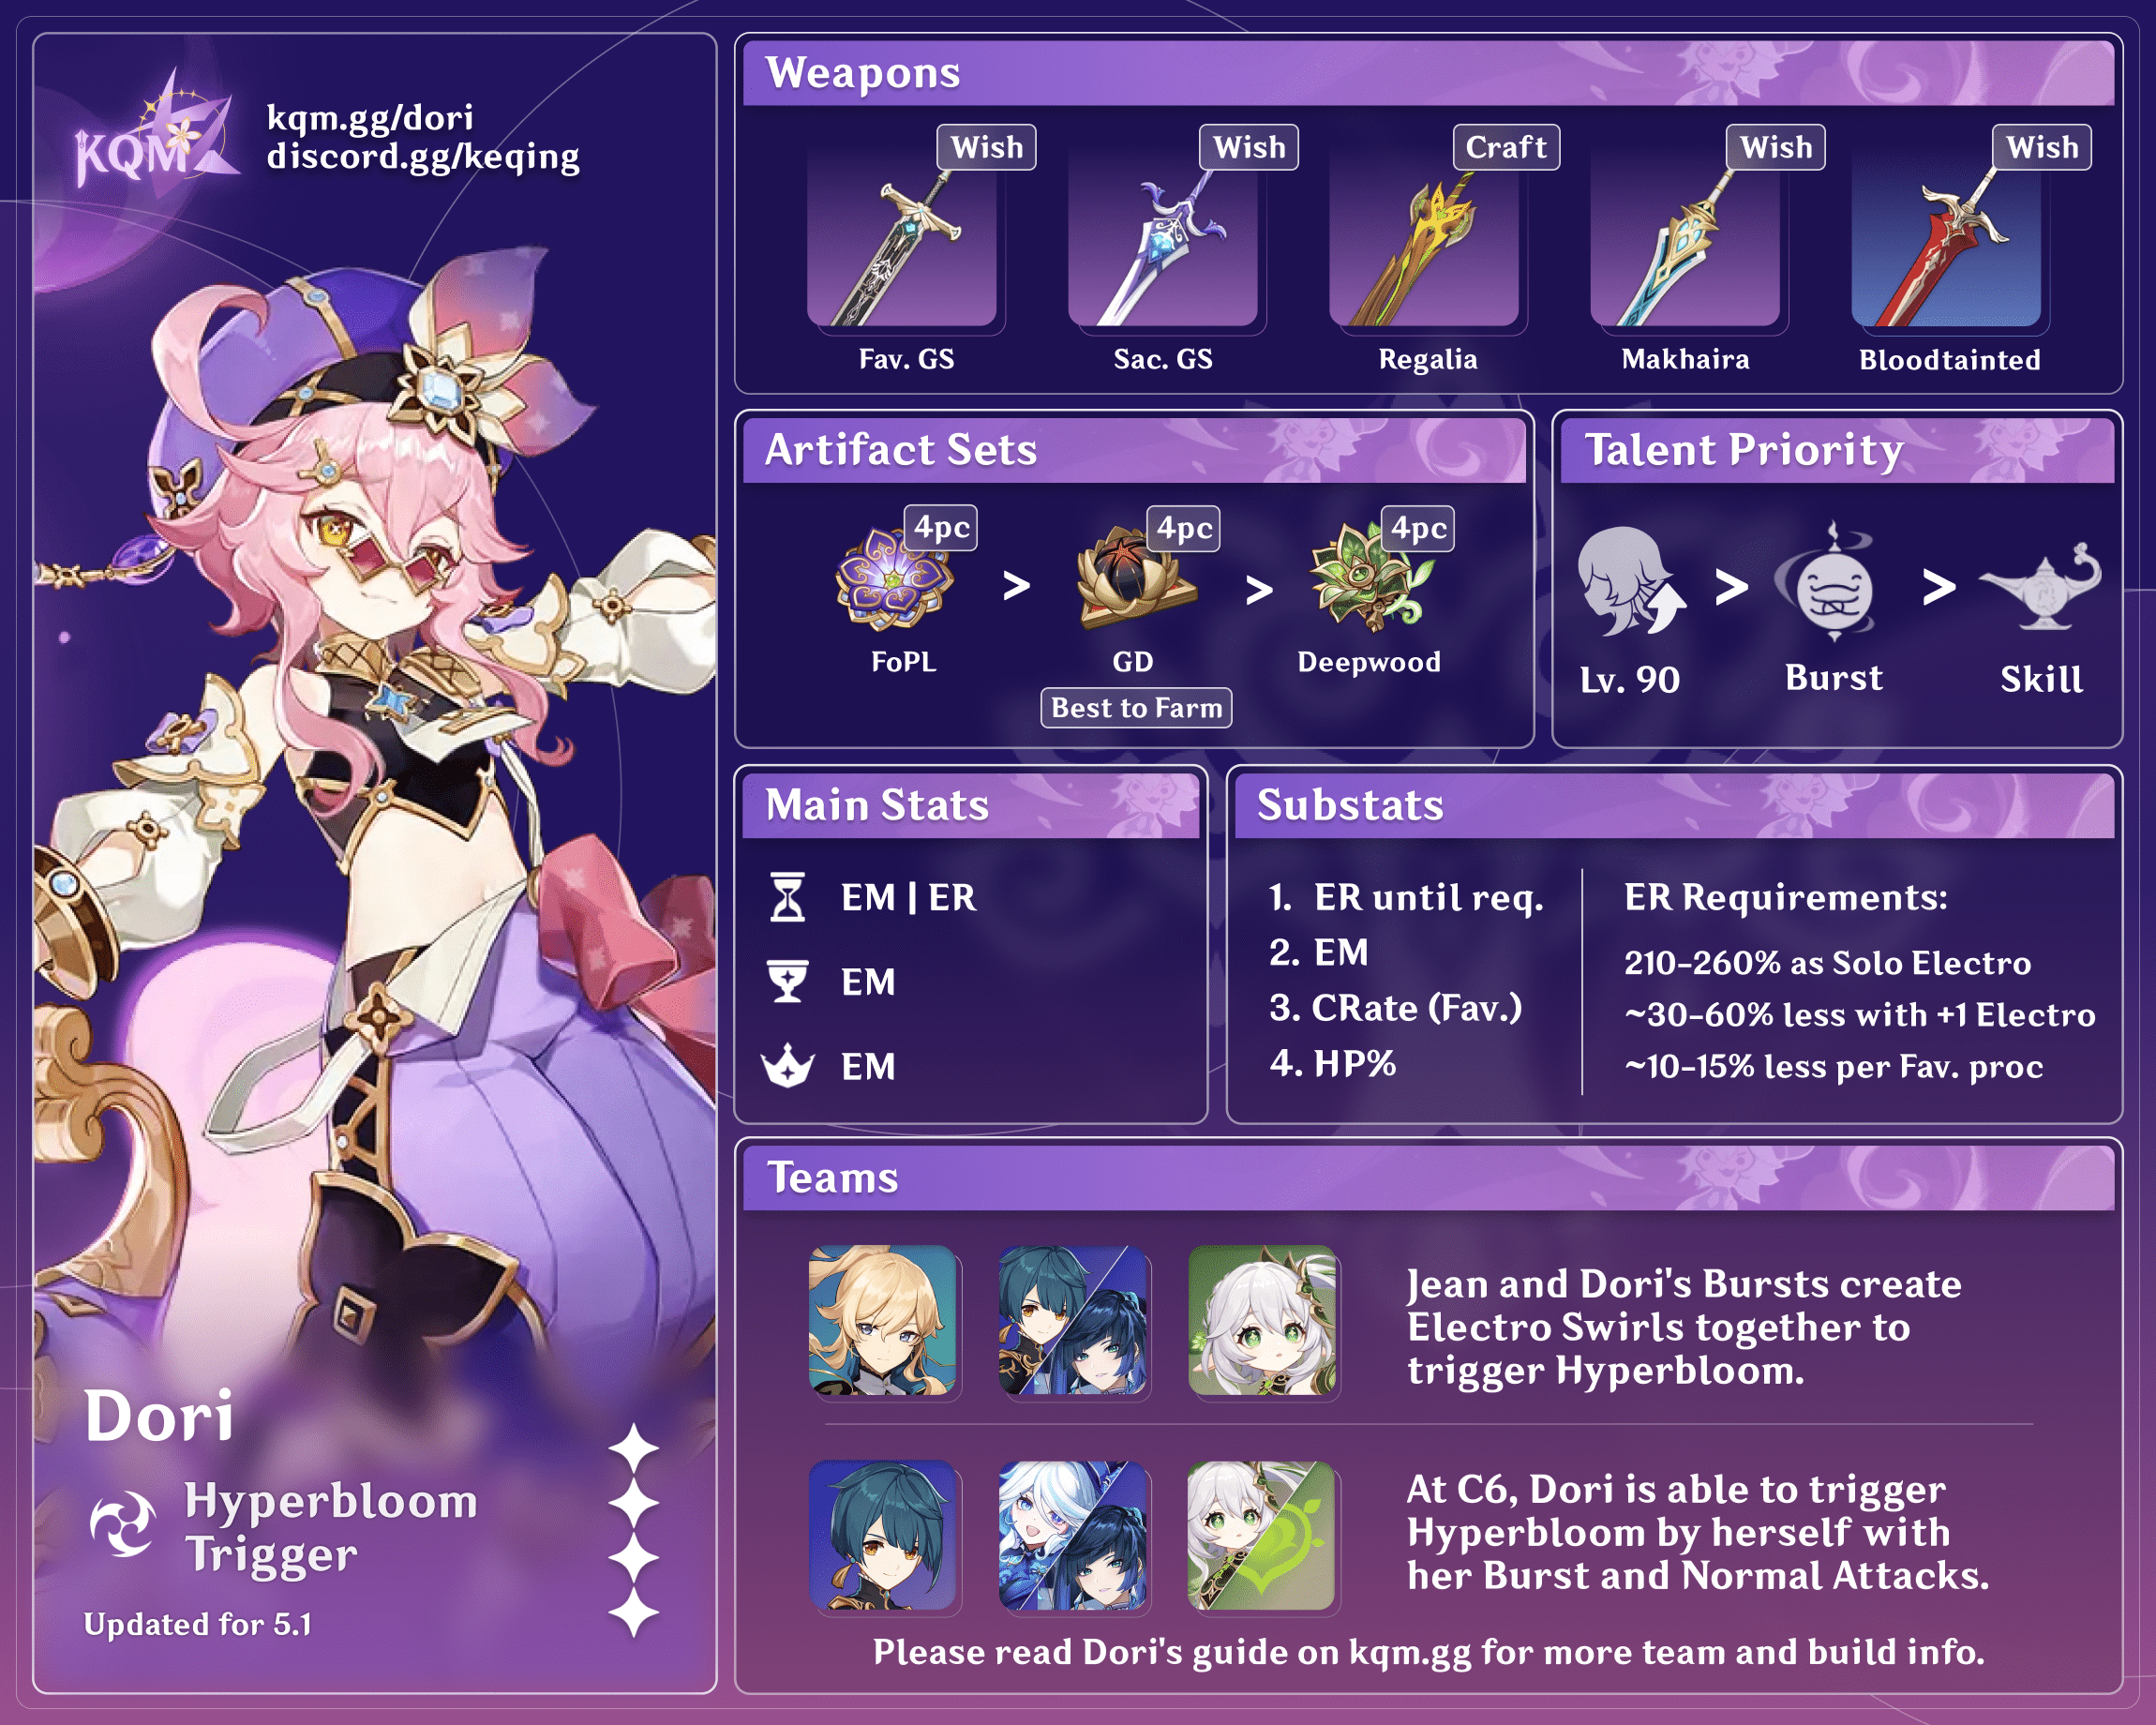
 4p Gilded Dreams | [Aggravate] and [Hyperbloom] A stable set for Dori’s reaction-based builds; she is able to proc the 4p effect consistently regardless of her field time thanks to its lenient condition. |
 2p EM/ER/DMG%/ATK% mixed sets | [Aggravate] and [Hyperbloom] These mixed 2p sets provide Dori with unconditional stats and are extremely valuable when she does not have a full set or her build’s stats are not balanced. |
 4p Thundering Fury | [Aggravate] One of Dori’s most competitive sets for an Aggravate playstyle with extended field time. She is able to make use of all facets of 4TF—Electro DMG%, Electro-Reaction DMG%, and the Skill cooldown reduction. The cooldown reduction effect in particular works in tandem with Dori’s A1 Passive, helping her fire off more Skill shots, which translates to more damage, more Energy, and potentially full Electro Infusion uptime from C6.Without C6, it is worth noting that the extra DMG proc from her C1 helps Dori trigger this set effect twice every Skill use. |
 4p Thundersoother | [Aggravate] While the unconditional effect benefits Dori, its actual performance falls short against other options above. 4TS sharing the same Domain as 4TF is what makes this set valuable—as a backup plan for when a full 4TF set is not completed or is reserved for another Electro character of the same team. |
 4p Flower of Paradise Lost | [Hyperbloom] The 4p effect of this set only increases Hyperbloom damage. Hyperbloom is only a part of Dori’s damage since she will sometimes trigger Aggravate and/or Electro-Charged on the side. This makes 4FoPL fall off compared to options that will buff more than just Hyperblooms. |
 4p Noblesse Oblige | [Flexible] If no other teammate is already holding 4NO, the team-wide ATK% buff from this set is something Dori’s team will likely appreciate. |
 4p Deepwood Memories | [Flexible] 4DM is an essential set for Spread or Bloom (and its variants’) teams. Dori and her long Burst duration allows her to achieve 100% Dendro Shred uptime. |
 4p Ocean-Hued Clam | [Flexible] On paper, 4OHC might seem like one of her best options for personal damage, but Dori’s healing output almost never caps its DMG effect. All in all, it is still an amicable support set for flexible teams given its Healing Bonus and non-Elemental damage. |
 4p Instructor* | [Flexible] The set effect supplies the whole team with 120 EM, which can be a substantial boost if multiple characters in the team are triggering reactions. |
 4p The Exile* | [Flexible] Extends Dori’s battery capabilities with its team-wide Flat Energy generation effect. |
*It is recommended to use a 5-star ER Sands to go along with these 4-star sets.
Weapons
[Aggravate]: Exclusively for Aggravate builds
[Hyperbloom]: Exclusively for Hyperbloom builds
[Flexible]: Applicable for all builds
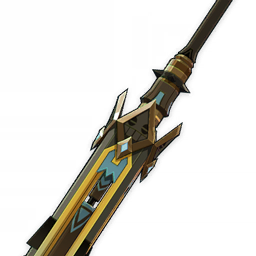
 Favonius Greatsword | [Flexible] One of Dori’s most competitive options for all of her playstyles thanks to its battery capabilities. |
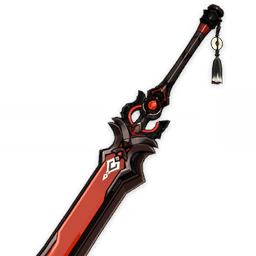
 Sacrificial Greatsword | [Flexible] Generally has more value for a more offensively built Dori with lower ER thresholds. The extra Skill generates more particles, more Energy from her A4, and more Electro application. |
 Katsuragikiri Nagamasa | [Flexible] Similar to Sacrificial Greatsword in its benefits for a low-ER Dori, providing Flat Energy generation and Skill DMG%, this weapon shines the most in her Aggravate teams. |
 Forest Regalia | [Flexible] Capable of giving Dori or one of her teammates a decent EM buff, as well as an ER secondary stat which she appreciates regardless. The passive only works for teams using Dendro reactions. |
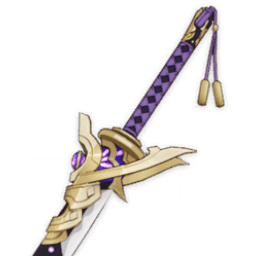
 Serpent Spine/Talking Stick | [Aggravate] In the case that ER requirements are met, Serpent Spine and Talking Stick are powerful Aggravate weapons for their CRIT Rate secondary stats and DMG% passives. Dori’s Burst is great for triggering Talking Stick’s passive. If full stacks are maintained, Serpent Spine provides more DMG% with no downtime. Serpent Spine also has a higher CRIT Rate secondary stat. |
  Rainslasher/Bloodtainted Greatsword | [Aggravate] and [Hyperbloom] With enough ER from artifacts, they can both be a step up from ER weapons in terms of personal damage. |
 Makhaira Aquamarine | [Hyperbloom] The team-wide ATK buff from this weapon scales directly with Dori’s EM, making this a fantastic supportive Hyperbloom option. |
 Blackcliff Slasher | [Aggravate] Can be a competitive option for Aggravate teams with the CRIT DMG secondary stat but is hampered by the unreliable passive uptime. |
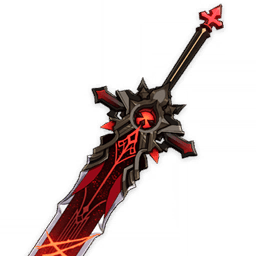 Wolf’s Gravestone | [Flexible] The substantial team-wide ATK% buff from this weapon can be highly beneficial depending on her teammates, but its inconsistent trigger condition and choppy uptime keeps it from being a top choice for Dori. |
 The Bell | [Flexible] The Bell is an option to enhance Dori’s defensive utilities through its high HP% and the shield passive and the DMG% can net her a damage increase for Aggravate teams. Even then it remains outshined by the competitors—the shield passive can only be activated on-field, extra HP% plus the shield can be excessive defense measures, and the DMG% does not pair well with its defensive mechanisms. |
Teams
Team-Building
- Dori can be used as a general flex-slot healer for any team that needs survivability and Energy. However, she will rarely be the best choice for the role, even if generally serviceable.
- Dori’s best teams are those that can take advantage of her unique methods of Electro application—namely, her C6 and her Burst’s Electro self-application—in tandem with her other benefits. These are the teams that will be covered in depth below.
Jean Hyperbloom
Dori’s Electro application being restricted to her Jinni connection typically makes her a poor choice for Hyperbloom teams compared to her competition. However, her Electro self-application alongside Jean’s Anemo self-application enables a unique interaction between the two, causing constant Electro Swirls centered around the character. This allows Jean and Dori to act as a consistent Hyperbloom trigger when their respective Bursts are active; as such, both characters should be built to meet their Energy Requirements and maximize reaction damage. The remaining team slots would be filled by a Hydro and Dendro unit to trigger Blooms and generate Dendro Cores.
Notable Teammates
 Jean | Jean is essentially irreplaceable to the team as the interaction between her Anemo self-application and Dori’s Electro self–application is what enables the team to function. |
 Nahida | Nahida is the prime option for both on-field and off-field Dendro application due to her personal damage and consistency. Notably, an on-field Nahida paired with an off-field Hydro enabler would allow the team to work well in both single-target and AoE. |
  Collei/DMC | DMC and Collei serve the same purpose in this team archetype, providing consistent off-field Dendro application. |
  Yelan/Xingqiu | Yelan and Xingqiu provide significant single-target off-field Hydro application as well as substantial personal damage. This makes them the premier choice for Hyperbloom setups with Dori and Jean. |
 Ayato | While the team’s Burst uptimes do not particularly sync well with Ayato’s playstyle, he can nonetheless be considered for his AoE Hydro application both on-field and off-field. |
 Tartaglia | Tartaglia’s unmatched rate of on-field AoE Hydro application means he can be considered; however, his personal damage is neutralized by the lack of buffs, and he has no off-field Hydro application for the team. This makes him considerably less appealing. |
 Kokomi | Kokomi can provide flexible on-field and off-field AoE Hydro application, as well as reasonable personal damage. While this makes her serviceable, she is not the best option—particularly due to her healing being rather wasted. |
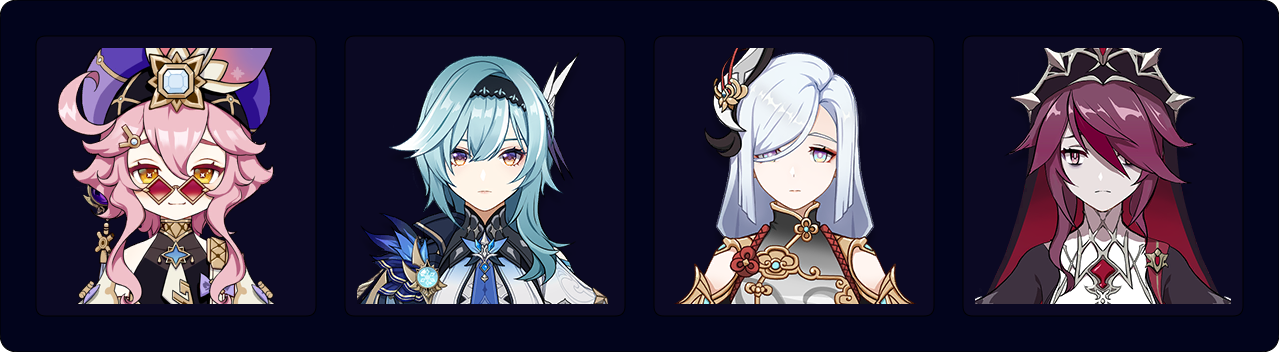
C6 Quickswap Aggravate
The Electro Infusion granted to Dori by her C6 can be used in quickswap Aggravate teams, where she can use it to contribute to team DPS while also consolidating healing and Energy generation in one slot. The team will generally consist of one other Electro off-field DPS and a Dendro character to trigger Catalyze as well as deal damage. The last slot is flexible, but is typically exclusively reserved for Anemo units due to their condensed buffing and significant amounts of personal damage in one slot.
Notable Teammates
 Fischl | Fischl is a prime choice for these teams due to her immense personal damage in Aggravate; this in tandem with her low field time and significant Energy generation makes her one of the best choices for the slot. She also synergizes well with Dori, who acts as a good driver to trigger her A4 and C6. |
 Yae Miko | Yae can be considered as an alternative to Fischl. While she requires more field time and has lower Energy generation than Fischl, she is nonetheless a fine choice. Since she is a Catalyst user, she can also fill in gaps in rotations using her Normal Attacks to trigger Aggravates. |
 Nahida | Nahida’s long-lasting Dendro application, strong personal damage, flexible field time, and Elemental Mastery buff for the on-field character make her an excellent choice for these teams. Her only notable caveat is that her Dendro application is strong enough to occasionally prevent Anemo units from triggering Electro Swirls. |
 DMC/Collei | DMC and Collei are also decent enablers for enabling Catalyze, as they possess both good application and minor buffs. |
 Yaoyao | Condenses Dendro application and healing into one slot, which can be useful since Dori’s healing may suffer when building her for damage. |
  Kazuha/Sucrose | Kazuha and Sucrose are the best options for the last slot—they provide Electro RES Shred via 4p Viridescent Venerer, offer further buffs through their kit, and can deal significant personal damage with Aggravated Electro Swirls. |
Example Teams
This is not a comprehensive list of teams, and the inclusion of a certain team or lack thereof does not necessarily indicate the power level of the team in question. This list is not in ranked order.


Credits
chasing_haze, seima, cuzimori, sew, milktearomance, aciewacie, konodiada, zchryrbbt, light.rain, Leah, polomo, dejaroo, cinders_pear
Team images courtesy of the KQM portrait generator.