Updated for Version 4.0

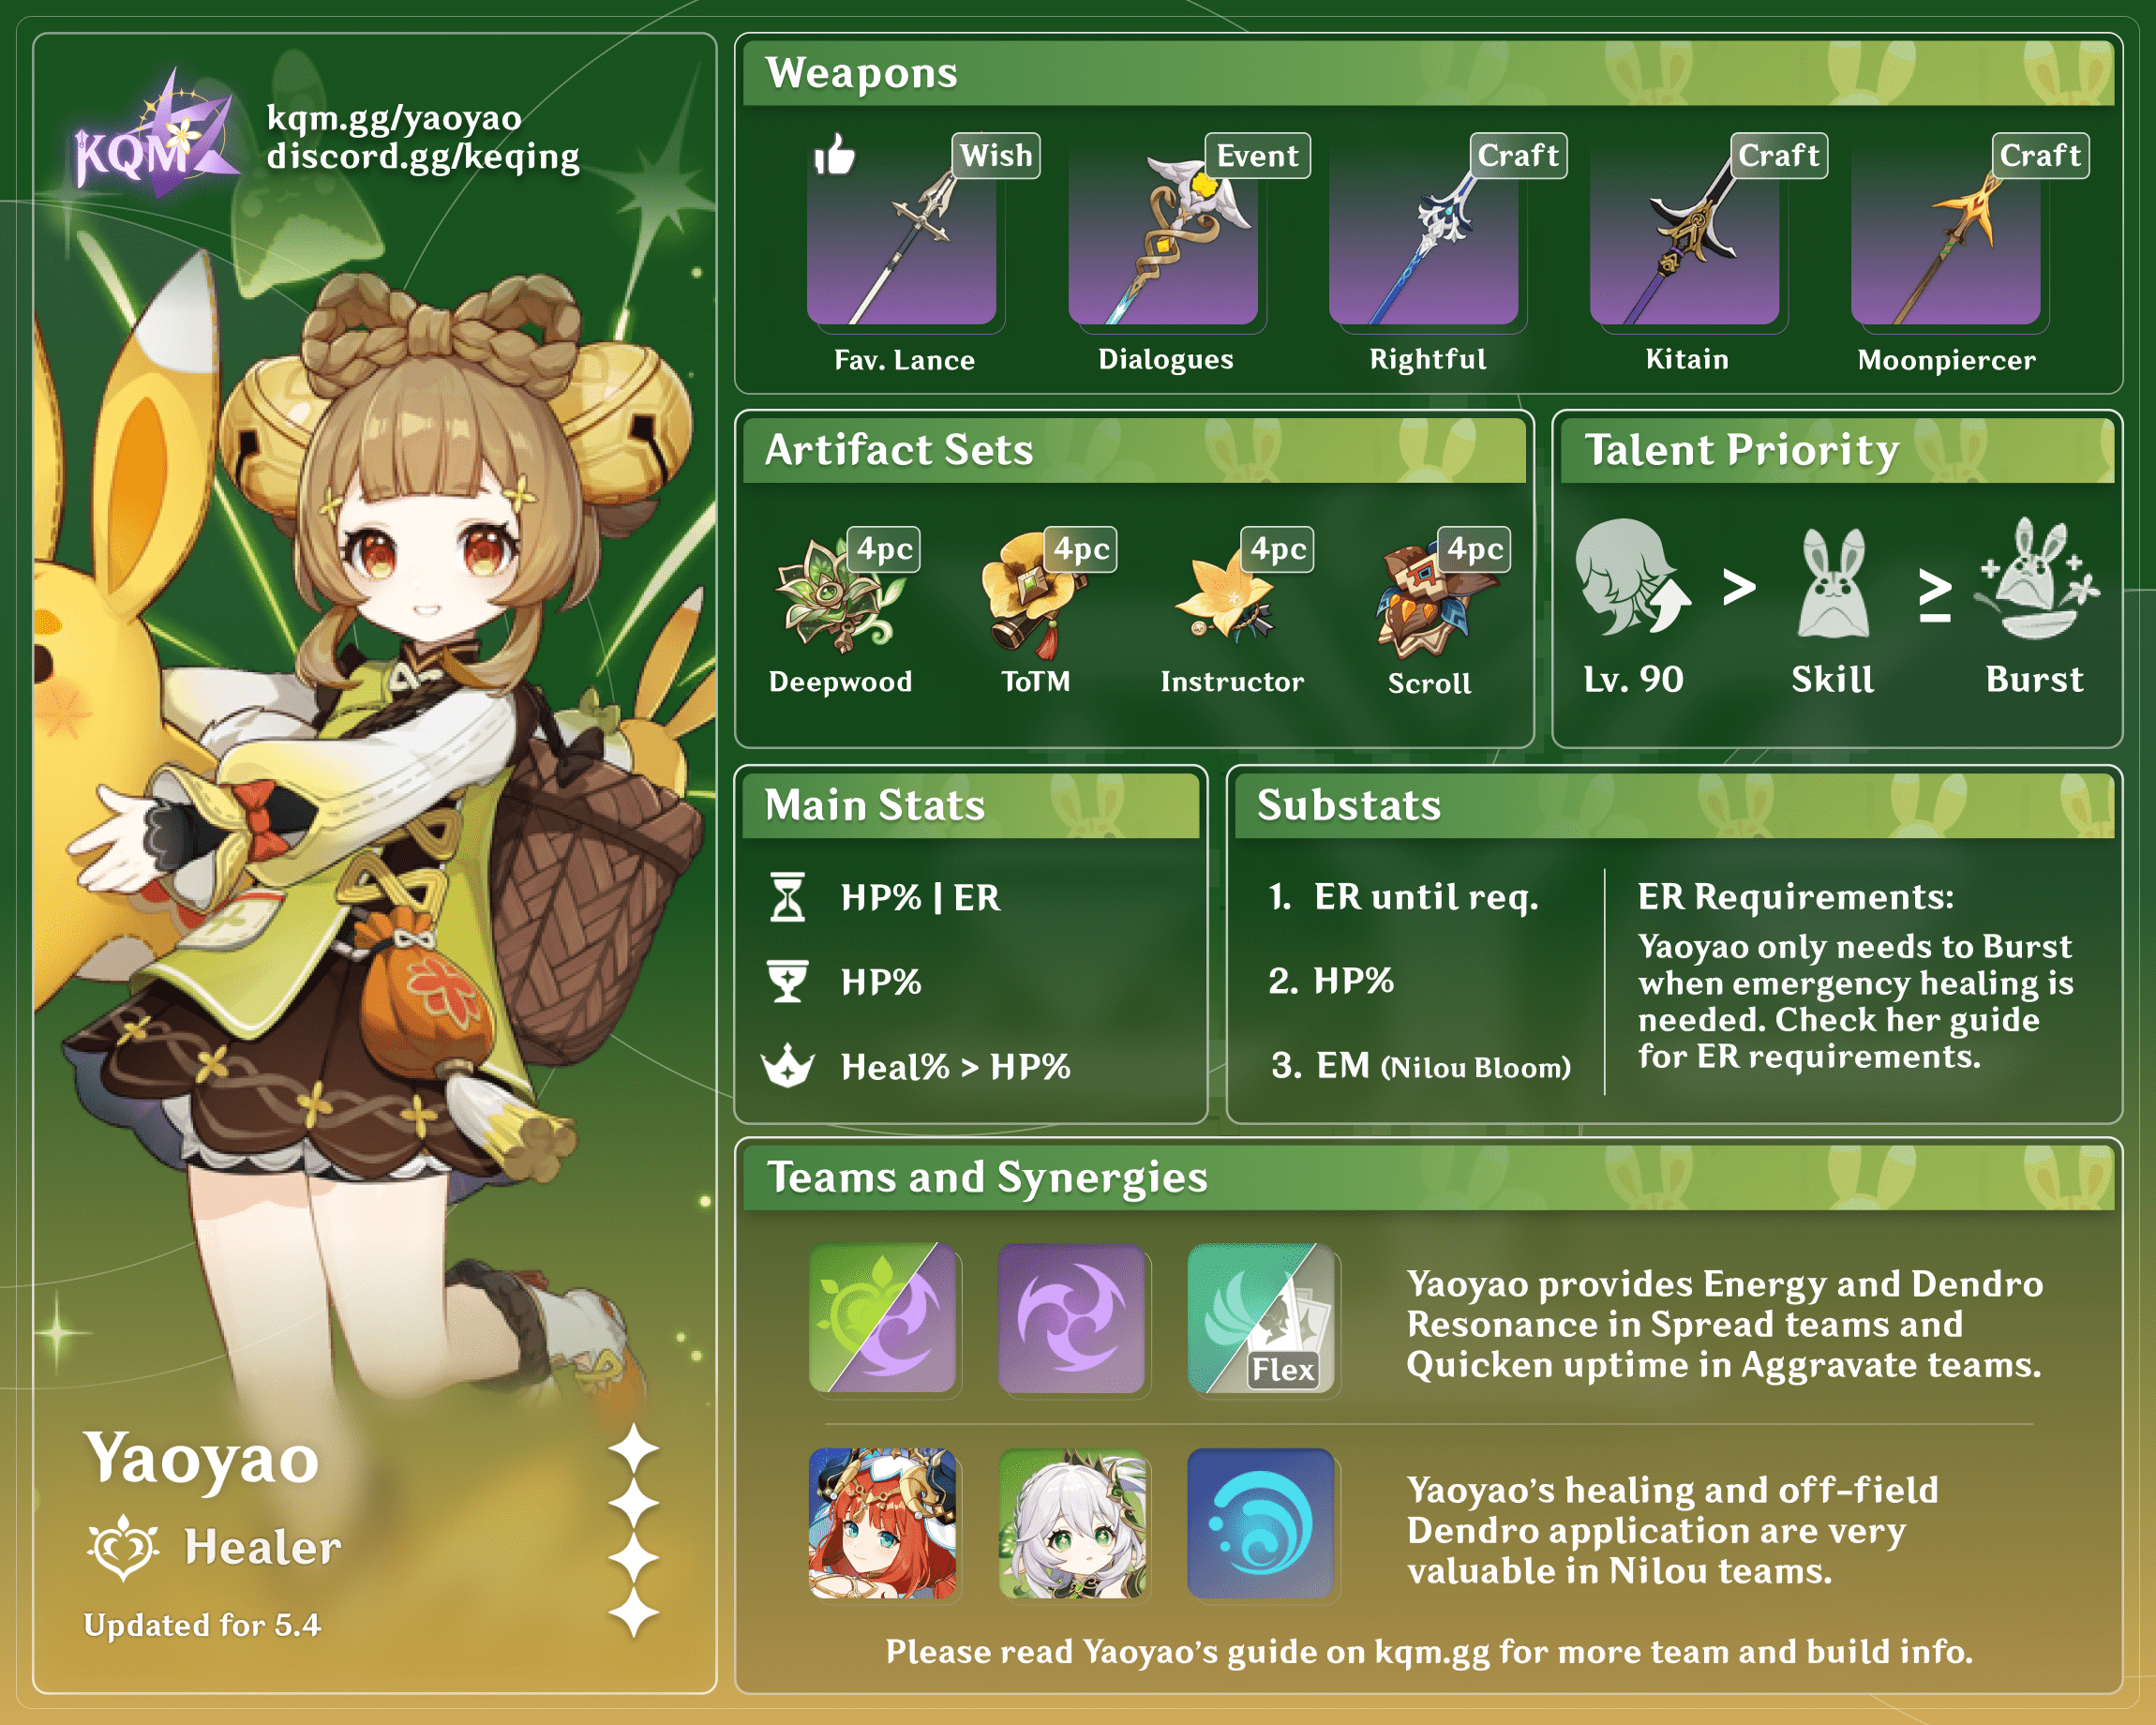
Yaoyao is a 4-star Dendro Polearm character who brings a rare combination of healing and Dendro application to her teams. Learn about Yaoyao’s best builds, Talent priority, best weapons, best artifacts, and best teams in this quick guide.
Note that the information given may change if new discoveries are made. More extensive testing is in progress.
The full-length guide is available here. It is currently up-to-date.
Table of Contents
New Content
| Baizhu, Kirara | Baizhu and Kirara are alternative Dendro defensive options to Yaoyao. |
| Kaveh | Kaveh appreciates an off-field Dendro unit to help with Energy, fill his downtime, and enable Dendro Resonance. Yaoyao is a viable option who also provides healing. |
| Lynette | Lynette is an Ousia-aligned Anemo unit who can hold 4pc Viridescent Venerer for Aggravate (Quicken). She provides a teamwide ATK% buff with her A1 Passive and minor grouping with her C1. At C6, Lynette’s Anemo Infusion allows her to be an on-field Hyperbloom trigger through Electro Swirls. |
| Rightful Reward | The Fontaine craftable Polearm provides HP% and Flat Energy. It is a viable option, but generally not recommended over Favonius Lance or Kitain Cross Spear. |
Infographic
Credit to: cuppacote, lunaflaw, haafr, and KQM staff
Character Overview
Talents
Level and Talent Priority
Level 90 is highly recommended to maximize Yaoyao’s HP and reaction damage.
Skill ≥ Burst >> Normal Attack
Talent levels do not directly affect Yaoyao’s reaction damage, but they greatly improve her healing. For this reason, it’s worth investing in her Skill and Burst.
Talent Overview
 Normal Attack | Toss ‘N’ Turn Spear
Talent Description
Normal Attack
Performs up to 4 consecutive spear strikes.
Charged Attack
Consumes a certain amount of Stamina to lunge forward, dealing damage to opponents along the way.
Plunging Attack
Plunges from mid-air to strike the ground below, damaging opponents along the path and dealing AoE DMG upon impact.
A standard set of Physical Normal Attacks. They are unaffected by Yaoyao’s other Talents and do very little damage in all of her teams. Their sole purpose is to drive other characters’ off-field abilities during Yaoyao’s Burst duration.
 Elemental Skill | Raphanus Sky Cluster
Talent Description
Calls upon “Yuegui: Throwing Mode,” a special device created by a certain adeptus to help Yaoyao solve her problems.
This skill will be used differently in Holding Mode.
Hold
Enters Aiming Mode to adjust the throw direction.
Yuegui: Throwing Mode
Throws out White Jade Radishes that will explode upon hitting characters or opponents, dealing Dendro DMG to opponents within a certain AoE, and healing characters within that same AoE based on Yaoyao’s Max HP. If a radish does not hit either an opponent or a character, the radish will remain where it is and explode on contact with a character or opponent, or will explode after its duration expires.
Yuegui: Throwing Mode will choose its radish-throw targets.
·If all nearby characters have more than 70% HP remaining, then it will throw the radish at a nearby opponent.
·If nearby characters have 70% or less HP remaining, it will throw a radish at the character with the lowest HP percentage remaining. If no opponents exist nearby, Yuegui will also throw White Jade Radishes at characters if they all have more than 70% HP and less than 100% HP remaining. Otherwise, it will throw radishes into the area at random.
A maximum of 2 instances of Yuegui: Throwing Mode can exist at any one time.
The focal point of Yaoyao’s kit. Each second, Yuegui throws a White Jade Radish that either deals consistent Dendro damage and heals based on whether the on-field character is above or below 70% HP. Each Radish can generate 1 Dendro Particle. While this Skill has a hard 1.5s cooldown on particle generation, it can still generate 5 particles over the course of its 10s duration if Yuegui only targets one enemy.
Note that while Yuegui’s throwing range is large, its Radishes have extremely limited explosion AoE. Players should keep in mind what role Yaoyao’s Dendro application plays in teams and the range of her team’s on-fielder. Melee characters usually benefit more from the Radishes as they can simultaneously heal and apply Dendro at close range.
 Elemental Burst | Moonjade Descent
Talent Description
At the enjoinment of a certain adeptus, Yuegui’s full potential can be unleashed in an emergency, dealing Dendro DMG to nearby opponents and entering an (in some sense) unsurpassed Adeptal Legacy state.
Adeptal Legacy
·White Jade Radishes generated will be changed to heal and deal DMG according to this skill. Explosions will heal all nearby party members, and the Dendro DMG that they deal will be viewed as Elemental Burst DMG instead.
·Summons “Yuegui: Jumping Mode” at intervals until their limit has been reached. The behavior of this version of Yuegui is the same as that of “Yuegui: Throwing Mode” in the Elemental Skill, Raphanus Sky Cluster. A maximum of 3 Yuegui: Jumping Mode can exist at any one time.
·Yaoyao’s Movement SPD is increased by 15%.
·Yaoyao’s Dendro RES will be increased.
The Adeptal Legacy state will end once Yaoyao is off-field, and all remaining Yuegui: Jumping Mode will be cleared once this state ends.
The Adeptal Legacy state boasts large multipliers, rapid Dendro application, and teamwide healing capabilities. However, it also forces Yaoyao to stay on-field for up to 5s, which limits its use in most of her teams. As a result, Yaoyao’s Burst is generally an emergency heal source whose value largely depends on a team’s specific healing needs. Consider the following when trying to determine these needs:
- The team’s field-time distribution.
- Enemies’ teamwide DoT effects (e.g., Corrosion, Brand of the Abyssal Flame).
- Particularly dangerous enemies (like Bosses).
- Self-damaging effects from Dendro Cores (i.e., Nilou’s Bountiful Core, Hyperbloom, and Burgeon).
As of now, the only scenario where Yaoyao’s Burst has notable value is in Nilou Bloom teams, where the incoming damage from Bountiful Cores is too much for her Skill to independently handle.
 Ascension 1 Passive | Starscatter
Talent Description
While affected by the Adeptal Legacy state caused by Moonjade Descent, Yaoyao will constantly throw White Jade Radishes at nearby opponents when she is sprinting, jumping, or running. She can throw 1 White Jade Radish this way once every 0.6s.
This Passive Talent incentivizes Yaoyao to play on-field whenever she Bursts, by evading incoming damage and animation canceling her attack chains with jumps and dashes.
 Ascension 4 Passive | In Others’ Shoes
Talent Description
When White Jade Radishes explode, active characters within their AoE will regain HP every 1s based on 0.8% of Yaoyao’s Max HP. This effect lasts 5s.
Provides decent additional healing in the form of a 5s regeneration effect. Keep in mind that this Talent only triggers when an on-field character receives healing from Yuegui.
Constellations
 Constellation 1 | Adeptus’ Tutelage
When White Jade Radishes explode, active characters within their AoE will gain 15% Dendro DMG Bonus for 8s and have 15 Stamina restored to them. This form of Stamina Restoration can only be triggered every 5s.
Gives anyone within the Radishes’ range a rare Dendro DMG Bonus, which is mostly handy in Spread-centric teams where Yaoyao is supporting a Dendro DPS character. Additionally, the Stamina restoration effect can come in clutch for characters who frequently dash or use Charged Attacks.
 Constellation 2 | Innocent
While affected by the Adeptal Legacy state caused by Moonjade Descent, if White Jade Radish explosions hit opponents, 3 Energy will be restored to Yaoyao. This form of Energy regeneration can occur once every 0.8s.
Translates to a maximum refund of 18 Flat Energy every time Yaoyao uses her Burst. This Constellation is essential for some Nilou Bloom teams where her Burst sees use every rotation. This Constellation is also useful in other teams, as Yaoyao occasionally struggles to get her Energy back up even when Bursting every other rotation.
 Constellation 3 | Loyal and Kind
Increases the Level of Raphanus Sky Cluster by 3.
Maximum upgrade level is 15.
Not the flashiest Constellation, but helpful nonetheless. The additional healing value is appreciable.
 Constellation 4 | Winsome
After using Raphanus Sky Cluster or Moonjade Descent, Yaoyao’s Elemental Mastery will be increased based on 0.3% of her Max HP for 8s. The maximum Elemental Mastery she can gain this way is 120.
Gives Yaoyao some offensive stat returns even on a healing-centric build. The EM buff caps off at 120 EM when Yaoyao has 40,000 HP. This is not hard to achieve, considering Yaoyao’s high Base HP and HP% Ascension Stat.
 Constellation 5 | Compassionate
Increases the Level of Moonjade Descent by 3.
Maximum upgrade level is 15.
This Constellation is mostly useful when using Yaoyao in Nilou Bloom teams.
 Constellation 6 | Beneficent
For every 2 White Jade Radishes Yuegui: Throwing Mode throws out, the next throw will also release a Mega Radish that will have a larger AoE than the standard White Jade Radish and have the following effects upon exploding:
· Deals AoE Dendro DMG based on 75% of Yaoyao’s ATK.
· Restores HP for the active character based on 7.5% of Yaoyao’s Max HP.
Every Yuegui: Throwing Mode can throw out a maximum of 2 Mega Radishes.
This Constellation greatly improves Yaoyao’s healing potential and Dendro application. Aside from that, the larger AoE will help Yaoyao’s A4, C1, and C4 trigger more consistently.
Artifacts
ER Requirements
In most cases, Yaoyao will Burst every other rotation (see Burst for more details); her ER requirements are accordingly low. Even in teams with very low particle generation, Yaoyao shouldn’t need more than 150% ER.
However, in some Nilou Bloom teams, Yaoyao is the sole healer and her Skill isn’t enough to sustain her teammates’ HP when she is off-field. In these cases, her ER requirements are far more strict.
The table below assumes 20–22s rotations, a Burst every rotation, and 1 Skill use per rotation.
For exact requirements catering to specific teams and rotations, use the Energy Recharge Calculator.
| Under C2 | Over C2 | |
| Solo Dendro | 260–270% | 220–230% |
| Double Dendro | 220–240% | 190–210% |
| Triple Dendro | 200–210% | 170–180% |
- Teams with Nahida tend to have lower ER requirements; they fall into the lower range of Double Dendro and Triple Dendro values.
- Electro Resonance shaves off ~15–20% from ER requirements.
- Fischl lowers Yaoyao’s ER requirements by ~25%.
- Kitain R1–R5 reduces ER requirements by 15–30%.
- Each Favonius proc reduces ER requirements by ~15–20%.
Artifact Stats
Yaoyao’s preferred stats are as follows:
- HP%, Healing Bonus: Affect Yaoyao’s healing potency
- Elemental Mastery (EM): Dictates damage for reactions like Spread and Bloom
- Energy Recharge (ER%): Influences how frequently Yaoyao can Burst
- Dendro DMG%, CRIT Rate, CRIT DMG: Increase Talent and Spread damage
- ATK%: Improves Talents’ base damage
In Nilou Bloom teams, Yaoyao has two viable paths to follow. She can focus on pure healing while having enough ER to Burst as needed when played as the sole healer. Or, she can focus on building EM to maximize Bloom damage while on-field. Due to her Dendro RES and base stats, she can maintain her team and herself healthy while on-field.
In Quicken teams, her optimal build for personal damage is EM Sands, Dendro DMG% Goblet, CRIT Circlet. Prioritize a CRIT Rate Circlet over a CRIT DMG Circlet if using Favonius Lance.
In Hyperbloom and Burgeon teams, Yaoyao can use any build, though note that Burgeon teams will generally prefer more healing.
Pure Healer
 Sands |  Goblet |  Circlet |
| Energy Recharge or HP% | HP% | HP% or Healing Bonus |
Stat Priority: ER% (until requirement) > CRIT Rate (Favonius) > HP%
Reaction-Focused
Sands | Goblet | Circlet |
| Elemental Mastery | Dendro DMG% or EM | CRIT Rate, CRIT DMG, or EM |
Stat Priority:
Nilou Bloom: ER% (until requirement) > CRIT Rate (Favonius) > HP% = EM
Spread: CRIT > EM > ATK% > ER% > HP%
Artifact Sets
| 4pc Deepwood Memories | Essential for Dendro teams. Yaoyao’s best set if another, more effective holder doesn’t already have it equipped. |
| 4pc Instructor | Great for boosting reaction damage, which most Dendro teams rely on. Healer builds will generally outperform offensive ones because the set is limited by 4-star stats. Note that this set only activates on-field, so players should make sure to proc a reaction before swapping to their next character. |
| 4pc Tenacity of the Millelith | A great option if Yaoyao’s teammates benefit from ATK%. |
| 4pc Maiden Beloved | Boasts extremely high Healing Bonus and full uptime across the durations of Yaoyao’s Talents. |
| 4pc Gilded Dreams | One of Yaoyao’s most competitive sets for her personal damage. However, her personal damage is poor, which makes this generally worse than supportive sets. |
| 4pc The Exile | A 4-star set that extends Yaoyao’s supportive capabilities by providing Flat Energy for the whole team. Useful for Energy-hungry teams. |
| 2pc Mixed Sets | 2pc Bonuses: HP%, Healing Bonus, Elemental Mastery, Energy Recharge, DMG Bonus Generally perform closely to the 4pc options above. Great on a budget. |
Weapons
| Dialogues of the Desert Sages | Yaoyao can reliably proc the Energy passive twice per rotation with her constant healing from her Radishes and A4 Passive’s healing over time. The passive also works with overhealing. Yaoyao’s ER requirements can drop by over 100% in Energy-hungry teams, while the extra healing helps a lot in Furina teams to stack Furina’s DMG Bonus. |
| Black Tassel | Black Tassel directly boosts Yaoyao’s healing potential because it has the highest HP% secondary stat of any Polearm. Its value shines the most when using Yaoyao’s Skill as the only source of healing. A capable weapon when leveled, but can be substituted for HP% Sands and an ER% weapon instead. |
| Kitain Cross Spear | Good in many situations, and especially great in Nilou Bloom teams. Yaoyao makes use of virtually everything this weapon offers, from the EM secondary stat, to the Skill DMG Bonus, to the Flat Energy regeneration. Most notably, the Energy regeneration passive lowers the ER requirements to Burst every rotation. |
| Favonius Lance | A flexible support option that supplies the whole team with Energy and lowers Yaoyao’s ER requirements. Note that the passive only triggers while the holder is on-field and requires the user to build CRIT Rate. Perform two Normal Attacks after Yaoyao’s Skill in teams where she does not frequently use her Burst. |
| Moonpiercer | A unique spear which provides a hefty ATK% buff (16–32%) to another party member and grants Yaoyao some offensive stats. Moonpiercer is particularly valuable when Yaoyao is supporting ATK-scaling hypercarries, thanks to its great uptime (12s duration and 20s cooldown). Even though Leaf placement can be finicky, the passive’s off-field trigger condition keeps rotations relatively simple as long as one sticks to 20s rotations. |
| Rightful Reward | Rightful Reward provides both HP% and Flat Energy, but it is generally outshined by the higher HP% stat from Black Tassel and the better Energy generation from Favonius Lance or Kitain Cross Spear. In non-quickswap teams or teams where Yaoyao does not use her Burst often, it may be inconsistent to gain the Flat Energy from the passive. |
| Dragon’s Bane | Dragon’s Bane’s passive is useless because Quicken auras cannot coexist with Hydro or Pyro auras, and other Dendro reactions gain no value from DMG%. Regardless, its high EM secondary stat makes it a usable stat stick if there are no alternatives. |
| Other ER% Weapons | Only worth considering if the above options are unavailable. Yaoyao doesn’t benefit from most other passives, and her ER requirements can be met by artifacts. |
| Other Offensive Weapons | CRIT options are great for Yaoyao’s personal Spread damage; ATK% options are also acceptable. Polearms with stable and unconditional passives are usually valued over others. However, Yaoyao’s personal damage is low enough that these weapons are better used elsewhere in a team. |
Teams
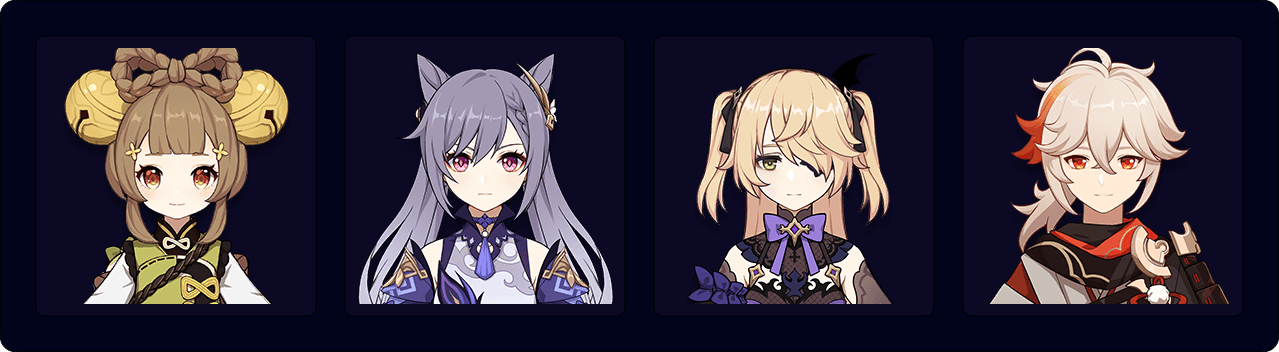
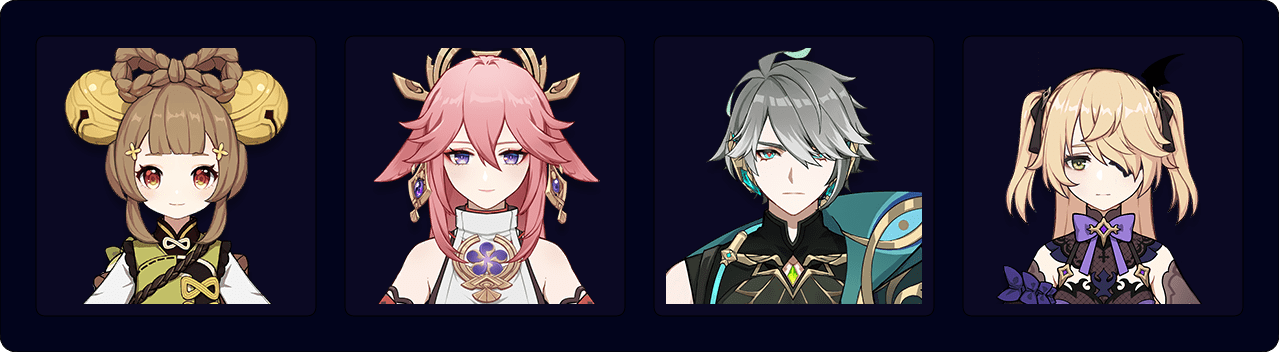
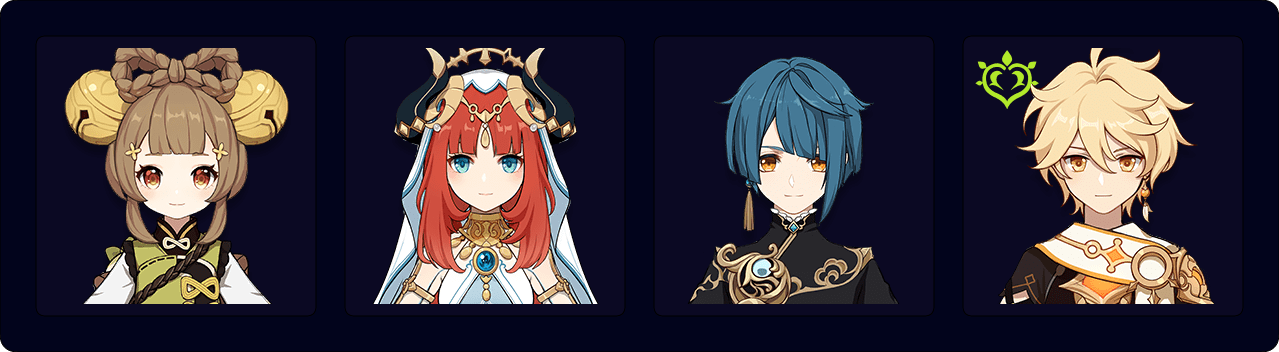
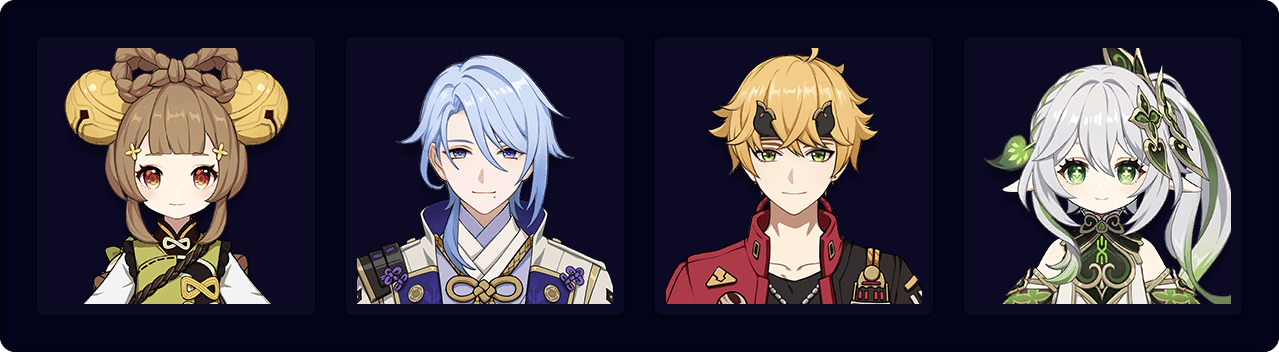
Quicken

Because Yaoyao is a healer, she gives Quicken teams a wider selection of support characters and damage dealers. Even when using her as the solo Dendro supporting multiple Electro teammates, Yaoyao provides a rotation-tight Quicken aura. The flex spot is usually filled by another Electro or Dendro character for simultaneous Electro and Dendro Resonances, or by a support character that can buff the existing DPS options.
Notable Teammates
| Dendro: Alhaitham, Dendro Traveler, Collei, Kaveh, Nahida, Tighnari | Usually a DPS character that benefits from Yaoyao’s Dendro Particles. For a Spread-focused comp, Alhaitham, Kaveh, Nahida and Tighnari are top picks. Dendro Traveler and Collei function mostly as Dendro Resonance suppliers for stronger Electro picks. Yaoyao also has indirect synergy with on-field ranged Dendro characters like Tighnari and Nahida since she provides healing from long-range. Her competitors Kuki and Dori suffer from various range and positioning issues outside of melee. |
| Electro: Beidou, Cyno, Fischl, Keqing, Lisa, Raiden, Sara, Yae | Any character with good damage and Electro application is welcome here. Beidou, Cyno and Lisa will need another Electro character to offset their ER requirements. Sara should only be picked to support another Electro DPS. |
| Flex: +1 Electro, +1 Dendro, Kazuha, Sucrose, Venti, C1 Lynette, Zhongli | Anemo characters listed are capable of shredding Electro RES and grouping. Kazuha and Venti are generally recommended for Double Electro teams — Kazuha can buff Electro DMG%, while Venti has a passive that refunds Energy. Sucrose is a flexible pick as her EM share can benefit both Electro and Dendro characters. Lynette provides an ATK% buff, although her grouping is small and locked behind C1. Zhongli has overlapping defensive utility with Yaoyao, but his RES Shred is handy, especially for Double Dendro teams. |
Example Teams
This is not a comprehensive list of teams, and the inclusion or exclusion of any given team does not necessarily reflect its power level.
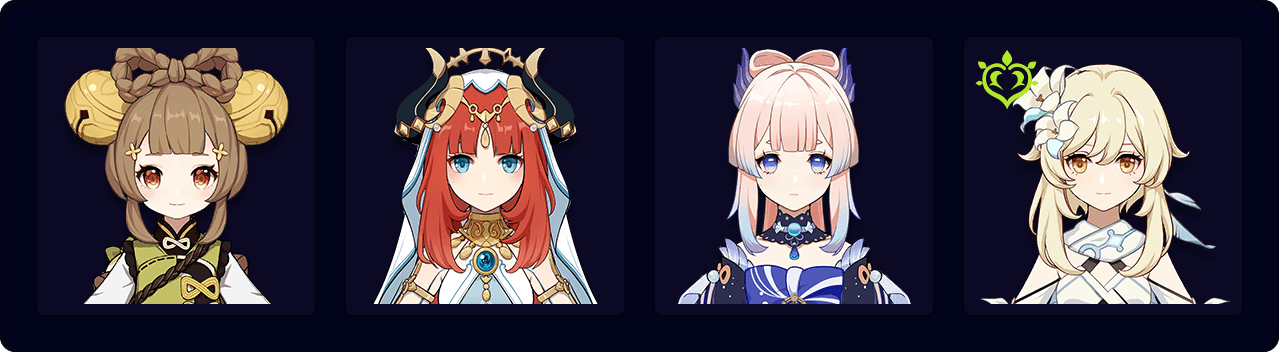
Bountiful Bloom
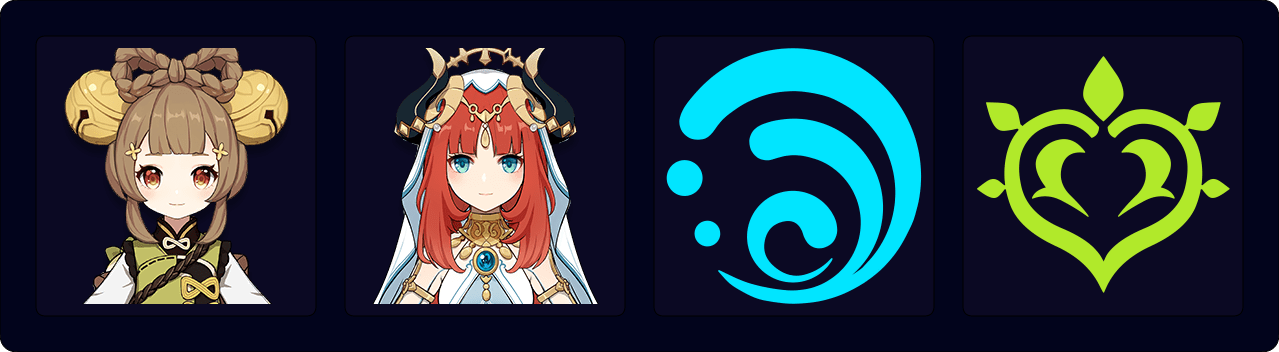
Yaoyao cannot apply enough Dendro by herself to support a healthy amount of Bountiful Cores. However, she opens up the second Hydro slot, which was traditionally reserved for healers.
Notable Teammates
| Dendro Options: Alhaitham, Dendro Traveler, Collei, Kaveh, Nahida | The Dendro slot can be filled by anyone who has consistent Dendro application throughout the rotation. Nahida is notably flexible as either an on-field or off-field unit; Alhaitham requires some field time. |
| Hydro Options: Ayato, Barbara, Candace, Kokomi, Xingqiu, Yelan | Ayato is an on-field option who can amplify a team’s AoE potential with his rapid AoE Hydro application. Xingqiu and Yelan are the opposite; they focus on off-field single-target application, which can balance out Nilou’s heavy AoE damage and let Yaoyao drive their Bursts during her own Burst field time. Yaoyao also allows Kokomi to build full EM and make use of her high Bountiful Core production rate and ownership. Kokomi will also help Yaoyao keep the team alive without her Burst when dealing with high Core counts, even when the former is not built for healing. Barbara functions similarly, albeit less effectively, considering her lower Hydro application rate and range restrictions. Candace serves as an inferior pick to others listed, but she lets Yaoyao to be played on-field, making full use of the Dendro RES from the Adeptal Legacy state. |
Example Teams
This is not a comprehensive list of teams. The inclusion or exclusion of a given team does not necessarily reflect its power level.
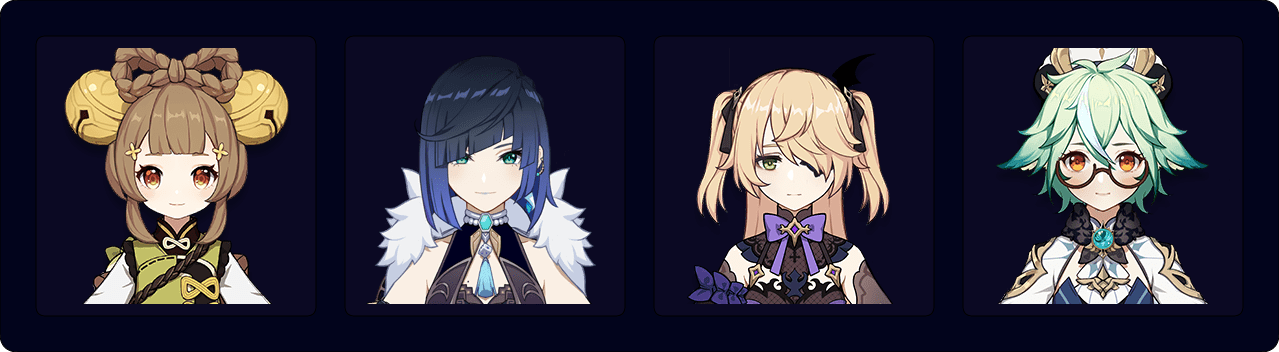
Hyperbloom and Burgeon

Yaoyao’s rare position as a Dendro healer frees up other slots. The Hydro unit should have consistent Hydro application to create Dendro Cores, and the third slot should be an effective Hyperbloom/Burgeon trigger. The flex slot can be someone who gives buffs or additional Elemental application. For Burgeon teams in particular, the last slot must be a Dendro character, since after Burning occurs and consumes Dendro aura, Yaoyao won’t apply enough Dendro to produce Cores by herself.
Notable Teammates
| Hydro Options: Ayato, Barbara, Kokomi, Xingqiu, Yelan | These options provide stable Hydro application to create Dendro Cores. Many of them also come with high personal damage. |
| Electro/Pyro Options: C6 Dori, Fischl, Shinobu, Raiden, Yae, Amber, Dehya, Thoma, Yanfei | These are the triggers for Hyperbloom or Burgeon. Staple off-field picks include Kuki, Raiden and Thoma. Dehya works well as the Burgeon trigger but is generally outshined by her competitor Thoma for her slower Pyro application rate. C6 Dori, on-field Yae, Amber, and Yanfei usually spend a larger chunk of the team’s field time to trigger Dendro Cores and other reactions. If Fischl or off-field Yae is chosen, they’ll need either Sucrose or Heizou in the flex slot. |
| Flex Options: Alhaitham, Kaveh, Dendro Traveler, Collei, Nahida, Sucrose, Heizou, C6 Lynette | Sucrose, Heizou, and C6 Lynette can Swirl Electro auras to trigger Hyperbloom themselves while also providing RES Shred and buffs. The Dendro picks are optional for Hyperbloom to gain Dendro Resonance, but they are required for Burgeon to supplement the team’s Dendro Core production. |
Example Teams
This is not a comprehensive list of teams. The inclusion or exclusion of any given team does not necessarily reflect its power level.
Credits
seima, chasing_haze, edulis., .athene., bakane_, leifa, lunaflaw, gerryoat, sirvaughan, gellagella, xf3, idkanonymized, fourmana, caramielle., polomo, melodiouspotato