Updated for Version 4.0

The Dendro Traveler or Dendro Main Character (DMC) is a 5-star Dendro Sword character who is available for free after unlocking a Statue of the Seven in Sumeru and aligning with the Dendro Element. Embodying the primary themes of its Element, the Dendro Traveler gives life to any team through enabling reactions and giving buffs.
The full-length guide is currently in the process of being written. Join the KQM Discord to check on and participate in the theorycrafting process.
Table of Contents
New Content
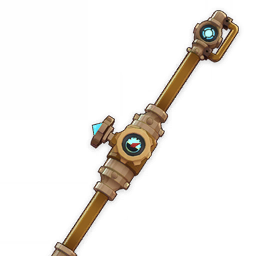 Fleuve Cendre Ferrymen (Obtained via Fishing) | Good baseline option for F2P players as it provides a hefty amount of ER, making it very ideal for DMC outside of gacha options such as Favonius Sword or R4+ Sacrificial Sword. It is very flexible and can be used in every DMC team archetype. |
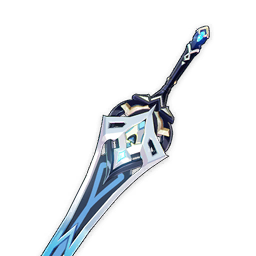 Wolf-Fang (New Battlepass Sword) | A good option for DMC’s personal damage in Quicken teams. It scales very well with refines, and performs better if DMC is used on-field to obtain the weapon stacks. |
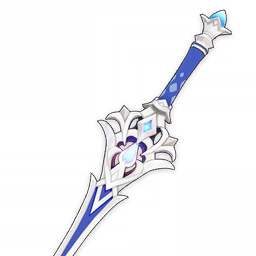 Finale of the Deep (New Craftable Sword) | Fairly unimpressive option for DMC as they do not take full advantage of what this weapon offers. |
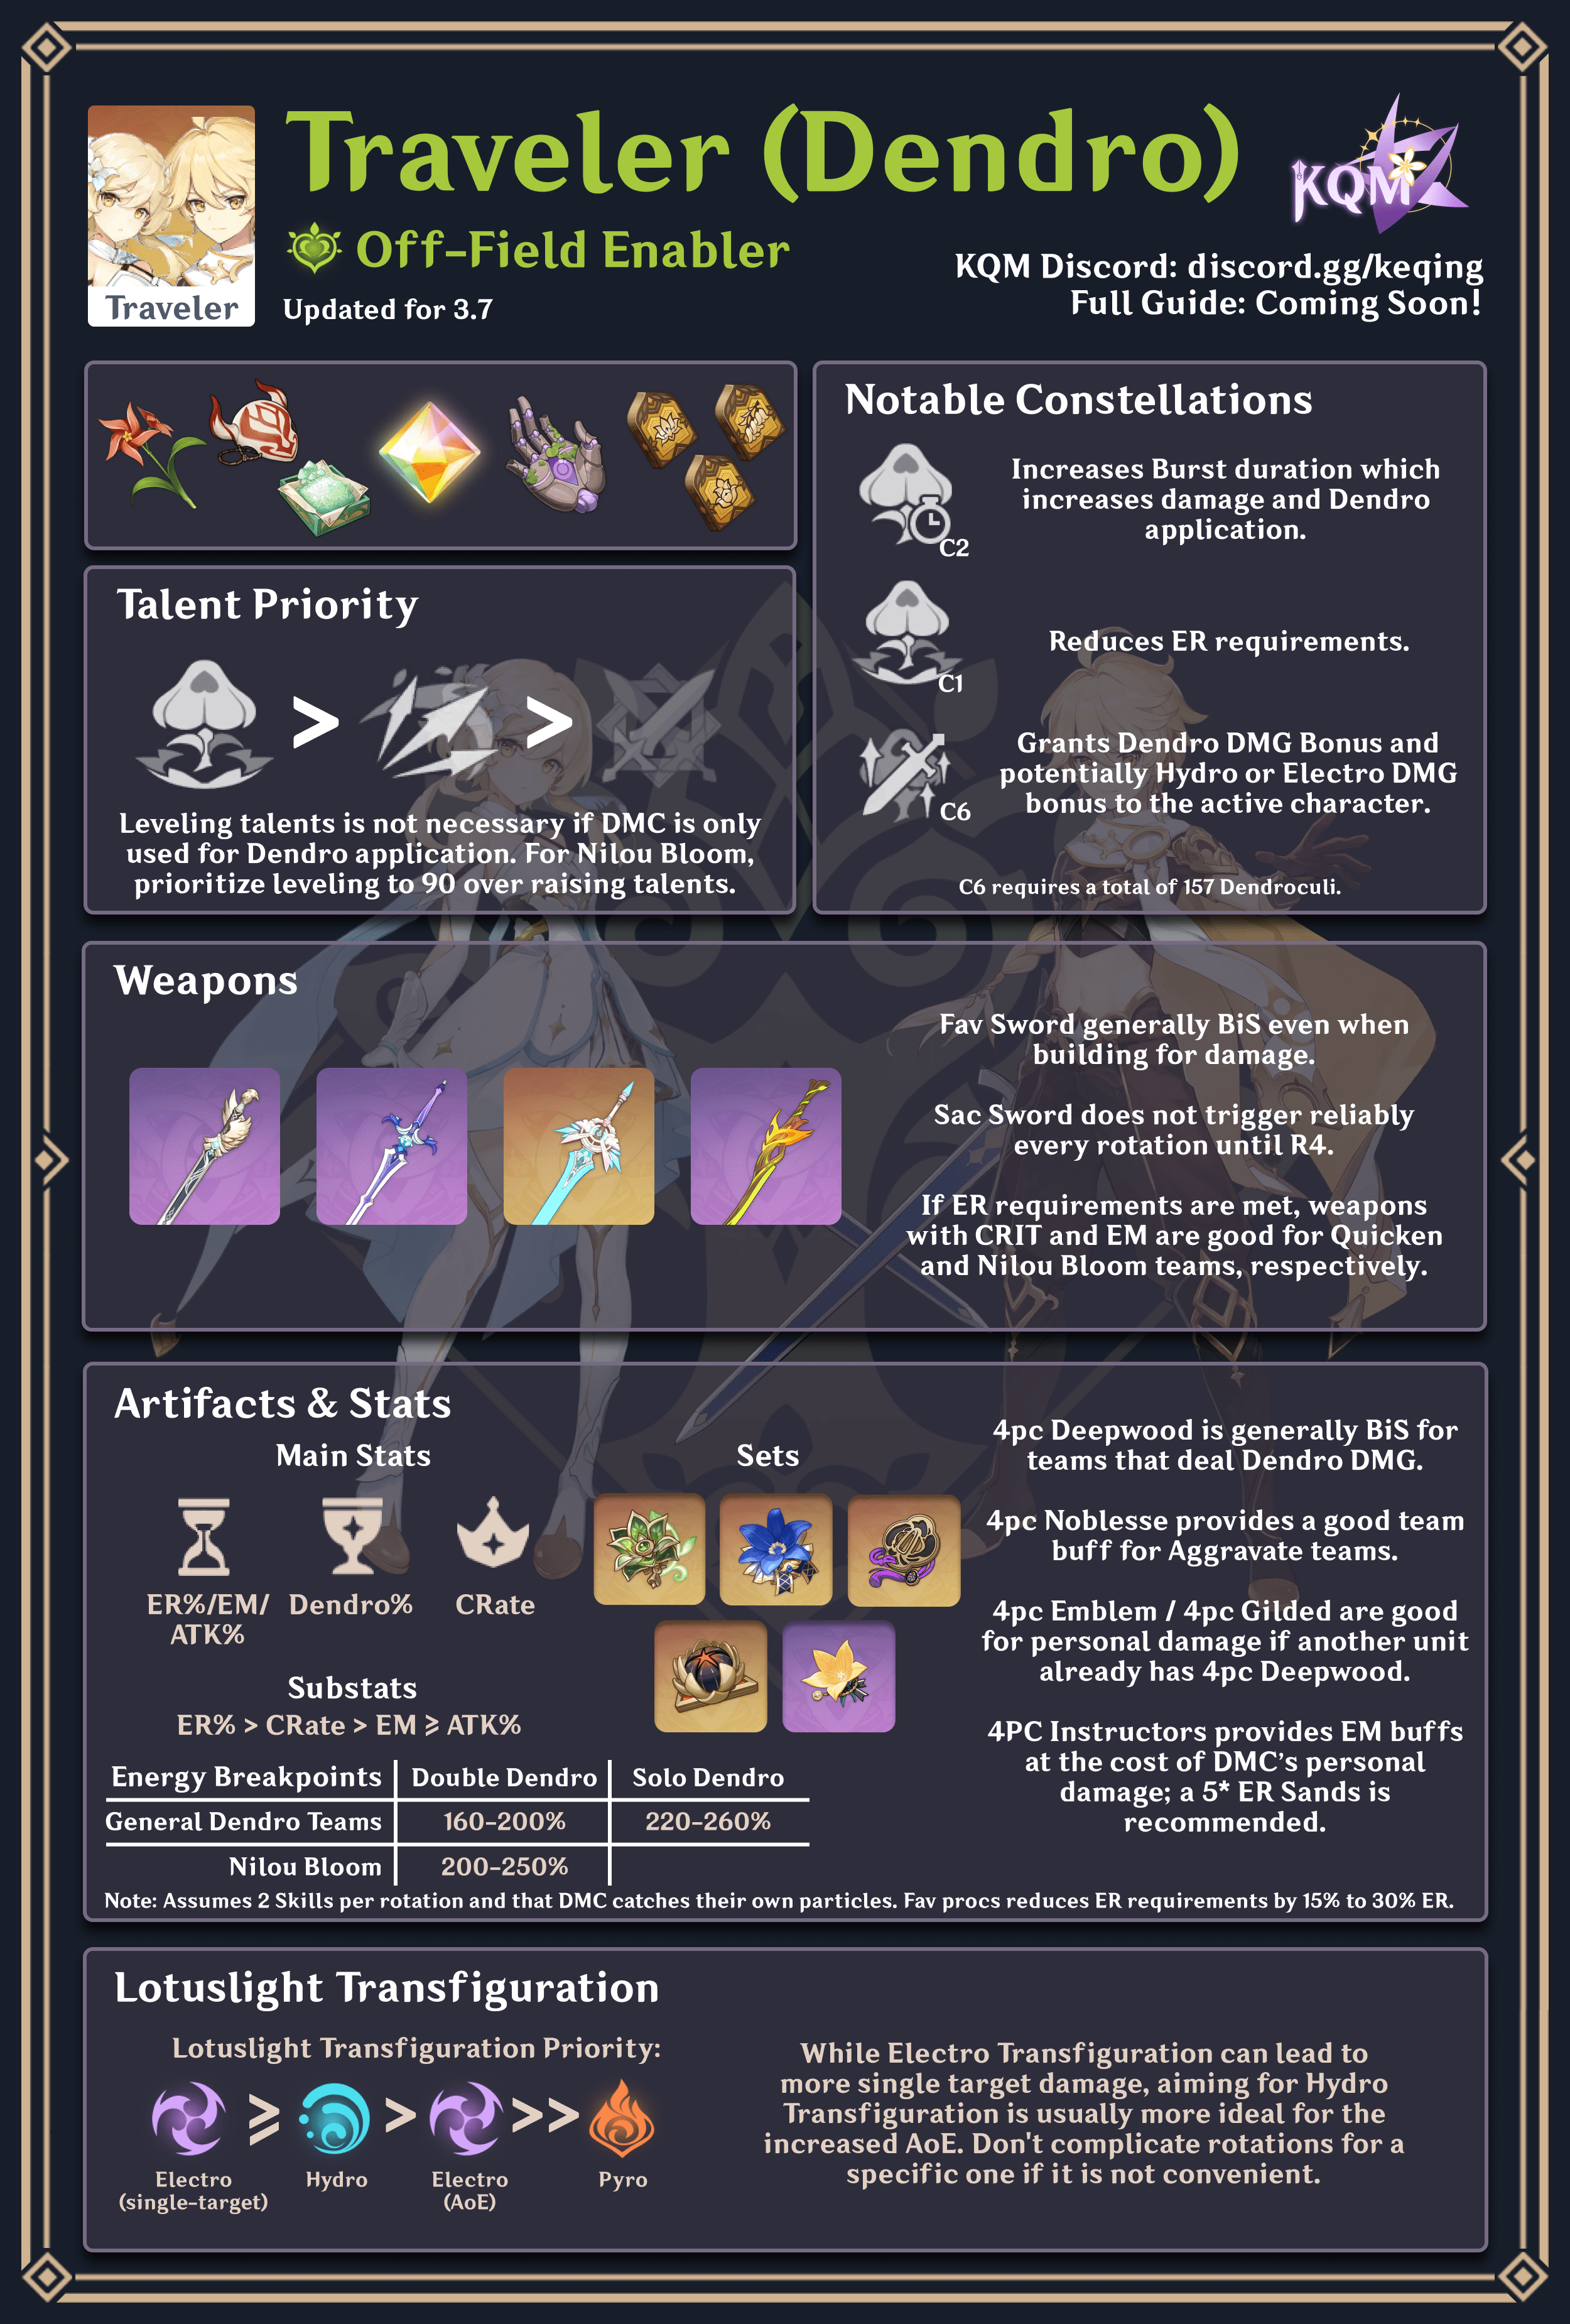
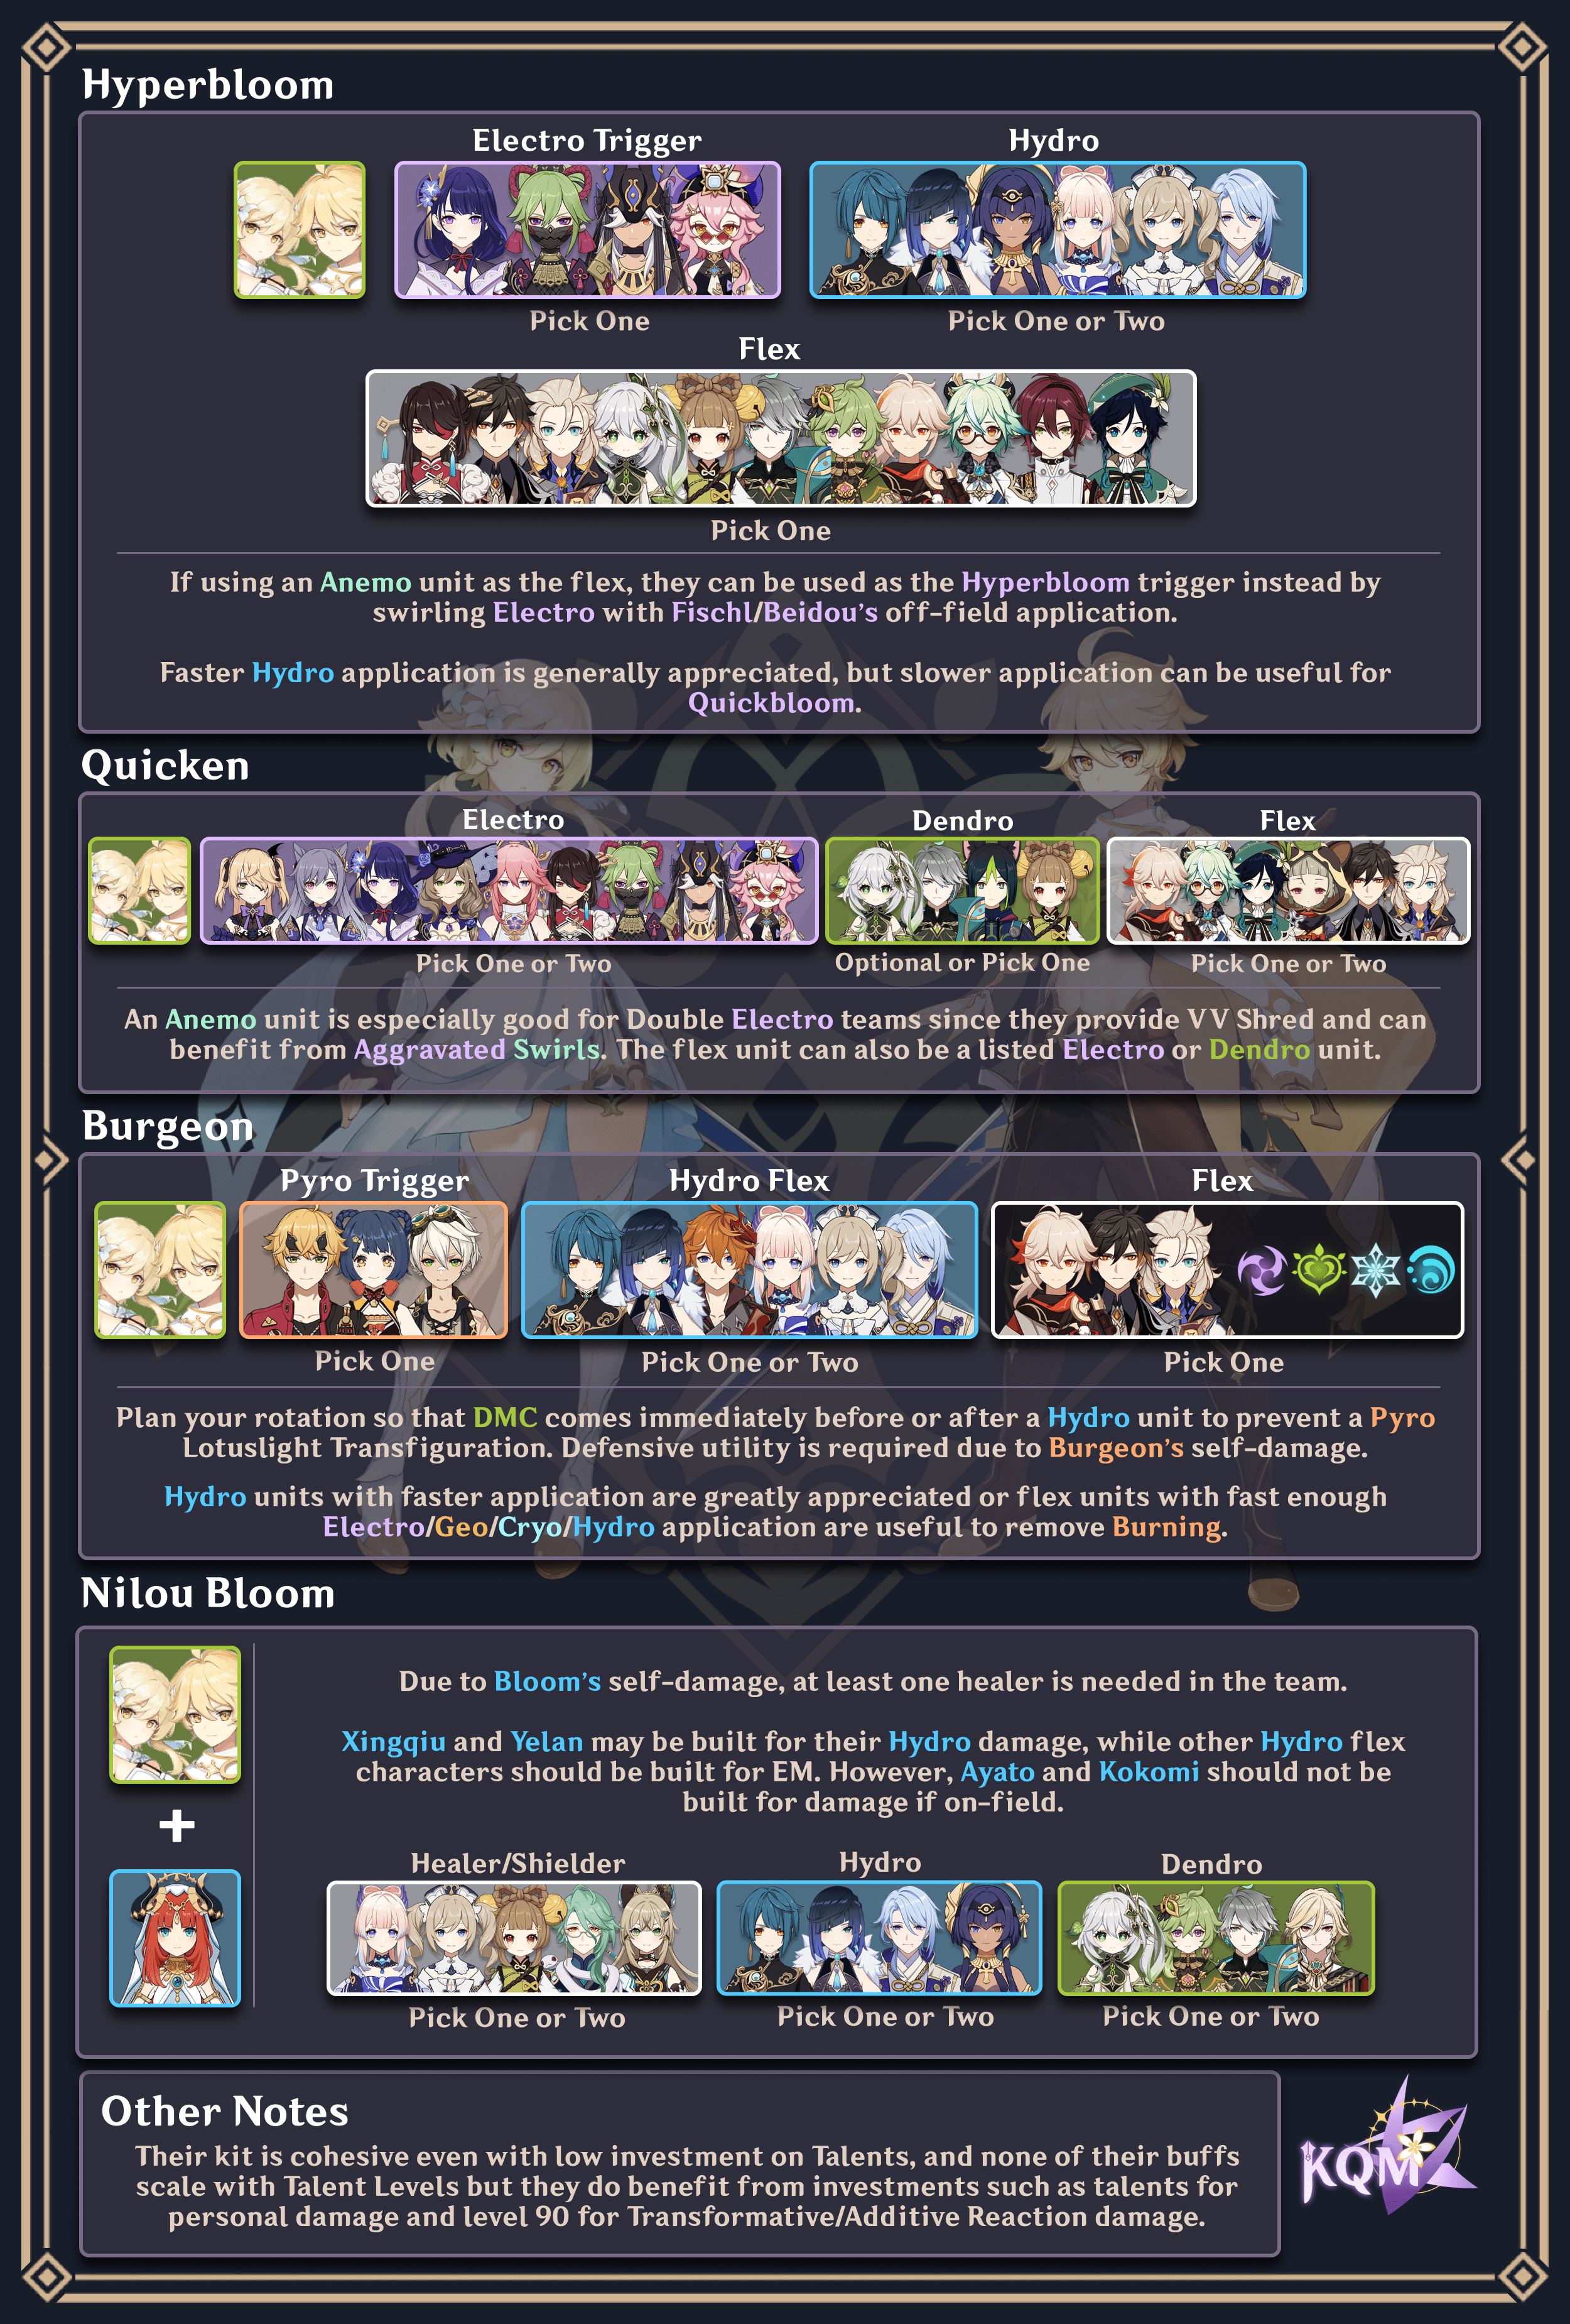
Infographic
Playstyle
Off-Field Enabler
This is the recommended way to play Dendro Traveler. The bulk of their kit is fully functional after deploying their Burst, especially as their buffs only affect the on-field character. Despite this, you still want to switch DMC on-field from time to time if possible to use their Elemental Skill to generate much-needed Dendro particles and to apply more Dendro to enemies.
On-Field Enabler
It must be said that there’s no real merit to using Dendro Traveler on-field apart from just wanting to see your character a lot. While it is suboptimal, it is possible to construct teams such that the on-field character does not matter as much since Elements are applied from other off-field characters—directly or indirectly. This can be the case in some Hyperbloom or Burgeon team compositions. The Quick Guide will not focus on this playstyle, but it will be addressed in the full guide.
Character Overview
Talent Priority
Raising Dendro Traveler to level 90 is not necessary. However, in certain teams such as Nilou Pure Bloom or Quicken, raising their level can result in much higher Transformative/Additive Reaction damage.
Burst > Skill
It is worth noting that their kit is cohesive even with low investment on Talents, and none of their buffs scale with Talent Levels. However, investing in these can lead to more personal Talent damage.
It is not recommended to raise the Normal Attack Talent.
Talents

Normal Attack: Foreign Fieldcleaver
Description
Normal Attack
Performs up to 5 rapid strikes.
Charged Attack
Consumes a certain amount of Stamina to unleash 2 rapid sword strikes.
Plunging Attack
Plunges from mid-air to strike the ground below, damaging opponents along the path and dealing AoE DMG upon impact.
The same Normal Attack Talent as seen in the Traveler’s other Elemental Alignments. It does not share Talent Levels with the other Alignments, and does not scale very well with levels. It’s generally recommended to ignore this Talent.

Elemental Skill: Razorgrass Blade
Description
With a flourish of your blade, you unleash a spray of razor-sharp leaves that go before you and deal Dendro DMG.
Very straightforward ability. It generates 2-3 Dendro particles per cast, and has a deceptively large horizontal range that fans out from the Traveler. That said, it has an extremely limited vertical range so you should be mindful about not missing the enemies.
Aim to use this ability about twice per rotation and catch the particles while Dendro Traveler is on-field, as they sorely need the Energy generated from this ability.

Elemental Burst: Surgent Manifestation
Description
Calling upon the might of the flora all around you, you create a Lea Lotus Lamp. This Lamp will deal continuous Dendro DMG to opponents within its AoE.
Lotuslight Transfiguration
The Lea Lotus Lamp will undergo the following changes after it comes into contact with Hydro/Electro/Pyro:
- Hydro: the Lamp’s AoE and the AoE of its attacks are increased.
- Electro: the Lamp’s ATK SPD is increased.
- Pyro: the Lamp will explode after a short delay and then disappear, dealing AoE Dendro DMG.
The Lea Lotus Lamp can only undergo one Lotuslight Transfiguration in its duration. Only one Lamp created by the Traveler can exist at any one time.
This is the most important Talent in Dendro Traveler’s arsenal. This ability snapshots the Traveler’s stats right before the Lamp is dropped. The Lamp is immediately placed in front of the Traveler on cast, and it can only be transfigured once throughout its duration.
The expected amount of Dendro application from the Burst is 6 times, but it can potentially yield one extra application if you transfigure it with either Hydro or Electro immediately after it drops or just after it hits a target. Enemy attacks that apply an Element can also cause the Lamp to transfigure.
As this is their primary method for applying Dendro from off-field, knowing which Elements to use and for what reason can be important depending on the situation. A quick rundown for each one:
- Hydro — very useful as it quadruples the effective AoE of each hit, and more than doubles the area coverage at which the Burst can hit enemies; this also produces a Dendro Core next to the Lamp since the Transfiguration triggers a Bloom reaction on it.
- Electro — leads to more total hits and damage in single-target situations, but is otherwise not as valuable as Hydro Transfiguration if both are options; the Dendro application rate is the same as Hydro Transfiguration due to ICD.
- Pyro — almost never viable unless you really need the Burst nuke; this is oftentimes triggered by enemies, so make sure to transfigure the Lamp before it gets hit by enemy Pyro attacks or by Burning AoE (facing away from Burning enemies when casting Burst conveniently places the Lamp away from them).
In teams where multiple Transfigurations are options, great care must be taken while executing the rotation to get the desired Transfiguration:
Electro (in single-target) ≥ Hydro > Electro (in AoE) >>> Pyro
The decision on which Element to transfigure the Lamp into may also be influenced by the slight buff from C6. However, it is generally not recommended to complicate rotations just to secure a specific one if it is not convenient or appropriate to the situation. The important thing is to make sure you transfigure it with Hydro or Electro before an enemy does so with Pyro.
Additional techniques and interactions about the Burst will be covered in the full guide.

Ascension 1 Passive: Verdant Overgrowth
Description
Lea Lotus Lamp will obtain one level of Overflowing Lotuslight every second it is on the field, increasing the Elemental Mastery of active character(s) within its AoE by 6. Overflowing Lotuslight has a maximum of 10 stacks.
This Passive allows Dendro Traveler to support the on-field character by giving them a ramping 60 EM buff as long as they stay within the Lamp’s AoE. It’s a relevant Passive as you generally want to play DMC in reaction comps where the added Elemental Mastery can be useful.
Do note that this Passive and the Constellations built around it are contingent on the Lamp to stay on the field. Thus, it is recommended to play around the Lamp’s AoE and transfigure it with Hydro or Electro as soon as possible.

Ascension 4 Passive: Verdant Luxury
Description
Every point of Elemental Mastery the Traveler possesses increases the DMG dealt by Razorgrass Blade by 0.15% and the DMG dealt by Surgent Manifestation by 0.1%.
This is a useful Passive that rewards Dendro Traveler for building some Elemental Mastery, which is especially relevant in Quicken-based teams for their personal damage, and can be slightly useful in Pure Bloom teams where Dendro Traveler sometimes triggers the reaction. In most other teams, it just makes EM less of a dead stat if you happen to get it on substats.
This Talent also allows DMC to “snapshot” all EM buffs (including A1 buff) onto their Burst by converting EM to DMG Bonus, but only whenever they go off-field. The DMG Bonus obtained via this method updates itself whenever Traveler goes back on-field, even if the Burst was already cast.
All that said, it is worth noting that this does not encourage intentionally stacking Elemental Mastery as that is still dependent on the team you’re using DMC in. More on this can be found in the Artifact Stats Section.
Constellations
All of the Dendro Traveler’s Constellations are free to obtain and can be achieved as follows:
How to obtain
- Sumeru Archon Quests:
- Act II – The Morn a Thousand Roses Brings
- Act IV – King Deshret and the Three Magi
- Act V – Akasha Pulses, the Kalpa Flame Rises
- Sumeru Statue of the Seven:
- Statue Lv. 3 – 42 Dendroculi total
- Statue Lv. 5 – 95 Dendroculi total (+53 over previous)
- Statue Lv. 7 – 157 Dendroculi total (+62 over previous)
It is generally recommended to play through the game to obtain all of their Constellations as they contribute a decent amount to Dendro Traveler’s performance in their teams, on top of collecting the sweet rewards that accompany that fruitful journey.

Constellation 1: Symbiotic Creeper
After Razorgrass Blade hits an opponent, it will regenerate 3.5 Energy for the Traveler.
A helpful Constellation that slightly alleviates Dendro Traveler’s Energy concerns. Every time your Skill hits an enemy, Dendro Traveler gains a consistent 3.5 Flat Energy that is not affected by Energy Recharge nor the number of enemies hit. This encourages you to use your Skill as much as possible. Failing to hit an enemy means losing both the Dendro particles and the 3.5 Energy.

Constellation 2: Green Resilience
Lea Lotus Lamp‘s duration is increased by 3s.
This is the most valuable Constellation to obtain by far, as it increases the uptime of the most important Talent in their kit. It provides one more Dendro application per rotation which matters for a lot of Dendro teams, on top of increasing their personal damage.

Constellation 3: Whirling Weeds
Increases the Level of Razorgrass Blade by 3.
Maximum upgrade level is 15.
Slight damage upgrade to their Skill. Cool.

Constellation 4: Treacle Grass
After the Lea Lotus Lamp triggers a Lotuslight Transfiguration, it will obtain 5 stacks of the Overflowing Lotuslight effect from the Passive Talent “Verdant Overgrowth.”
You must have unlocked this Passive Talent first.
A helpful Constellation that significantly speeds up the ramping buff. If Transfiguration is triggered immediately, it essentially halves the time required to obtain the max EM buff from ~10s to ~5s. This increases the effective total uptime of the max buff to about two-thirds of the full Lamp duration.
Do note that this does not increase the max amount of EM obtained from the A1 Passive.

Constellation 5: Viridian Transience
Increases the Level of Surgent Manifestation by 3.
Maximum upgrade level is 15.
Slight damage upgrade to their Burst, which is usually the majority of their damage. Cool, cool.

Constellation 6: Withering Aggregation
The Dendro DMG Bonus of the character under the effect of Overflowing Lotuslight as created by the Lea Lotus Lamp is increased by 12%. If the Lamp has experienced a Lotuslight Transfiguration previously, the character will also gain 12% DMG Bonus for the corresponding element.
This Constellation gives DMC more ways to synergize with their team by providing a decent buff to on-field Dendro units, and potentially Hydro or Electro units, depending on the Transfiguration. As it is tied to the A1 Passive, you must keep in mind that the buff is only available to the on-field character and is strictly limited within the Lamp’s AoE.
The Dendro DMG Bonus and the accompanying DMG Bonus for the transfigured Element can all be snapshotted, but Dendro Traveler cannot fully take advantage of the DMG Bonus for their personal damage as their Burst snapshots right before the C6 buff is applied. That said, the buff can still apply to subsequent Elemental Skills used after casting the Burst whenever they go back on-field.
Combos
The general recommended combo that works for any situation is as follows:
E N1 Q — E N2
(Skill -> Normal Attack -> Burst —Swap— Skill -> Normal Attack 2x)
You typically start rotations with the Elemental Skill, then follow it up with a Normal Attack before using Burst. This method allows Dendro Traveler to catch the particles before swapping off; this is also the same reason for using Normal Attacks after the second Elemental Skill cast. Doing Normal Attacks also lets you trigger effects from weapons or from abilities such as Xingqiu’s Burst.
It can sometimes be beneficial to swap out early for the second Skill use, but this must be understood as something that increases Dendro Traveler’s ER requirement.
Gearing
ER Requirements
These numbers are approximate and must not be taken at face value; ER requirements will vary depending on the team and how it is played. For a more accurate estimate of your ER requirements, use Zakharov’s Energy Recharge Calculator. For the following estimates, it is assumed that Dendro Traveler is catching their own particles; otherwise, the ER requirements increase significantly depending on the team.
| 1 Skill, Solo Dendro | 250% – 300% |
| 2 Skills, Solo Dendro | 200% – 250% |
| 2 Skills, Double Electro | 190% – 230% |
| 2 Skills, Double Dendro | 160% – 200% |
| 2 Skills, Double Dendro in Pure Bloom | 200% – 250% |
It is highly recommended to use 2 Skills per rotation and to use Normal Attacks up until you catch the Dendro particles on Dendro Traveler.
Note: ER requirements are very volatile and can be dependent on many things. Favonius procs may shave off ER requirements by anywhere from 15% to 30% ER. Other units such as Raiden Shogun may change ER needs significantly. Use the ER Calculator for your team.
Artifact Stats
| Mainstats |  Sands |  Goblet |  Circlet* |
| Quicken | ER > EM ≥ ATK | Dendro DMG Bonus | CRIT |
| Hyperbloom/Burgeon | ER > ATK | Dendro DMG Bonus | CRIT |
| Pure Bloom | ER or EM | EM | EM or CRIT Rate |
*CRIT Rate Circlets have higher priority if Dendro Traveler is using Favonius Sword
The main priority is to obtain enough ER to use Burst off-cooldown, so it is viable to use the wrong main stat if the piece offers more ER from the substats.
Substat Priority
ER > EM1 > CRIT > EM2 ≥ ATK% > EM3
The value of EM depends on the team Dendro Traveler is used in:
1Pure Bloom
2Quicken
3Hyperbloom/Burgeon
Artifact Sets
4pc Deepwood Memories | Main set to aim for as it is generally the Best in Slot for teams that deal a decent amount of Dendro DMG (like using a Dendro on-field DPS) or use the Bloom reaction (including Hyperbloom/Burgeon). It is also ideal for DMC’s personal damage in any team. This artifact set synergizes well with DMC’s kit, which makes them an ideal holder whenever appropriate. |
 4pc Noblesse Oblige | Mainly sees use in Aggravate teams as it can provide a useful buff for ATK-scaling teammates. The 4pc effect also applies to DMC’s own Burst, which makes it decent even for personal damage. |
  4pc Emblem of Severed Fate / 4pc Gilded Dreams | Good alternatives for personal damage in Quicken teams, especially if another unit is already using 4pc Deepwood Memories. Additionally, 4pc Gilded Dreams can also be useful if using DMC as a trigger in Pure Bloom teams. |
 4pc Flower of Paradise Lost | Assuming someone else is already on 4pc Deepwood, this is a usable set for DMC in Pure Bloom teams where they can be triggering some Blooms. Since it is primarily obtained in a domain that is potentially resin-inefficient, it is not recommended to farm this set specifically for DMC. |
 4pc Instructor | Viable support set that can be useful in teams where the additional EM is welcome. Due to being a 4* set, it significantly lowers DMC’s personal damage and makes it harder to achieve enough ER to use their Burst off cooldown. It is generally recommended to use an off-piece ER Sands for the 5* stat value. |
 Various 2pc mixed set combinations | Generally not recommended due to other sets having more useful 4pc effects, but can function as temporary pieces. 2pc Emblem of Severed Fate can be useful to achieve ER requirements. |
Weapons
The weapons are arranged in order of recommendation per section. Weapons that are not mentioned are not recommended.
Highly Recommended Options
These weapon options are suited for general purposes and are useful across all team archetypes that Dendro Traveler is used in. Since these weapons can provide ample amounts of ER, they may allow for EM or ATK Sands if aiming for personal damage.
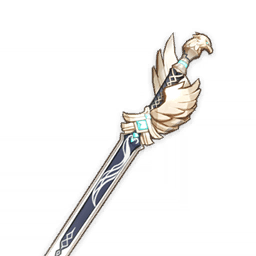 Favonius Sword | Generally DMC’s BiS for most situations due to their massive Energy Recharge requirements across various team archetypes, even when intentionally building for personal damage. It also lets you generate more particles for the rest of the party, with the basic requirement of needing a lot of CRIT Rate to trigger frequently. |
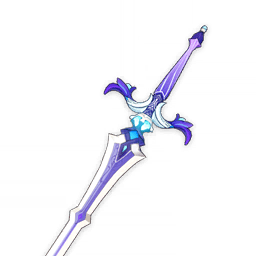 Sacrificial Sword | This lets DMC use their Skill one more time, effectively generating more Dendro particles, dealing extra damage, and applying more Dendro, while simultaneously making use of C1 to further reduce their ER requirements. That said, it is worth noting that its passive is reliant on RNG and has a noticeably long cooldown. This makes it generally unreliable to trigger every rotation until R4+, but it is otherwise a very solid option. |
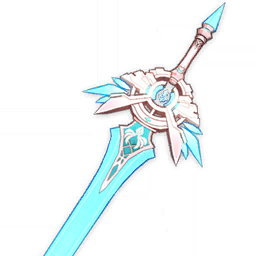 Skyward Blade | An alternative option to the weapons above that also represents decent personal damage. However, it is generally a downgrade as this weapon does not alleviate the team’s ER requirements. This is mainly used for its high ER substat on top of the high Base ATK. |
 Fleuve Cendre Ferrymen | Baseline F2P weapon option that provides a hefty amount of Energy Recharge, which is perfect for Dendro Traveler. Make sure to especially catch the Dendro particles on DMC when using this weapon, as the ER buff uptime is not very high. |
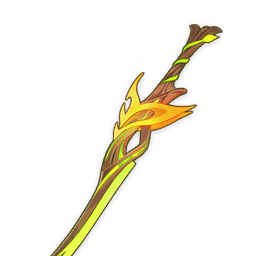 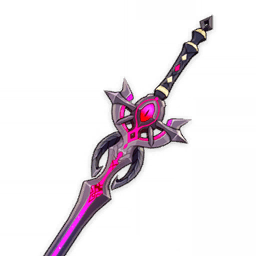 Sapwood Blade / Festering Desire | Free weapons that can alleviate DMC’s ER requirements. Sapwood Blade can also be used to support another unit, and it is generally the baseline recommended weapon for DMC. |
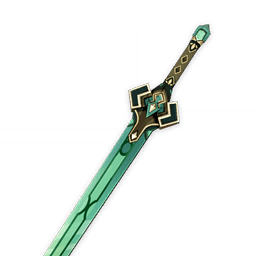 Skyrider Sword | Skyrider Sword works as a decent ER stat stick early on, but should eventually be replaced by other options whenever possible. |
Other Weapon Options
A section for less flexible weapon options that may be used if ER requirements are already achieved. Weapons with EM substats can also be valuable for Pure Bloom teams where Dendro Traveler is the trigger, typically accompanied by ER Sands.
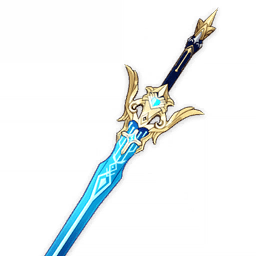 Freedom-Sworn | DMC’s Burst does not snapshot the ATK buff. However, it is still a potential BiS since it is a good stat stick that also provides decent buffs for teams that can use it well. |
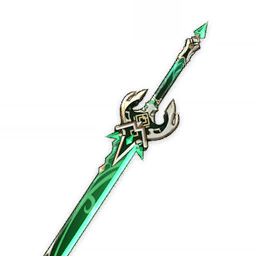 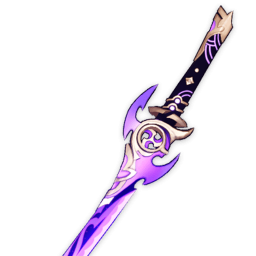  Primordial Jade Cutter / Mistsplitter Reforged / Haran Geppaku Futsu | In terms of personal damage, they are potential BiS in Quicken teams assuming ER requirements are met. Not very valuable in other team archetypes. |
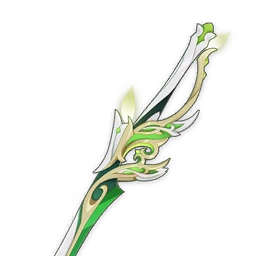  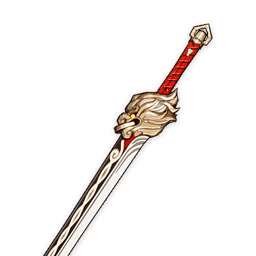 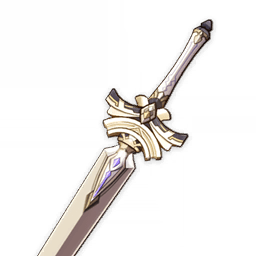 Light of Foliar Incision / Wolf-Fang / Lion’s Roar / R5 Harbinger of Dawn | Good alternatives for personal damage in Quicken teams. Lion’s Roar and Harbinger of Dawn should only be used in teams where their passives are always active. Wolf-Fang is a solid option that scales well with very high refinement, and performs better if DMC is used on-field. |
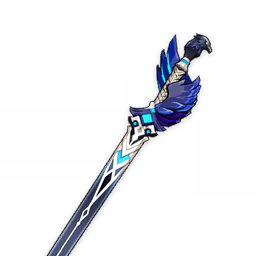 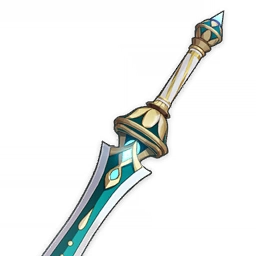  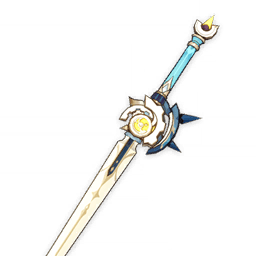 R3+ The Alley Flash / Xiphos’ Moonlight / Toukabou Shigure / Iron Sting | EM weapons that are decent alternatives for personal damage in Quicken teams. Xiphos’ Moonlight gains extra value in Pure Bloom teams where stacking EM and sharing ER is appreciated. Toukabou Shigure is only good in single-target situations; otherwise it’s equivalent to Iron Sting. |
Optimizer Config
If your intent is to optimize Dendro Traveler fully for damage with all the different considerations in mind, it is recommended to use the Genshin Optimizer to find the best build for your account and teams through the Multi-Optimization Target Config option. A Traveler-centric compilation of these configs and how to use them can be found here.
Teams
Hyperbloom

Hyperbloom teams are simple to build yet very effective at dealing with most content. Dendro Traveler’s Dendro application is enough for Hyperbloom teams to flourish and the team structure offers enough flexibility to allow different kinds of strategies that make use of the Hyperbloom reaction.
The general idea is to build an Electro trigger with high amounts of EM and to bring a unit that applies steady amounts of Hydro. An alternative idea is to use an Anemo unit in the 4th slot to trigger the Hyperblooms instead of the Electro unit. Another kind of team (Quickbloom) can use slower Hydro application to make Hyperblooms less frequent, but in so doing allows the Electro and Dendro units to trigger more Aggravates and Spreads.
Notable Teammates
 Electro: Raiden, Shinobu, Fischl, Yae, Cyno | Electro units primarily serve as the trigger for Hyperbloom and Quicken, on top of providing damage and utility from their kit. Raiden Shogun and Kuki Shinobu are generally the ideal triggers from off-field, while characters like Cyno can utilize strategies that make use of Quicken and Hyperbloom at the same time. |
 Hydro: Xingqiu, Yelan, Candace, Kokomi, Barbara, Ayato | Hydro units provide steady Hydro application to create Dendro Cores. Faster Hydro application is generally appreciated, but slower application can be useful for Quickbloom. Characters like Kokomi, Barbara and Ayato can perform both by being used on-field or off-field. You can use up to two Hydro units if needed. |
Flex: Beidou | Since her Burst does not target Dendro Cores, it allows her to be used for her off-field damage, slight defensive utility and Electro application, especially in multi-target content where she is best at. |
 Flex: Kazuha, Sucrose, Heizou, Venti | Anemo units can be used to trigger Hyperblooms from Electro auras on the enemies. The grouping they provide can be helpful, especially if you can make the Hyperbloom missiles hit multiple enemies at once. Ideally paired with units that are not good at hitting Dendro Cores like Fischl or Beidou. |
 Flex: Baizhu, Nahida, Yaoyao, Alhaitham, Collei | Additional Dendro units can also be used on top of DMC’s Dendro application, which also reduces DMC’s ER requirements. Baizhu, Nahida, and Alhaitham can also be used as drivers. |
 Flex: Zhongli, Albedo | Unobtrusive Geo units can also be used for their utility and/or damage. |
Example Teams
This is not a comprehensive list of teams, and the inclusion of a certain team or lack thereof does not necessarily indicate the power level of the team in question. This list is not ranked.

Using the extra Dendro application from Baizhu, this team allows Raiden Shogun to be used on-field with an EM-focused build to trigger multiple Hyperblooms accompanied by Xingqiu’s fast Hydro application.

This team uses Sucrose to group enemies and trigger Hyperblooms off of Fischl’s Electro application under the safety of Kokomi’s healing and consistent Hydro application.

A Quickswap-oriented team that uses Candace’s slower Hydro application to maintain high Quicken uptime with the added safety from Shinobu and Beidou’s defensive capabilities.
Quicken

Quicken teams are very straightforward: they make use of the Quicken reaction to make every count of Elemental application matter. In the case of Dendro Traveler, their Dendro application is enough to maintain full Quicken uptime for all units that need it. This also allows Dendro Traveler to deal a decent amount of personal damage if built for it.
The general idea is to pick an Electro or Dendro unit to be the focus of the team, then adding in supporting characters to round it up. Dendro Traveler’s supportive buffs are very welcome in a team like this, especially when using 4pc Noblesse Oblige, 4pc Deepwood Memories or 4pc Instructor.
Notable Teammates
 Electro: Fischl, Keqing, Raiden, Lisa, Yae, Beidou, Shinobu, Cyno | Electro units can be excellent Aggravate drivers or off-field enablers for Quicken, on top of supplying their own personal damage and utility. You can have up to two Electro units for additional Energy generation and Electro uptime. |
 Dendro: Nahida, Alhaitham, Tighnari, Baizhu | Dendro units can also be the core of Quicken teams, but they can potentially suffer from making Anemo flex options less effective. These units can also reduce DMC’s ER requirements, allowing DMC to build offensively. |
 Flex: Kazuha, Sucrose, Venti, Sayu | Anemo units are very great in Double Electro teams, often providing grouping, VV Shred and their own individual utility on top of their boosted personal damage due to Aggravated Swirls. |
 Flex: Zhongli, Albedo | Unobtrusive Geo units can also be used for their utility and/or damage. This is especially relevant in Double Dendro teams where Anemo is less effective. |
Example Teams
This is not a comprehensive list of teams, and the inclusion of a certain team or lack thereof does not necessarily indicate the power level of the team in question. This list is not ranked.

This team uses Sayu to apply VV Shred and heal the team, allowing Fischl and Keqing to provide a steady stream of Electro DMG safely.

A Double Dendro team with Nahida allows DMC to build offensively, on top of enabling massive Spreads from Nahida and off-field Aggravates from Yae Miko, all while under the support and protection of Zhongli.

This is a team that uses Sucrose to group enemies together, buff the entire team, trigger multiple Aggravated Swirls, and drive Beidou safely from a decent range thanks to Shinobu’s healing.
Burgeon

Burgeon teams are a little more complicated than the other teams due to the inherent interaction between Dendro and Pyro, which is Burning. Dendro Traveler, true to their Elemental affinity, does not function well with unregulated fire because it can potentially remove their Lamp in the heat of battle — aside from Burning also making it harder to Bloom. In spite of this, Burgeon teams remain to be quite effective at dealing with most content especially when you tailor your team accordingly, and by playing with fire in the right way.
The general idea is to always plan out your rotation such that Dendro Traveler comes immediately after or before a Hydro unit.
| After a Hydro Unit: (use Hydro Unit -> swap to DMC) | If the Hydro unit has a fast and persisting AoE Hydro application that applies very quickly (Xingqiu, Nilou, Barbara) by the time DMC uses their Burst, you can get away with doing this. |
| Before a Hydro Unit: (use DMC -> swap to Hydro unit) | Immediately swap to a Hydro unit to transfigure the Lamp. This rule applies to every Hydro unit, including those already mentioned. If you do not do either action, you are increasing the odds of DMC’s Burst being burned off. |
Make sure not to drop a persisting Pyro ability before you’ve made sure that Dendro Traveler’s Burst has been transfigured safely, unless you already know what you’re doing.
Since Burning has a small AoE, it can also transfigure the Lamp if enemies come into contact with it. One trick to prevent this is to face away from the Burning enemies before dropping the Lamp, as its location will always be wherever the Traveler is facing.
Due to Burgeon having inherent self-damage, it is necessary to run healers or defensive units.
Notable Teammates
 Pyro: Thoma, Xiangling, Bennett | Select a Pyro trigger that is most applicable to the team you have in mind. Thoma and Xiangling are very valuable for their off-field Pyro application, while Bennett can function as an on-field trigger with self-sufficient healing, or be used as a flex slot to battery Xiangling. At C6, Bennett can also enable other melee units to be the trigger. |
 Hydro: Xingqiu, Yelan, Tartaglia, Kokomi, Barbara, Ayato | Hydro units provide steady Hydro application to create Dendro Cores. Faster Hydro application is greatly appreciated, and slotting in up to two Hydro characters can prove to be useful to combat Burning. Characters like Kokomi and Barbara who can both supply Hydro and provide healing are extra valuable. |
 Flex: Kazuha | Kazuha can be used to group enemies and trigger Burgeons by absorbing Pyro from Bennett’s Burst, on top of buffing other units. |
 Flex: Nahida, Baizhu, Yaoyao, Kaveh | These units can provide extra Dendro application if necessary, but not recommended if the Hydro unit cannot take care of the Burning aura. Units like Nahida, Baizhu and Kaveh can apply Dendro on-field to supplement DMC’s Dendro application if needed. |
 Flex: Zhongli, Albedo | Unobtrusive Geo units can also be used for their utility and/or damage. |
| Flex: Other Elements | It is generally possible to insert other Elements that can mitigate Burning on top of allowing Burgeon to occur. Prime examples of these are Cryo, Geo and Electro. Cryo units like Ganyu and Rosaria can supply a decent amount of Cryo application from off-field. Electro units like Fischl (Single-target) or Beidou (AoE) are generally unreliable at triggering Dendro Cores, but can help mitigate Burning and deal damage on their own. This section will be expanded on in the full guide. |
Example Teams
This is not a comprehensive list of teams, and the inclusion of a certain team or lack thereof does not necessarily indicate the power level of the team in question. This list is not ranked.

With Thoma as the main trigger, this team uses Kokomi to drive the team while Fischl mitigates Burning, thus allowing Dendro Cores to be triggered at a steady rate.

A classic team with a new flavor: this team allows Tartaglia to Vape his big hits while simultaneously using his fast Hydro application to let Xiangling Vaporize her Burst and trigger Burgeons as additional damage, with Bennett rounding up the team with his healing and ATK buffs.

In this team, Kazuha triggers Burgeons by absorbing Pyro from Bennett’s Burst with strategic use of Xingqiu’s orbitals and Rain Swords to apply Hydro and mitigate the Burning.
Pure Bloom

Pure Bloom teams are specialized teams that take advantage of the Bloom reaction to deal massive amounts of AoE Dendro damage in quick succession. While highly effective in AoE content, these teams can also function well against bosses when built right.
The Quick Guide will only be focusing on Pure Bloom teams with Nilou in them as they are the most effective versions of this archetype.
The most recommended approach to team-building is to use Dendro Traveler with another Dendro unit to play Double Dendro compositions with the goal of creating as many Bountiful Cores as possible. Although the Bloom ownership is harder to track, the Hydro units with slower Hydro application would generally trigger a good amount of them. It would still encourage building EM whenever possible since it is highly likely that Dendro Traveler will also be triggering some of the Blooms.
It is not recommended to play DMC as a Solo Dendro trigger because it would result in lesser Dendro Cores generated, not to mention the increased difficulty in maintaining a good ER to EM ratio to Burst every rotation.
It is important to establish that Bloom teams, like Burgeon teams, also have self-damage built into their core reactions. As such, it is imperative to have healing or defensive options in the team.
Notable Teammates
 Nilou | She is the cornerstone that makes this archetype very strong. She will want to prioritize stacking HP to make every Bountiful Core stronger while building some ER if necessary. Her off-field Hydro application also makes it easier for DMC to transfigure their Lamp to Hydro, and allows Nilou to trigger a few Blooms herself. |
| Healers: Kokomi, Barbara, Baizhu, Yaoyao | At least one healer must be in the team. Hydro units with slow application can generally trigger Blooms consistently in Double Dendro teams. Dendro healers offer supplementary Dendro application while providing potent healing, allowing you to run more offensive Hydro options. |
 Supplementary Hydro: Xingqiu, Yelan, Ayato, Candace | Xingqiu and Yelan offer strong personal damage from off-field without relying on reactions. They also generate a decent amount of Hydro particles for the other members, and can hold Favonius weapons well. Ayato can also be an option due to his Burst offering a wide AoE Hydro application from off-field with some on-fielding capabilities. Candace applies AoE Hydro with no ICD, with a sizable boost at C6, which lets her trigger a lot of Blooms in AoE. She also allows other melee units like DMC and Yaoyao to trigger their own Blooms via Hydro infusion. She is ideally used with a quickswap-oriented playstyle. |
 Supplementary Dendro: Nahida, Collei, Kaveh, Kirara, Alhaitham | Additional Dendro units are used on top of DMC’s Dendro application. They can reduce DMC’s ER requirements, and help shift a huge portion of the Bloom ownership to the slower Hydro units instead. Units like Nahida, Alhaitham, and Kaveh can be used to apply Dendro on-field to maintain a high Dendro aura uptime on the enemies, which is ideal for Dendro Core production. |
Example Teams
This is not a comprehensive list of teams, and the inclusion of a certain team or lack thereof does not necessarily indicate the power level of the team in question. This list is not ranked.

A classic Bloom team that uses Barbara for her Burst healing and off-field Hydro application that keeps the team alive, with Collei helping the team by supplying more Dendro application.

Similar to the team above, this team uses Nahida to increase the production of Bountiful Cores while using Kokomi’s reliable healing and Hydro application to keep the team going.

With the introduction of Yaoyao as a powerful healer, units like Xingqiu can be used for their single-target damage and added comfort to engage against different kinds of enemy setups.
Credits
- grankrathalos, paichlear, tithus, idkanonymized, miannes, khezu01, .reimu., alix.sh, irokei
- Weapon Comparison Calcs
- A Traveler’s Guide to Multi-Optimization Target Config
- Team images made with the KQM portrait generator
