Updated for Version 4.0
Sayu is a 4-star Anemo Claymore character who provides utility through healing and Swirl reactions. Learn about Sayu’s best builds, Talent priority, best weapons, best artifacts, and best teams in this quick guide.
Note that the information given may change if new discoveries are made. More extensive testing is in progress.
The full-length guide is currently being written. Join our Discord to participate in the theorycrafting process.
Table of Contents
New Content
  Baizhu, Kirara | Dendro units who provide defensive utility. Sayu faces some competition against them as a fellow defensive option for Aggravate teams. |
 Lyney | Lyney’s kit involves HP drains, so a healer is recommended. Sayu is a viable choice who can also hold 4pc Viridescent Venerer to shred Pyro RES. |
Infographic
Off-Field

Credits to: cuppacote, cegewinne, chasing_haze, and KQM Staff
On-Field
Credits to: cuppacote, cegewinne, chasing_haze, and KQM Staff
Character Overview
Playstyles
Off-Field Burst Support
A playstyle centered around casting Sayu’s Burst off-cooldown, supplying heals and Swirls for the team.
On-Field Driver
Dubbed the “Roly-Poly” playstyle, Sayu as an on-field driver uses her Skill’s Elemental Absorption and fast Elemental application to trigger reactions.
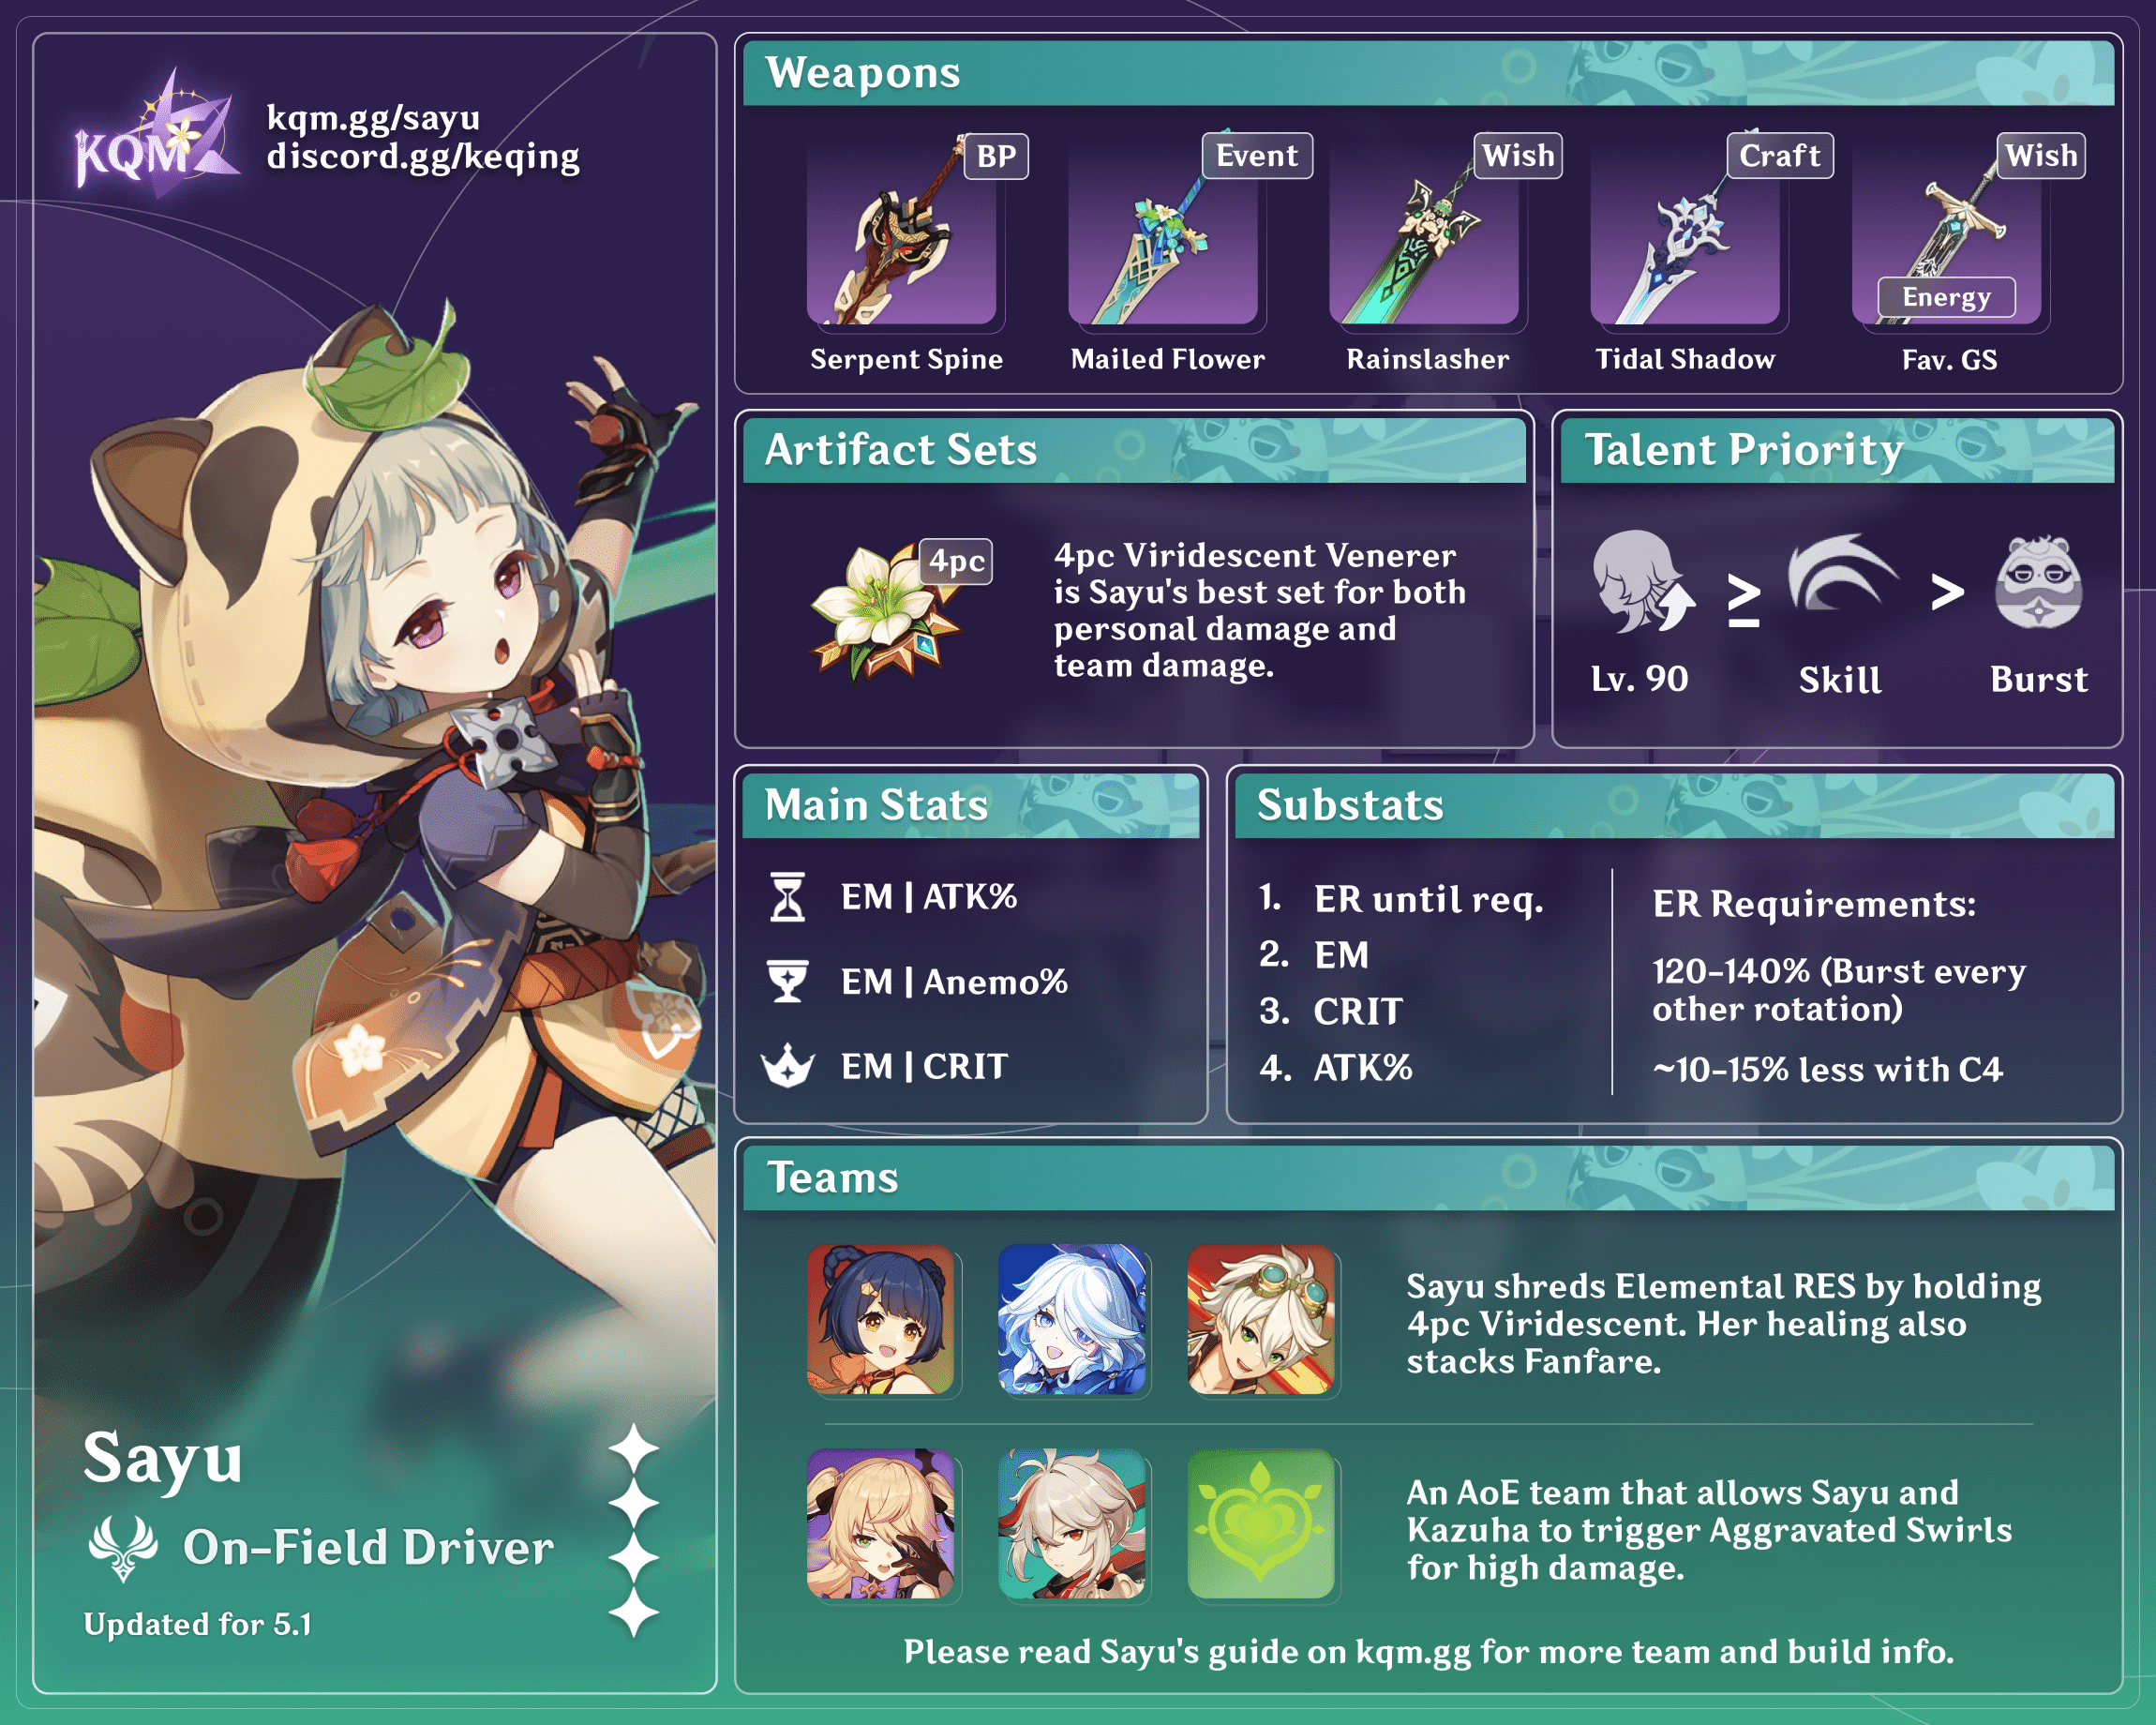
Talent Priority
Since Sayu’s damage mainly consists of Swirls, it is strongly recommended to level her 90. This is especially true for on-field driver builds.
Sayu’s Normal Attacks should generally be left unleveled.
Off-Field Burst Support:
Burst > Skill
On-Field Driver:
Skill > Burst
Talents
 Normal Attack | Shuumatsuban Ninja Blade
Talent Description
Normal Attack
Performs up to 4 consecutive strikes.
Charged Attack
Drains Stamina over time to perform continuous spinning attacks against all nearby opponents.
At the end of the sequence, perform a more powerful slash.
Plunging Attack
Plunges from mid-air to strike the ground below, damaging opponents along the path and dealing AoE DMG upon impact.
Sayu’s Normal Attacks are lackluster and have little to no utility apart from filling time during imperfect rotations.
 Elemental Skill | Yoohoo Art: Fuuin Dash
Talent Description
The special technique of the Yoohoo Ninja Arts!
Sayu curls up into a rolling Fuufuu Windwheel and smashes into opponents at high speed, dealing Anemo DMG. When the duration ends, she unleashes a Fuufuu Whirlwind Kick, dealing AoE Anemo DMG.
Press
Enters the Fuufuu Windwheel state, rolling forward a short distance before using the Fuufuu Whirlwind Kick.
Hold
Rolls about continuously in the Fuufuu Windwheel state, increasing Sayu’s resistance to interruption while within that state.
During this time, Sayu can control the direction of her roll, and can use the skill again to end her Windwheel state early and unleash a stronger version of the Fuufuu Whirlwind Kick.
The Hold version of this skill can trigger Elemental Absorption.
This skill has a maximum duration of 10s and enters CD once its effects end.
The longer Sayu remains in her Windwheel state, the longer the CD.
Elemental Absorption
If Sayu comes into contact with Hydro/Pyro/Cryo/Electro while in her Windwheel state, she will deal additional elemental DMG of that type.
Elemental Absorption may only occur once per use of this skill.
Perhaps the most famous part of Sayu’s kit, Sayu’s Skill has a Press version, a Hold version, and an unofficial “Quick Hold” version.
Press:
The Press version of Sayu’s Skill should rarely be used, as it is almost always inferior to the Quick Hold version (see below).
Quick Hold:
The Quick Hold technique is achieved by holding Sayu’s Skill before quickly pressing the Skill button again to end the Windwheel roll. This allows Sayu to trigger two Swirls, generate three Energy Particles, and deal a more impactful Whirlwind Kick compared to a simple Press Skill.
The Quick Hold technique is an efficient way to Swirl and generate Energy in instances where Sayu is not meant to stay on-field for long.
Hold:
The Hold version of Sayu’s Skill is what allows her to act as an on-field driver. It can absorb Elements with the priority Pyro > Hydro > Electro > Cryo. The fast rate in which Sayu’s Skill hits (every 0.5s) is what allows her to deal respectable damage and apply the absorbed Element/trigger reactions very frequently, despite having relatively low multipliers and standard ICD.
 Elemental Burst | Yoohoo Art: Mujina Flurry
Talent Description
The other super special technique of the Yoohoo Ninja Arts! It summons a pair of helping hands for Sayu.
Deals Anemo DMG to nearby opponents and heals all nearby party members. The amount of HP restored is based on Sayu’s ATK. This skill then summons a Muji-Muji Daruma.
Muji-Muji Daruma
At specific intervals, the Daruma will take one of several actions based on the situation around it:
- If the HP of nearby characters is above 70%, it will attack a nearby opponent, dealing Anemo DMG.
- If there are active characters with 70% or less HP nearby, it will heal the active character with the lowest percentage HP left. If there are no opponents nearby, it will heal active characters nearby even if they have 70% HP or more.
Fairly straightforward, Sayu’s Burst snapshots any buffs and deals an initial instance of teamwide healing and AoE Anemo damage. Afterwards, Sayu’s Daruma will periodically heal or attack (or both, with C1) based on the on-field character’s HP. The healing scales off of Sayu’s ATK, and the attacks target only one enemy at a time but have a small AoE.
 Ascension 1 Passive | Someone More Capable
Talent Description
When Sayu triggers a Swirl reaction while active, she heals all your characters and nearby allies for 300 HP. She will also heal an additional 1.2 HP for every point of Elemental Mastery she has.
This effect can be triggered once every 2s.
When Sayu is built for EM, such as for on-field driver builds, her A1 Passive can help make up for the loss of ATK and, therefore, her Burst’s healing. It is generally negligible otherwise.
 Ascension 4 Passive | No Work Today!
Talent Description
The Muji-Muji Daruma created by Yoohoo Art: Mujina Flurry gains the following effects:
- When healing a character, it will also heal characters near that healed character for 20% the amount of HP.
- Increases the AoE of its attack against opponents.
This does not increase Sayu’s Burst range (the green circle) but does increase the AoE of the Daruma’s attacks by ~50%. It also enables Sayu to heal in co-op.
Constellations
 Constellation 1 | Multi-Task no Jutsu
Constellation Description
The Muji-Muji Daruma created by Yoohoo Art: Mujina Flurry will ignore HP limits and can simultaneously attack nearby opponents and heal characters.
Allows Sayu’s Burst to simultaneously heal and attack. Arguably Sayu’s best Constellation.
 Constellation 2 | Egress Prep
Constellation Description
Yoohoo Art: Fuuin Dash gains the following effects:
- DMG of Fuufuu Whirlwind Kick in Tap/Press Mode increased by 3.3%.
- Every 0.5s in the Fuufuu Windwheel state will increase the DMG of this Fuufuu Whirlwind Kick by 3.3%. The maximum DMG increase possible through this method is 66%.
This Constellation is only a marginal increase to overall DPS, even if Sayu rolls for her full 10s duration.
 Constellation 3 | Eh, the Bunshin Can Handle It
Constellation Description
Increases the Level of Yoohoo Art: Mujina Flurry by 3.
Maximum upgrade level is 15.
+3 Talent Levels to Sayu’s Burst. More significant for off-field Burst support builds, but a nice healing and DPS increase nevertheless.
 Constellation 4 | Skiving: New and Improved
Constellation Description
Sayu recovers 1.2 Energy when she triggers a Swirl reaction.
This effect occurs once every 2s.
Sayu’s C4 is not as relevant to Burst support builds since it only applies if Sayu is on-field. However, it does significantly reduce her ER requirements as an on-field driver.
 Constellation 5 | Speed Comes First
Constellation Description
Increases the Level of Yoohoo Art: Fuuin Dash by 3.
Maximum upgrade level is 15.
+3 Talent Levels to Sayu’s Skill. A substantial increase to team damage if Sayu is used as an on-field driver.
 Constellation 6 | Sleep O’Clock
Constellation Description
The Muji-Muji Daruma created by Sayu’s Yoohoo Art: Mujina Flurry will now also benefit from her Elemental Mastery. Each point of Sayu’s Elemental Mastery will produce the following effects:
- Increases the damage dealt by the Muji-Muji Daruma’s attacks by 0.2% ATK. A maximum DMG increase of 400% ATK can be gained via this method.
- Increases the HP restored by the Muji-Muji Daruma by 3. A maximum of 6,000 additional HP can be restored in this manner.
Sayu’s second-best Constellation, which makes it so that building EM on Sayu does not sacrifice as much ATK. Note that this Constellation does not affect Sayu’s initial teamwide healing from her Burst.
Artifacts
ER Requirements
Sayu’s ER requirements can be highly variable depending on her playstyle and team. Use the Energy Recharge Calculator to determine exact requirements for your team and rotation.
| Off-Field Burst Support | On-Field Driver* | |
| Burst Every Rotation | >200% | ~160–180% |
| Burst Every Other Rotation | ~150–170% | ~120–140% |
*As an on-field driver, Sayu’s C4 will generally lower her Energy requirements by ~10–15%, and a second Anemo character can lower it by another ~15–25%.
Artifact Stats
Off-Field Burst Support
 Sands |  Goblet |  Circlet |
| Energy Recharge, ATK%, or Elemental Mastery | ATK% or Elemental Mastery | Healing Bonus, ATK%, or Elemental Mastery CRIT Rate (Favonius) |
Substats:
ER (until requirements met) > ATK% ≥ EM
Meeting Sayu’s hefty ER requirements should be of utmost priority, and thus she heavily favors an ER% Sands. Once ER requirements are met, it is up to the player’s discretion on how to balance Sayu’s healing (which scales with ATK) and her Swirl damage (which scales with EM). At C6, Sayu’s healing will also scale with EM, which makes the trade-off for healing over damage less noticeable.
On-Field Driver
Sands | Goblet | Circlet |
| ATK% or Elemental Mastery | Anemo DMG Bonus or Elemental Mastery | CRIT Rate, CRIT DMG, or Elemental Mastery |
Substats:
CRIT > EM = ATK%
Sayu as an on-field driver has two main artifact builds—the standard ADC (ATK% Sands, Anemo DMG% Goblet, CRIT Circlet) for personal damage or triple EM for Swirl and other reactions.
Artifact Sets
 4pc Viridescent Venerer (4VV) | For both on-field and off-field builds, 4VV is indisputably Sayu’s best set, and by quite a large margin. Not only does this set increase team damage through Elemental RES Shred, but it also increases Sayu’s own Swirl damage. |
 4pc Deepwood Memories (4DM) | Viable if Sayu is used in a Bloom team (including Hyperbloom and Burgeon) or for an on-field Dendro DPS. Note that the 4DM set bonus can be activated while Sayu is off-field. |
 4pc Noblesse Oblige (4NO) | Not a bad set for the teamwide ATK% buff, although Sayu may be an inconsistent holder due to her expensive Burst. Additionally, Sayu’s Burst will inconsistently snapshot her own 4NO ATK% buff (see the KQM Library for more). |
 4pc Ocean-Hued Clam (4OHC) | An odd choice, but can allow off-field Burst support Sayu to deal a surprisingly large amount of damage. |
| 2pc mixed sets of ER% / EM / ATK% / Anemo DMG% | Temporary choices if you don’t have good pieces for the other options above. |
Weapons
As a general rule of thumb, Sayu as an off-field Burst support will prioritize ER weapons to meet her high ER needs.
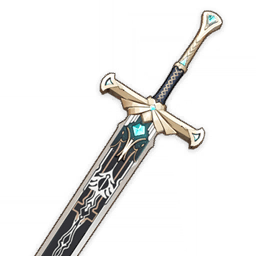
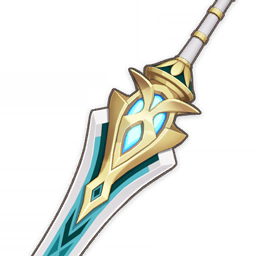
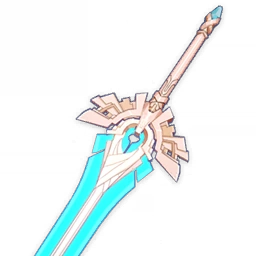 Skyward Pride | While the vacuum blades from the passive are irrelevant, its high Base ATK and the little bit of ER% it gives make it a good weapon for Sayu. |
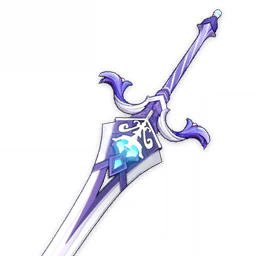
 Favonius Greatsword | Although Favonius requires Sayu to build some CRIT Rate, it makes Bursting every rotation significantly more achievable and is one of her best choices for off-field Burst support. Note that the passive will not trigger off-field. |
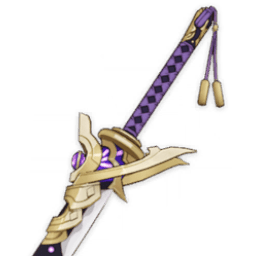 Katsuragikiri Nagamasa | An overall solid choice due to its F2P accessibility as a craftable, its ER% secondary stat, and its passive that refunds Flat Energy and gives Skill DMG Bonus. On-field Sayu is able to trigger the passive twice if she rolls for her entire 10s duration (since the passive has a 10s cooldown). |
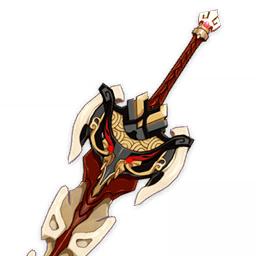 Serpent Spine | For players looking to maximize on-field Sayu’s personal damage, the infamous Serpent Spine provides a strong CRIT Rate and DMG% boost. |
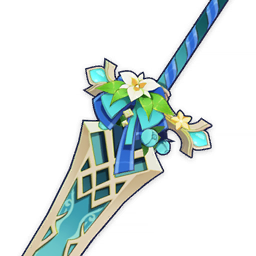
| Luxurious Sea-Lord / Akuoumaru | While lacking ER, these weapons give a healthy amount of ATK and Burst DMG Bonus. Akuoumaru’s DMG Bonus is based on the team’s total Energy Cost, which complements Sayu’s already high Energy Cost. Sea-Lord is an event-limited but F2P option. If ER requirements are met, both are viable for off-field Burst support and on-field driver Sayu. |
 Sacrificial Greatsword | Being able to use Sayu’s Skill a second time will help with Sayu’s ER needs, but this comes at the cost of more field time. Additionally, the passive of this weapon only triggers on Sayu’s Kick, not the rolling. |
 Makhaira Aquamarine | If Energy is not an issue, Aquamarine allows Sayu to focus on building EM while providing both herself and the team with a valuable ATK buff. |
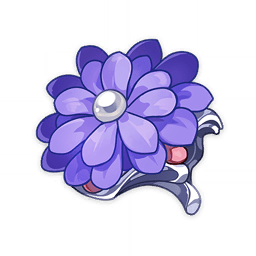
 Mailed Flower | F2P but event-limited, Mailed Flower provides both EM and ATK for Sayu. A solid option provided that ER is not an issue. |
| Rainslasher / Bloodtainted Greatsword | Simple, straightforward, and usable EM stat sticks. |
Teams
This is not a comprehensive list of teams. The inclusion or exclusion of any given team does not necessarily reflect its power level.
- As an off-field Burst support, Sayu is incredibly flexible as she is both a healer and a 4VV holder — roles that are desirable in many teams.
- Sayu as an on-field driver is similarly flexible, although her rolling limits her synergy with characters whose abilities trigger on Normal Attacks (which unfortunately include some of the “best” off-field DPS units such as Xingqiu, Yelan, and Beidou). On-field driver builds will prefer EM if Sayu is triggering Transformative Reactions (Electro-Charged, etc.).
Notable Teammates
  Kazuha, Sucrose | Both Kazuha and Sucrose provide grouping and a Burst that can apply Elements off-field. Kazuha provides additional Elemental DMG Bonus, and Sucrose shares EM. Both can also work as a battery for Sayu’s high Burst Cost. |
  Xiangling, Kaeya | Xiangling and Kaeya’s orbiting Bursts provide good off-field damage andElemental application and allow for a unique technique called “backhanding” (moving/rolling counter-clockwise to artificially increase the number of hits from Xiangling/Kaeya’s Bursts). |
 Bennett | Sayu makes good use of Bennett’s massive ATK buff, and the Pyro self-aura from Bennett’s Burst allows for reliable Pyro Absorption. He also acts as a battery for Xiangling, should you choose to use Xiangling in the team as well. |
  Kuki Shinobu, Raiden Shogun | Kuki and Raiden are both good sources of off-field Electro while Sayu is rolling. Raiden’s faster Electro application may steal some reactions from Sayu, but the consequences of this can be mitigated if Raiden is built with EM. Raiden can also act as an on-field unit to battery Burst support Sayu. |
 Fischl | Another choice for off-field Electro. In Aggravate teams, on-field driver Sayu can be an excellent driver for Fischl’s A4 Passive. Unfortunately, Sayu’s rolling cannot trigger Fischl’s C6. |
  Lisa, Yae Miko | Lisa and Yae Miko both apply off-field Electro very well for on-field driver Sayu. Lisa’s DEF Shred is notable as well. |
 Nahida | Compared to Collei and Dendro Traveler, Nahida’s Dendro application allows for more mobility, which complements on-field Sayu’s highly mobile playstyle. |
 Kokomi | Kokomi’s jellyfish can allow Sayu to more consistently absorb Hydro. Although Kokomi may steal some reactions, she can be built for EM since a full healing build may not be necessary with Sayu on the team. |
Off-Field Burst Support

For teams whose core three characters are set but are missing a healer/4VV holder, Sayu can be a comfortable and universal pick. Note that Sayu’s ER needs will differ depending on the team.
Example Teams
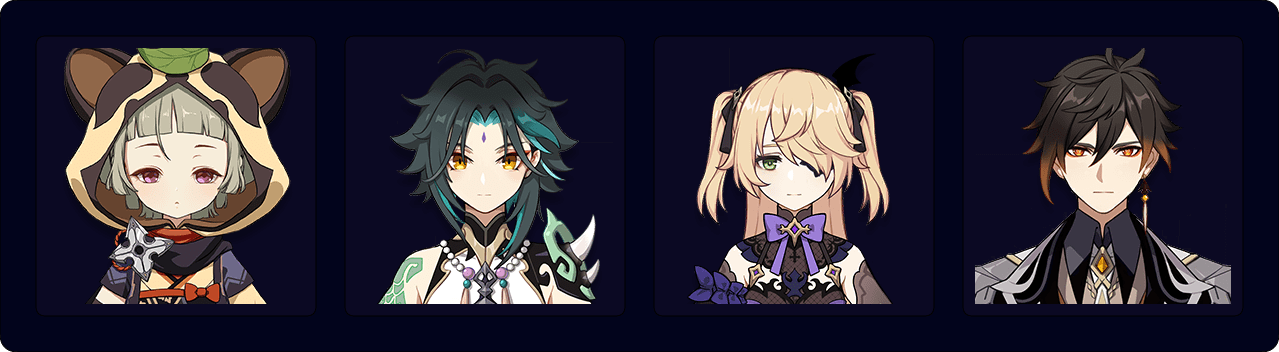
In this team, Sayu also acts as a battery for Xiao.
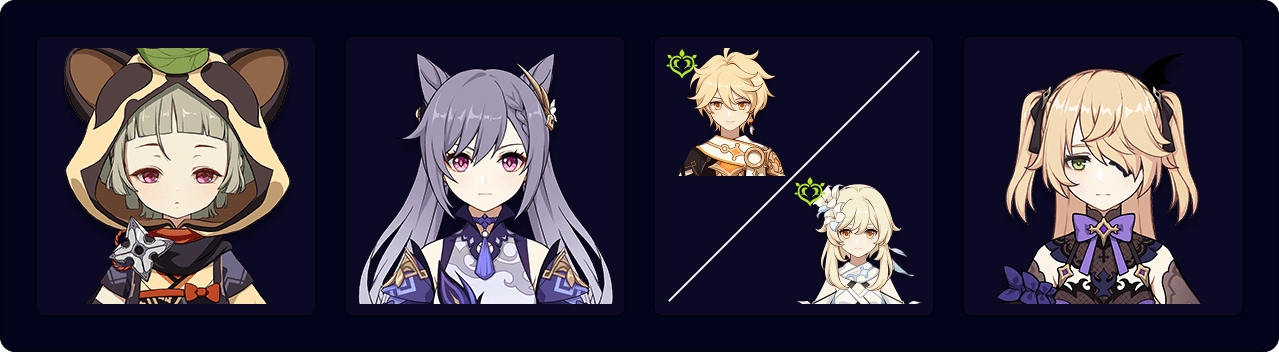
Mono Pyro

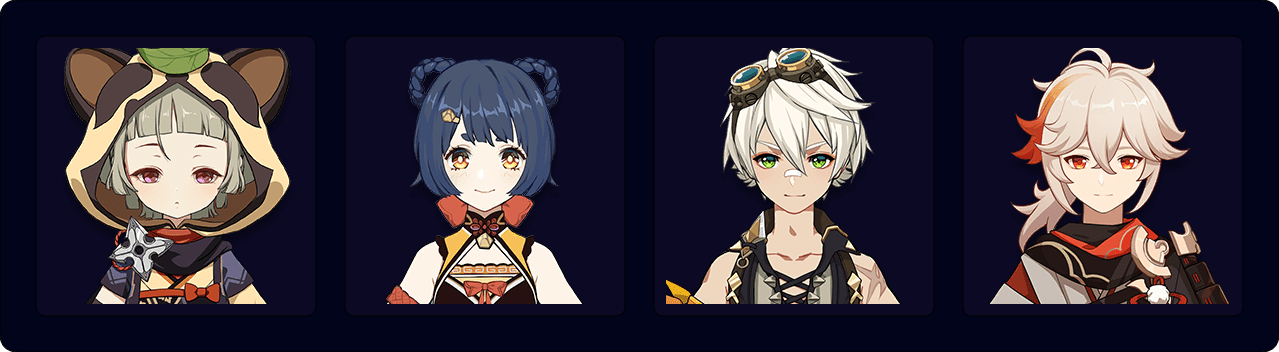
While Sayu can technically be used in any Mono Element team, Mono Pyro tends to stand out. It most commonly includes Xiangling and Sayu along with Bennett as a battery for Xiangling, a Pyro Absorption enabler for on-field Sayu, and an ATK buffer. If Sucrose or Kazuha are used for 4VV and off-field Pyro from their Burst, Sayu on 4pc Lavawalker is a niche but viable option. Another common flex unit is Zhongli.
Example Teams
Freeze

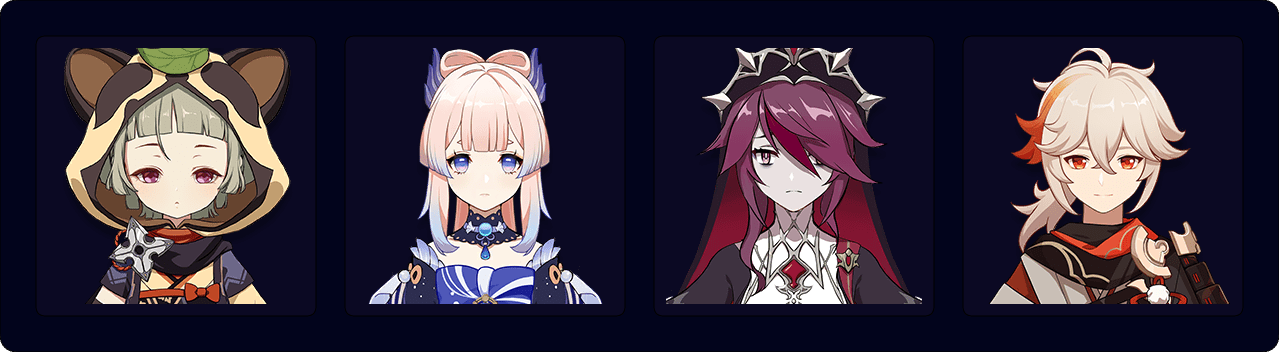
On-field Sayu in Freeze teams requires an off-field Cryo unit such as Rosaria or Kaeya so that Sayu can roll around with her Hydro Absorption. Kokomi is generally the most consistent choice for Hydro Absorption. A grouper such as Kazuha or Sucrose is also recommended.
Example Teams
Melt

The most common version of an on-field Sayu Melt includes Xiangling and Kaeya plus a choice of Bennett or Zhongli. Even without a grouper, this team has a high damage ceiling if played with effective backhanding and Xiangling batterying.
Example Teams

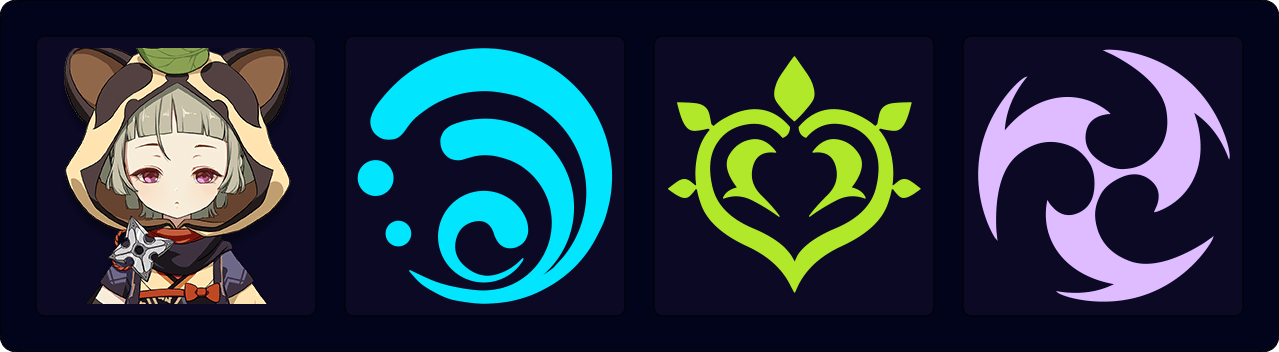
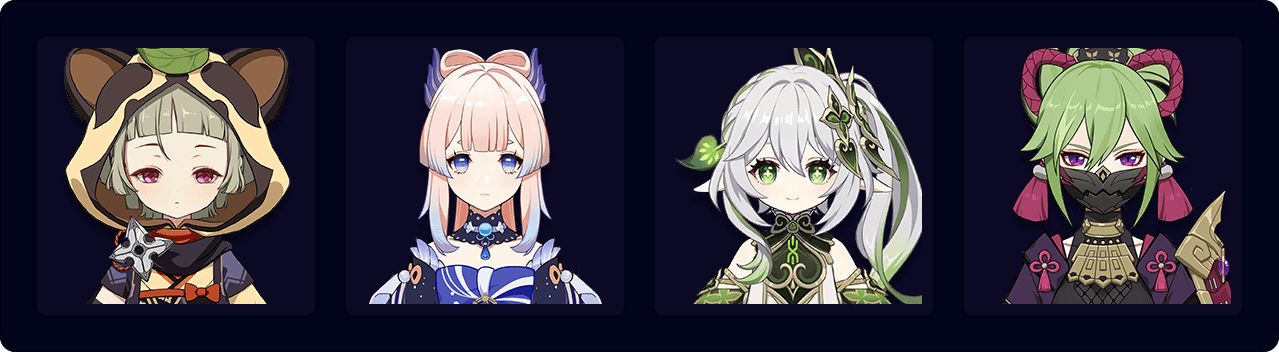
Electro-Charged “Taser”

Sayu as a driver has fast Elemental application, which allows her to trigger most of the Electro-Charged reactions. Ideally, this means Sayu will roll around with Hydro Absorption as another unit applies Electro off-field. A grouper is beneficial since Taser teams work best against multiple enemies.
Example Teams

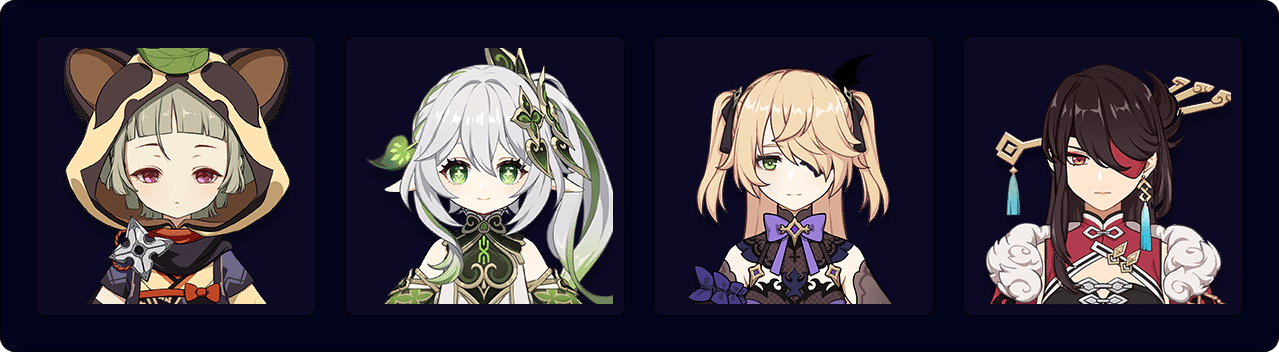
Hyperbloom
In most Hyperbloom teams, Sayu is not the trigger due to inconsistencies with Electro Absorption. Instead, Sayu can absorb Hydro and, with an off-field source of Dendro, trigger Bloom. An off-field Electro unit such as Kuki Shinobu or Raiden can then trigger Hyperbloom as Sayu rolls around.
Example Teams
Aggravate

Sayu can either be a driver or a Burst support for Aggravate teams. As a driver, Sayu’s own damage through Electro Absorption will be boosted, and she pairs well with Fischl’s A4 Passive. As a Burst support, Nahida or an Electro unit will usually be the on-field driver (which allows for Fischl C6 or Beidou Burst procs). The flex slot can be another Dendro unit, another Electro unit, or Kazuha/Sucrose for grouping and off-field Elemental Burst damage.
Example Teams

In this team, Sayu or Nahida can be the on-field driver.
In this team, Sayu is used as a Burst support.
Credits
chasing_haze, agentraf, milktearomance, konodiada, anoddmedium, nociii, cuzimori, irokei, dejaroo, alehannita, polomo
Team images courtesy of the KQM portrait generator.
