Updated for Version 5.4
Kuki Shinobu is a 4★ Electro Sword character in Genshin Impact who provides healing and off-field Electro application. Learn about Shinobu’s best builds, best weapons, best artifacts, and best teams in this quick guide.
Note that the information given may change if new discoveries are made. More extensive testing is in progress.
Join our Discord to participate in the theorycrafting process.
Table of Contents
Infographic
Hyperbloom Trigger

Credits to: cuppacote and KQM Staff
Quicken Support
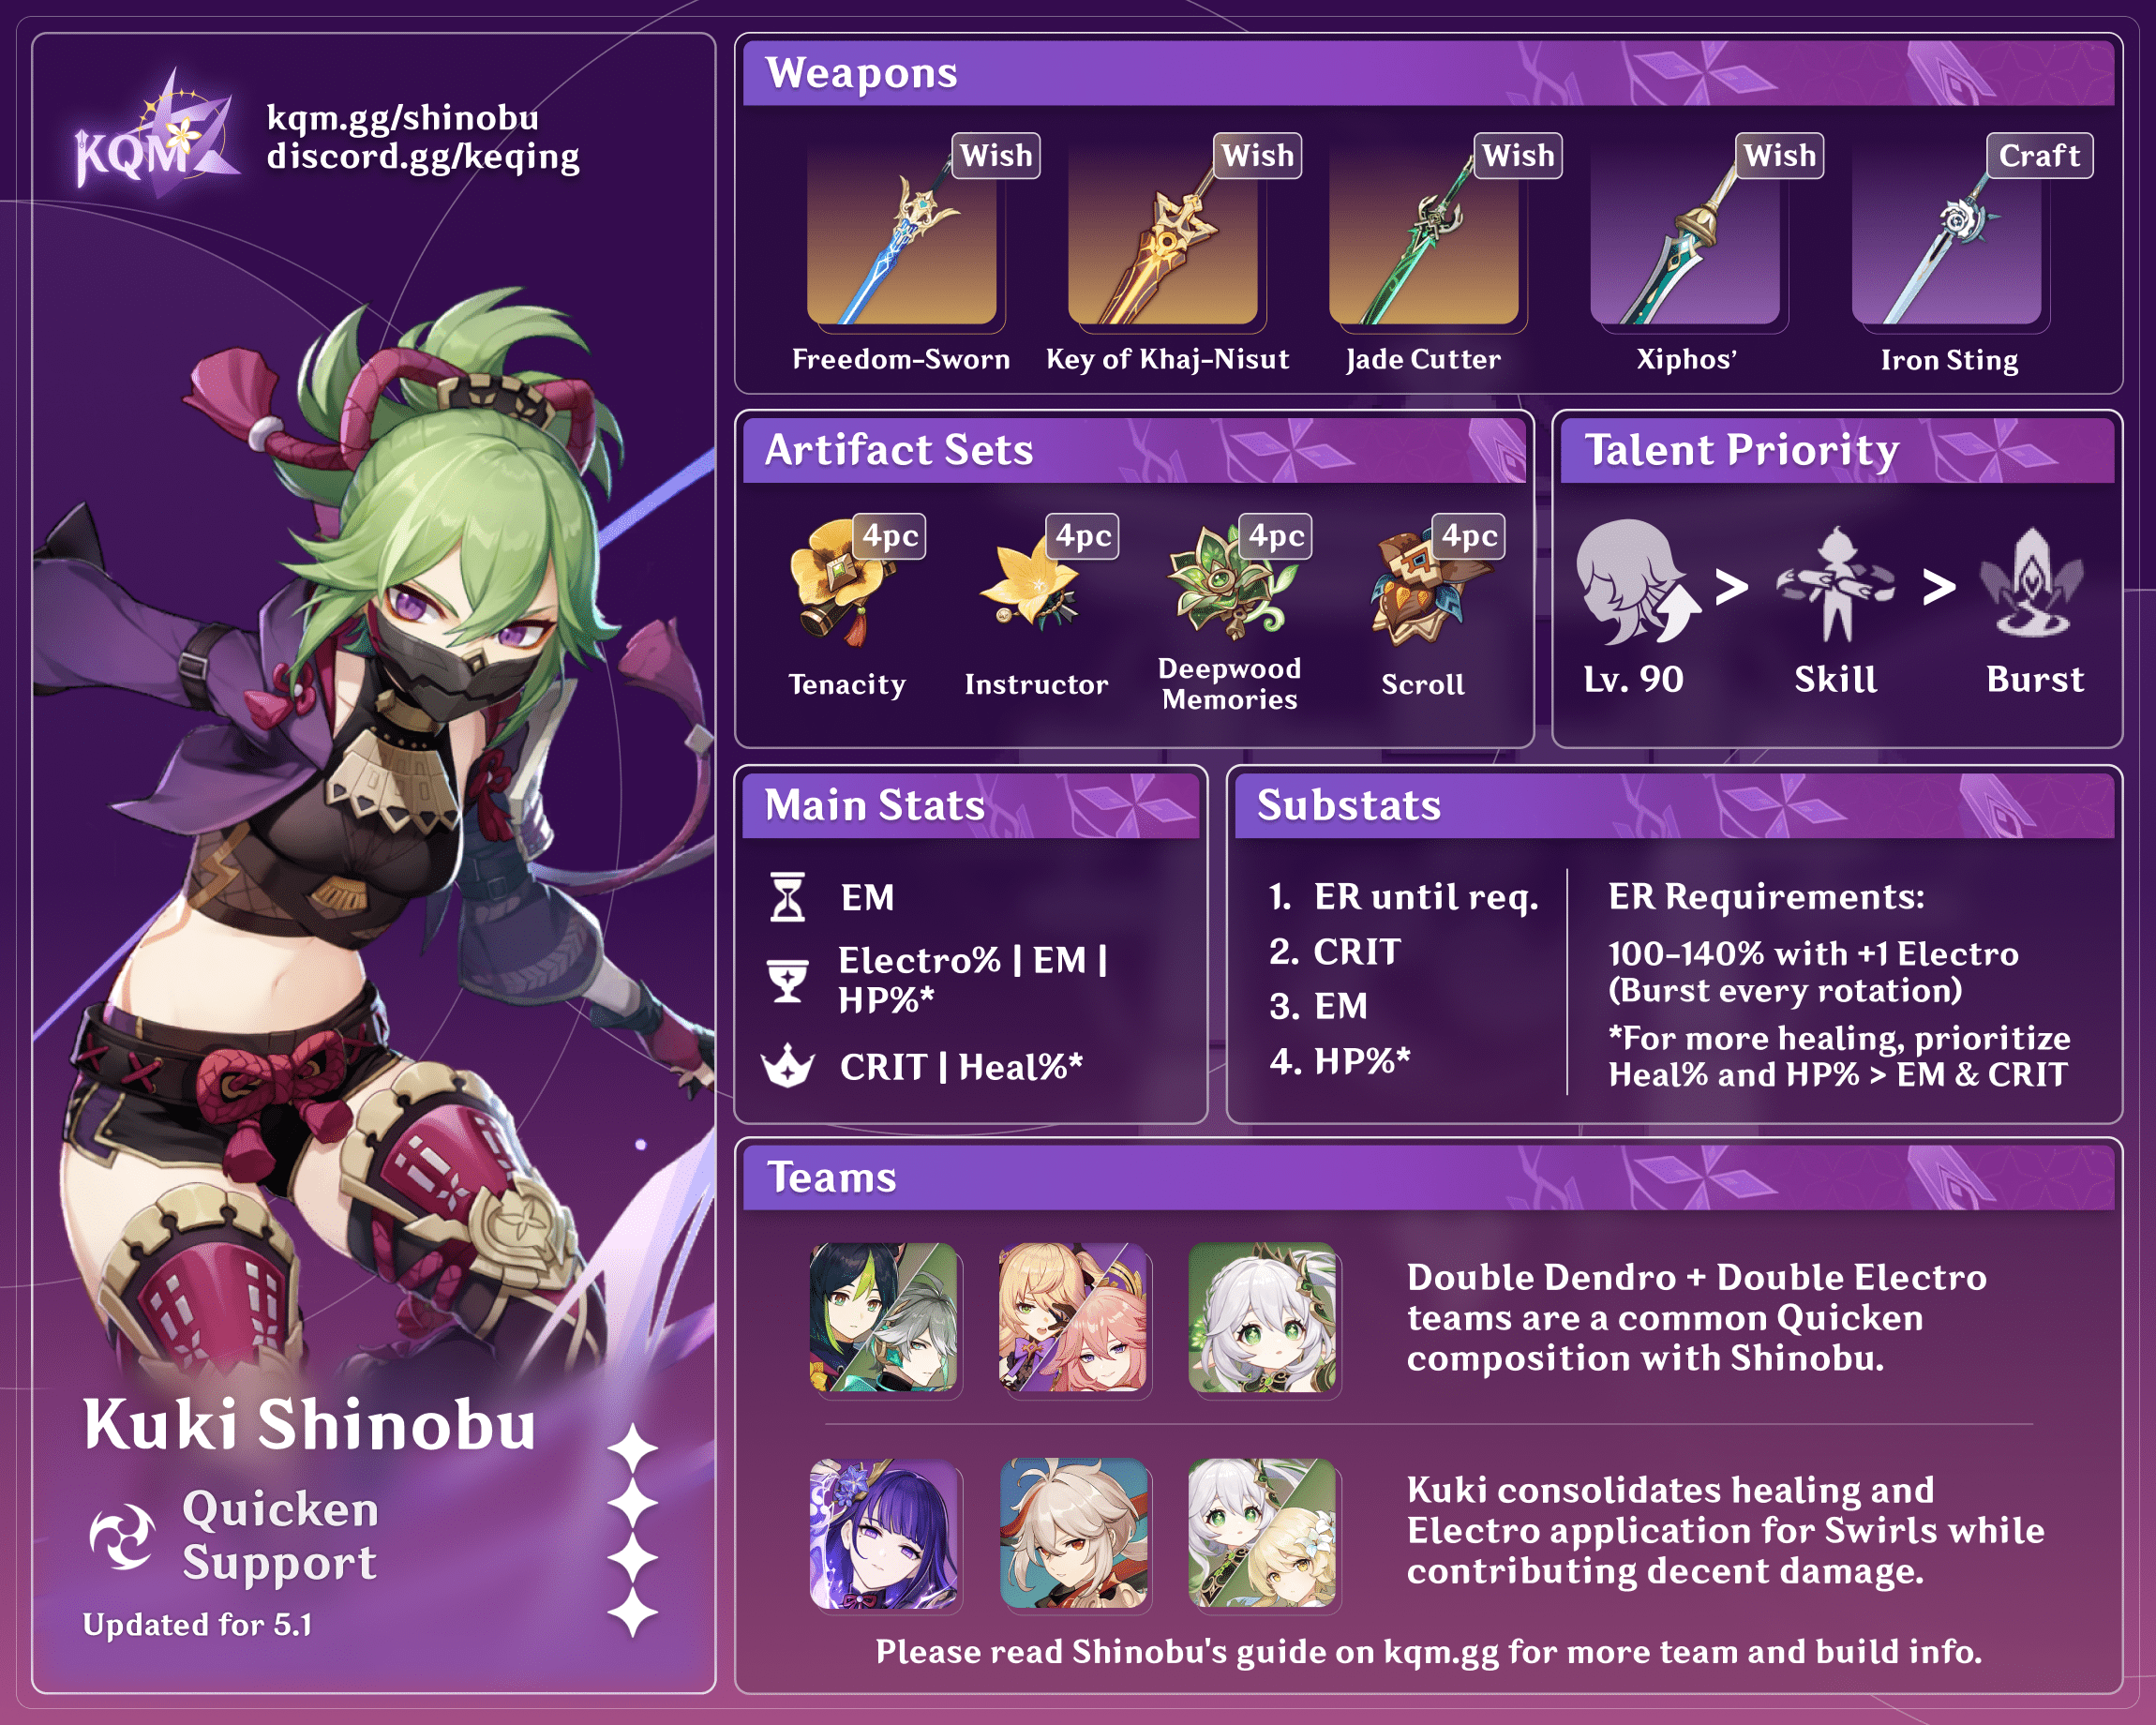
Credits to: euphorysm, cuppacote, mocha_biscuit and KQM Staff
Character Overview
Pros
- Off-field Electro application with good uptime to trigger Hyperbloom
- Electro application follows the active character
- Burst hit multiple times in a short duration, useful for hit count mechanics
- Healing has EM scaling, which is synergistic with her EM Hyperbloom build
- Cheap to build
Cons
- Elemental Skill costs her own HP and first healing tick is delayed after the Skill activation, making her vulnerable to enemies’ attacks
- Healing is single-target
- Lackluster Talent multipliers
Playstyles
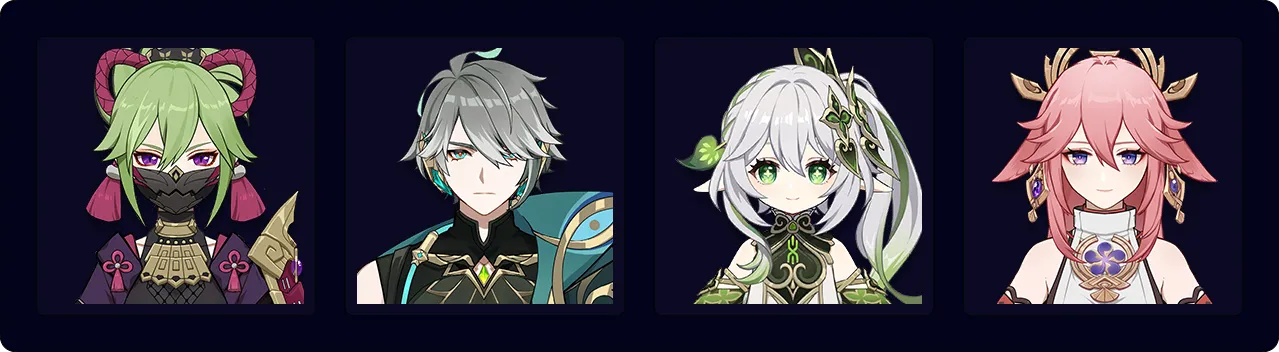
Hyperbloom Trigger
Shinobu’s Elemental Skill deals AoE Electro damage every 1.5s, which can trigger Hyperbloom from nearby Dendro Cores. Combined with the fact that Shinobu can heal, this makes her one of the best Hyperbloom DPS characters that do not rely on their Elemental Burst.
Quicken Support
Shinobu’s strong off-field presence with her damage and healing makes her a useful asset for any Quicken team.
Pure Healer
Due to healers only needing relatively low investment, Shinobu can be slotted in many teams as a pure healer while offering her Electro application for various utilities.
Level and Talent Priority
Character Level >> Skill > Burst
Level 90 is a very significant increase in Shinobu’s damage in Aggravate and Hyperbloom teams, so it is recommended to level her.
Her Skill takes priority as it increases her healing output. Shinobu’s Burst levels only affect its raw damage, which is quite negligible, so it can be left unlevelled.
Shinobu’s Normal Attacks do not provide anything of use in her teams.
Talent Overview
 Normal Attack | Shinobu’s Shadowsword
Talent Description
Normal Attack
Performs up to 4 rapid strikes.
Charged Attack
Consumes a certain amount of Stamina to unleash 2 rapid sword strikes.
Plunging Attack
Plunges from mid-air to strike the ground below, damaging opponents along the path and dealing AoE DMG upon impact.
Shinobu’s Normal Attacks provide no value in her teams.
 Elemental Skill | Sanctifying Ring
Talent Description
Creates a Grass Ring of Sanctification at the cost of part of her HP, dealing Electro DMG to nearby opponents.
Grass Ring of Sanctification
Follows your current active character around. Deals Electro DMG to nearby opponents every 1.5s and restores HP for the active character(s) within the ring’s AoE based on Kuki Shinobu’s Max HP.
The HP consumption from using this skill can only bring her to 20% HP.
Shinobu’s Elemental Skill provides consistent healing and deals damage based on her maximum HP at 1.5s intervals — at the cost of losing 30% of her current HP. Shinobu has a 45% chance to generate an Elemental Particle on each hit of her Skill.
 Elemental Burst | Gyoei Narukami Kariyama Rite
Talent Description
Stabs an evil-excoriating blade into the ground, creating a field that cleanses the area of all that is foul, dealing continuous Electro DMG to opponents within its AoE based on Shinobu’s Max HP.
If Shinobu’s HP is less than or equal to 50% when this skill is used, the field will last longer.
Shinobu’s Burst deals 7 instances of AoE Electro damage; the number of hits can be increased if Shinobu’s HP is less than 50%, resulting in 11-13 total hits. As Shinobu’s Burst applies Electro quickly in a short duration (3 times at above 50% HP and up to 5 times at under 50% HP), it can be used to override existing Elemental aura for specific setups. The high hit rate is also helpful for triggering Hyperbloom on all Dendro Cores on the ground and is effective against hit count mechanics such as Tenebrous Papilla’s Ward.
 Ascension 1 Passive | Breaking Free
Talent Description
When Shinobu’s HP is not higher than 50%, her Healing Bonus is increased by 15%.
Increases Shinobu’s Healing Bonus by 15% if her HP is less than 50%. Mostly a QoL Passive, it keeps Shinobu alive through multiple Skill uses.
 Ascension 4 Passive | Heart’s Repose
Talent Description
Sanctifying Ring’s abilities will be boosted based on Shinobu’s Elemental Mastery:
· Healing amount will be increased by 75% of Elemental Mastery.
· DMG dealt is increased by 25% of Elemental Mastery.
Grants Shinobu EM scaling on both her healing (75% of EM) and Skill damage (25% of EM), making her healing output viable even for Aggravate and Hyperbloom builds.
Constellations
 Constellation 1 | To Cloister Compassion
Constellation Description
Gyoei Narukami Kariyama Rite’s AoE is increased by 50%.
Increases Shinobu’s AoE on her Burst, which can be helpful when dealing with multiple enemies.
 Constellation 2 | To Forsake Fortune
Constellation Description
Grass Ring of Sanctification’s duration is increased by 3s.
Increases Shinobu’s Skill hits from 10 to 12, which results in 100% Skill uptime and increases her Energy generation due to the extra hits.
 Constellation 3 | To Sequester Sorrow
Constellation Description
Increases the Level of Sanctifying Ring by 3.
Maximum upgrade level is 15.
Grants 3 levels to Shinobu’s Skill. Increases healing by a noticeable amount. The damage increase is negligible.
 Constellation 4 | To Sever Sealing
Constellation Description
When the Normal, Charged, or Plunging Attacks of the character affected by Shinobu’s Grass Ring of Sanctification hit opponents, a Thundergrass Mark will land on the opponent’s position and deal AoE Electro DMG based on 9.7% of Shinobu’s Max HP.
This effect can occur once every 5s.
Dealing damage with the active character’s Normal Attack while having Shinobu’s Skill active procs her Constellation 4 which deals Electro damage. The proc can trigger reactions and generate Energy separately from Shinobu’s Skill. This effect can only happen once every 5 seconds.
 Constellation 5 | To Cease Courtesies
Constellation Description
Increases the Level of Gyoei Narukami Kariyama Rite by 3.
Maximum upgrade level is 15.
Grants 3 levels to Shinobu’s Burst. Slightly improves Shinobu’s Burst damage, but since most of her damage comes from reactions, this increase isn’t impactful.
 Constellation 6 | To Ward Weakness
Constellation Description
When Kuki Shinobu takes lethal DMG, this instance of DMG will not take her down. This effect will automatically trigger when her HP reaches 1 and will trigger once every 60s.
When Shinobu’s HP drops below 25%, she will gain 150 Elemental Mastery for 15s. This effect will trigger once every 60s.
Shinobu's C6 lets her survive big hits, but DoT (e.g. Burning, Corrosion) and multi-hit damage nullifies its life-saving potential. It also raises her EM by 150 for 15s at low HP. Albeit risky, Shinobu can intentionally take damage, survive, and activate this Constellation's EM buff to increase her DPS for that rotation.Combos
- N# = Corresponding number of consecutive Normal Attacks
- E = Elemental Skill
- Q = Elemental Burst
- ( ) = these actions are optional; please refer to the notes below
| E (N1) Q | Using Shinobu’s Skill before her Burst allows her to heal some of the HP she lost on cast. The N1 should be done after casting her Skill to proc C4. Without C4, the N1 shouldn’t be used. |
Hyperbloom
Artifacts
ER Requirements
Calcs for ER requirements can be found here (last updated for Version 5.4).
Assumes 0 Favonius proc from teammates, Shinobu not catching any of her particles directly.
| Scenario | C0 | C2 | C4 |
| Solo Electro (Q every 2 E) | 135-175% | 125-160% | 115-140% |
| Double Electro | 190-200% | 180-190% | 170-180% |
| Double Electro (with Fischl or TF Cyno) | 105-130% | 100-125% | 100-120% |
Each Favonius proc from teammates takes off ~10-40% from ER requirements depending on how high the original ER requirements are.
It is not recommended to sacrifice EM for ER to meet Shinobu’s ER needs in Hyperbloom.
Use the Energy Recharge Calculator to determine exact requirements for your team and rotation. For more details on how Favonius weapons will affect your team, please use Ac1d’s Favonius Mastersheet.
Artifact Stats
 Sands |  Goblet |  Circlet |
| Elemental Mastery | Elemental Mastery | Elemental Mastery |
Stat Priority: EM > ER > HP%
EM should be prioritized over other stats since Shinobu’s Hyperbloom damage only scales with EM. While ER is still important in most Hyperbloom teams, it is not worth running ER weapons or holding ER Sands to obtain it.
HP% mostly increases her healing, but it should not be prioritized over EM.
Artifact Sets
 4pc Flower of Paradise Lost (FoPL) | Shinobu’s best set for Hyperbloom damage. It is recommendable for players to obtain this set from Strongbox instead of getting it directly in the Domain with Desert Pavilion Chronicle, unless they also benefit from the other set. |
 4pc Gilded Dreams (GD) | The 2-piece effect increases EM by 80 and the 4-piece increases it by 100-150 depending on the flex slot. While worse than 4pc FoPL for damage, 4pc GD shares a Domain with Deepwood Memories, a set that is also used in Dendro teams to buff Dendro damage. This makes the set more Resin-efficient to farm compared to 4pc FoPL. |
 2pc EM + 2pc EM | Cheap alternative to the above options while also providing competitive or similar results. |
 4pc Thundering Fury | Thundering Fury’s 2-piece effect does not help Shinobu, and the cooldown reduction effect cannot be triggered from off-field. However, it still provides an unconditional Hyperbloom damage buff. |
 4pc Deepwood Memories | This set is often used by another team member instead of Shinobu to buff her Hyperbloom damage. Nevertheless, if the situation arises, Shinobu should hold this set for her own damage. |
Weapons
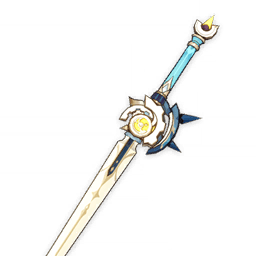
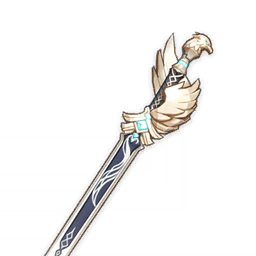
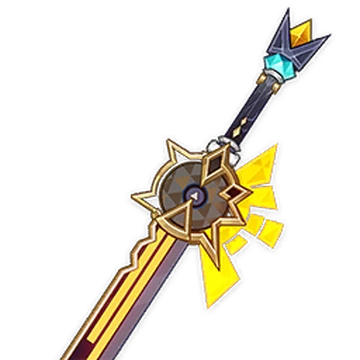
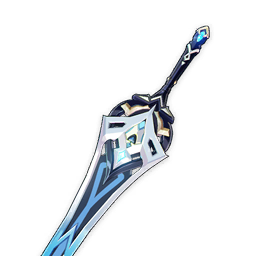
 Freedom-Sworn (5★) | Highest EM secondary stat on a Sword with a passive that will benefit the other team members with its ATK% buff, making it the best weapon for Hyperbloom Shinobu. |
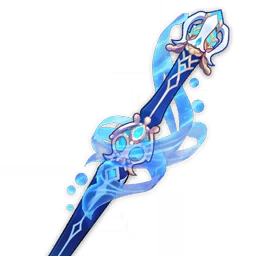
 Xiphos’ Moonlight (4★) | Identical EM to Iron Sting but with an ER passive that benefits the whole team. In some teams where Shinobu’s Burst is important, Xiphos’ Moonlight can be her best weapon thanks to this ER passive, surpassing even Freedom-Sworn. |
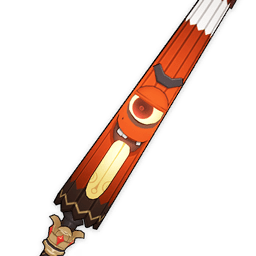
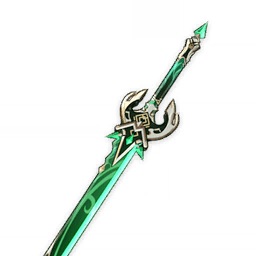
 Iron Sting (4★) | Craftable Sword with an EM secondary stat. Refinements aren’t impactful as Hyperbloom Shinobu does not need DMG%. |
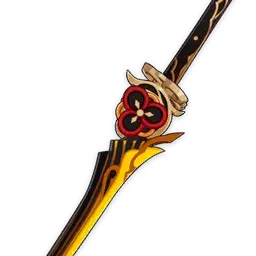
 Toukabou Shigure (4★) | Functionally the same as Iron Sting, it grants the same amount of EM with some DMG% which Hyperbloom Shinobu does not benefit from. |
 Key of Khaj-Nisut (5★) | HP% Passive increases Shinobu’s healing. The weapon only gains stacks while the user is on-field. This weapon only becomes better than the 4 star options if all 3 stacks obtained, this is much more consistent at C4 due to it granting Shinobu an extra Skill proc. It is not recommended to prolong rotations to gain extra stacks at lower Constellations. |
Teams
Combo Notation
- N = Normal Attack
- C = Charged Attack
- P = Plunging Attack
- A = Aimed Shot
- E = Elemental Skill
- tE = Tap Skill
- hE = Hold Skill
- Q = Elemental Burst
- D = dash (cancel)
- J = jump (cancel)
- W = walk (cancel)
- > = switch character
- ( ) = these actions are optional; please refer to the notes below
- [ ] = repeat these actions the specified number of times
Teambuilding

Hyperbloom is the most popular playstyle for Kuki Shinobu. Consolidating fast Electro application, healing and short field time requirement, Shinobu is one of the best off-field Hyperbloom triggers at the time of writing. Her teams consist of at least one Dendro and one Hydro unit with good Elemental application to generate ample Dendro Cores. This is to take advantage of her fast trigger rate of 1.5s intervals. The last slot can be a second Dendro or Hydro unit to assist with Bloom generation, or a character who can contribute extra damage.
Notable Teammates
Dendro
Dendro enablers can provide additional utility or damage, especially in a Hyperbloom team with relatively good Quicken uptime. To maximize Hyperbloom reactions, players may opt for two Dendro units who have slow Elemental application on their own.
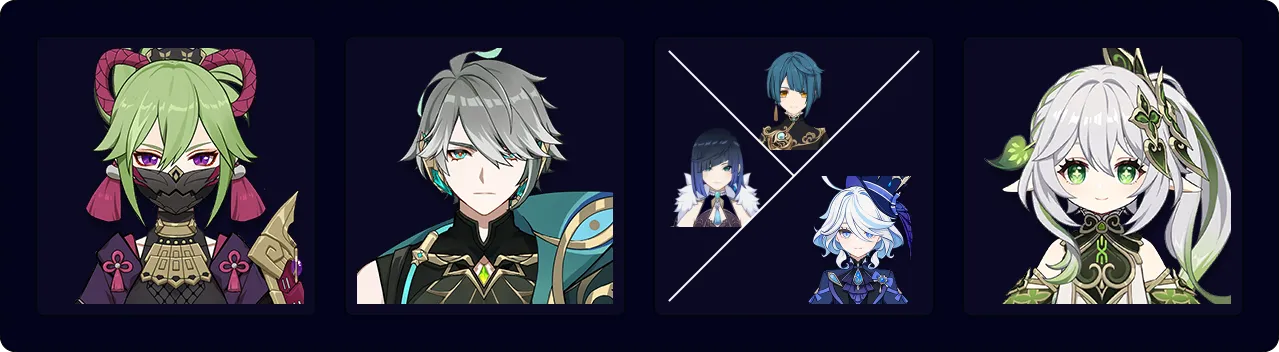
Nahida | Nahida is the premium Dendro applier with unrivaled AoE and permanent uptime. She single-handedly takes care of all your Dendro application needs with her reliable Tri-Karma Purification from Skill. Nahida can take the role of an on-field driver in Shinobu’s Hyperbloom teams, or stay off-field and support the team with her Dendro application and EM share for the active character. While not very useful for Shinobu (since Hyperbloom does not snapshot EM and she’s usually not on the field), the latter is still appreciated by other on-field characters, such as Alhaitham or Cyno. |


Hydro
Similar to Dendro units, Hydro characters are required to create Dendro Cores for Hyperbloom. They can also provide personal damage and other utilities such as healing or team buffs.
A second Hydro unit can be used for additional Hydro application if the Dendro character’s application is able to keep up with.


Flex Options
Other characters with various utilities can be used as Flex options for a Hyperbloom team as long as they do not mess with the Bloom and Hyperbloom reactions. These characters can deal damage, provide additional healing/shields, buffing or crowd control.
Electro characters that do not steal a large amount of Hyperbloom from Shinobu can be used as Talent damage dealers while also helping Bloom generation with Electro-Charged. Even those who interfere with Shinobu’s Hyperbloom ownership (i.e., Cyno) can still play with her in a team where Shinobu acts as a healer and occasionally triggers some Hyperblooms that are left untouched by the other Electro unit.


Example Teams
This is not a comprehensive list of teams. The inclusion or exclusion of any given team does not necessarily reflect its power level.
This team performs well both in single and multi-target scenarios with Shinobu’s Hyperbloom and Alhaitham’s AoE attacks. Furina and Yelan offer DMG% buffs while Xingqiu applies more Hydro (which results in more Hyperblooms but less Quicken uptime) and provides interruption resistance and damage reduction, which Alhaitham appreciates.
Sample Rotation (Furina)
Shinobu E > Nahida E Q > Furina ED Q > Alhaitham hEP N2CD N3C > Shinobu Q > Alhaitham Q > Shinobu E1 > Alhaitham 3[N3D N3CD] N3
1Use Shinobu E before Alhaitham Q if Burst quickswap is not possible
Sample Rotation (Yelan)
Nahida E Q > Yelan Q N1 E N1 > (Shinobu Q)1 > Alhaitham Q > Shinobu N1 E2 > Alhaitham 3[N3D] N3 > Yelan N1 E N1 > Alhaitham hEP N2CD N3C
1Burst when available
2Use Shinobu E before Alhaitham Q if Burst quickswap is not possible
Sample Rotation (Xingqiu)
Nahida E Q > Xingqiu EDQ N1 > (Shinobu Q)1 > Alhaitham Q > Shinobu E2 > Alhaitham N3D N3D N1E N3D N3CD N3D N3D N2
1Burst when available
2Use Shinobu E before Alhaitham Q if Burst quickswap is not possible
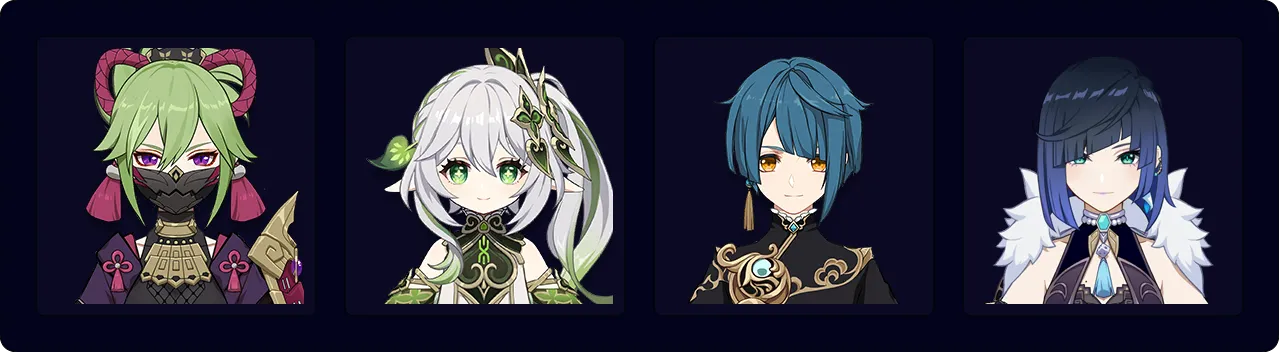
Shinobu’s impressive Hyperbloom damage pairs well with the famous Double Hydro core, resulting in an outstanding and high-performing team that excels in single-target fights. Shinobu’s healing benefits from Hydro Resonance as well.
Sample Rotation
Nahida E Q > Xingqiu Q N1 > Shinobu E N1> Yelan E N1 Q > Nahida N3 E N3D N3 > Xingqiu N1 ED N2 > Nahida N1 E N3D N3 > Yelan E N1 > Shinobu Q N1 > Nahida N3D N3
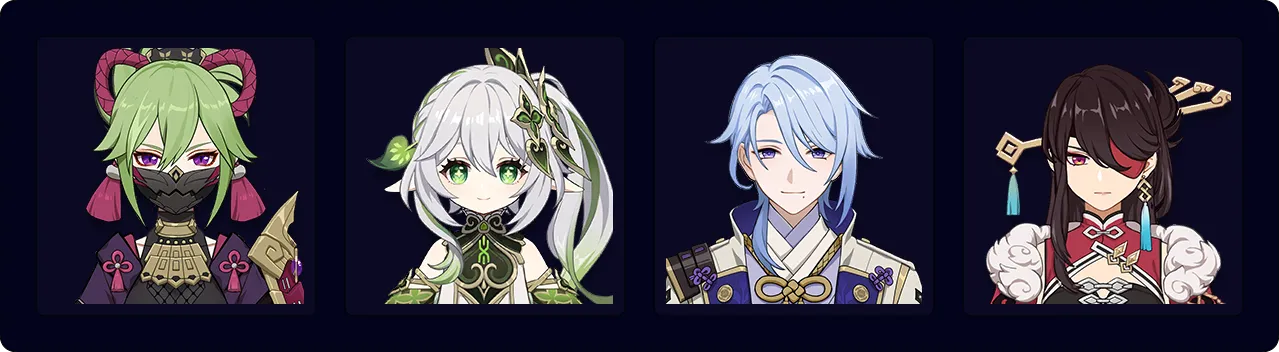
This team fares better against multi-target content due to Ayato and Beidou’s AoE nature. Ayato can use 4pc Thundering Fury (TF) in this team to reduce his Skill cooldown and shorten rotation length.
Sample Rotation (with 4pc TF)
Beidou EQ N1 > Nahida E N1 > Shinobu E N1 > Ayato E N15 Q > (Nahida E N1)1 > Ayato E N15 2
1Can be used to apply on new waves of enemies
2Can be cut down for shorter rotation
Sample Rotation (without 4pc TF)
Ayato Q > Nahida E N1 > Shinobu E N1 > Beidou EQ N1 > Ayato E N15 > Beidou E N2 > Nahida E N3 Q
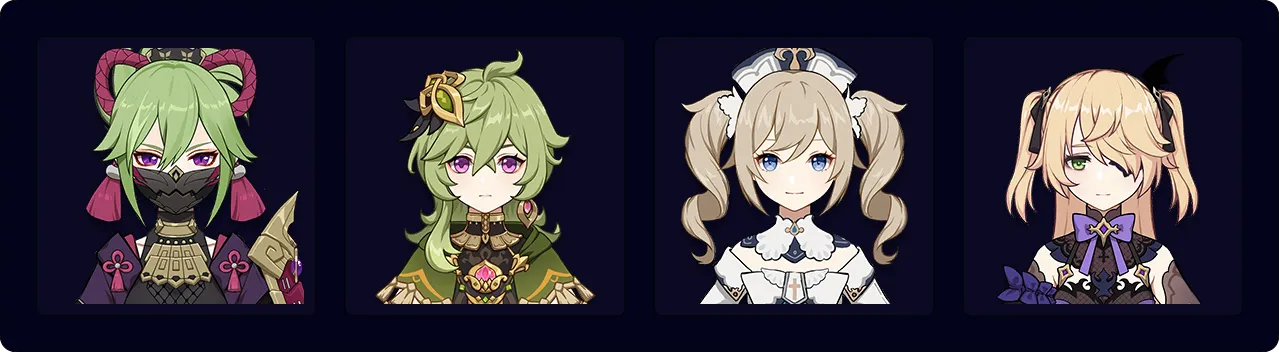
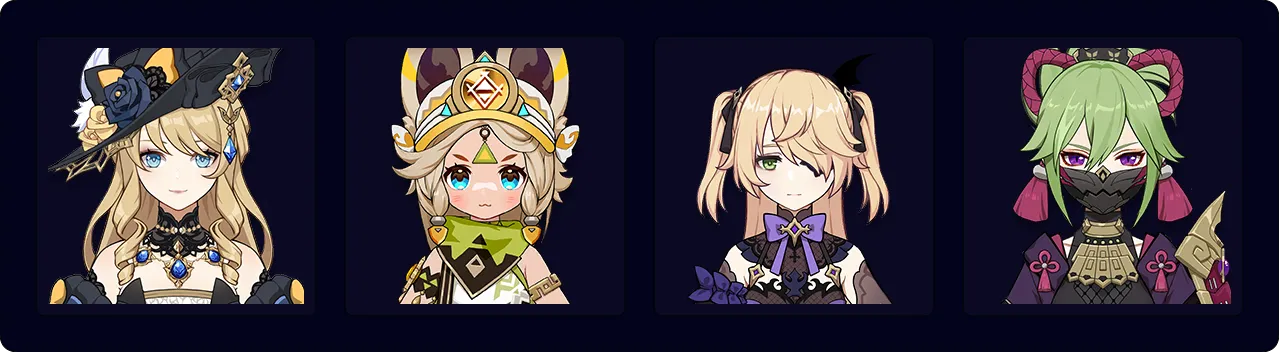
An accessible team that consists of 4-star characters only. Barbara casts her Skill when available and uses her Burst for emergency healing. She applies Hydro with her flexible combo, with N3D being commonly used. Restart the rotation when Shinobu’s Skill runs out.
Sample Rotation
Shinobu E N1 > Fischl N2 (E/Q) > Collei EQ > Barbara field time
Quicken
Artifacts
ER Requirements
Assumes Shinobu and another Electro character, 1 Favonius weapon proc per rotation. Shinobu not catching any particles directly.
| Scenario | C0 | C2 | C4 |
| 15s rotation | 160%-170% | 150%-160% | 140%-150% |
| 20s rotation | 130%-140% | 125%-135% | 120%-130% |
| w/ Fischl (15s) | 140%-150% | 130%-140% | 120%-130% |
| w/ Raiden (18s) | 100% | 100% | 100% |
In Aggravate teams, Shinobu’s ER requirements should be met first, as her personal damage output heavily relies on her Burst. In Solo Electro Quicken (Spread) teams, Shinobu plays more as a support and Bursting every rotation becomes less important.
Each additional Favonius proc takes off ~10% from ER requirements.
Use the Energy Recharge Calculator to determine exact requirements for your team and rotation. For more details on how Favonius weapons will affect your team, please use Ac1d’s Favonius Mastersheet.
Artifact Stats
Sands | Goblet | Circlet |
| Elemental Mastery | Electro DMG% / Elemental Mastery | CRIT / Elemental Mastery |
Stat Priority: ER (until requirements are met) > CRIT Rate/DMG ≥ EM > HP%
While Electro DMG% Goblets and CRIT Circlets are better for Shinobu’s damage, EM main stats are still viable and they increase her healing as well.
HP% and HB% can be used to maximize Shinobu’s healing, but are generally not needed.
Artifact Sets
While Shinobu’s damage is not negligible in Quicken teams, especially in multi-target, it is often more beneficial to use a support set for team performance.
 4pc Instructor | While this set limits Shinobu’s damage potential with its lower 4-star statline, its EM buff is substantial for team DPS. Shinobu needs to trigger a reaction while on-field to activate the set effect. |
 4pc Tenacity of the Millelith (4pc TotM) | The 2-piece effect provides 20% HP and the 4-piece effect grants the whole team (including Shinobu herself) 20% ATK and 30% Shield Strength. Due to Shinobu’s 100% uptime on her Skill translating to 100% uptime for this set’s effect, it is basically tailor-made for her kit. |
 4pc Scroll of the Hero of Cinder City (Scroll) | Even though Shinobu cannot trigger the full 4-piece effect, 4pc Scroll is still a good option for her with its long-lasting 12% Electro and Dendro DMG Bonus teamwide buff. |
4pc Deepwood Memories | 4pc Deepwood can be used to decrease Dendro RES on opponents, buffing the damage dealt by Dendro DPS units. |
 4pc Noblesse Oblige (NO) | Shinobu benefits only from the 2-piece effect and there are usually better holders for this set. If a 4pc TotM set is held by another user or is not available, 4pc NO is a good option for team DPS. |
 4pc Golden Troupe (GT) | Shinobu’s undisputed BiS for personal damage. 4pc GT gives a massive DMG% buff to Shinobu’s Skill damage as she does not stay on-field for long. |
 4pc Emblem of Severe Fate (EoSF) | One of the best options for Shinobu’s personal damage in teams where she has high ER requirements. |
4pc Thundering Fury (TF) | Although Shinobu does not benefit from the cooldown reduction on the 4-piece effect, she does benefit from the 2-piece effect and the increased reaction damage. |
4pc Gilded Dreams (GD) | 4pc GD increases EM by a substantial amount, which improves both Shinobu’s healing and damage. |
 2pc + 2pc | As Shinobu is a low priority unit in Quicken teams, she can make do with any 2-piece combination of EM/ER/DMG%. |
Weapons
Similarly, Shinobu prefers weapons that can give team utility over the ones that only increase her damage.
Freedom-Sworn (5★) | Shinobu scales with EM on both her healing and damage, which makes her an excellent holder of Freedom-Sworn. She also has an easy time activating the passive with her multitude of attacks and Aggravate. |
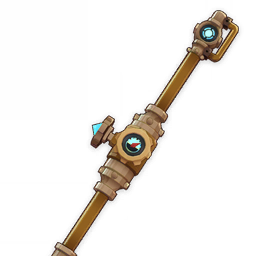
Key of Khaj-Nisut (5★) | This Sword has a high HP% secondary stat, which strengthens Shinobu’s healing. Can be used to buff the whole team’s EM if timed correctly with C4. |
Xiphos’ Moonlight (4★) | Grants enough ER (even at R1) for Shinobu to forgo all ER from artifacts in most teams, in addition to increasing her personal damage with the EM substat. The whole team benefits from the weapon due to Shinobu stacking EM, which increases the ER share from the weapon passive. |
 Favonius Sword (4★) | While it is worse for Shinobu’s personal damage compared to other weapons, Favonius is extremely helpful to Energy-hungry teams. |
 Sapwood Blade (4★) | The ER secondary stat alleviates the need for ER from artifacts. The Leaf generated from the passive can increase Shinobu’s teammates’ damage depending on which character picks it up. However, the Leaf can spawn inside the hitbox of a large enemy or in unfavourable positions, making the buff somewhat unreliable. |
 Peak Patrol Song (5★) | A niche weapon option. Shinobu forgoes her damage in order to build DEF for the teamwide DMG% buff. |
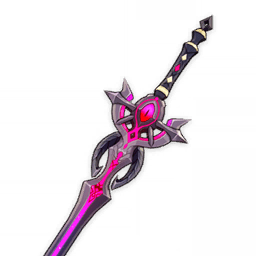
 Primordial Jade Cutter (5★) | BiS for Shinobu’s damage as she can make use of the HP%, Flat ATK and high CRIT Rate secondary stat. |
 Splendor of Tranquil Waters (5★) | Another good CRIT secondary stat weapon. Players may want to stay on-field with Shinobu to receive her own healing for the Skill DMG% buff. The HP% increase part of the passive requires teammates’ HP fluctuation, which might be difficult to achieve without relying on enemy attacks. |
 Uraku Misugiri (5★) | Strong option at baseline with high CRIT stat and useful passive, especially in teams with Geo characters. |
 Other 5-star Swords | Haran Geppaku Futsu (5★), Mistsplitter Reforged (5★), Absolution (5★) 5-star CRIT stick options with various passives that are hard to utilize on Shinobu. They only perform slightly better than the 4-star alternatives. |
 Wolf-Fang (4★) | Its 16% Skill and Burst DMG Bonus alongside a CRIT secondary stat benefit Shinobu greatly. Shinobu is unable to fully stack the passive’s Skill CRIT Rate and can only obtain 1 at the start of the rotation. On the other hand, her Burst stacks CRIT Rate well due to its fast ticks. This weapon is competitive with the 5-star options, especially with higher refinements. |
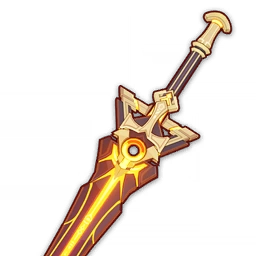
 Festering Desire (4★) | Solves all of Shinobu’s Energy problems while simultaneously buffing her damage. |
 Fleuve Cendre Ferryman (4★) | Decent F2P option for Aggravate. The increase in ER is beneficial in teams that have very high ER requirements. |
Iron Sting (4★) | Best craftable weapon if Festering Desire is not available and surpasses it in teams with low ER requirements. EM secondary stat and DMG% benefit all parts of Shinobu’s kit. |
 Toukabou Shigure (4★) | Similar to Iron Sting damage wise and utility wise, sharing the same EM substat. |
Teams
Combo Notation
- N = Normal Attack
- C = Charged Attack
- P = Plunging Attack
- A = Aimed Shot
- E = Elemental Skill
- tE = Tap Skill
- hE = Hold Skill
- Q = Elemental Burst
- D = dash (cancel)
- J = jump (cancel)
- W = walk (cancel)
- > = switch character
- ( ) = these actions are optional; please refer to the notes below
- [ ] = repeat these actions the specified number of times
Teambuilding

Kuki Shinobu’s main advantage in a Quicken team is that she provides healing while dealing solid AoE damage. She has a Skill with long uptime that follows the active character around, enabling Quicken for Dendro and Electro DPS units. In Aggravate teams, Shinobu’s Burst also applies Electro multiple times in a short duration, enough to override any Dendro aura and apply Electro for easier Electro Swirl setups. Additionally, she can use a wide range of support gear to further assist the team.
Notable Teammates
Dendro
Dendro is required for a Quicken team. A Dendro unit can provide damage on their own or other team utilities. Double Dendro teams with one Dendro damage dealer and one Dendro support may be used.


Electro
Electro DPS characters who can utilize the healing and Electro Particles from Shinobu. Shinobu also enables Electro Resonance to lessen both her and the other Electro units’ ER needs. More than one Electro DPS character may be used in a team.


Flex Options
Characters that are neither Dendro nor Electro can be used for their buffing capability or their personal damage. Anemo units are notable in Aggravate teams with their ability to hold 4pc Viridescent Venerer and their Aggravated Swirl damage in AoE.


Example Teams
This is not a comprehensive list of teams. The inclusion or exclusion of any given team does not necessarily reflect its power level.

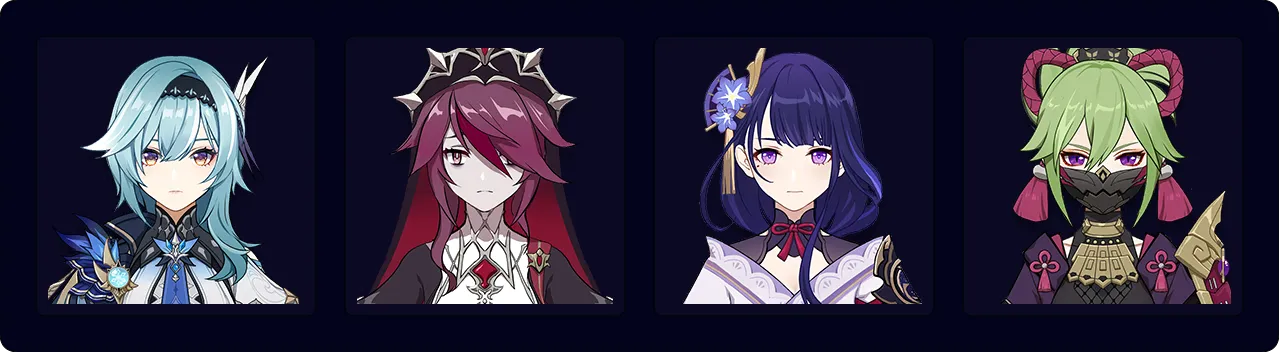
An Aggravate team with Raiden Shogun as the on-field DPS unit. She alleviates most of the teammates’ ER requirements while also benefiting from her teammates using their Bursts. Shinobu makes the Electro Swirl setups with Kazuha easier with her Burst’s fast Electro application.
Sample Rotation
(Raiden E)1 > Nahida E Q > Shinobu E N1 Q > Kazuha tEP Q > Raiden Q N4E 2[N4D] N42 > Kazuha tEP
1First rotation only
2Raiden’s combos are flexible
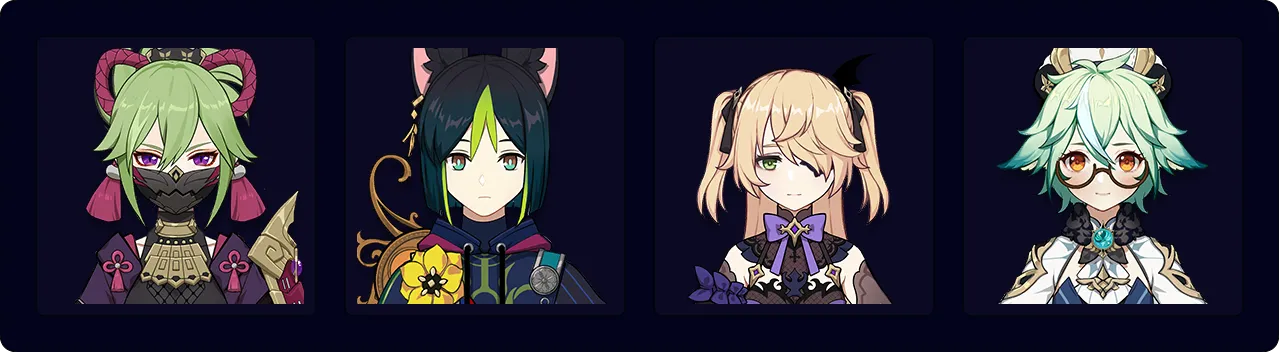
A fast-paced team with characters that have low cooldowns. Shinobu can hold 4pc Deepwood so that Tighnari can use another set that increases his damage further.
Sample Rotation
Shinobu E N1 Q > Fischl N2 (E/Q)1 > Sucrose ED (Q)2 N4-5 > Tighnari combo > Sucrose (N3D)3 N3D N3C
1Use when available
2Use if Tighnari does not Burst
Shinobu keeps Alhaitham well and alive with her healing while also providing Energy, buffing and non-negligible personal damage for the whole team.
Sample Rotation
Yae 3[E] > Nahida E Q > Shinobu Q > Alhaitham hEP N2CD N3C > Yae (Q)1 3[E] > Alhaitham Q > Shinobu E* > Alhaitham N3D N3CD N3D N3D N3
1Use when available

A unique team that revolves around the Aggravated Swirl damage of the Anemo units. However, because Aggravated Swirl only works in AoE, the team is only recommended against multi-target scenarios.
Sample Rotation (4pc TF Kazuha)
Venti Q > Shinobu E (Q) > Collei Q > Kazuha tEP Q N1 tEP N1 tEP > Venti E > Collei E > Kazuha N2 tEP
Pure Healer
Artifacts
Artifact Stats
Sands | Goblet | Circlet |
| HP% / Elemental Mastery | HP% / Elemental Mastery | Healing Bonus / HP% / Elemental Mastery |
Stat Priority: HP% > EM > ER ≥ CRIT Rate/DMG
It is recommended to build some CRIT Rate if using Favonius Sword.
Artifact Sets
4pc Tenacity of the Millelith | The 2-piece effect increases Shinobu’s healing and survivability while the 4-piece effect allows her to buff the team with 20% ATK. |
4pc Noblesse Oblige (NO) | Shinobu benefits only from the 2-piece effect and there are usually better holders for this set. If a 4pc TotM set is held by another user or is not available, 4pc NO can be a good option for team DPS. |
 4pc Ocean-Hued Clam | The 2-piece effect increases Shinobu’s healing while the 4-piece effect increases her personal damage. |
 4pc Song of Days Past (SoDP) | The 2-piece effect helps with Shinobu’s healing while the 4-piece effect converts her healing into Additive Base DMG Bonus buff for the active character. (Check the damage formula here for more info) |
4pc Scroll of the Hero of Cinder City (Scroll) | Even though Shinobu cannot trigger the full 4-piece effect, 4pc Scroll is still a good option for her with its long-lasting 12% DMG Bonus to Electro and the Element that she triggers a reaction with. |
 2pc + 2pc | HP%, HB% 2-piece sets to maximize Shinobu’s healing. |
Weapons
Key of Khaj-Nisut (5★) | The best Sword for Shinobu’s healing due to its enormous HP secondary stat. 3 stacks of the passive can be gained semi-reliably with [E->N1->Q] if C4 is activated. |
 The Dockhand’s Assistant (4★) | Another good HP Sword for Shinobu’s healing. Shinobu can easily trigger the weapon’s passive for additional EM and Energy to herself. |
Freedom-Sworn (5★) | Having the highest EM secondary stat in the game, Freedom-Sworn proves to be a very good weapon for healer Shinobu, as it improves her healing while buffing the team’s damage. |
Xiphos’ Moonlight (4★) | The passive can increase ER in accordance with EM, the latter of which Shinobu’s healing scales off. |
Favonius Sword (4★) | Does nothing for Shinobu’s healing, but helps alleviate the ER issues of some teams. |
Peak Patrol Song (5★) | A niche weapon option. Shinobu forgoes her usual desired stats in order to build DEF for the teamwide DMG% buff. |
Iron Sting (4★) | An EM stat stick, it increases damage as well as healing. Refinements only affect Shinobu’s damage. |
Toukabou Shigure (4★) | Same EM substat as Iron Sting with similar passive. |
Teams
Teambuilding

Shinobu can be slotted as a healer in any team as long as her Electro application does not interfere.
Example Teams
This is not a comprehensive list of teams. The inclusion or exclusion of any given team does not necessarily reflect its power level.
Credits
sew, acerbus114, pjeljr, idkanonymized
Team images made with the KQM portrait generator.