Updated for Version 3.2
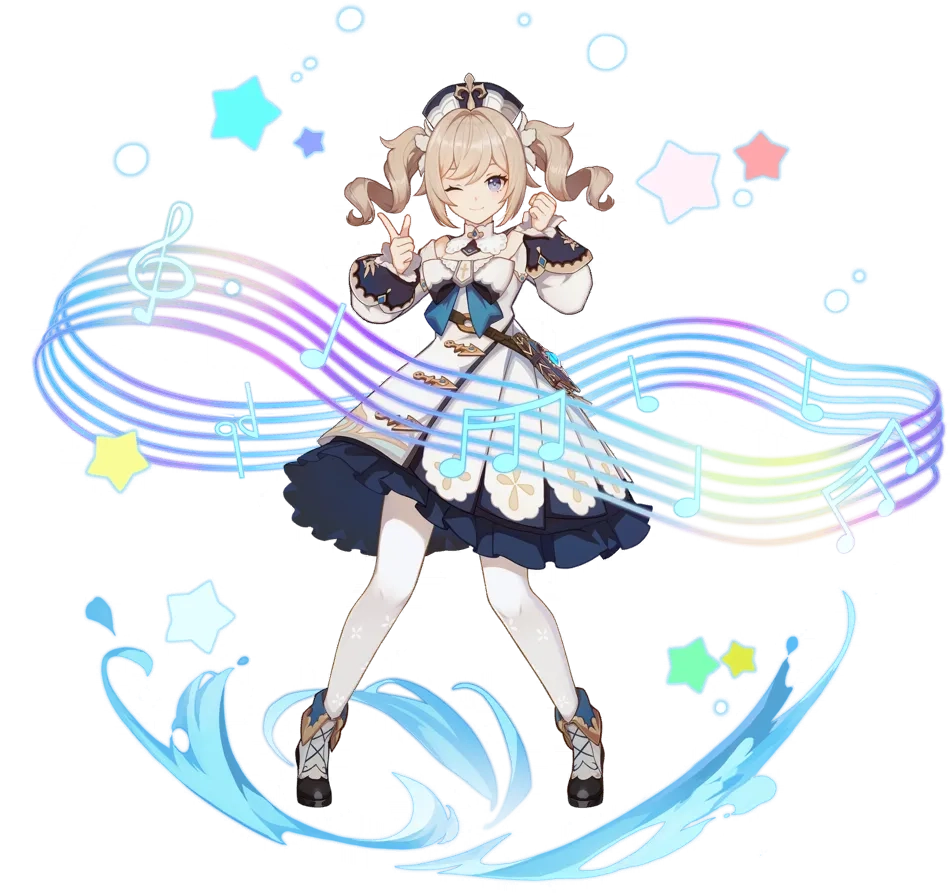
Barbara is a 4* Hydro Catalyst character who excels at healing teammates in dire situations and can serve as a DPS option when the situation calls for it.
More extensive testing is in progress. Note that the information given is subject to change if and when new discoveries are made.
The full-length guide (currently in the process of being updated) is available here.
Table of Contents
New Content
 Nahida (Character) | Nahida’s Dendro application can have synergy with Barbara as a driver, bringing buffs and opening doors to more team building options. See the Teams section for more information. |
 A Thousand Floating Dreams (Weapon) | Nahida’s signature weapon. Viable but weaker option compared to other 5* Catalysts for Vaporize Barbara. |
Infographic
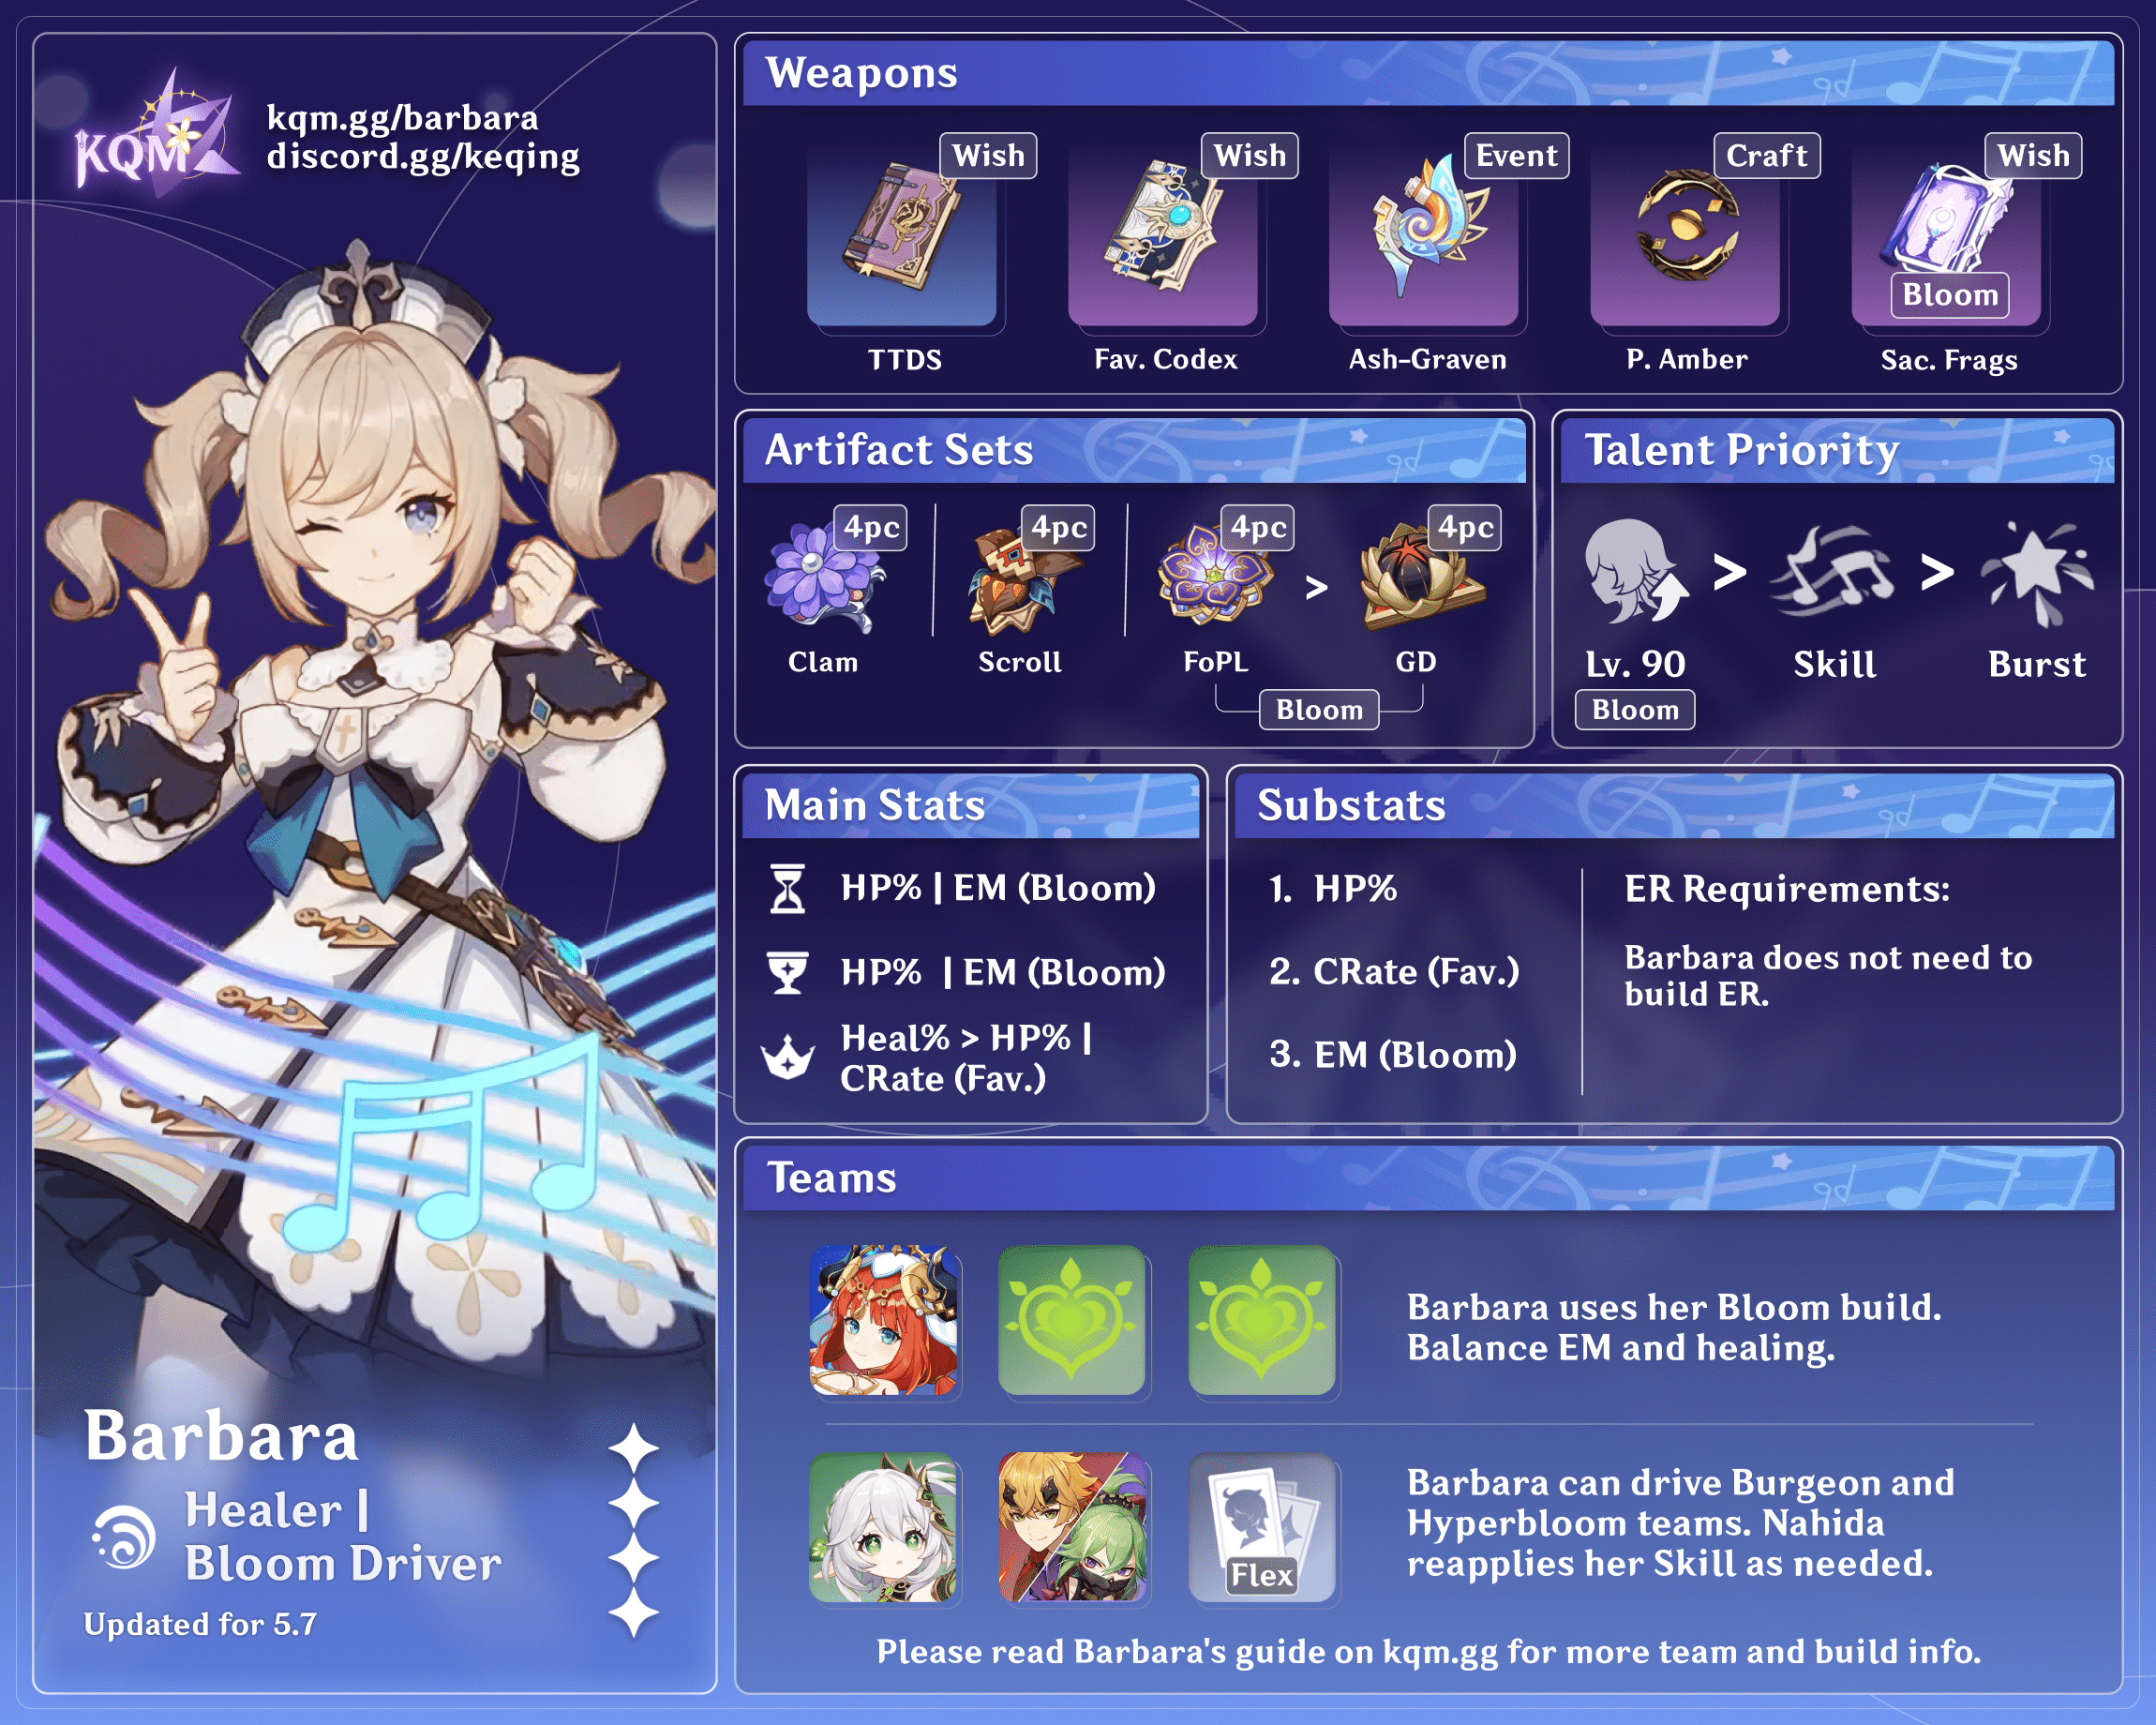
Credits to: kolvii, cegewinne, baloopy, and KQM Staff
Playstyles
Pure Healer
Barbara’s primary role in teams is to only provide sustained healing as well as a large burst of it in emergencies. This playstyle is generally easier to gear compared to her DPS counterpart.
DPS
A niche and complex playstyle that builds on Barbara’s fast animation cancels while aiming to maximize her field time. Makes use of the Vaporize reaction or 4 Ocean-Hued Clam (4OHC) passive.
In both playstyles Barbara can act as a Hydro applicator for the team.
Character Overview
Talent Priority
Barbara can be leveled to Lvl.90 to maximize her HP and healing.
Pure Healer and 4OHC (Electro-Charged): Skill = Burst
Vaporize: Normal Attack > Skill > Burst
Leveling Barbara’s Normal Attacks is not recommended unless she is played as a DPS.
Talents

 Normal Attack | Whisper of Water
Talent Description
Normal Attack
Performs up to 4 water splash attacks that deal Hydro DMG.
Charged Attack
Consumes a certain amount of Stamina to deal AoE Hydro DMG after a short casting time.
Plunging Attack
Gathering the might of Hydro, Barbara plunges towards the ground from mid-air, damaging all opponents in her path. Deals AoE Hydro DMG upon impact with the ground.
Barbara’s Normal Attacks can be neglected except for when she is being played as a DPS. Can be a source for additional Hydro application.
 Elemental Skill | Let the Show Begin ♪
Talent Description
Summons water droplets resembling musical notes that form a Melody Loop, dealing Hydro DMG to surrounding opponents and applying the Wet status to them.
Melody Loop
On hit, Barbara’s Normal Attacks heal your own party members and nearby teammates for a certain amount of HP, which scales with Barbara’s Max HP.
- On hit, Barbara’s Charged Attack generates 4 times the amount of healing.
- Periodically regenerates your own active character’s HP.
- Applies the Wet status to the character and to opponents who come in contact with them.
Barbara’s Elemental Skill heals the on-field character when she is off-field in intervals of 5s or with every Normal Attack and Charged Attack when she is on-field.
Barbara’s Elemental Skill has two instances of damage, once at 0.5s and another at 1s.
Barbara’s Elemental Skill does not generate particles and has a very short range of Hydro application, requiring players to “hug” the enemy. Hydro is also applied to the on-field character periodically, making them vulnerable to Freeze.
 Elemental Burst | Shining Miracle ♪
Talent Description
Heals your own party members and nearby teammates for a large amount of HP that scales with Barbara’s Max HP.
Barbara’s Elemental Burst provides a large burst of healing that can prove incredibly clutch, especially at higher difficulty instances such as the Spiral Abyss.
 Ascension 1 Passive | Glorious Season
Talent Description
The Stamina Consumption of characters within Let the Show Begin♪‘s Melody Loop is reduced by 12%.
Complements Barbara’s Elemental Skill which utilizes Charged Attacks for more potent healing. Its usefulness heavily depends on the Main DPS of the team.
 Ascension 4 Passive | Encore
Talent Description
When your active character gains an Elemental Orb/Particle, the duration of the Melody Loop of Let the Show Begin♪ is extended by 1s.
The maximum extension is 5s.
This is utilized to its full potential with an on-field Barbara. Every Normal or Charged Attack done during this extension will contribute to more heals. Funneling particles to Barbara through successive Elemental Skills or through the passive of Favonius Weapons can trigger her A4 much more reliably.
Constellations
 Constellation 1 | Gleeful Songs
Constellation Description
Barbara regenerates 1 Energy every 10s.
An unimpressive Constellation. Only provides minute help to Barbara’s Energy requirements.
 Constellation 2 | Vitality Burst
Constellation Description
Decreases the CD of Let the Show Begin♪ by 15%.
During the ability’s duration, your active character gains a 15% Hydro DMG Bonus.
Allows Barbara to be more versatile and consistent. She is now able to heal teammates more often with a shortened CD, as well as buff the team’s Hydro DPS.
 Constellation 3 | Star of Tomorrow
Constellation Description
Increases the Level of Shining Miracle♪ by 3.
Maximum upgrade level is 15.
Levels to increase Barbara’s healing.
 Constellation 4 | Attentiveness Be My Power
Constellation Description
Every opponent Barbara hits with her Charged Attack regenerates 1 Energy for her.
A maximum of 5 energy can be regenerated in this manner with any one Charged Attack.
Provides some help to her Energy requirements if players use her Charged Attacks for amplified healing.
 Constellation 5 | The Purest Companionship
Constellation Description
Increases the Level of Let the Show Begin♪ by 3.
Maximum upgrade level is 15.
Levels to increase Barbara’s healing.
 Constellation 6 | Dedicating Everything to You
Constellation Description
When Barbara is in the party but not on the field, and one of your own party members falls:
- Automatically revives the fallen character.
- Fully restores the revived character’s HP to 100%.
This effect can only occur once every 15 mins.
A Constellation that can prove to be very clutch in higher difficulty instances such as the Abyss. Barbara’s revival skill can only be triggered once every 15 minutes and can contribute to the 4 OHC healing cap.
Combos
N# = Corresponding number of consecutive Normal Attacks
CA = Charged Attack
E = Elemental Skill
Q = Elemental Burst
Vaporize
| E + CA Spam | Default Combo. Players should stop after the 3rd or 4th CA to ensure that Barbara has sufficient Stamina to dodge. |
| E N2CJ | Secondary Combo. Used after the Default Combo to help Barbara regenerate Stamina while ensuring decent performance. |
| E N4J | Stamina Regeneration Combo. Used only when Barbara has completely run out of Stamina. |
4OHC (Electro-Charged)
| E + N3C | Low Investment Combo. Can struggle to maximize the healing cap on 4 OHC. |
| E + N2C | Default Combo. Most Stamina efficient Combo with reasonable ease of maximizing the healing cap on 4 OHC. |
| E + N1C | High Investment Combo. Generally not recommended as Barbara will run out of Stamina very quickly but this can be used in conjunction with N2C to cap out on 4 OHC much faster. |
Barbara can provide off-field healing through her Elemental Skill; attacking with Barbara is not necessary if played as a pure healer.
Builds
ER Requirements
| ~100% | Barbara’s Burst should only be used as a last resort and is not to be expected in every rotation. |
Artifact Stats
Vaporize
 Sands |  Goblet |  Circlet |
| EM/ATK% | Hydro DMG Bonus% | CRIT |
Substats: CRIT > EM > ATK% > HP% > Flat ATK > Flat HP
Pure Healer/4OHC (Electro-Charged)
Sands | Goblet | Circlet |
| HP% | HP% | Healing Bonus% |
Substats: HP% > Flat HP
EM is a niche option that is viable when Barbara is paired with Xiangling to trigger Vaporize or when she is acting as a Hydro applicator in teams centered around Dendro reactions. ER is not recommended as Barbara should not be looking to Burst every rotation. HP/HP/HP and ATK/Hydro/CRIT can be weaker variants for Pure Healer or 4OHC.
Artifact Sets
Pure Healer
 4pc Maiden Beloved (4MB) | BiS for healing. Does not benefit from overhealing nor does any content have the need for overhealing. Players should not intentionally farm for this set and should only use it when players obtain the artifacts while farming for Viridescent Venerer (VV) artifacts. |
 4pc Ocean-Hued Clam (4OHC) | Though pure healer Barbara is unable to cap out on 4OHC, it is still the better set to farm as it contributes to team damage while giving comfortable healing. In contrast, Hyperbloom teams in particular would have much worse uptime on the 4pc passive. |
 2pc combination of Maiden Beloved / Ocean-Hued Clam / Tenacity of the Millelith (2MB/2OHC/2ToM) | 2OHC and 2 MB are more sought after than 2ToM as the artifact set bonus is Healing Bonus. Pick the second set based on whichever has the best substats. |
All the aforementioned sets can be used when Barbara is the Hydro applicator in teams centered around Dendro reactions. Barbara can run EM/EM/EM in these teams.
DPS
4pc Ocean-Hued Clam (4OHC) | Used in Electro-Charged teams with Barbara as a driver. |
 4pc Wanderer’s Troupe (4WT) | Vaporize Barbara’s BiS. Provides EM and heavily buffs her main source of damage. |
 2pc Heart of Depth + 2pc ATK% | Vaporize set. Pick between 2SR and 2Glad depending on substat quality. |
Weapons
Pure Healer
 Everlasting Moonglow | Pure stat stick with an unusable passive. |
 Prototype Amber | F2P weapon that mirrors the Everlasting Moonglow. It performs slightly worse but has a usable passive that scales well with refinements. |
 Thrilling Tales of Dragon Slayers | Team buffing weapon. BiS for team damage. |
4OHC (Electro-Charged)
Everlasting Moonglow | BiS option for personal damage. Barbara can utilize its passive here. |
Prototype Amber | F2P weapon that mirrors the Everlasting Moonglow. It performs slightly worse but has a usable passive that scales well with refinements. |
Thrilling Tales of Dragon Slayers | Lower personal damage that is compensated by the team buff. |
 Hakushin Ring | Generally unable to let Barbara cap out on 4OHC but it does provide buffs to the team’s Electro DPS. |
Vaporize
 Skyward Atlas | BiS for personal damage. Very strong stat stick. |
 Lost Prayer to the Sacred Winds | CRIT Rate stat stick. Can outperform Skyward Atlas after having Barbara on-field for an extended period of time. |
A Thousand Floating Dreams | Strong option when paired with Xiangling. Excellent team buffing option with no heavy compromise to personal damage. |
 Memory of Dust | ATK% stat stick. Strong option when Barbara is shielded. |
 The Widsith | CRIT DMG stat stick. Barbara is one of the few Catalyst characters who can benefit from all 3 of The Widsith’s passives. |
 Wandering Evenstar | Mirrors A Thousand Floating Dreams and is only slightly worse. |
 Mappa Mare | BiS F2P option. Vaporize Barbara can have a relatively high uptime on the passive. |
 Dodoco Tales | F2P option where Barbara can fully utilize its passive. Players should opt to use this instead of Mappa Mare if they do not already have it crafted. |
Playstyles
Teambuilding
- Barbara functions well as a driver in Electro-Charged teams. The 4OHC variant is the one with strongest personal damage and should be run with at least 1 Electro and 1 Cryo unit.
- Vaporize Barbara should be run with at least 2 units capable of applying Pyro.
- Pure healer Barbara is a fluid flex that is slotted rather than built around.
Electro-Charged Superconduct
Used by 4OHC Barbara. Makes use of Electro-Charged and Superconduct, which buffs 4OHC damage which is Physical by nature.
Vaporize
Using two Pyro characters ensures that there is sufficient Pyro aura for Barbara to trigger Vaporize. An Anemo character that continuously swirls Pyro can be an alternative as well.
Burgeon
Barbara acts as a pure healer here to offset some Burgeon self damage. Another Hydro character must be used to prevent the Burning reaction from triggering as Barbara’s Hydro application is not strong enough.
Nilou Bloom
Barbara is the healer here. Players can opt to play Barbara off-field but that may lead to insufficient healing.
Hyperbloom
Barbara is the healer and Hydro applicator here. Generally not recommended as there are much better Hydro applicators and Shinobu, a reliable Hyperbloom trigger, already provides heals for the team.
Notable Teammates
| Character | Description |
 Beidou, Fischl, Kuki Shinobu, Raiden Shogun, Lisa, Yae Miko | Provide off-field Electro damage and Electro particles. Gives team diversity through the Hyperbloom reaction as well. Shinobu and Raiden are the most reliable Hyperbloom triggers. |
  Rosaria, Kaeya | Provide off-field Cryo damage as well as Superconduct in order to buff Physical damage. |
  Bennett, Kujou Sara | Provide potent buffs to the team. Kujou Sara’s buffs are more Electro-centric whereas Bennett’s buffs are more generalist. |
  Xiangling, Diluc | Off-field Pyro applicators. Boasts high Burst damage as well. Xiangling is a much better applicator overall. |
  Thoma, Zhongli | Strong shields for better survivability. Zhongli combines offensive and defensive support via a strong shield, a universal 20% RES shred and ToM buffs. Thoma can act as a source of Pyro that comes with a strong shield. Gives team diversity through the Burgeon reaction as well. |
 Kazuha, Sucrose, Jean, Venti | Provide 40% Elemental RES Shred via VV and an assortment of other buffs/grouping. |
 Yelan, Nilou, Xingqiu | Provide off-field Hydro application. Nilou is highly recommended for players looking to build teams around Bloom. |
 DMC, Collei, Nahida | Provide off-field Dendro application. Nahida performs the best when paired with another Dendro character due to how her skill works. On-field Nahida can have somewhat inconsistent Bloom ownership. |
Example Teams
This is not a comprehensive list of teams, and the inclusion of a certain team or lack thereof does not necessarily indicate the power level of the team in question. This list is not ranked.
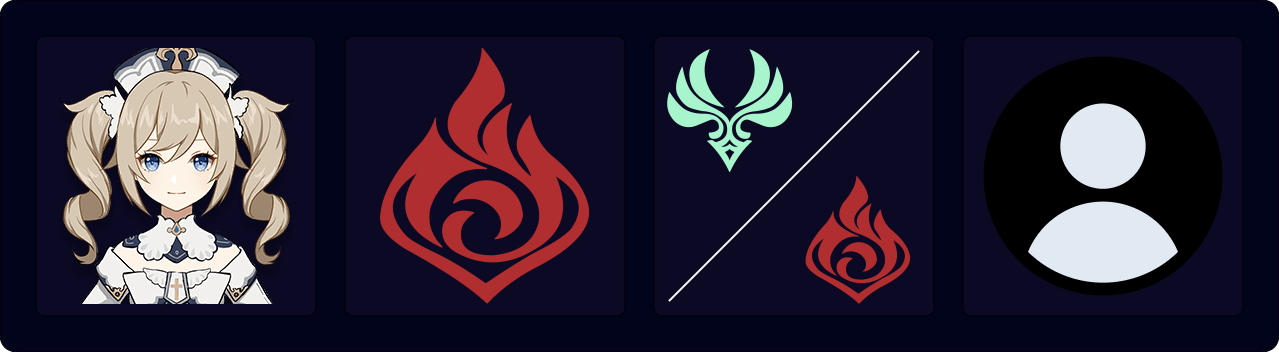
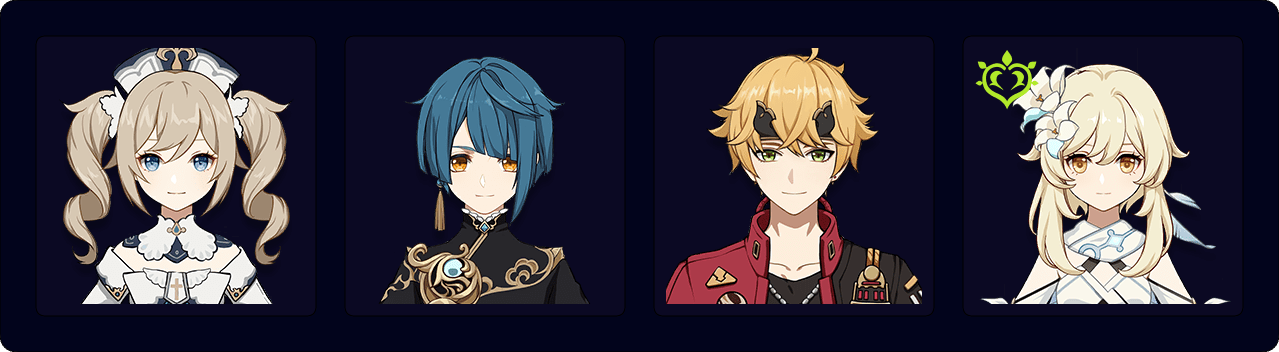
Vaporize
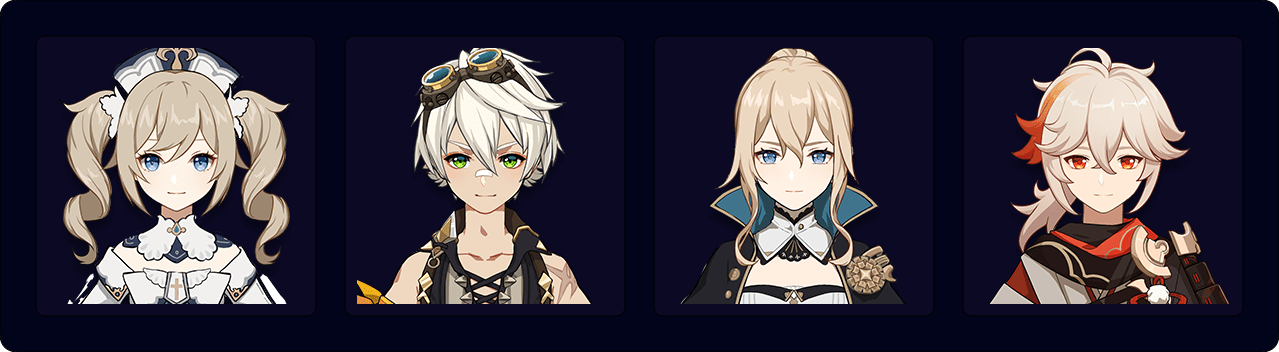
Barbara — Bennett — Jean — Kazuha
Vaporize
Barbara — Bennett — Xiangling — Zhongli
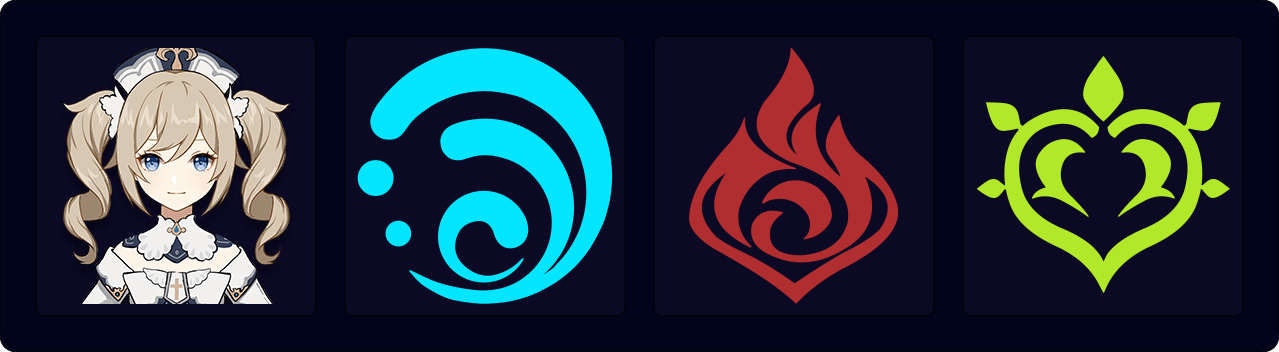
Electro-Charged Superconduct
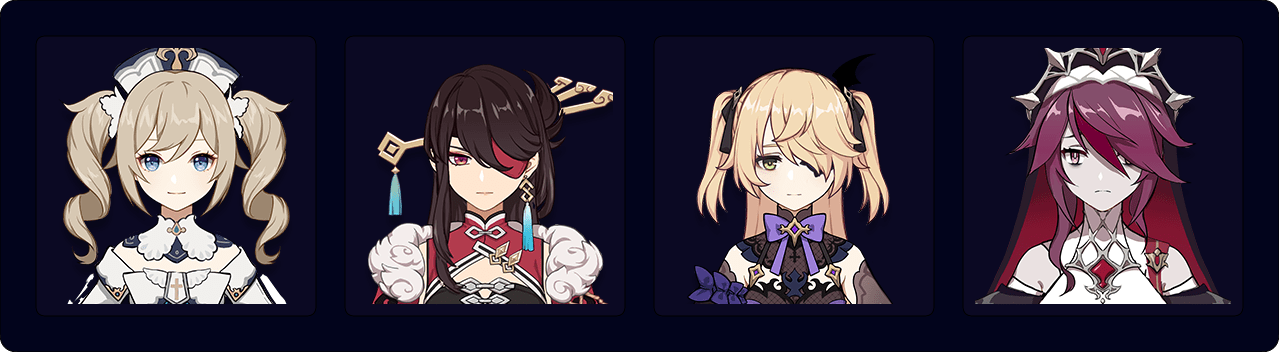
Barbara — Beidou — Fischl — Rosaria
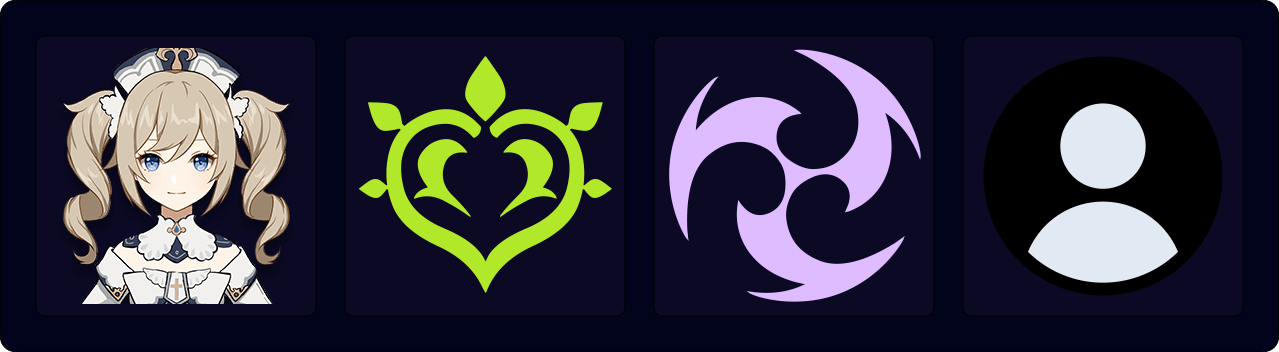
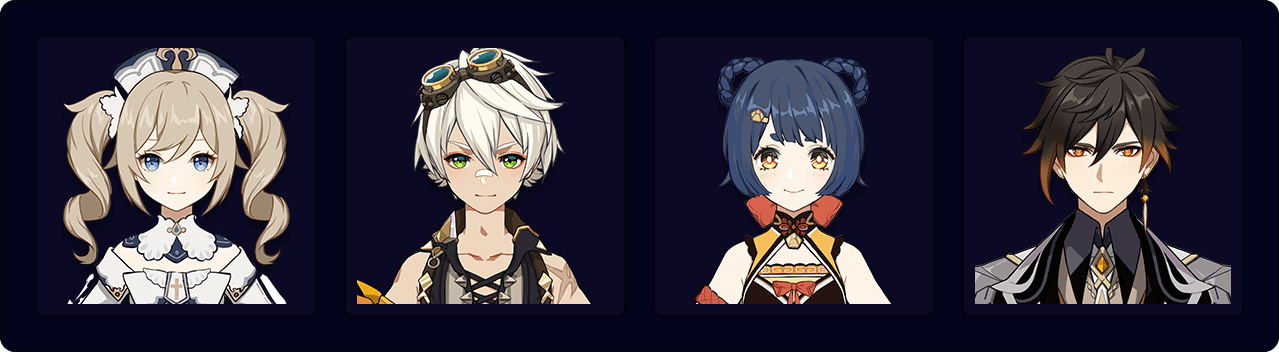
Burgeon
Barbara — Xingqiu — Thoma — Dendro Traveler
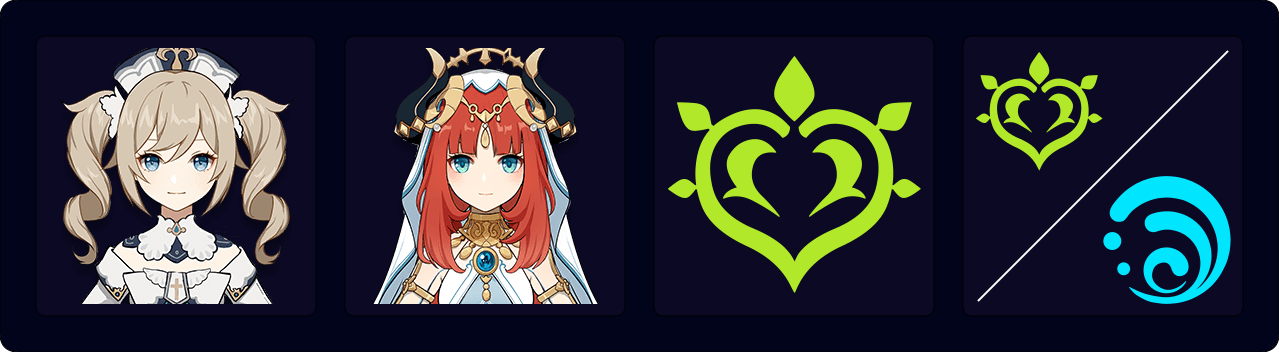
Nilou Bloom
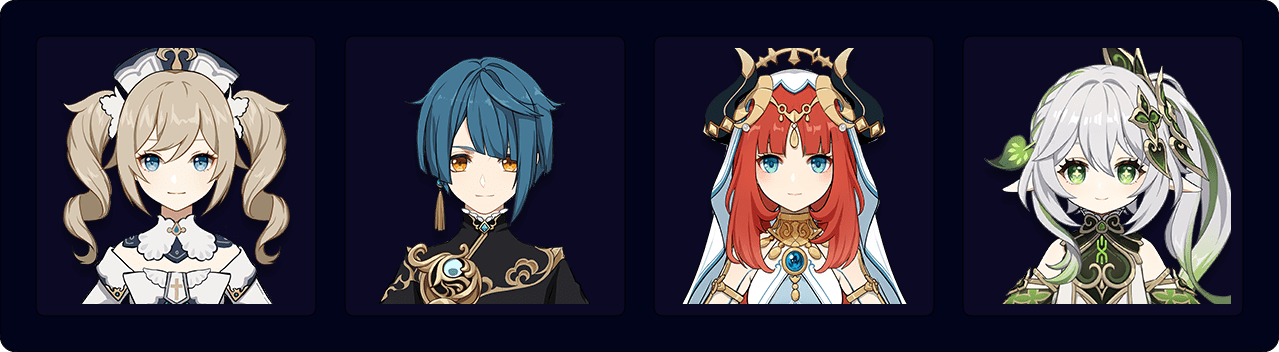
Barbara — Xingqiu — Nilou — Nahida
Credits
- Contributors: CQLQRS#7853, Risuke#6743, Cuzimori#1535, idkanonymized#4166, Seima#4597, juko#9385, Casdela#5121, idkanonymized#4166, Nociii#0111, koko#1111, uhinf1999
- Team images courtesy of the KQM portrait generator