Updated for Version 3.6
Diluc is a 5-star Pyro Claymore character in Genshin Impact who excels as an on-field DPS in a variety of teams. Learn about Diluc’s best builds, Talent priority, best weapons, best artifacts, and best teams in this in-depth and updated review.
Note that the information given may change if new discoveries are made. More extensive testing is in progress.
The full-length guide is available here. It is currently being updated.
Table of Contents
New Content
 Dendro Reactions | The addition of Dendro allows for new reactions with Pyro characters. Pyro attacks can hit Dendro cores produced by Bloom (Dendro + Hydro) to trigger Burgeon. Triggering Burgeon is not constrained by Energy or internal cooldowns. Pyro + Dendro can also cause Burning, which is generally undesirable in Diluc teams. |
 Gilded Dreams | An artifact set released in Version 3.0 that gives bonus EM or ATK% based on the team composition. |
| Makhaira Aquamarine, Beacon of the Reed Sea, and Mailed Flower | New Claymores introduced in Versions 3.1 (Makhaira) and 3.5 (Beacon and Mailed Flower) that serve as potential options for Diluc in his various playstyles. |
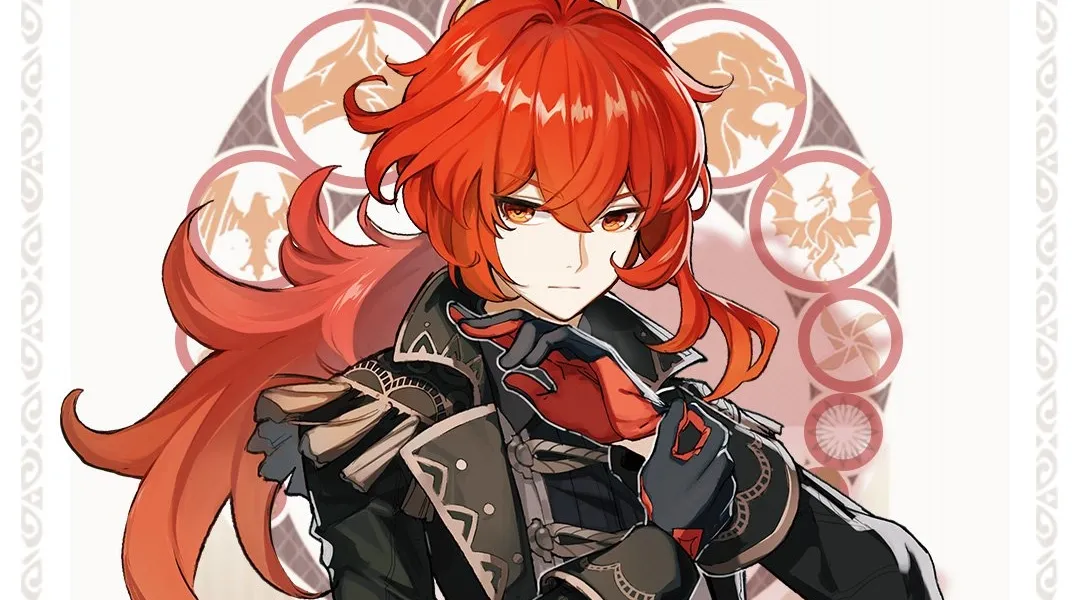
Infographic
Credits to: cuppacote, auraolis, marvel, and KQM Staff
Character Overview
Playstyles
Vaporize / Melt
Diluc can trigger Vaporize or Melt with his Burst, Skills, and Pyro-infused Normal Attacks to deal increased damage. This is the classic Diluc playstyle that takes advantage of Amplifying Reactions as much as possible.
Mono Pyro
Diluc can be the on-field DPS in a Mono Pyro team together with other Pyro and Anemo teammates. Though these teams have a lower damage ceiling, they have a high damage floor while being very consistent and easy to play.
Burgeon
Dubbed “Retriburgeon” by the community, this is an alternative playstyle that uses Diluc together with Hydro and Dendro teammates to trigger Burgeon as well as Vaporize.
Talents
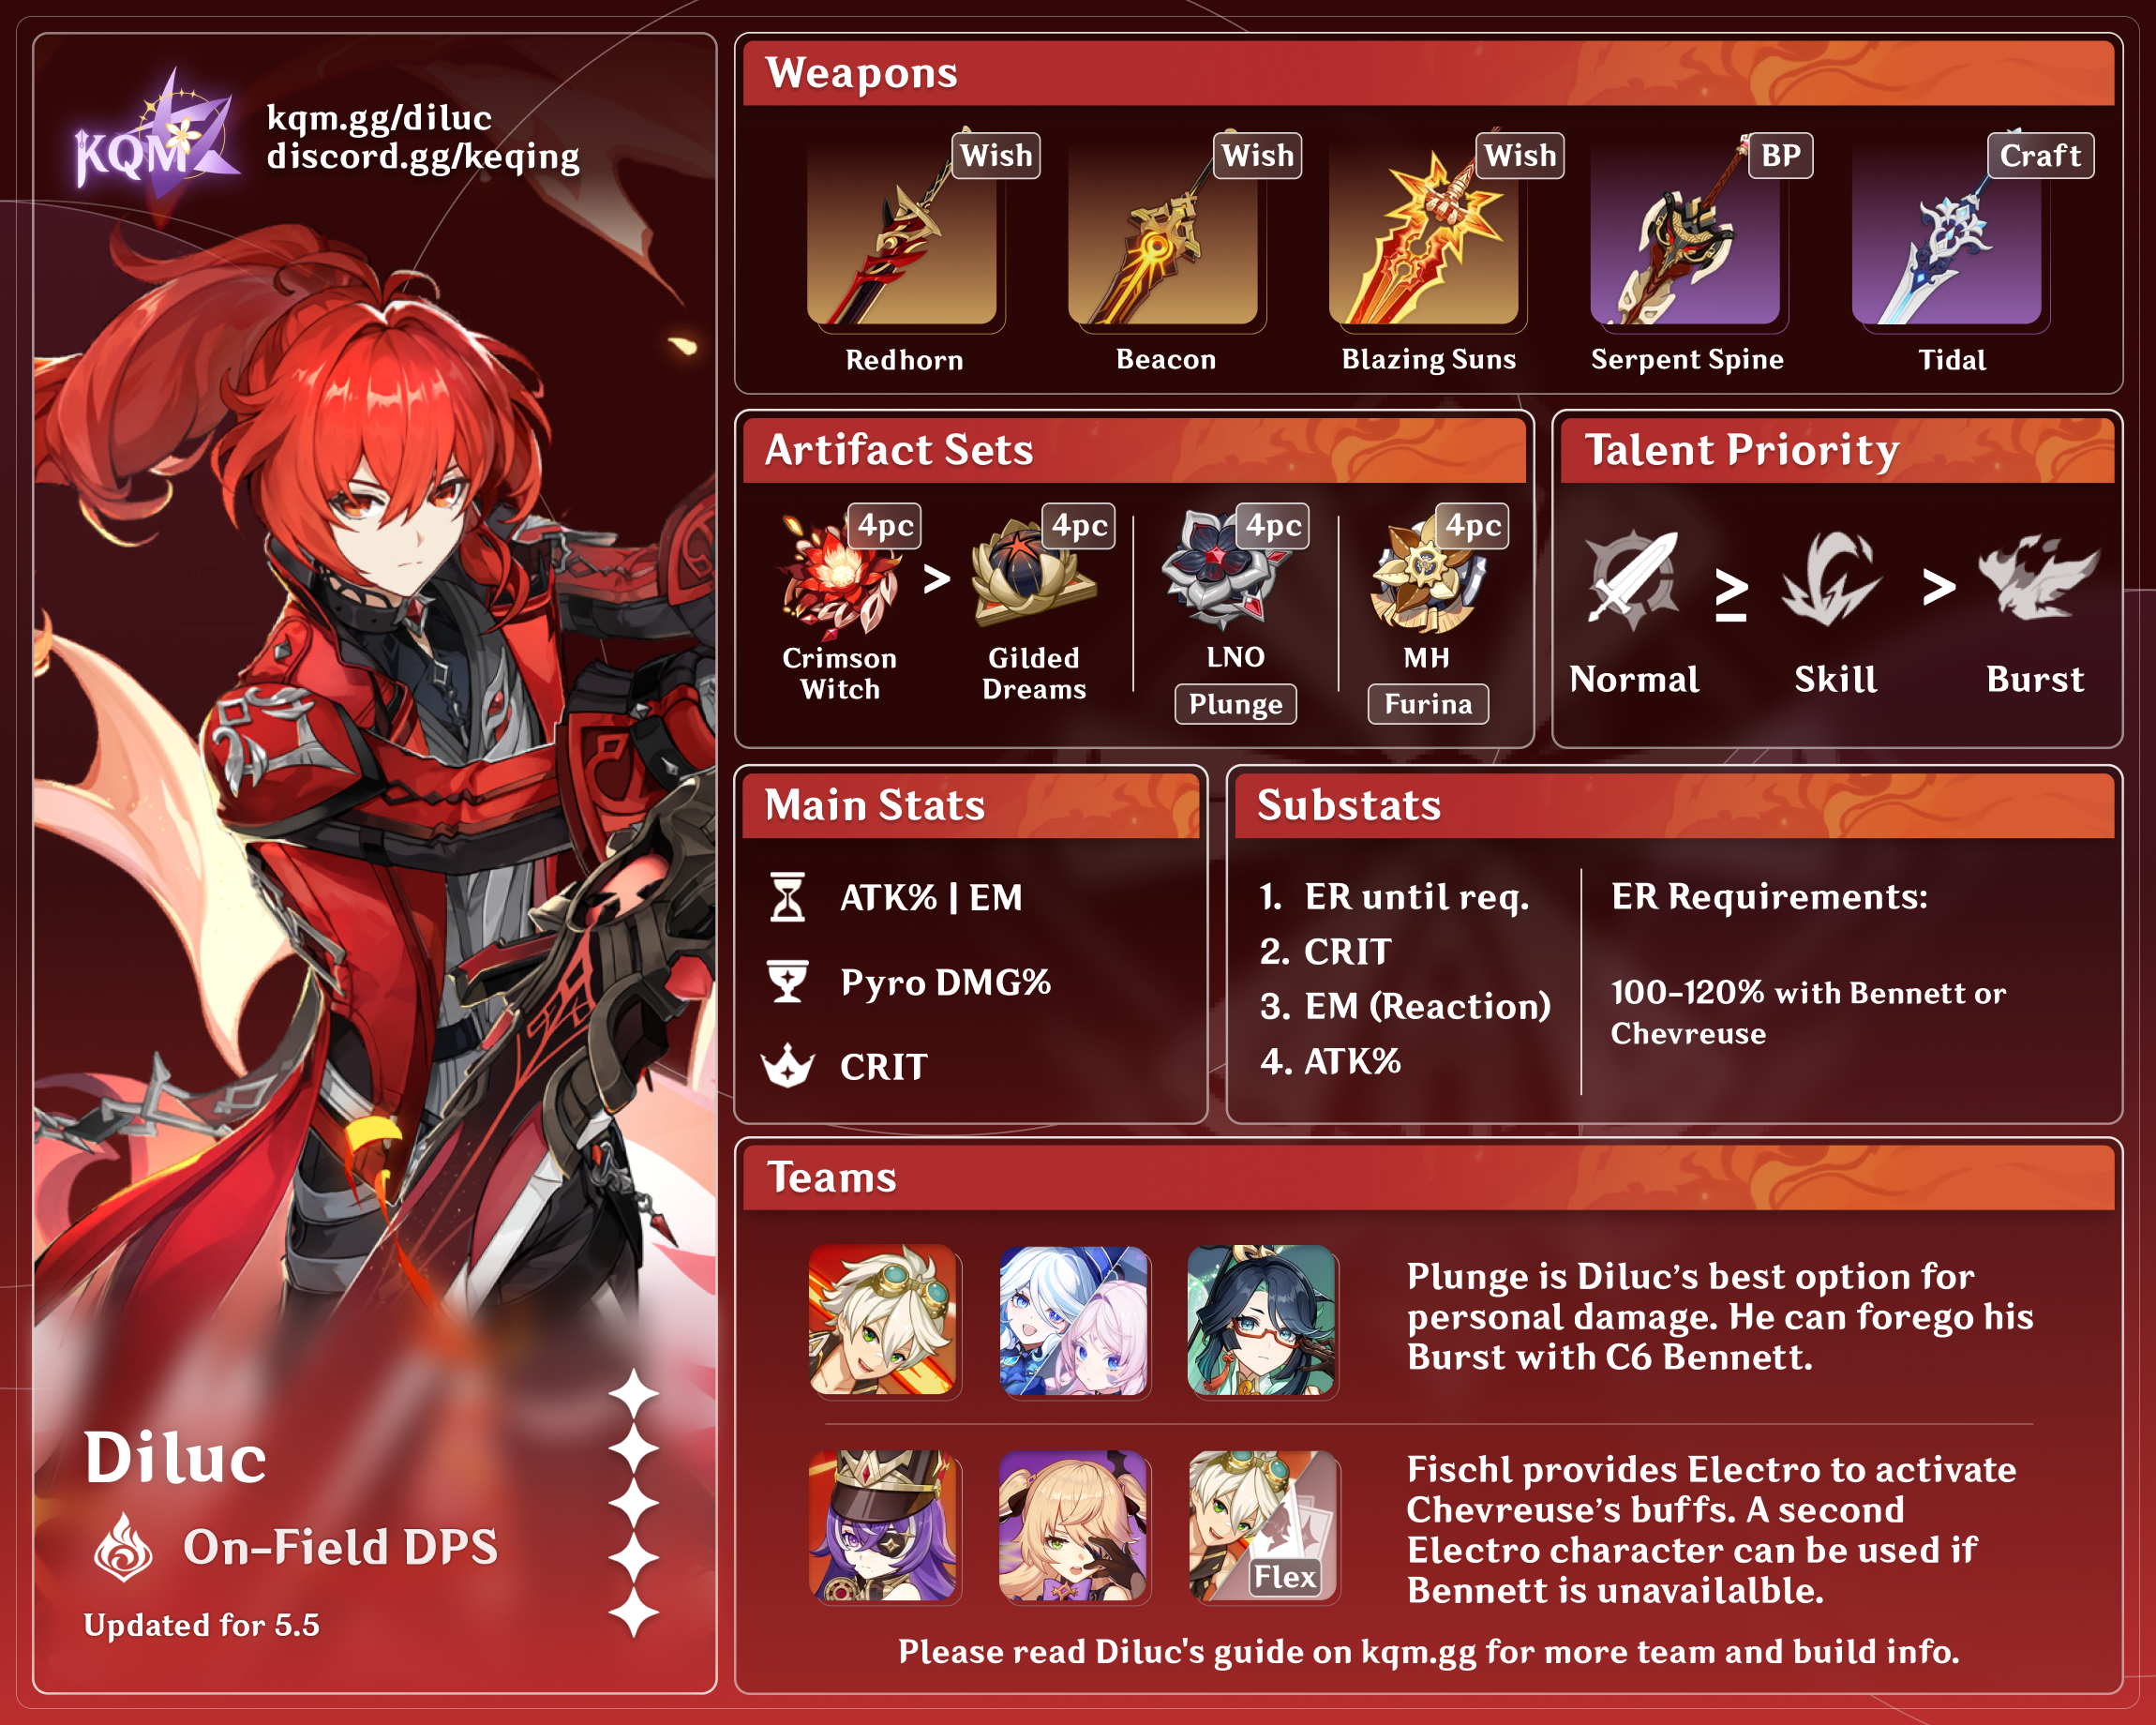
Talent Priority
Talent Priority
Normal Attack = Skill > Burst
Skills and Pyro-infused Normal Attacks are used to trigger Vaporize and comprise most of Diluc’s damage. Since the damage increase from maxing his Burst is minimal, it is often better to invest in Bennett’s Burst or other support units’ abilities instead.
Talent Overview
 Normal Attack | Tempered Sword
Talent Description
Normal Attack
Performs up to 4 consecutive strikes.
Charged Attack
Drains Stamina over time to perform continuous slashes.
At the end of the sequence, performs a more powerful slash.
Plunging Attack
Plunges from mid-air to strike the ground, damaging opponents along the path and dealing AoE DMG upon impact.
A series of 4 consecutive attacks which are fairly fast apart from the 3rd and 4th attacks. This is one of Diluc’s main sources of damage and is easy to animation-cancel. His Charged Attack is not widely used outside of gathering wood.
 Elemental Skill | Searing Onslaught
Talent Description
Performs a forward slash that deals Pyro DMG.
This skill can be consecutively used 3 times.
Enters CD if not cast again within a short period.
Diluc’s Skill enters cooldown when the 3rd cast is used or when 4s has passed without it being recast. In other words, there is a 4s time window after his first and second Skill casts where he can use his Skill again without entering cooldown. However, his cooldown timer starts when the first Skill was cast. This means that, although his Talent page lists his Skill cooldown as 10s, you will never actually have to wait 10s before you can use his Skill again.
Diluc’s Skill can be used to cancel his Normal Attack animations.
This Skill has no ICD on Pyro application, allowing for Diluc to frontload reactions (such as Vaporize and Melt) in quick succession. Alternatively, players can weave Normal Attacks between his Skills to deal more damage over a longer duration.
 Elemental Burst | Dawn
Talent Description
Releases intense flames to knock back nearby opponents, dealing Pyro DMG.
The flames then converge into the weapon, summoning a Phoenix that flies forward and deals massive Pyro DMG to all opponents in its path. The Phoenix explodes upon reaching its destination, causing a large amount of AoE Pyro DMG.
The searing flames that run down his blade cause it to be infused with Pyro.
Diluc summons a phoenix that deals AoE Pyro damage in a large area in front of him. The phoenix then travels forward, moving through large enemies and pushing smaller ones back. As it moves, it deals a small amount of damage over time (DoT). After it has moved some distance away, it will explode and deal another instance of AoE Pyro damage before disappearing.
Though there are several damaging aspects to Diluc’s Burst, the only notable one is his initial AoE slash, as this is the only hit that can reliably hit an enemy and trigger Vaporize. On larger enemies that cannot be pushed back, you will usually only get 2-3 instances of DoT, and the final explosion often misses altogether. Smaller enemies that can be pushed back will take more damage from his DoT and explosion, but you may also need to chase them down to continue with your combo.
The most important part of Diluc’s Burst is the Pyro Infusion that he gains after it is cast. This is used as a key part of Diluc’s combos so that his Normal Attacks deal Pyro damage instead of Physical.
 Ascension 1 Passive | Relentless
Talent Description
Diluc’s Charged Attack Stamina Cost is decreased by 50%, and its duration is increased by 3s.
As Diluc’s gameplay is centered around weaving Normal Attacks with his Skill, he rarely uses his Charged Attack at all, rendering this passive essentially useless.
 Ascension 4 Passive | Blessing of Phoenix
Talent Description
The Pyro Infusion provided by Dawn lasts for 4s longer. Additionally, Diluc gains 20% Pyro DMG Bonus during the duration of this effect.
Allows Diluc to have 100% uptime on the Pyro Infusion granted by his Burst and provides a 20% Pyro DMG Bonus.
Constellations
Like other Standard Banner characters, Diluc’s Constellations are not something players can specifically wish for. His Constellations do increase his damage, but are not very impactful overall.
 Constellation 1 | Conviction
Diluc deals 15% more DMG to opponents whose HP is above 50%.
This Constellation will only have about 50% uptime due to its dependency on enemy health.
 Constellation 2 | Searing Ember
When Diluc takes DMG, his ATK increases by 10% and his ATK SPD increases by 5%. Lasts for 10s.
This effect can stack up to 3 times and can only occur once every 1.5s.
At max stacks, grants 30% ATK and 15% ATK SPD. It’s not recommended to go out of your way to get hit for these buffs, especially since its effects still proc if you are hit while shielded.
This Constellation has direct anti-synergy with Serpent Spine’s passive, which requires Diluc to avoid taking damage. You should prioritize Serpent Spine stacks over this Constellation’s effects and consider it as less of a damage loss if you do incidentally take damage. The best way to get the best of both worlds is to run a shielder.
 Constellation 3 | Fire and Steel
Increases the Level of Searing Onslaught by 3.
Maximum upgrade level is 15.
A simple +3 Talent levels to Diluc’s Elemental Skill. A welcome increase, but not incredibly impactful.
 Constellation 4 | Flowing Flame
Casting Searing Onslaught in rhythm greatly increases damage dealt.
2s after casting Searing Onslaught, casting the next Searing Onslaught in the combo deals 40% additional DMG. This effect lasts for 2s.
It is not recommended to go out of your way to trigger this Constellation because it means either deliberately delaying your Skill casts or weaving three Normal Attacks in between Skills. Both of these cases result in a DPS loss.
 Constellation 5 | Phoenix, Harbinger of Dawn
Increases the Level of Dawn by 3.
Maximum upgrade level is 15.
A simple +3 Talent levels to Diluc’s Burst. C5 has greater impact when facing smaller enemies that can be pushed back, since they will take more damage from the DoT and explosion.
 Constellation 6 | Flaming Sword, Nemesis of the Dark
After casting Searing Onslaught, the next 2 Normal Attacks within the next 6s will have their DMG and ATK SPD increased by 30%.
Additionally, Searing Onslaught will not interrupt the Normal Attack combo.
This is Diluc’s best Constellation. It allows Normal Attacks to deal more damage and makes them faster to perform. Your Normal Attack sequence will still be reset upon dashing or taking too much poise damage.
Combos
N# = Corresponding number of consecutive Normal Attacks
CA = Charged Attack
E = Elemental Skill
Q = Elemental Burst
J = Jump
D = Dash
| Q N2E N2E N2E N2 | An easy and consistent combo for sustained damage. If Diluc is paired with C6 Bennett, it is preferable to use his Burst at the end instead of at the beginning. |
| E Q E N2E N4E | Allows for an extra Skill and a bit more Energy generation. |
| Q N1E N1E N1E | A shorter combo with high up-front damage, but falls off if you need to continue Normal Attacking afterwards. This combo is useful for quickly finishing off an enemy at low health. |
| E E E | Casting Diluc’s Skill three times in succession can be useful for finishing off an enemy while generating Energy for yourself. |
| Q N1DJP -or- EDJP | Known as “Dragonstrike,” this combo takes advantage of hitlag to execute a Plunging Attack from ground level. The Dragonstrike playstyle is most commonly used with Melt Diluc, but is more mechanically intensive than his normal Melt playstyles. |
Vaporize / Melt
Artifacts
ER Requirements
| Without Bennett | ~120-130% |
| With Bennett | ~100-115% |
Artifact Stats
 Sands |  Goblet |  Circlet |
| ATK% / EM | Pyro DMG% | CRIT |
Substats: CRIT > EM = ATK%
Without Bennett, an ATK% Sands is almost always better than an EM Sands. With Bennett, an EM Sands becomes preferable, but the gap between them becomes smaller with high-EM weapons like Rainslasher or Mailed Flower — to the point where they are roughly equal. However, regardless of which Sands looks better on paper, it’s perfectly fine to use whichever has better substats. Artifacts with an EM main stat are difficult to acquire, so you are more likely to find a good ATK% Sands before a usable EM Sands.
Choose a CRIT Rate or DMG Circlet based on whichever brings you closer to a 1:2 ratio of CRIT Rate to CRIT DMG.
Artifact Sets
 4pc Crimson Witch of Flames (4CW) | This set is practically tailor-made for Diluc, and is ideal for Vaporize or Melt teams as it boosts Pyro-related reactions. |
4pc Gilded Dreams (4GD) | Less effective than CW, but can be usable with good substats and can be farmed from a more Resin-efficient domain. The power level of this artifact set compared to the others below varies depending on Diluc’s team, weapon, and external buffs. |
 Any combination of 2pc CW / 2pc EM / 2pc ATK% | Set combinations require good substats to compete with 4pc CW, but may be easier to obtain and can be used while farming for 4pc CW. When using Bennett in a team, 2pc ATK% sets decrease in value. |
 4pc Gladiator’s Finale (4GF) | The increased damage obtained through the 4pc effect only applies to Normal Attacks and not Skill or Burst damage. 4GF is usable with good substats, but 4CW should be the end goal. |
Weapons
ATK% weapons decrease in value when running Bennett and vice versa.
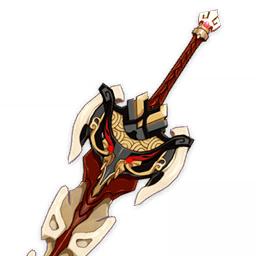
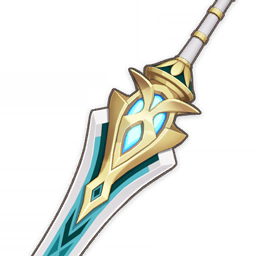
 Beacon of the Reed Sea / Redhorn Stonethresher | These Claymores serve as CRIT stat sticks. Even though Diluc cannot make full use of their passives, they still help enough to make these weapons his best options. |
  Wolf’s Gravestone / The Unforged | These weapons provide an abundance of ATK%, though The Unforged requires a shielder to activate its passive. If running Bennett, the value of ATK% can be somewhat diminished. |
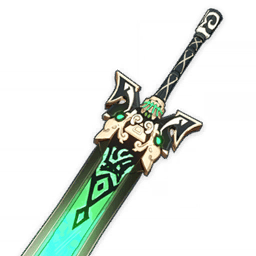
 Serpent Spine | If you can keep up the stacks on its passive, Serpent Spine is Diluc’s best 4-star option. At high refinements and with full stacks, it can even surpass The Unforged and Wolf’s Gravestone. |
 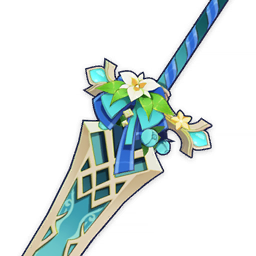 Rainslasher or Mailed Flower | EM Claymores with useful passives for Vape Diluc. Mailed Flower was given for free during Version 3.5’s Windblume Festival and should be considered over Rainslasher if playing Melt Diluc. |
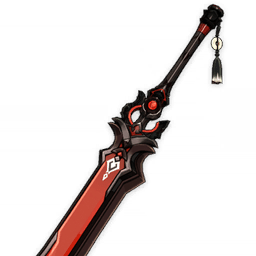 Blackcliff Slasher | A CRIT DMG option if you have the Starglitter to spare. It can be difficult to gain stacks for its passive depending on the content you are up against. Not recommended to spend your Starglitter on refinements. |
  Luxurious Sea-Lord / Prototype Archaic | Diluc’s F2P-accessible options if none of the above are available to you. Luxurious Sea-Lord was available during Version 2.1 and allows you to smack your enemies with a flaming fish. Prototype Archaic is not worth refining for Diluc. |
Teams
Teambuilding
- Needs at least one Hydro teammate to enable Vaporize or one Cryo teammate to enable Melt.
- Bennett is highly recommended, especially if C6.

Notable Teammates
  Xingqiu, Yelan | The quintessential Vape Diluc enablers. Either of these on their own are capable of supporting Vaporize, but they become a powerhouse when used together. If adding other Elements to the mix (like Geo or Electro), Xingqiu’s additional Hydro application can be helpful. |
  Kaeya, Rosaria | As Melt supports, Kaeya and Rosaria apply Cryo to enemies while dealing respectable damage. Kaeya offers more mobility while Rosaria grants a CRIT Rate buff. Individually, their Cryo application may be insufficient for consistent Melts, so it is recommended to bring both or Sucrose/Kazuha and absorb Cryo into their Bursts. |
  Anemo buffer (optional): Sucrose, Kazuha | Sucrose and Kazuha can equip 4pc Viridescent Venerer to decrease enemy Elemental RES while simultaneously buffing your team. Sucrose buffs team EM while Kazuha buffs Elemental DMG%. If playing Melt, Kazuha’s Elemental Infusion in his Burst is easier to control. |
 Bennett (optional): Bennett | Bennett buffs Diluc’s ATK significantly, allowing him to build more CRIT and EM. C6 Bennett in particular allows Diluc to forgo using his Burst at the beginning of his combo (for the Pyro Infusion). If using this strategy, Diluc can Burst at the end of his combo for an extra Vaped hit or use his Burst to extend his combo if necessary. |
 Flex (optional): Zhongli, Albedo, Fischl, Beidou, Anemo Traveler, Jean, Diona, Layla, Sayu, Kokomi | As long as a Hydro or Cryo aura is maintained on the enemy, any remaining flex slot(s) can be filled by practically anyone. A shielder is useful for maintaining uptime on certain weapon passives. Albedo can be paired with Zhongli to form a double Geo core. Pairing Jean and Bennett together is not recommended, since the extra Pyro application from the Sunfire interaction can interfere with desired reactions. Electro teammates can allow for a combination of Vaporize and Overload. |
Example Teams
This is not a comprehensive list of teams. The inclusion or exclusion of any given team does not necessarily reflect its power level.


Mono Pyro
Artifacts
ER Requirements
| Double Pyro | ~115% |
| Triple Pyro | ~100% |
Artifact Stats
Sands | Goblet | Circlet |
| ATK% | Pyro DMG% | CRIT |
Substats: CRIT > ATK%
Unlike in Vaporize, Melt, or Burgeon teams, Mono Pyro Diluc doesn’t need EM stats or substats because he is not triggering any reactions. Choose a CRIT Rate or DMG Circlet based on whichever brings you closer to a 1:2 ratio of CRIT Rate to DMG.
Artifact Sets
 4pc Lavawalker (4LW) | Best-in-Slot for Mono Pyro Diluc as its 4pc effect will almost always be active. |
4pc Crimson Witch of Flames (4CW) | Although the reaction damage buff from the 4pc effect becomes less important with Mono Pyro Diluc, it is still a strong artifact set with its stacking Pyro DMG% buff. |
4pc Gladiator’s Finale (4GF) | GF is a stronger artifact set with Mono Pyro Diluc than his other playstyles, making it a nice, safe option that you can passively farm from bosses/strongboxes. |
 Any combination of 2pc CW / 2pc ATK% | 2CW2ATK performs similarly to 4GF and is a good stopping point if you don’t already have a serviceable 4GF set. 2ATK2ATK falls a bit behind, but the gap can be bridged with better substats. |
Weapons
Beacon of the Reed Sea / Redhorn Stonethresher | These Claymores serve as CRIT stat sticks. Even though Diluc cannot make full use of their passives, they still help enough to make these weapons his best options. |
Wolf’s Gravestone / The Unforged | These weapons provide an abundance of ATK%, though The Unforged requires a shielder to fully stack its passive. If running Bennett, the value of ATK% can be somewhat diluted. |
Serpent Spine | If you can keep up the stacks on its passive, Serpent Spine is Diluc’s best 4-star option. At high refinements and with full stacks, it can even surpass The Unforged and Wolf’s Gravestone. |
Blackcliff Slasher | A CRIT DMG option if you have the Starglitter to spare. It can be difficult to gain stacks for its passive depending on the content you are up against. Not recommended to spend your Starglitter on refinements. |
Luxurious Sea-Lord / Prototype Archaic | Diluc’s F2P-accessible options if none of the above are available to you. Luxurious Sea-Lord was available during Version 2.1 and allows you to smack your enemies with a flaming fish. Prototype Archaic is not worth refining for Diluc. |
Teams
Teambuilding
- An Anemo teammate with 4pc Viridescent Venerer will lower enemy Pyro RES.
- Off-field DPS units like Xiangling are valuable.
- Bennett is highly recommended, especially if C6.

Notable Teammates
 Kazuha, Jean, Anemo Traveler, Venti, Heizou, Sucrose, Sayu | Virtually any Anemo unit is sufficient for shredding enemy Pyro RES. Of particular note are Kazuha, who provides a Pyro DMG% buff, and Jean, who enables the Sunfire interaction with Bennett. Venti’s Energy refund can be useful for Energy-hungry teammates, but Diluc can have trouble hitting enemies lifted by his Burst. |
 Pyro off-field DPS: Xiangling, Dehya, Thoma | Xiangling is by far the best option here, especially when paired with Bennett. Dehya and Thoma can offer some defensive utility if you need it, but their damage can be lacking and Dehya can compete with Diluc for field time. |
Bennett (optional): Bennett | Bennett buffs Diluc’s ATK significantly, allowing him to build more CRIT. C6 Bennett in particular allows Diluc to forgo using his Burst at the beginning of his combo (for the Pyro Infusion). If using this strategy, Diluc can Burst at the end of his combo for an extra hit, or use his Burst to extend his combo. While not strictly necessary, Bennett is strongly encouraged for Mono Pyro teams. |
 Flex (optional): Zhongli | If you have a remaining flex slot, then Zhongli is a good defensive pick. His shield will further lower enemy Pyro RES and let you execute your combos without getting interrupted. |
Example Teams
This is not a comprehensive list of teams. The inclusion or exclusion of any given team does not necessarily reflect its power level.


Burgeon
Artifacts
ER Requirements
| Without Bennett | ~120-130% |
| With Bennett | ~100-115% |
Artifact Stats
Sands | Goblet | Circlet |
| EM / ATK% | EM / Pyro DMG% | EM / CRIT |
Substats: EM > CRIT > ATK%
Artifact Sets
4pc Crimson Witch of Flames (4CW) | Boosts all Pyro-related reactions, including Burgeon. |
 4pc Flower of Paradise Lost (4FoPL) | 4FoPL can come out ahead of 4CW in multi-target scenarios where Diluc triggers many Burgeons. However, even in the most favorable circumstances, the difference is small enough where 4CW remains the generally recommended set. |
4pc Gilded Dreams (GD) | 4GD grants a hefty 150 EM buff if Diluc is the only Pyro unit, as he often is in Burgeon teams. It can also be more Resin-efficient than the above options since it can be farmed from the same domain as Deepwood Memories — a very useful set for Burgeon teams. |
Any combination of 2pc CW / 2pc EM / 2pc ATK% | Though the 4pc sets above are all fairly close to each other, there is quite a gap between those and the 2pc combos listed here. 2pc combos should be treated as an interim set to use while farming for your desired 4pc set. |
Weapons
Wolf’s Gravestone | The ATK% from Wolf’s Gravestone is still valuable in Burgeon teams, especially if you have teammates who can benefit from the teamwide buff. Note that the teamwide buff can be inconsistent and suffer from low uptime. |
Rainslasher / Mailed Flower | EM Claymores with useful passives for Vaporize/Burgeon playstyles. Mailed Flower was given for free during Version 3.5’s Windblume Festival. |
Beacon of the Reed Sea / Redhorn Stonethresher | CRIT stat sticks like Beacon and Redhorn are less valuable in EM-focused Burgeon builds, but still potent. |
The Unforged | The Unforged’s passive is more difficult to take advantage of in Burgeon teams where self-damage can swiftly whittle away your shields. |
 Makhaira Aquamarine | This weapon is outshined by the others above. It gives a small amount of Flat ATK to Diluc and his party. |
Serpent Spine / Blackcliff Slasher / Bloodtainted Greatsword | Serpent Spine’s passive can be difficult to maintain due to self-damage from Burgeon. Blackcliff’s passive is only useful in content with multiple enemies. |
Teams
Teambuilding
- A Dendro and a Hydro teammate are required to generate Dendro Cores.
- Ensure sufficient Hydro application to reduce instances of Burning.
- Bennett is difficult to fully utilize in Burgeon teams.
- At least one teammate should equip 4pc Deepwood Memories. This is usually your Dendro teammate, but can be someone else as long as they can consistently proc the 4pc effect.

Notable Teammates
Dendro applier: Nahida, Dendro Traveler, Yaoyao, Baizhu, Collei | Any of these Dendro options will work. Yaoyao and Baizhu have the added benefit of healing. Collei’s Burst may not last the entire duration of Diluc’s usual combos. |
 Hydro applier: Xingqiu, Yelan, Kokomi, Ayato | Bringing two Hydro units ensures a constant Hydro aura for both Bloom and Vaporize. Solo Hydro can still work for most Dendro units. If using Nahida, Xingqiu is the only reliable solo Hydro teammate who can keep up with her Dendro application. |
 Flex (optional): Zhongli, Bennett, Albedo | Zhongli’s universal RES Shred is especially useful in Burgeon teams where enemies take Pyro, Dendro, and Hydro damage. Bennett will buff Diluc’s ATK, but he can steal some Burgeons and be difficult to use. Albedo is a niche pick who can provide additional off-field DPS and Geo application in order to reduce Burning. |
Example Teams
This is not a comprehensive list of teams. The inclusion or exclusion of any given team does not necessarily reflect its power level.


Credits
Nociii#0111, fritzzes#2211, Nikatosaurus#5639, cote#4733, Chasing Haze#3014
Team images courtesy of the KQM portrait generator.
